
Do This To Your Outdoor Faucets And Hoses Now, Before A Hard New Jersey Freeze Cracks Them
Your garden hose and outdoor spigot seem harmless in the warm months, but they can cause real trouble once the weather turns cold. Water left inside them can freeze, expand, and lead to leaks or repairs.
The good news is that a short routine can lower that risk. Here is how to get your outdoor faucets ready before freezing weather shows up.
Why outdoor faucets need attention before freezing weather
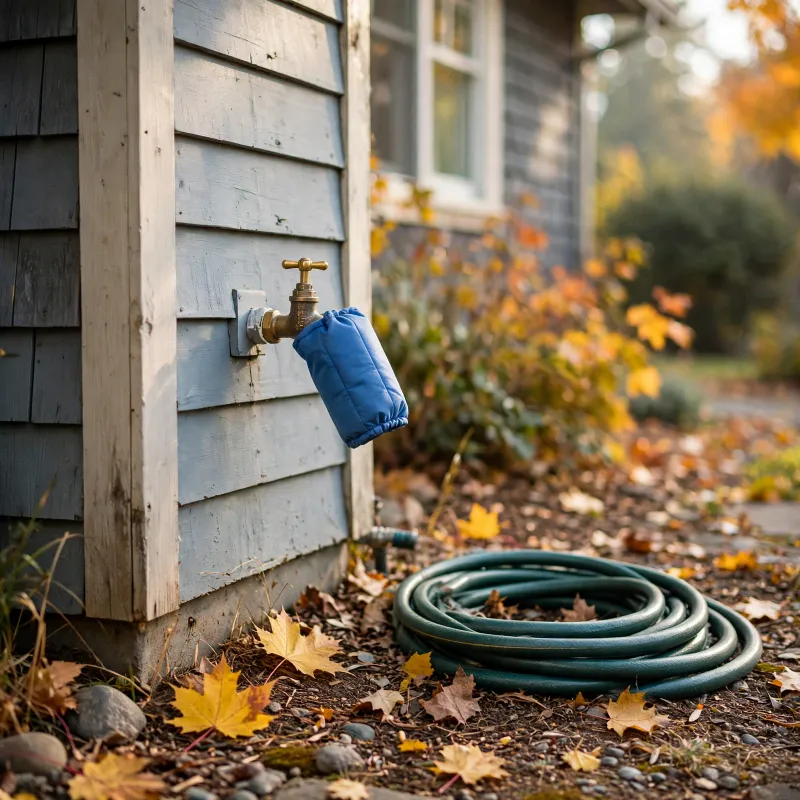
Water expands when it turns to ice, and that is the root of the problem. If water stays trapped inside a faucet or the pipe behind it, freezing can put pressure on the metal and the plumbing.
That pressure may lead to damage, sometimes a split you only discover when the weather warms up and the water comes back on.
A hose left connected makes things trickier. Installation instructions for one frost-free sillcock warn that an attached hose can keep the faucet from draining the way it was designed to.
Water that cannot drain is water that can freeze.
The American Red Cross also lists removing, draining, and storing outdoor hoses as a basic step to help prevent frozen pipes.
Keep in mind that this is about lowering risk, not predicting disaster. Freezing weather does not automatically crack every faucet or hose.
Whether trouble happens depends on the type of faucet, how it was installed, and whether the plumbing behind it stays warm.
Homes differ a lot. Some have older faucets, some have newer frost-free models, and some have an indoor shutoff valve while others do not.
No single routine protects every setup, so the steps ahead build on each other, and you can pick the ones that match what you actually have.
Disconnect and drain hoses and accessories
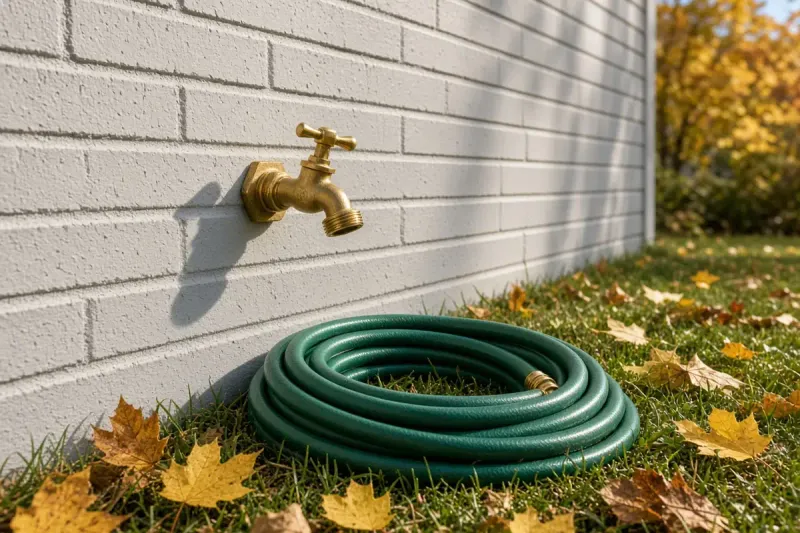
Start with the easiest job: take everything off the spigot. That means the hose itself and anything clipped to it, including splitters, timers, nozzles, and quick-connect fittings.
Even a small timer left in place can hold water against the faucet.
Next, deal with the hoses. Lift each one at the middle and walk the length so the water runs out of both ends.
The American Red Cross recommends removing, draining, and storing outdoor hoses before cold weather settles in.
Coil the hoses loosely and store them in a garage, shed, or basement. A hose left outside can hold leftover water and may get brittle or split in the cold.
Drain and store the accessories too, so they are ready for spring.
As for timing, New Jersey’s Department of Environmental Protection describes this chore as something to do before the first freeze. There is no single temperature or number of hours that makes every outdoor faucet unsafe, so a forecast number is not a reliable trigger for everyone.
A good habit is to do this on a mild fall weekend, when the job is pleasant and nobody is rushing. Finishing early means a surprise cold snap will not catch your hoses out on the lawn.
Drain a faucet with a dedicated indoor shutoff
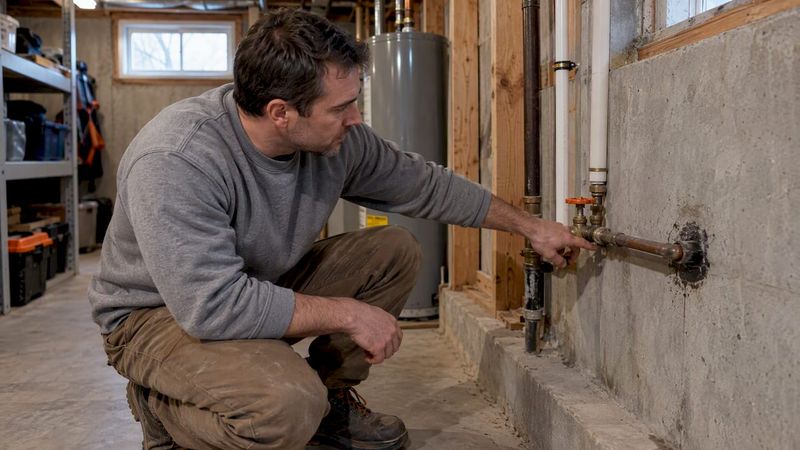
Some homes have a separate valve inside, usually in a basement or utility space, that controls just the outdoor faucet. If you have one, it gives you a stronger way to protect that line.
Not every house has this valve, so check before assuming.
The basic order is simple. Close the indoor shutoff first, then go outside and open the faucet so the water left in that section of pipe can drain out.
Philadelphia Water Department guidance describes shutting off and draining outdoor lines in this way.
Some valves have a small bleeder or drain port, a little cap or screw that lets the last bit of water out. Setups vary, and so do the directions.
Canada Mortgage and Housing Corporation guidance on outside faucets is one example of a source that treats this as something that depends on the plumbing arrangement.
That is why you should check the instructions for your own fixture. They will tell you how to use any drain port and whether to leave the outdoor tap open or closed afterward.
There is no one final position that suits every home.
If you cannot find instructions, a licensed plumber can look at your setup and show you the right routine. It is a quick visit that can save you guesswork.
Frost-free faucets still depend on proper installation

The name sounds like a promise, but “frost-free” describes a design. These faucets put the shutoff valve deep inside the wall, so the part that holds water sits in warmer space.
How well that works depends on the model and how it was put in.
Legend Valve’s instructions for its T-550 sillcock say the inlet must be in heated space. They also warn that poor pitch or an attached hose can cause damage.
In other words, the faucet only works as intended when the installation supports it.
Pitch matters because the faucet needs to slope slightly downward toward the outside, so water can run out after you shut it off. If it tilts the wrong way, water can sit in the barrel.
Drainage also needs a clear path, so nothing should block the outlet.
Woodford’s installation instructions for its freezeless faucets likewise stress correct installation for the faucet to drain and perform as designed.
A hose left on can undo the design. If the outlet is covered by a hose or fitting, water may stay in the faucet instead of draining.
That is why you remove hoses even when you own a frost-free model.
Not every home has this type, so look at your faucet. A long body that extends into the wall is one clue.
If you are unsure how yours was installed, check the model’s instructions or ask a plumber.
Use a faucet cover as an extra measure
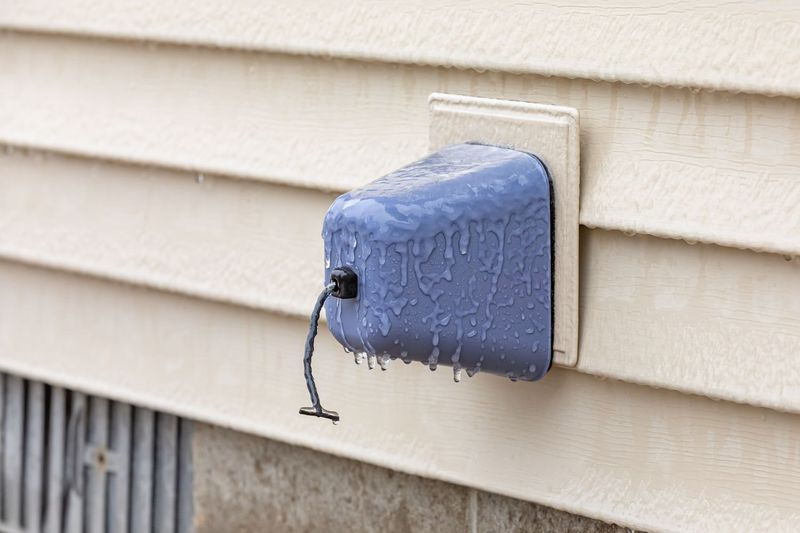
An insulated faucet cover is a handy and low-cost layer of protection. It is usually a foam or insulated shell that fits over the spigot and holds in a bit of warmth.
Most take a minute to put on and come off easily in spring.
Think of it as a bonus, not the main plan. Portland Water Bureau guidance lists covers alongside other steps, such as disconnecting hoses and, where it applies, shutting off and draining separate outdoor lines.
The cover works with those steps rather than replacing them.
So the order matters. First take off the hose and accessories.
If your faucet has its own indoor shutoff, close it and drain the line as your fixture instructs. Then add the cover once the faucet is as dry as you can make it.
A cover will not fix a faucet that was installed poorly, and it is not a guaranteed fix on its own. It simply adds some insulation to a faucet that has already been prepared.
When you shop, look for a cover that fits snugly and seals around the pipe. Check that it does not block any drain opening on your faucet, and read the product directions before you install it.
If a pipe freezes or bursts, take safe next steps
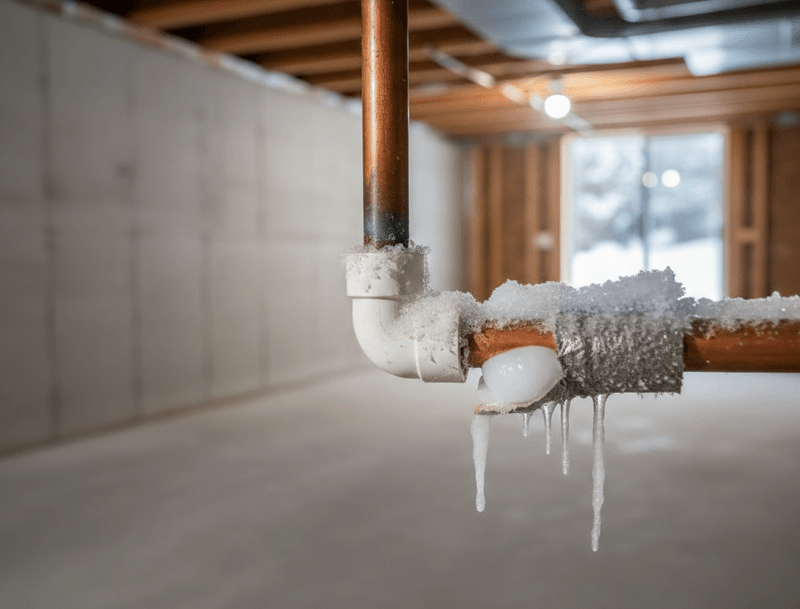
Even with good preparation, trouble can still happen, so it helps to have a plan. If you think a pipe is frozen, never use an open flame to thaw it.
The American Red Cross advises against it because it is a fire risk and can damage the pipe.
Also know where your home’s main water shutoff is and how to turn it. If a pipe bursts, shutting off the main stops the flow quickly and limits damage.
Walk through it once now, while nothing is wrong. Philadelphia Water Department guidance on frozen pipes is a useful reference for what to do next.
Do not mix this up with your fall routine. Emergency advice is different from seasonal outdoor faucet prep.
In very cold weather, the Red Cross suggests letting a small trickle run from an indoor faucet served by exposed pipes. New Jersey Office of Emergency Management guidance notes that running water freezes less quickly, which is not the same as never freezing.
That trickle is for indoor pipes during extreme cold. It is not a reason to leave an outdoor spigot running all winter.
As a quick recap, the outdoor routine is to remove and drain hoses, handle any indoor shutoff as your fixture instructs, respect how your faucet was installed, and consider a cover from a source like Portland’s winter guidance. These steps lower the risk without erasing it.
A few minutes in October is far easier than a flooded basement in January.