A Beginner’s Guide to Composting: From Kitchen Scraps to Garden Gold
Have you ever stared at a overflowing trash can full of food scraps, thinking that there was a better way to dispose of them? Or maybe you’re tired of relying on store-bought fertilizer for your garden? Composting might be the answer you’ve been looking for! It’s a fantastic way to turn your kitchen waste and yard trimmings into nutrient-rich “garden gold” that will help your plants thrive.
This beginner’s guide will explore different composting methods, the science behind it all, and offer tips to get you started, no matter your garden size or access to materials. So, grab your coffee grounds and eggshells, because it’s time to unlock the magic of composting!
The Science Behind the Magic
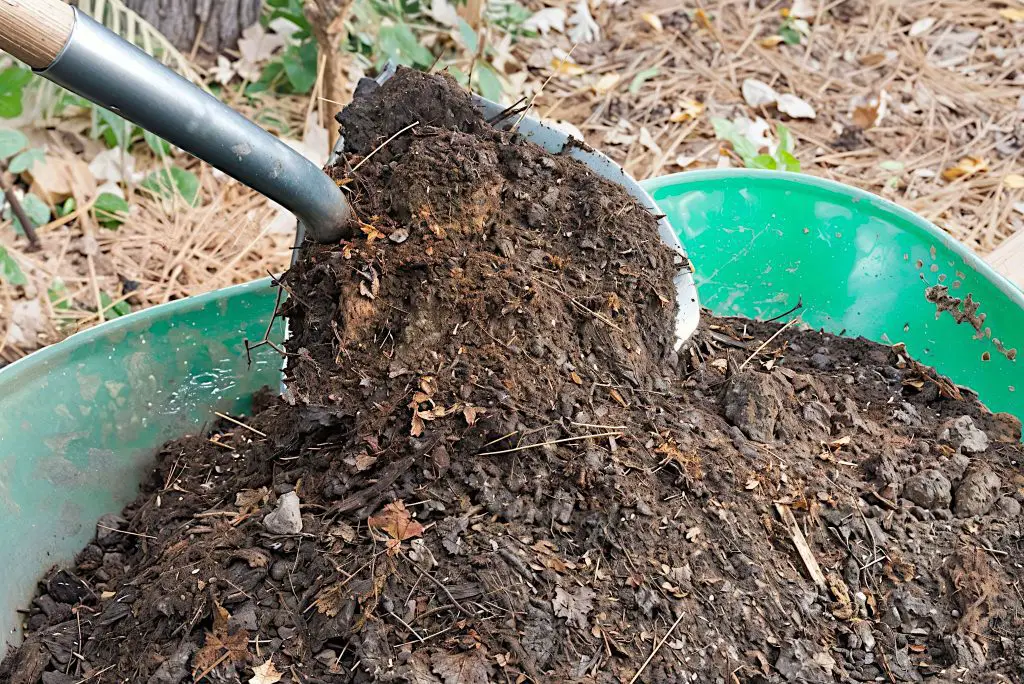
Composting is more than just throwing away your scraps. It’s a fascinating biological process fueled by tiny decomposers! When you add organic materials to your compost bin or pile, a whole army of microorganisms like bacteria and fungi get to work. These decomposers break down the materials using enzymes, turning them into simpler substances.
Here’s where things get interesting: these decomposers need two key ingredients to do their job effectively – carbon and nitrogen.
- Carbon: This acts as their energy source, and comes from “brown” materials like leaves, twigs, and cardboard.
- Nitrogen: This is essential for building new cells and comes from “green” materials like food scraps, coffee grounds, and grass clippings.
The ideal ratio of carbon to nitrogen (C:N) for optimal decomposition is generally between 25:1 and 30:1. Having the right balance ensures the decomposers have enough “food” (both carbon and nitrogen) to work efficiently. This process also generates heat, which helps further break down the materials and creates a healthy composting environment.
Don’t get too hung up on the ratio. If your pile stubbornly won’t decompose there are ways to get the decomposition back on track. If you really want to ensure you are precise with your ratio’s then you can use our carbon to nitrogen calculator which will set you on the right path
Once you get going you will find that there are various methods, called hot composting (as opposed to normal cold composting), that can be employed to speed up the transformation from leaves and scraps to black gold.
Composting for Every Gardener
The beauty of composting is that it can be adapted to fit your specific gardening situation. Whether you have a spacious backyard or a tiny apartment balcony, there’s a composting method for you:
- Indoor Composting (Bokashi Bucket): This compact option is ideal for small spaces and limited access to yard trimmings. Bokashi buckets use a special fermentation process to break down food scraps with minimal odor.
- Outdoor Composting Bin/Pile: This method is perfect for larger gardens and access to yard waste. You can choose from various composting bins or simply create a pile in a designated area of your yard. This method allows for continuous composting as you add fresh materials throughout the season.
The Kitchen Connection
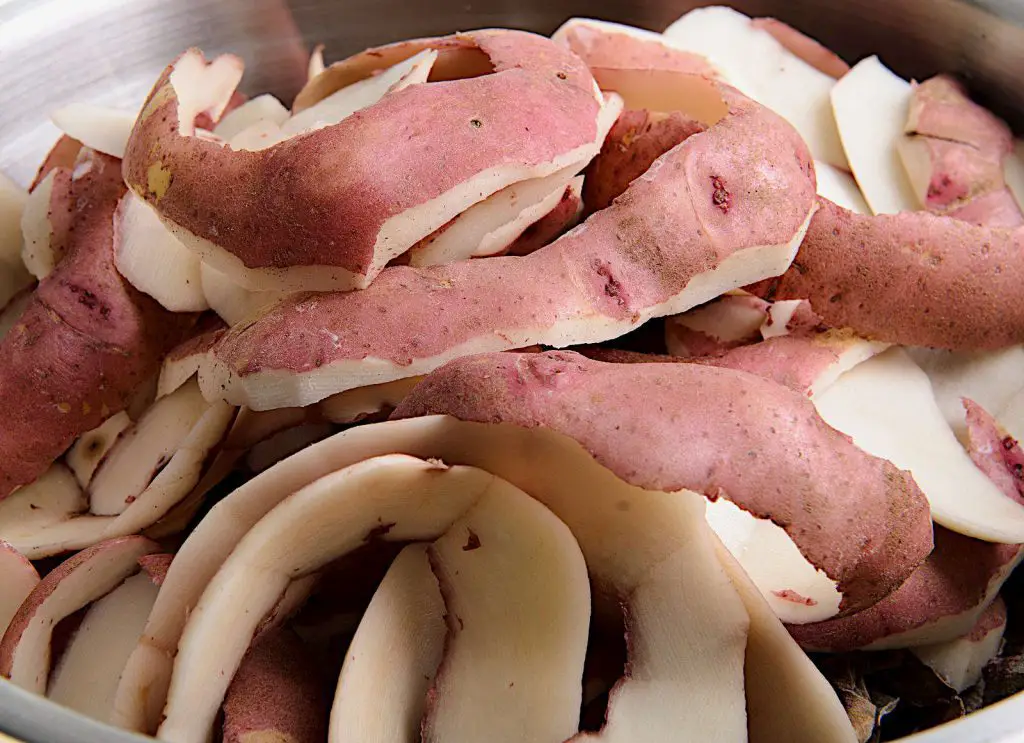
Your kitchen is a treasure trove of potential compost materials! These “green” ingredients provide nitrogen, a key component for healthy decomposition. Here’s what you can add to your compost bin:
- Food scraps: Vegetable and fruit peels, cores, eggshells (crushed), coffee grounds, tea bags (remove staples), and even nut shells (crushed).
- Other organic materials: Eggshells (crushed), shredded paper towels or napkins (unbleached or minimally dyed), and stale bread products.
Pro Tip: Not all kitchen scraps are created equal. Citrus peels, for example, decompose more slowly. Consider chopping them up or composting them in smaller batches.
Here are some surprising kitchen items that can also go in your compost:
- Eggshells: A great source of calcium for your compost pile. Just be sure to crush them first for faster decomposition.
- Tea bags: Tea bags are nitrogen-rich and can be composted along with the loose tea leaves (if used). Check that the glue used in biodegradable then just remove any metal staples that are sometime present.
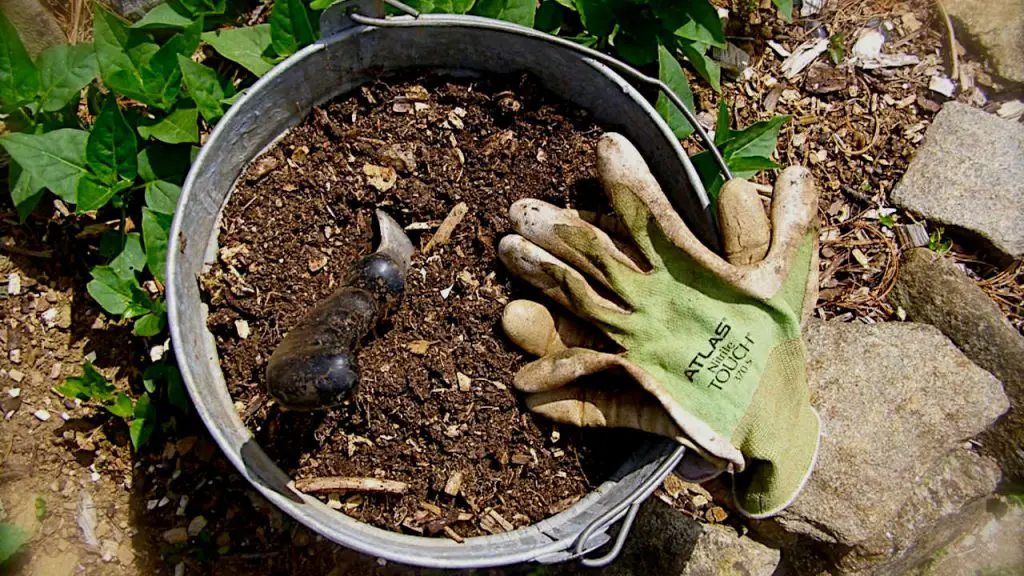
To avoid attracting pests or creating unpleasant odors, it’s best to collect your kitchen scraps in a small container in the freezer until you’re ready to add them to your compost bin.
The Yard Crew
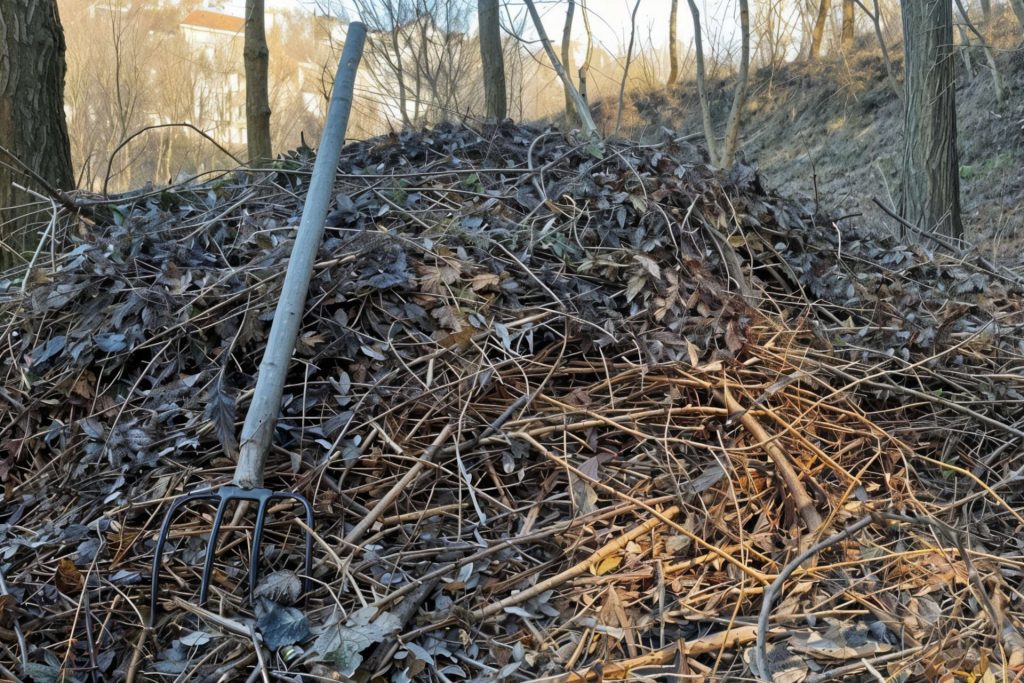
Don’t forget about your yard! While “green” materials provide nitrogen, “brown” materials are equally important for successful composting. These brown ingredients add carbon, another key element for the decomposers. Here’s what you can contribute from your yard:
- Yard trimmings: Leaves, grass clippings (chopped if long), and shredded prunings from shrubs and trees (avoid diseased or weed-ridden materials).
- Other brown materials: Shredded cardboard (remove glossy tape), wood chips (not treated), and fall leaves from your neighbors (with their permission, of course!).
Limited on brown materials? No worries! Here are some creative solutions for apartment dwellers or those with small gardens:
- Shredded paper products: Unbleached or minimally dyed cardboard egg cartons, toilet paper rolls, and shredded paper can be a great source of brown material.
- Compostable yard trimmings: Check with your local municipality to see if they offer curbside collection of yard trimmings specifically for composting programs.
Indoor Composting (Bokashi Bucket)
Living in an apartment or having limited outdoor space doesn’t have to hold you back from composting! The Bokashi bucket offers a convenient and odor-controlled solution for indoor composting.
Here’s how it works:
- Add your food scraps: Just like with outdoor composting, Bokashi buckets accept a variety of “green” materials like vegetable and fruit peels, coffee grounds, and tea bags.
- Layer with Bokashi bran: This special bran contains beneficial microorganisms that ferment the food scraps in an oxygen-limited environment. A light sprinkle after each addition of scraps is all you need.
- Drain the leachate: Bokashi buckets come with a built-in drainage system that collects a liquid byproduct called leachate. This nutrient-rich liquid can be diluted and used as a plant fertilizer. It’s important to drain the leachate regularly to prevent odors and maintain a healthy composting environment within the bucket.
- Fermentation magic: The Bokashi bran gets to work, fermenting the food scraps and breaking them down. This process minimizes odors and creates a pre-composted material.
Benefits of Bokashi Composting:
- Compact and odor-controlled: Ideal for small spaces and apartments.
- Faster breakdown: Food scraps ferment quicker compared to traditional outdoor composting.
- Nutrient-rich leachate: Can be used as a plant fertilizer.
Things to Consider:
- Bokashi bran needs to be purchased: While readily available, it’s an additional cost compared to outdoor composting.
- End product requires further composting: The fermented food scraps from the Bokashi bucket need to be added to a traditional outdoor compost pile or soil to complete the composting process.
Outdoor Composting Bin/Pile
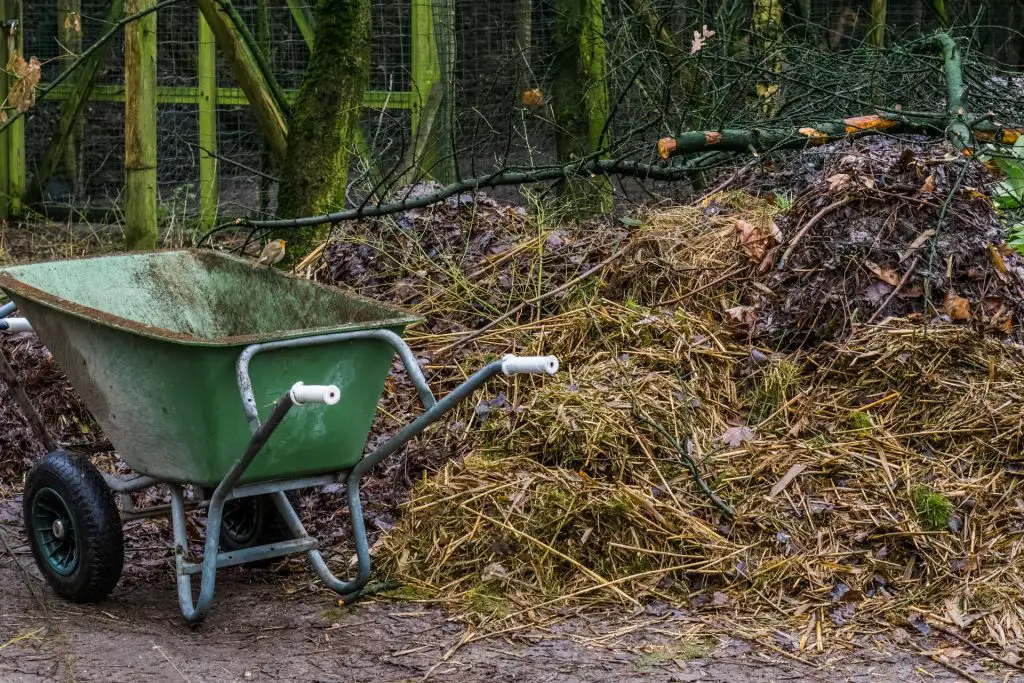
If you have a bit more space and access to yard trimmings, outdoor composting offers a continuous and versatile approach. You can choose from various composting bins designed for convenience and aesthetics, or simply create a compost pile in a designated area of your yard.
Choosing Your Bin:
- Location: Select a spot that receives partial sun and shade throughout the day. Avoid placing your bin in full sun, as it can dry out the compost, or in deep shade, as it might slow down decomposition.
- Bin Types: Consider your needs and preferences:
- Aerated bins: These bins have built-in features like vents or rotating drums to improve airflow and encourage faster decomposition.
- Static bins: These simpler bins require more frequent turning with a shovel or compost fork to ensure proper aeration.
Building Your Pile:
Now that you’ve chosen your location and bin (if using one), it’s time to create your compost magic! Here’s a breakdown of the key steps:
- Layering for Success: The golden rule of successful composting is layering. This ensures a good balance of the ingredients your decomposers need to thrive. Here’s how to layer your pile:
- Start with a brown base: Create a foundation of 4-6 inches of coarse brown materials like twigs, chopped branches, or even shredded cardboard. This allows for air circulation at the bottom of the pile.
- Alternate green and brown layers: Add a layer of green materials (food scraps, grass clippings) about 2-3 inches thick. Top it with a similar thickness of brown materials like leaves or shredded paper.
- Maintain the ratio: Aim for a ratio of 2-3 parts brown material to 1 part green material throughout the pile. This provides the ideal balance of carbon and nitrogen for decomposition.
- Moisture Matters: Just like us, decomposers need the right amount of moisture to do their job effectively. The ideal moisture level for your compost pile is similar to a well-wrung sponge. Here’s how to achieve it:
- Check the moisture regularly: Especially during dry periods, stick your hand into the pile. If it feels dry to the touch, it needs water.
- Watering the pile: Use a watering can or hose with a gentle spray to add moisture as needed. Avoid overwatering, as this can lead to odors and slow down decomposition.
- Turning for Success: Regularly turning your compost pile is essential for proper aeration. Here’s why:
- Airflow is key: Turning the pile allows oxygen to reach all the materials and helps break down the ingredients faster.
- Even decomposition: Turning ensures all materials get exposed to the right conditions for composting throughout the pile.
- Frequency: Aim to turn your pile with a shovel or compost fork every week or two for faster decomposition. You can turn it less frequently (every month or so) if you’re okay with a slower process.
The Turning Advantage: Compost Tumblers
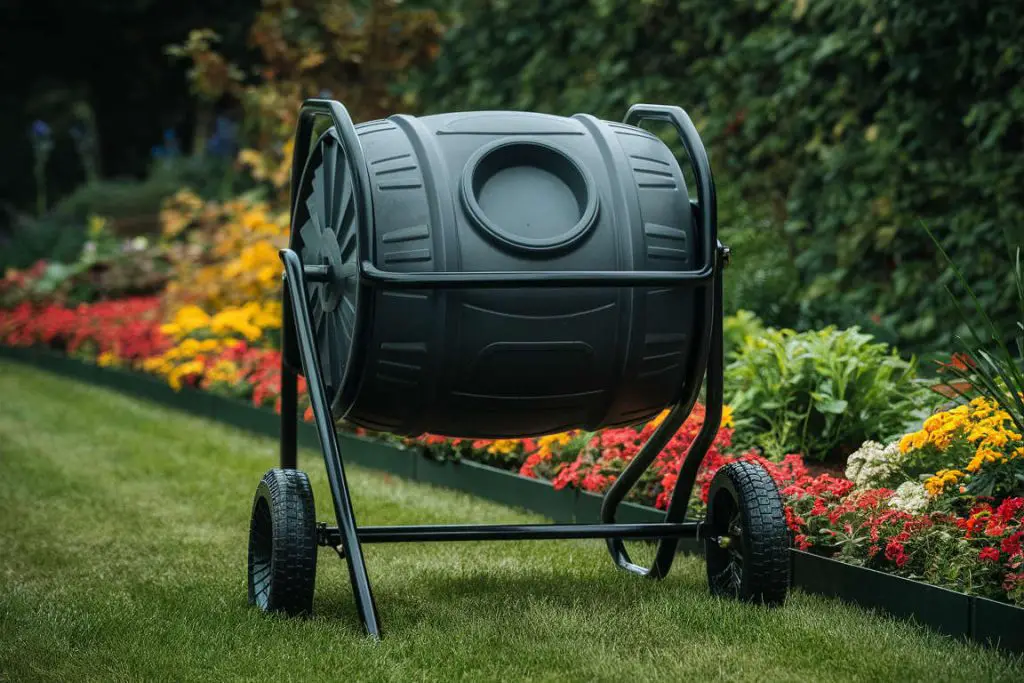
For those who want to make turning their compost pile even easier, consider a compost tumbler. These cylindrical bins are designed to rotate on an axis, allowing you to effortlessly mix the contents with minimal effort.
Benefits of Compost Tumblers:
- Effortless turning: Simply rotate the tumbler to aerate the pile and distribute materials evenly. This saves time and physical exertion compared to turning a static pile with a shovel.
- Faster decomposition: Improved aeration within the tumbler can potentially lead to faster composting compared to static piles.
- Less space needed: Some compost tumblers are designed to occupy a smaller footprint compared to traditional compost bins.
Things to Consider:
- Cost: Compost tumblers generally require a higher initial investment compared to static bins.
- Size limitations: Tumblers may have a smaller capacity than some static bins, which might not be ideal for large gardens.
- Durability: Choose a well-made tumbler from a reputable brand to ensure it can withstand regular use and weather conditions.
Are compost tumblers necessary? No, they are not essential for successful composting. However, they offer a convenient and efficient way to turn your compost pile, especially for those with physical limitations or busy schedules.
Benefits of Outdoor Composting:
- Continuous composting: You can continually add fresh materials throughout the season, creating a constant supply of nutrient-rich compost.
- Lower cost: Requires minimal equipment compared to Bokashi composting.
- Versatile bin options: Choose a bin that suits your needs and aesthetics.
Things to Consider:
- Requires more space: Outdoor composting needs more space compared to Bokashi buckets, although using a compost tumbler can mitigate the need for a large space.
- More maintenance: Turning the pile and monitoring moisture levels requires some effort.
- Potential for odors: Improper layering or moisture levels can lead to unpleasant odors. However, following best practices can easily prevent this.
Troubleshooting Tips:
Even the most dedicated composter can encounter occasional challenges. Here are some common issues and solutions to keep your compost pile thriving:
- Odors: unpleasant odor is usually a sign of an imbalance in your compost. Here’s how to tackle it:
- Check the moisture: A pile that’s too wet can become anaerobic (lacking oxygen) and create odors. Add brown materials like leaves or shredded cardboard to absorb excess moisture.
- Adjust the layering: Ensure you’re properly alternating green and brown materials. Too much green material can lead to odors. Add more brown materials for a better carbon-to-nitrogen ratio.
- Manage food scraps: Avoid adding meat scraps, dairy products, or oily food scraps, as these can attract pests and create unpleasant odors.
- Slow decomposition: If your pile seems to be taking forever to break down, there could be a few reasons:
- Lack of moisture: As mentioned earlier, a dry pile will slow down decomposition. Ensure your pile has the right moisture level.
- Insufficient turning: Turning the pile regularly is crucial for aeration. Aim to turn it every week or two for faster decomposition.
- Temperature extremes: Very hot or cold temperatures can slow down the composting process. If possible, locate your bin in a partially shaded area to maintain a more consistent temperature.
- Pests: Fruit flies or fungus gnats might occasionally find their way to your compost. Here’s how to deter them:
- Bury food scraps: When adding food scraps, try to bury them under a layer of brown materials.
- Maintain a balanced pile: A proper balance of green and brown materials discourages pests.
- Cover your bin (optional): Using a well-ventilated lid on your compost bin can help deter pests.
To be honest, a healthy compost pile shouldn’t have strong odors or attract pests. If you construct your compost pile correctly and regularly monitor it, you can easily troubleshoot any issues that may arise.
Final Thoughts
Composting has become a rewarding part of my gardening routine. It’s a fantastic way to reduce waste, create nutrient-rich food for my plants, and feel connected to the natural cycle of decomposition. There’s something truly satisfying about transforming kitchen scraps and yard trimmings into “garden gold” that nourishes my plants.
Even if your space or lifestyle seems limited, there’s a composting method out there for you! Whether you choose a Bokashi bucket for your apartment or a classic outdoor bin, you’ll be contributing to a more sustainable future, one food scrap at a time. So, don’t be discouraged by initial challenges – embrace the learning process, and enjoy the journey of creating your own compost magic!
Pro Tip: Be a Prepping Pro!
Busy schedules don’t have to hinder your composting efforts. Here are some quick tips to save you time:
- Chop it up: Pre-chopping food scraps and yard trimmings breaks them down faster and helps maintain a balanced ratio in your compost pile.
- Stash a container: Keep a small container in your freezer to collect food scraps throughout the week. This prevents odors and makes it easy to add them to your compost bin in one go.
- Batch it out: If you have limited space, consider a batch composting approach. Fill a small bin and let it cure for a while before starting a new batch. This allows you to compost continuously without needing a large dedicated bin.