Building a Cold Frame for Your Garden Using Used Materials
Creating a cold frame from recycled materials is a fantastic way to extend your gardening season while being kind to your wallet and the environment. By repurposing items like old windows and wooden pallets, you can craft a functional and charming addition to your garden that helps your plants thrive in cooler weather.
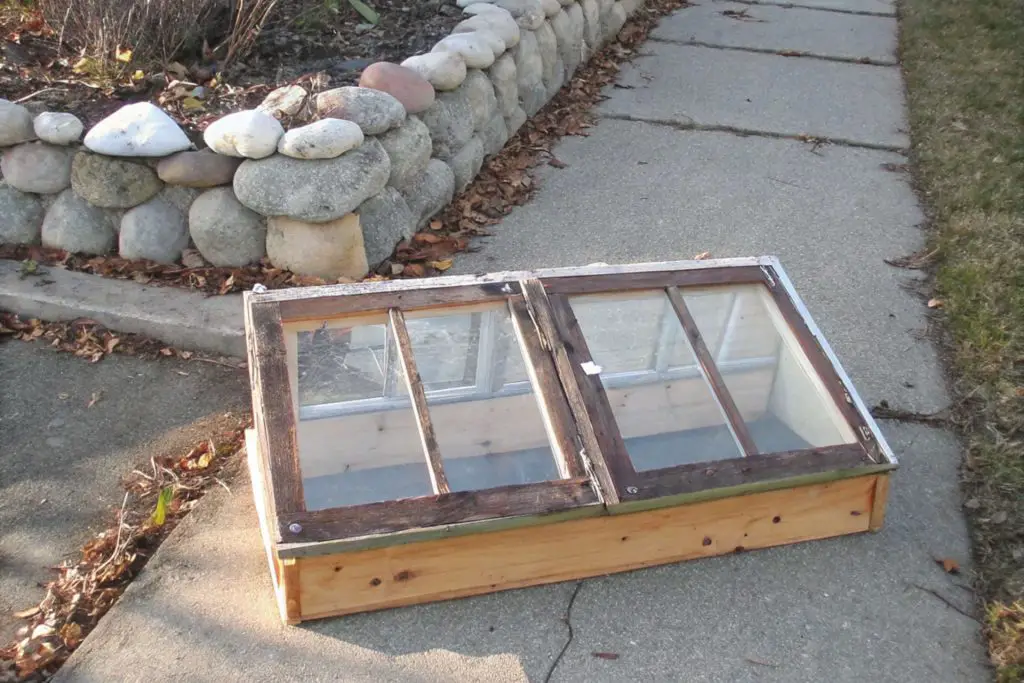
What Is a Cold Frame and Why Use One?
A cold frame is a simple, low-profile structure that acts like a mini-greenhouse. It’s designed to trap solar energy, providing a warmer and more stable environment for plants. This sheltered space protects seedlings from frost, wind, and fluctuating temperatures. Using a cold frame allows you to start planting earlier in the spring and continue growing later into the fall, effectively extending your gardening season by several weeks or even months.
Cold frames are especially useful for hardening off seedlings. When you’ve started plants indoors, they need a transitional period to adjust to outdoor conditions. A cold frame offers a controlled environment where they can acclimate gradually. This increases the chances of survival and robust growth once they’re transplanted into the garden.
Benefits of Using Recycled Materials for Your Cold Frame
Building a cold frame with recycled materials offers several advantages:
- Cost-Effective: Using items you already have or can obtain cheaply saves money compared to buying new materials.
- Eco-Friendly: Repurposing reduces waste and minimizes the demand for new resources, contributing to environmental conservation.
- Unique Aesthetics: Recycled materials often have character and history, adding a unique charm to your garden.
- Accessibility: Materials like old windows and pallets are often easy to find, making this project accessible to many gardeners.
By choosing to build a cold frame diy cheap and simple, you’re not only creating a valuable tool for your garden but also promoting sustainable practices.
Choosing Materials: What You’ll Need
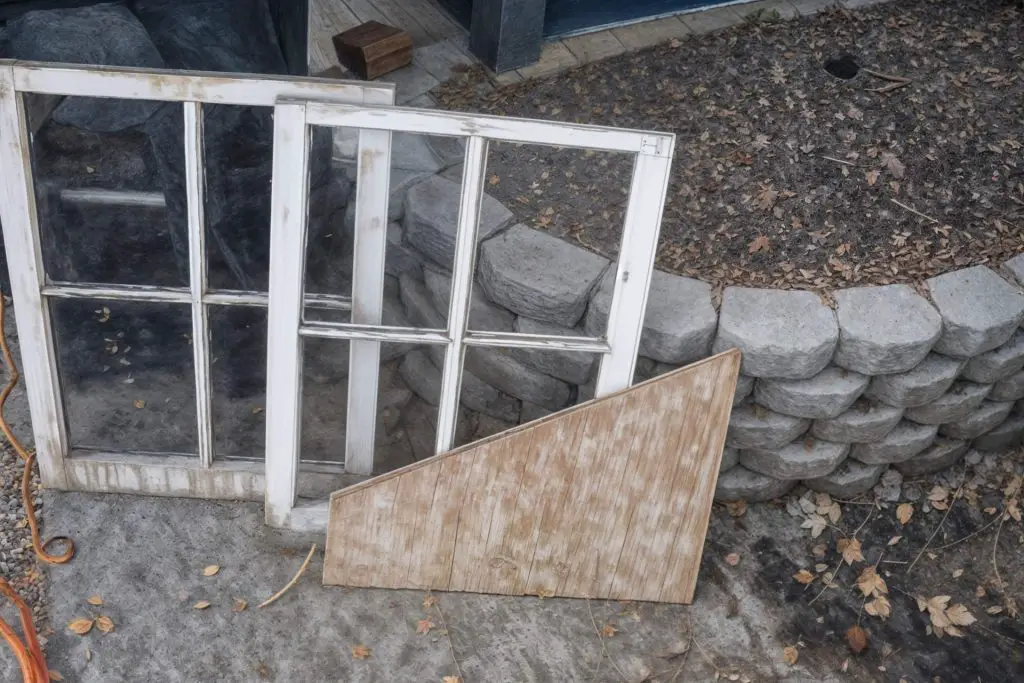
Gathering the right materials is the first crucial step. Here’s a list of commonly available recycled items suitable for building a cold frame:
Recycled Windows
Old windows are ideal for the lid of your cold frame. They provide excellent light transmission and insulation. The glass allows sunlight to enter while retaining heat, creating a warm environment for your plants. Windows with intact panes and sturdy frames are best. If the paint is peeling or the frame is damaged, minor repairs can usually fix the issues.
Wooden Pallets
Wooden pallets are versatile and sturdy, making them perfect for constructing the frame. They’re often available for free or at a low cost from warehouses, garden centers, or hardware stores. When selecting pallets, choose ones that are in good condition without significant damage or rot.
Scrap Lumber
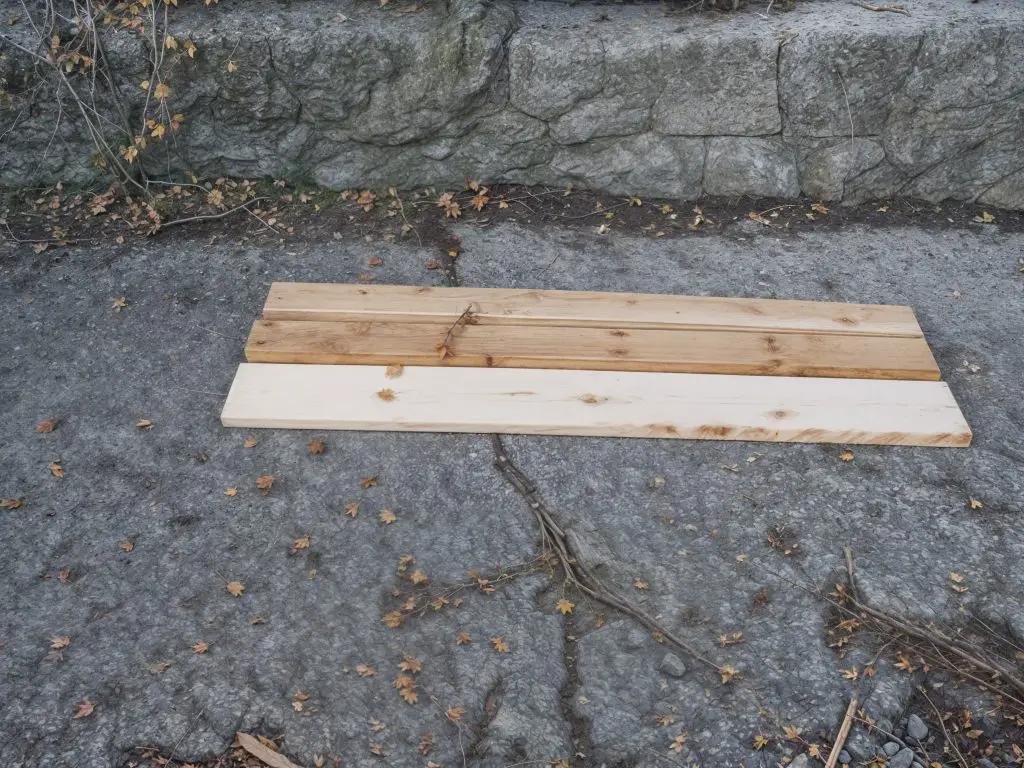
If pallets aren’t available, scrap lumber from other projects can be a great alternative. Pieces of 2x4s, 2x6s, or even larger boards can be repurposed to build the sides of your cold frame. Ensure the wood is untreated if you plan to place it directly in contact with the soil to avoid chemicals leaching into your garden.
Old Hinges and Hardware
Repurposing hinges and hardware from old furniture or doors can save you money and add a rustic touch to your cold frame. Hinges are essential for attaching the lid so it can be easily opened and closed for ventilation and access to your plants.
Tools You’ll Need
- Measuring Tape: For accurate measurements.
- Saw: To cut wood to size.
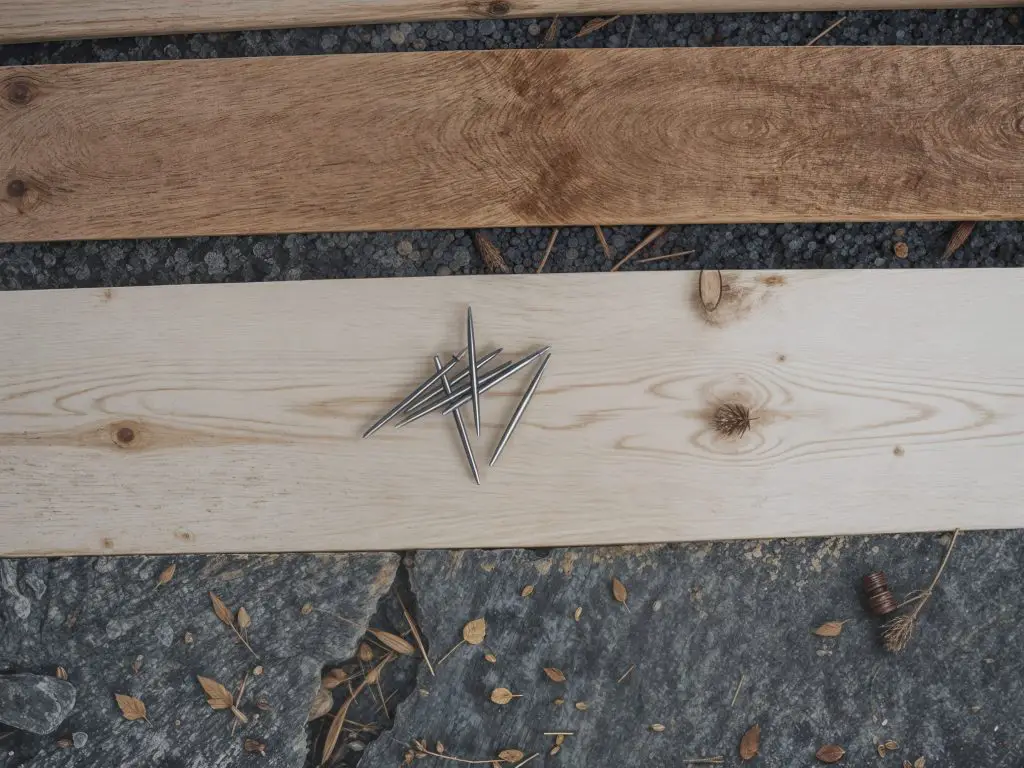
- Hammer and Nails or Screwdriver and Screws: For assembly.
- Drill: Useful for creating pilot holes, especially in hardwoods.
- Sandpaper: To smooth rough edges.
- Weatherproof Sealant or Paint: To protect the wood from the elements.
Where to Find Materials
- Salvage Yards: Great places to find old windows and lumber.
- Online Marketplaces: Websites like Craigslist or Freecycle often have free or cheap materials.
- Local Businesses: Warehouses or stores may have pallets they’re willing to give away.
- Your Own Home: Check your garage, basement, or shed for unused materials.
Step-by-Step Guide: Building a Cold Frame Using Recycled Windows
Building a cold frame is a manageable project even for those with limited carpentry experience. Follow these steps to create your own cold frame diy simple.
Step 1: Measure and Plan
Decide on the location for your cold frame. A south-facing spot with maximum sunlight exposure is ideal. Consider the size of your recycled window, as it will determine the dimensions of your frame.
- Measure the Window: Note the length and width.
- Plan the Frame: The back of the cold frame should be higher than the front to allow sunlight to reach the plants and for rainwater to run off. A common slope is about 30 degrees.
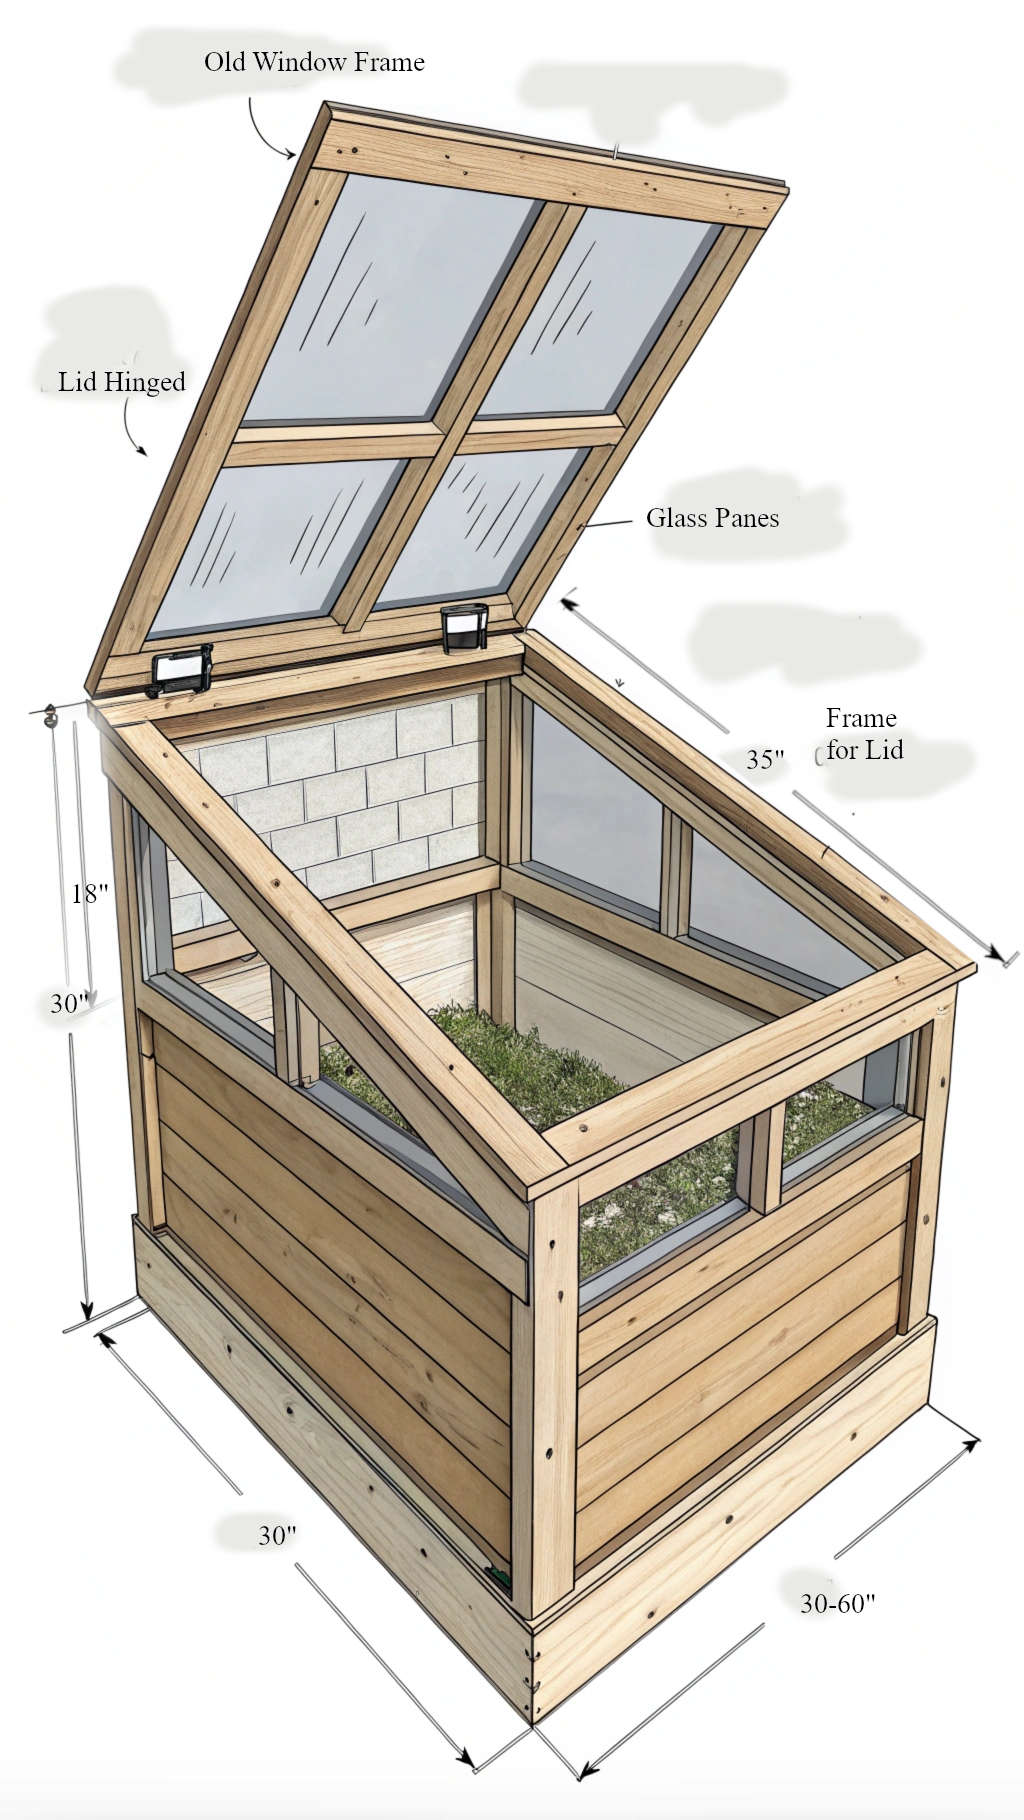
Step 2: Prepare the Sides
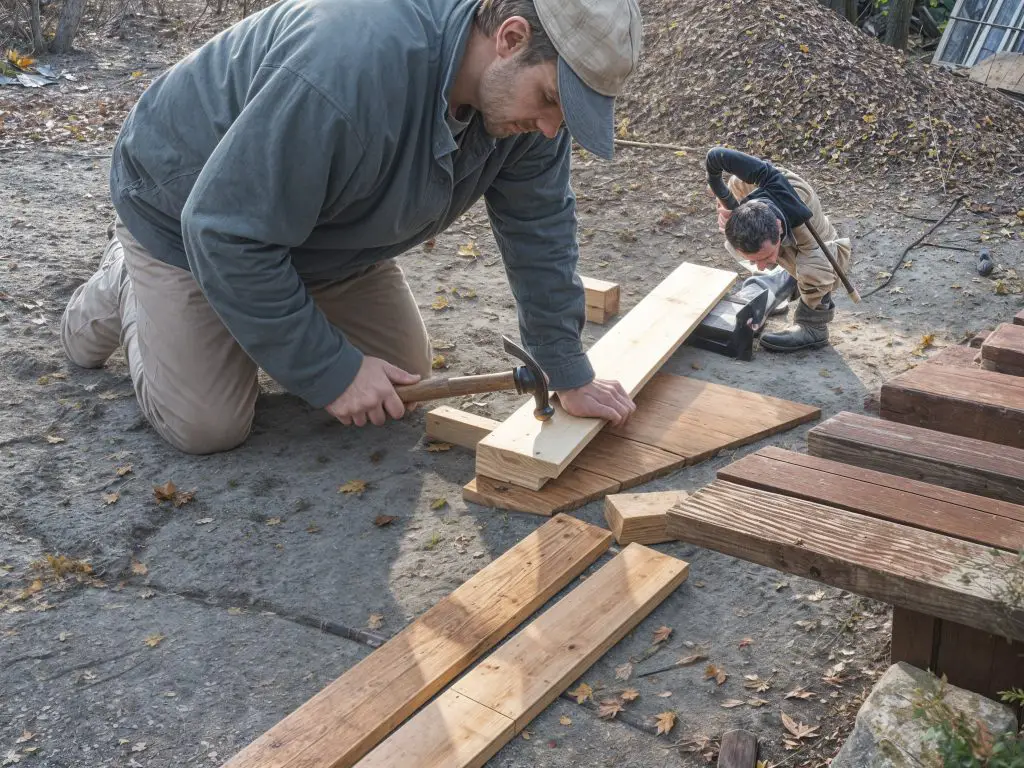
Using your measurements, cut the wood for the sides:
- Back Wall: Cut two boards to the length of the window. The height should be enough to accommodate your tallest plants plus the slope.
- Front Wall: Cut two boards the same length but shorter in height to create the slope.
- Side Walls: Cut two boards for each side, angling the top edge to match the slope from back to front.
Step 3: Assemble the Frame
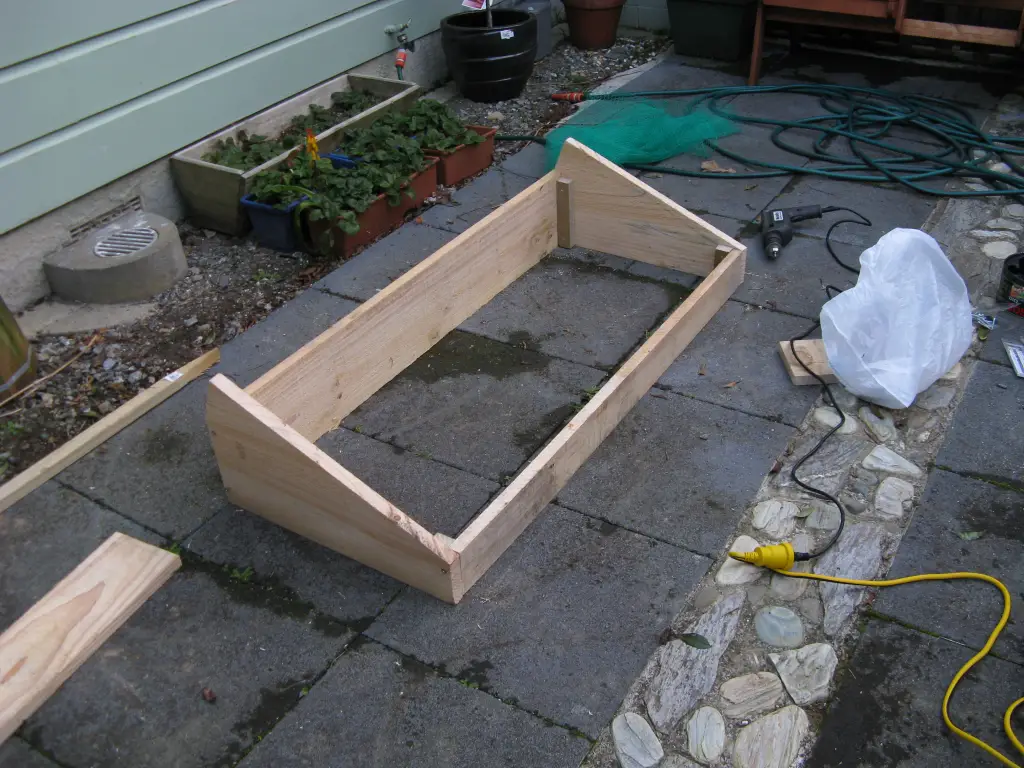
- Attach the Walls: Use nails or screws to attach the side walls to the front and back walls, forming a sturdy box.
- Reinforce Corners: Add corner brackets or additional screws for extra strength.
Step 4: Attach the Recycled Window
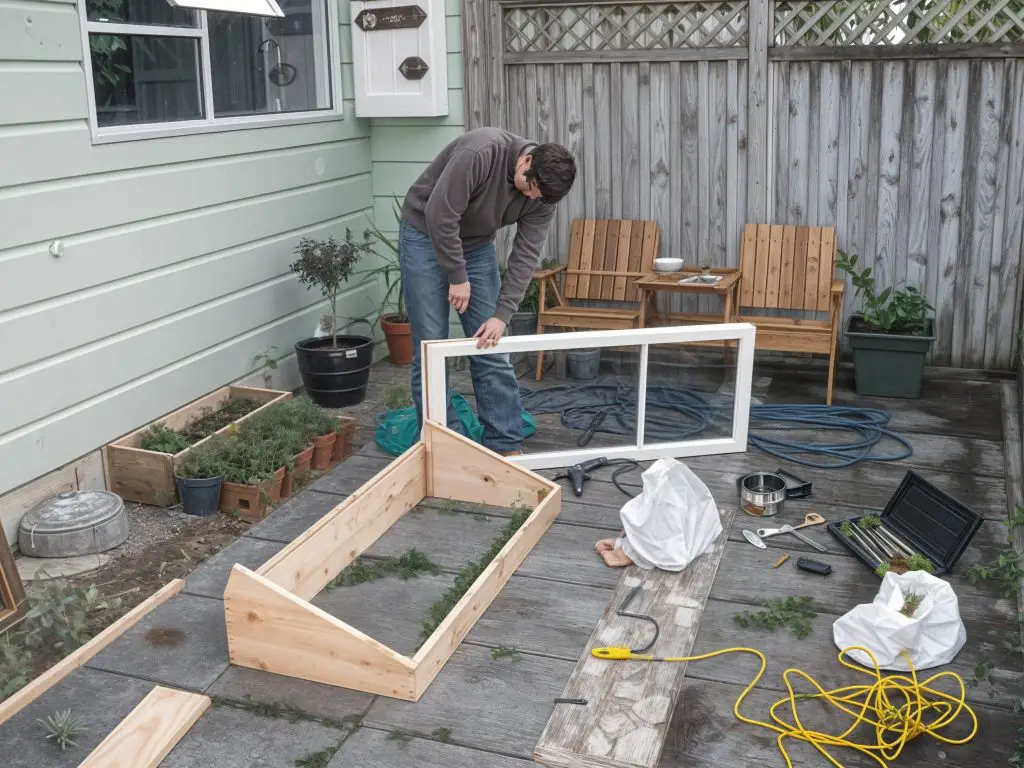
- Position the Window: Place the window on top of the frame to ensure it fits properly.
- Attach Hinges: Secure the hinges to the back of the frame and the window. This allows the lid to open and close easily.
- Check Movement: Open and close the lid several times to ensure smooth operation.
Step 5: Add Weatherproofing
- Seal Gaps: Use weatherstripping or caulk to seal any gaps between the window and the frame to retain heat.
- Protect the Wood: Apply a weatherproof sealant or paint to the exterior of the frame to protect it from moisture and prolong its life.
- Consider Insulation: For added warmth, line the interior walls with foil-faced insulation board.
Step 6: Install the Cold Frame
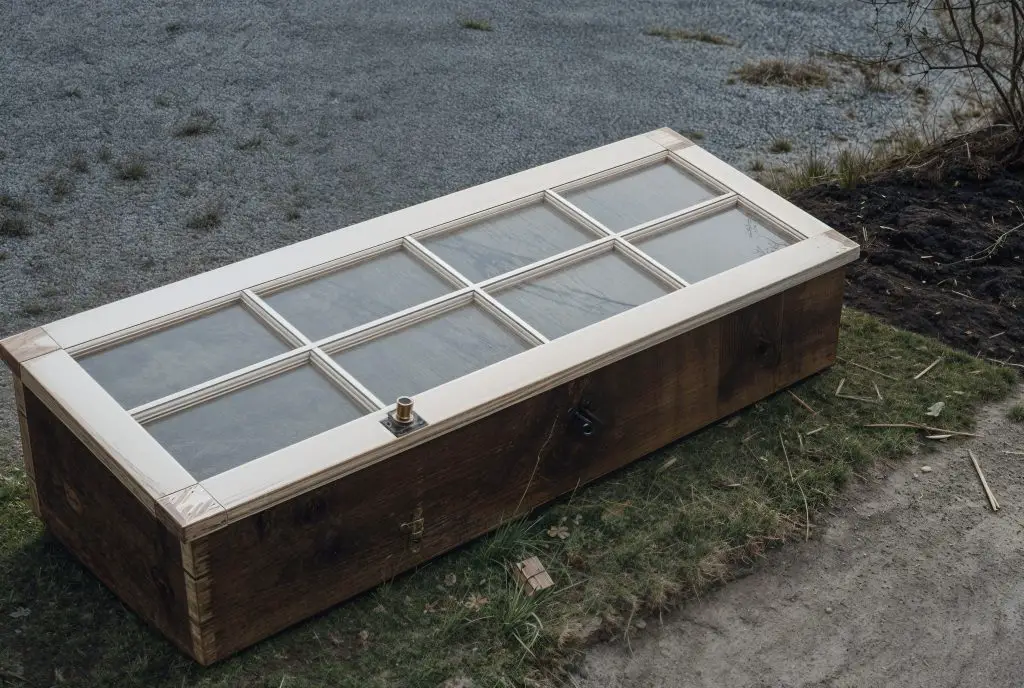
- Prepare the Ground: Level the area where the cold frame will sit. Remove any weeds or debris.
- Set the Frame: Place the cold frame in position, ensuring it’s stable and secure.
- Optional Anchoring: In windy areas, consider anchoring the frame to the ground with stakes.
Step 7: Finishing Touches
- Add Handles: Attach handles to the front of the window for easy opening.
- Ventilation Props: Install a prop stick or adjustable arm to keep the lid open at varying heights for ventilation.
- Labeling: If you plan to grow different plants, consider adding labels or markers inside.
Alternative Design: DIY Pallet Cold Frame Greenhouse
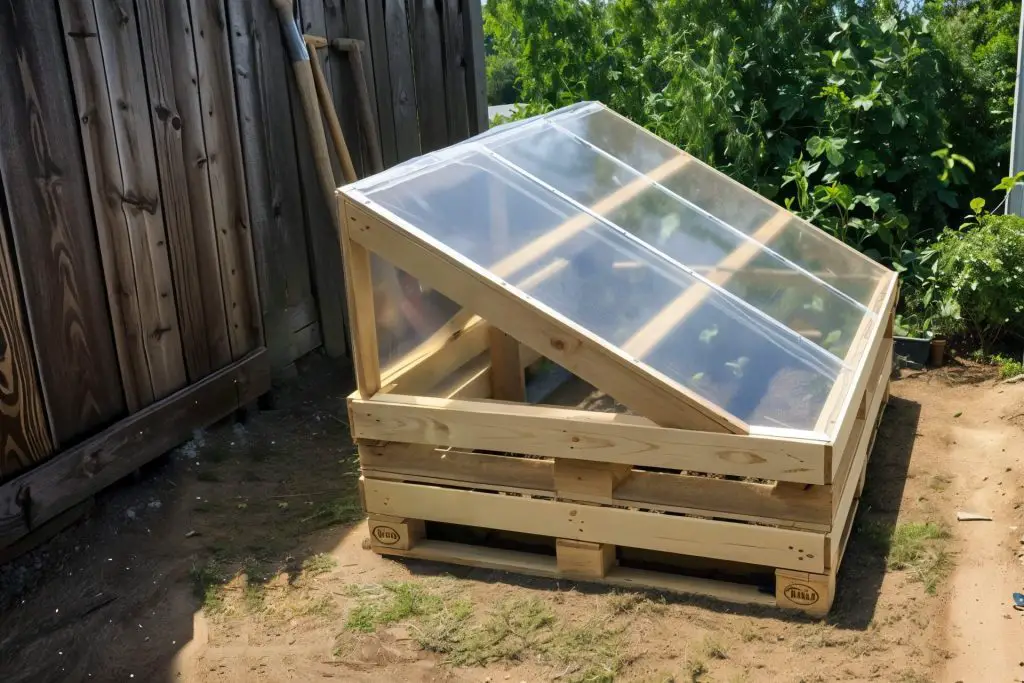
If recycled windows aren’t available, you can still build an effective cold frame using pallets. Here’s how to create a pallet cold frame diy greenhouse.
Materials Needed
- Wooden Pallets: At least two, depending on the size desired.
- Clear Plastic Sheeting: Heavy-duty, UV-resistant plastic works best.
- Staple Gun and Staples: For attaching the plastic.
- Hinges and Hardware: For creating an accessible lid.
Step-by-Step Instructions
Step 1: Disassemble the Pallets
Carefully take apart the pallets using a crowbar or hammer. Remove nails and set aside the planks.
Step 2: Build the Frame
- Construct the Walls: Use the planks to build the front, back, and side walls. Remember to create a slope by making the back wall higher than the front.
- Assemble the Frame: Attach the walls together using screws or nails.
Step 3: Create the Lid
- Build a Frame for the Lid: Use planks to create a rectangular frame that fits the top of your cold frame.
- Attach the Plastic Sheeting: Stretch the plastic over the lid frame and staple it securely on all sides.
- Attach Hinges: Connect the lid to the back wall with hinges.
Step 4: Install and Secure
Place the cold frame in your chosen location. Ensure it’s stable and consider anchoring it if necessary.
Tips for Using and Maintaining Your Cold Frame
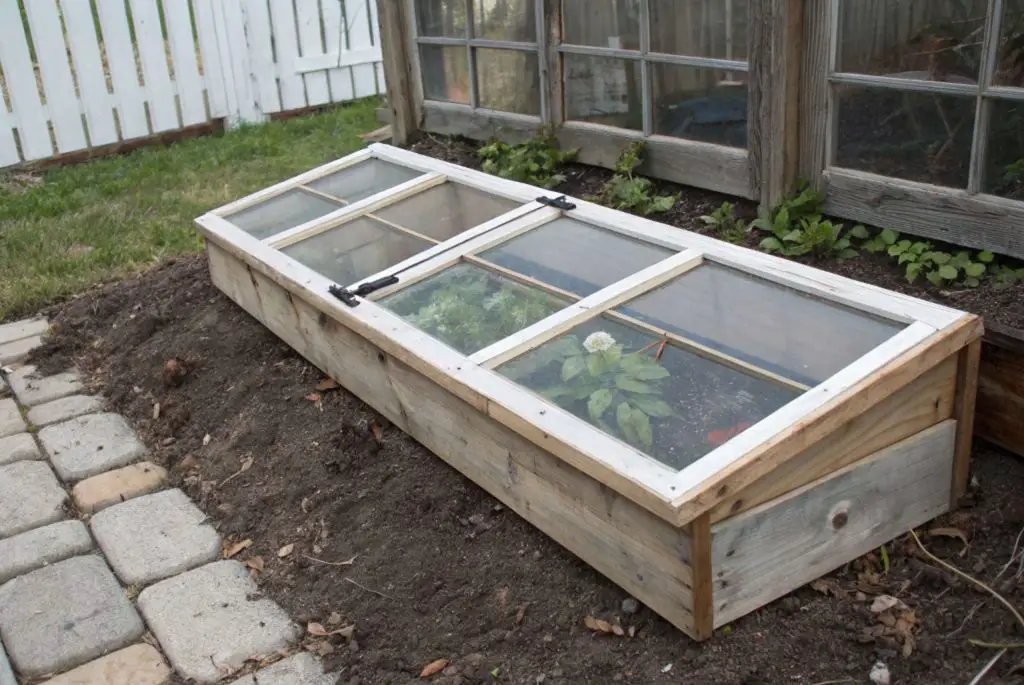
Positioning
- Sunlight: Place the cold frame where it will receive maximum sunlight, typically facing south.
- Drainage: Ensure the ground is well-drained to prevent water from accumulating inside.
- Wind Protection: If possible, situate the frame near a windbreak like a fence or hedge.
Ventilation
- Prevent Overheating: On sunny days, temperatures inside can rise quickly. Open the lid slightly to allow excess heat to escape.
- Air Circulation: Good airflow helps prevent mold and mildew. Ventilate regularly, especially in humid conditions.
Temperature Control
- Monitor Temperatures: Place a thermometer inside to track conditions.
- Insulation: During cold nights, cover the cold frame with a blanket or straw to retain heat.
- Automatic Vent Openers: Consider installing a temperature-sensitive vent opener that raises the lid when it gets too hot.
Seasonal Maintenance
- Regular Checks: Inspect the cold frame for damage, such as loose hinges or cracked glass.
- Cleaning: Keep the glass or plastic clean to ensure maximum light penetration.
- Wood Care: Reapply sealant or paint as needed to protect the wood from the elements.
Plants Best Suited for Cold Frame Gardening
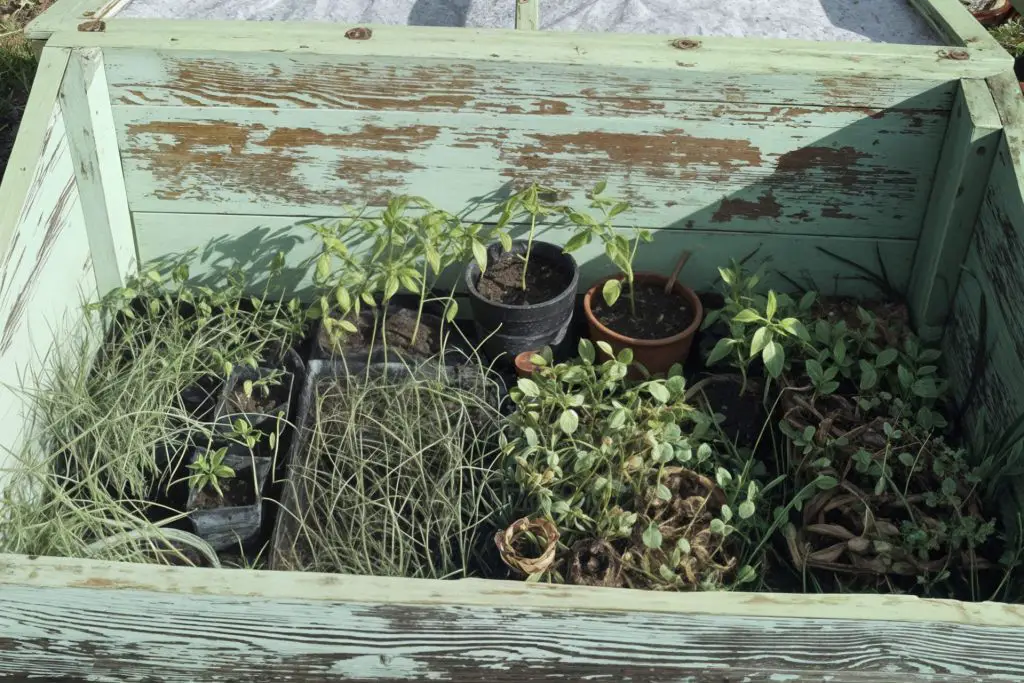
Cold frames are versatile and can be used for various plants throughout the year.
Early Spring
- Seedlings: Start seeds earlier for vegetables like tomatoes, peppers, and cucumbers.
- Hardening Off: Transition indoor-grown plants to outdoor conditions.
Late Fall
- Leafy Greens: Lettuce, spinach, and arugula can continue to grow in cooler temperatures.
- Root Vegetables: Carrots and beets can be harvested later.
Winter Growing
- Cold-Hardy Plants: Kale, chard, and parsley can survive in cold frames during mild winters.
- Herbs: Chives and mint may continue to grow with protection.
Tips for Success
- Succession Planting: Rotate crops to make the most of your space.
- Soil Preparation: Use quality soil enriched with compost for healthy growth.
- Watering: Monitor moisture levels, as the enclosed space can dry out soil quickly.
Troubleshooting Common Cold Frame Issues
Mold and Mildew
- Cause: Excess moisture and poor ventilation.
- Solution: Increase ventilation by opening the lid. Avoid overwatering.
Pests
- Common Culprits: Slugs, snails, and aphids.
- Solution: Use natural deterrents like diatomaceous earth or introduce beneficial insects.
Overheating
- Cause: High temperatures on sunny days.
- Solution: Ventilate by propping the lid open. Consider shading during peak sun.
Structural Problems
- Wood Rot: Treat wood with sealant and inspect regularly.
- Broken Glass: Replace cracked windows promptly to prevent injury and maintain insulation.
Final Thoughts
Building a cold frame from used materials is a rewarding project that enhances your gardening capabilities. It’s an accessible way to practice sustainability, reduce waste, and save money. By following these steps, you can create a cold frame diy cheap and simple, perfectly tailored to your garden’s needs.
Embracing cold frame gardening recycled windows and pallets not only benefits your plants but also contributes positively to the environment. It’s a practical solution that combines resourcefulness with creativity.
Whether you’re a seasoned gardener or just starting out, a homemade cold frame is a valuable addition to your toolkit. It offers the opportunity to grow a wider variety of plants and enjoy fresh produce throughout more of the year.
So gather those unused materials and give your garden a boost. Your plants—and your wallet—will thank you.
