The Benefits of Cold Frames for Small-Scale Gardeners: A Beginner’s Guide
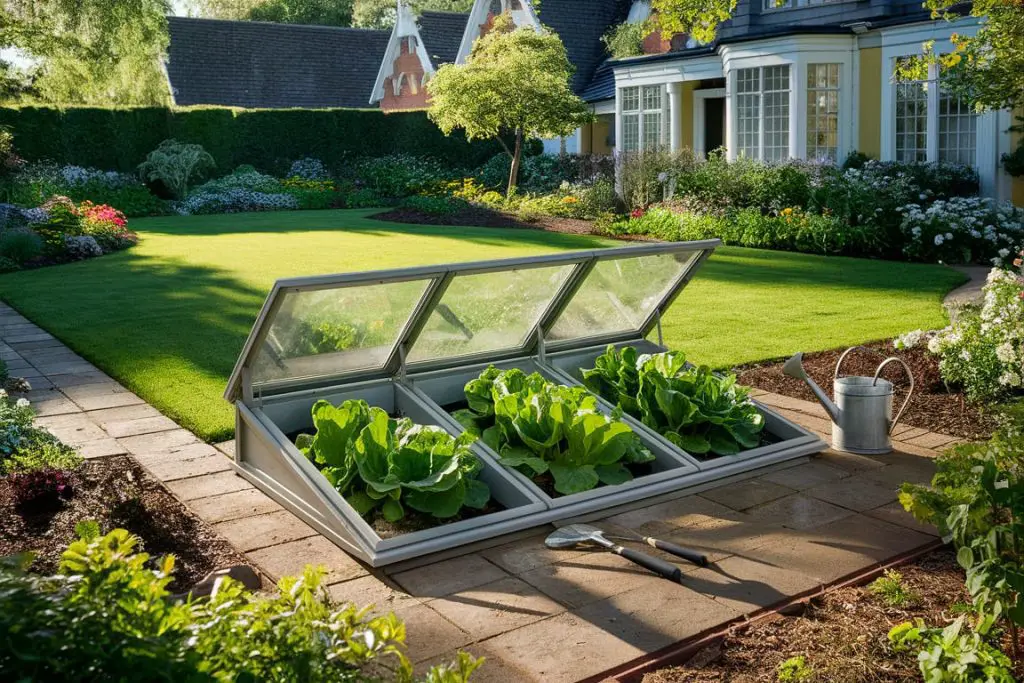
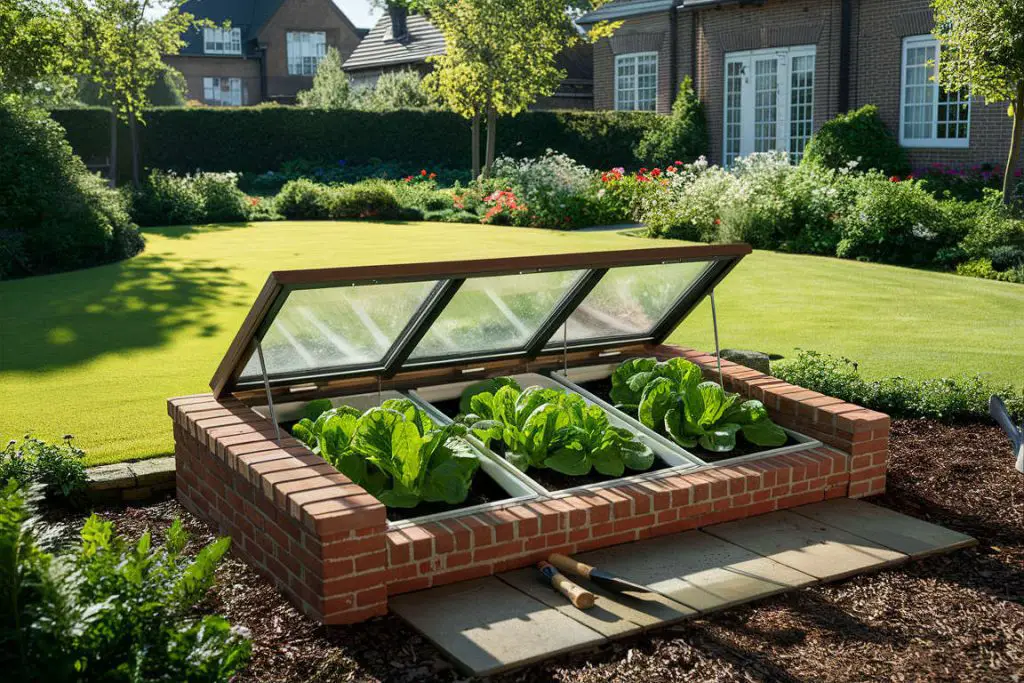
Cold frames are simple structures used in gardening to extend the growing season and protect plants from harsh weather conditions. These unheated, outdoor enclosures consist of a transparent roof that allows sunlight to enter and insulated sides that retain heat. Small-scale gardeners use cold frames as mini-greenhouses, creating a microclimate that shields plants from frost, wind, and heavy rain.
For beginners and those with limited space, cold frames offer a practical solution to maximize garden productivity. They serve as a bridge between outdoor cultivation and greenhouse growing, providing many benefits of a greenhouse without the cost or complexity. Cold frames enable gardeners to start seeds earlier, grow cool-season crops longer, and even overwinter certain plants.
Why Small-Scale Gardeners Should Consider Using Cold Frames
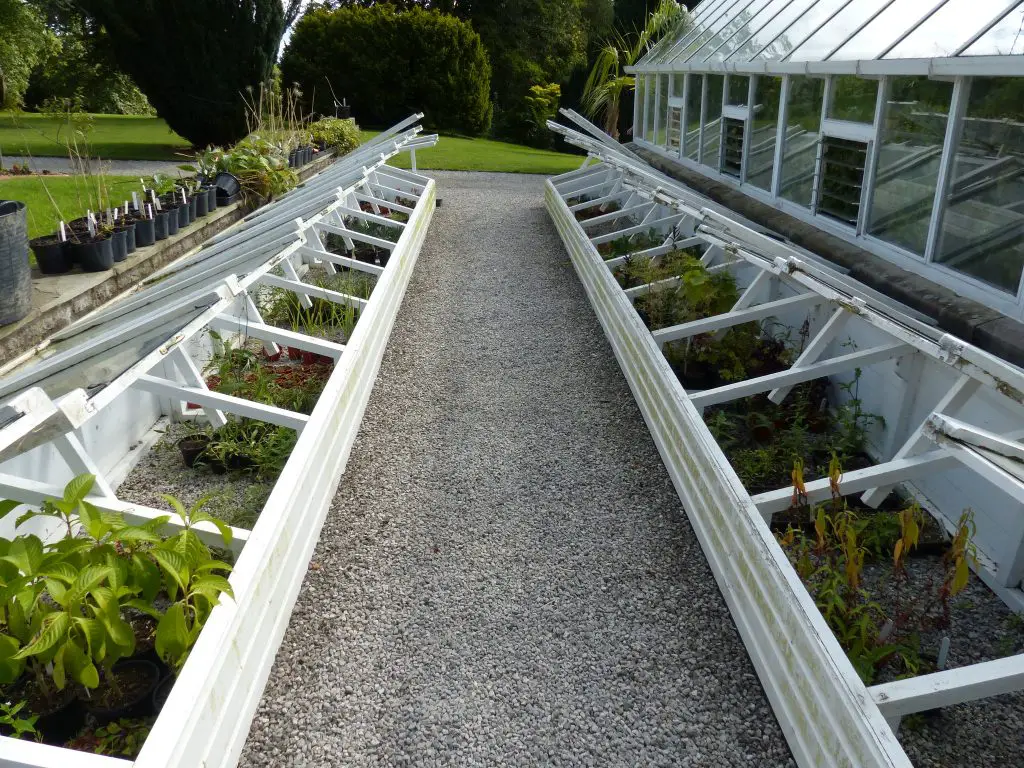
Cold frames present numerous advantages for small-scale and novice gardeners. They extend the growing season, allowing for earlier planting in spring and later harvests in fall. This extension can significantly increase crop yields and variety in a limited space. Cold frames also protect tender plants from unexpected frosts and harsh weather, reducing the risk of crop loss.
For beginners, cold frames offer a controlled environment to learn about plant care and experiment with different crops. They’re particularly useful in small urban gardens, balconies, or patios where space is at a premium. By using cold frames, new gardeners can gain confidence in their abilities and enjoy fresh produce for more months of the year.
Advantages of Using Cold Frames
A. Increased Crop Yields
Cold frames significantly extend the growing season, allowing gardeners to start plants earlier in spring and continue harvesting later into fall. This extended period translates to higher crop yields and a more diverse range of plants that can be grown in a small space.
Protection from frost and unpredictable weather is a key benefit of cold frames. They create a buffer against sudden temperature drops, shielding tender plants from damage. This protection is especially valuable during transitional seasons when weather can be erratic.
Crops that particularly benefit from cold frames include:
- Leafy greens (lettuce, spinach, kale)
- Root vegetables (carrots, radishes, beets)
- Early-season tomatoes and peppers
- Cold-tolerant herbs (parsley, cilantro, chives)
These plants thrive in the controlled environment of a cold frame, often producing higher yields than their outdoor counterparts.
B. Reduced Soil Erosion
Cold frames play a crucial role in protecting soil from heavy rains and strong winds. The enclosed structure acts as a barrier, preventing soil from being washed away or blown off. This protection is particularly important for small gardens where every inch of soil counts.
Maintaining healthy soil structure is vital for plant growth. Cold frames help preserve soil integrity by reducing compaction from raindrops and minimizing the leaching of nutrients. This preservation of soil structure leads to better water retention and root development, ultimately supporting healthier plants.
C. Improved Soil Health
Consistent temperature and moisture levels within cold frames contribute significantly to soil health. The controlled environment prevents extreme fluctuations that can stress plants and disrupt soil microbial activity. This stability promotes a thriving ecosystem of beneficial organisms in the soil.
Cold frames enhance nutrient retention in soil by reducing leaching from heavy rains. The enclosed space also allows for more precise watering, preventing overwatering that can wash away valuable nutrients. This efficient use of water and nutrients is especially beneficial in small garden spaces.
In organic gardening practices, cold frames play a valuable role. They create an ideal environment for natural pest control methods and support the use of organic fertilizers by maintaining optimal conditions for nutrient breakdown and absorption.
Choosing the Right Materials for Your Cold Frame
Frame Materials
When selecting materials for your cold frame, consider durability, insulation properties, and cost. Common options include:
- Wood: Affordable and easy to work with, wood frames offer good insulation. Cedar or redwood are naturally rot-resistant choices. However, wood may require more maintenance over time.
- Metal: Aluminum or galvanized steel frames are durable and low-maintenance. They’re lightweight but conduct heat more readily, potentially requiring additional insulation.
- Plastic: PVC or recycled plastic frames are lightweight, affordable, and resistant to rot. However, they may not be as durable as wood or metal in extreme weather conditions.
Each material has its pros and cons. Wood provides excellent insulation but may rot over time. Metal is durable but might require extra insulation. Plastic is cost-effective but may not last as long as other options.
Covering Materials
The covering of your cold frame plays a crucial role in light transmission and insulation. Two main options are available:
- Glass: Traditional and aesthetically pleasing, glass provides excellent light transmission. It’s durable but heavy and can be expensive. Safety glass or double-paned options offer better insulation.
- Plastic: Polycarbonate panels are a popular modern alternative. They’re lightweight, shatter-resistant, and provide good insulation. Options include single-layer, double-wall, or triple-wall panels, with increasing insulation properties.
Consider the balance between light transmission and insulation when choosing your covering material. Glass allows more light but less insulation, while thicker polycarbonate panels offer better insulation but slightly reduced light transmission.
Cost Considerations
For beginners, budget-friendly options can make cold frame gardening accessible. Consider these cost-effective approaches:
- Use reclaimed materials like old windows for the cover and salvaged wood for the frame.
- Opt for a DIY approach, building your own frame from affordable materials.
- Start with a smaller cold frame and expand as your needs grow.
Balance cost with durability and effectiveness. While cheaper materials might save money upfront, investing in quality components can lead to a longer-lasting, more efficient cold frame. Consider the long-term benefits when making your choice.
Selecting the Ideal Location
Sunlight Requirements
Maximizing sunlight exposure is crucial for the effective use of a cold frame. Aim to place your cold frame in a spot that receives at least 6 hours of direct sunlight daily, especially during winter months when light is scarce.
The ideal orientation varies depending on your climate:
- In cooler regions, position the cold frame with the glazed side facing south to maximize sun exposure.
- In warmer areas, a slight east-facing tilt can provide morning sun while avoiding overheating in the afternoon.
Consider seasonal changes in sun angle when choosing your location. A spot that’s sunny in winter might be shaded by trees or buildings in summer.
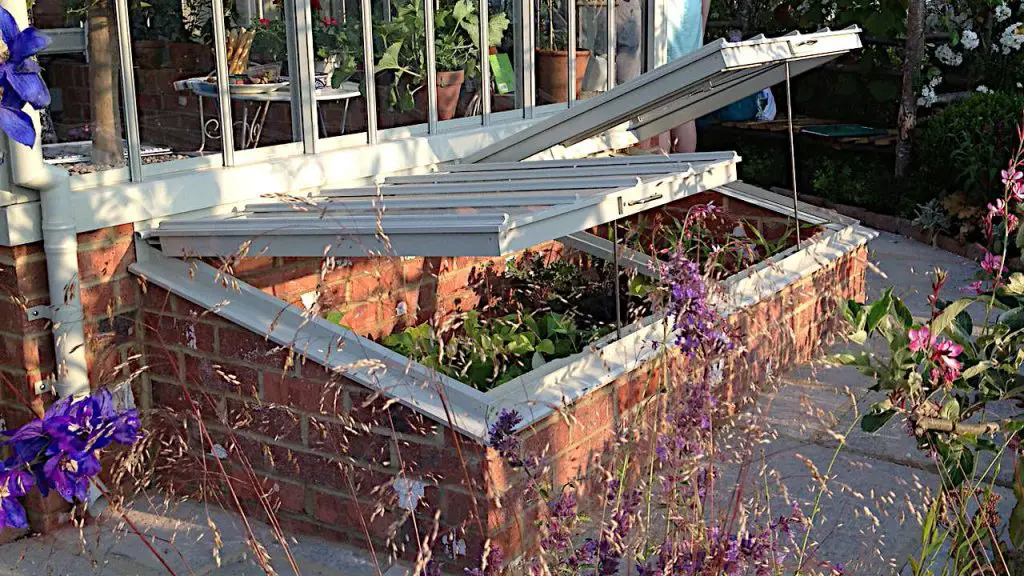
Shelter from Harsh Weather
Protection from wind and rain is essential for the stability and effectiveness of your cold frame. Look for locations that offer natural windbreaks such as walls, fences, or dense shrubbery. These barriers can significantly reduce heat loss and prevent damage from strong gusts.
For optimal protection:
- Position the cold frame with its back to prevailing winds.
- Ensure proper drainage to prevent water accumulation around the base.
- Consider adding windbreaks if natural shelter is limited.
Accessibility and Convenience
Easy access for planting, harvesting, and maintenance is key to getting the most out of your cold frame. Choose a location that’s convenient to reach, even in inclement weather. Consider proximity to water sources and storage areas for tools and supplies.
When integrating with existing garden layouts:
- Align the cold frame with existing paths or garden beds for a cohesive look.
- Ensure there’s enough space around the frame for easy movement and maintenance.
- Consider how the cold frame will affect surrounding plants, avoiding shading important areas.
Step-by-Step Guide to Building a Cold Frame
Planning and Preparation
Before starting construction, careful planning ensures a successful cold frame project. Begin by measuring and marking your chosen garden space. Consider the size of your cold frame in relation to the plants you intend to grow and the available space.
Gather all necessary tools and materials before beginning construction. Typical items you’ll need include:
- Measuring tape and marking tools
- Saw (hand saw or power saw)
- Drill and screws
- Level
- Safety equipment (gloves, goggles)
- Frame materials (wood, metal, or plastic)
- Covering material (glass or polycarbonate)
- Hinges and handles for the lid
Having everything ready beforehand will streamline the building process and help avoid delays.
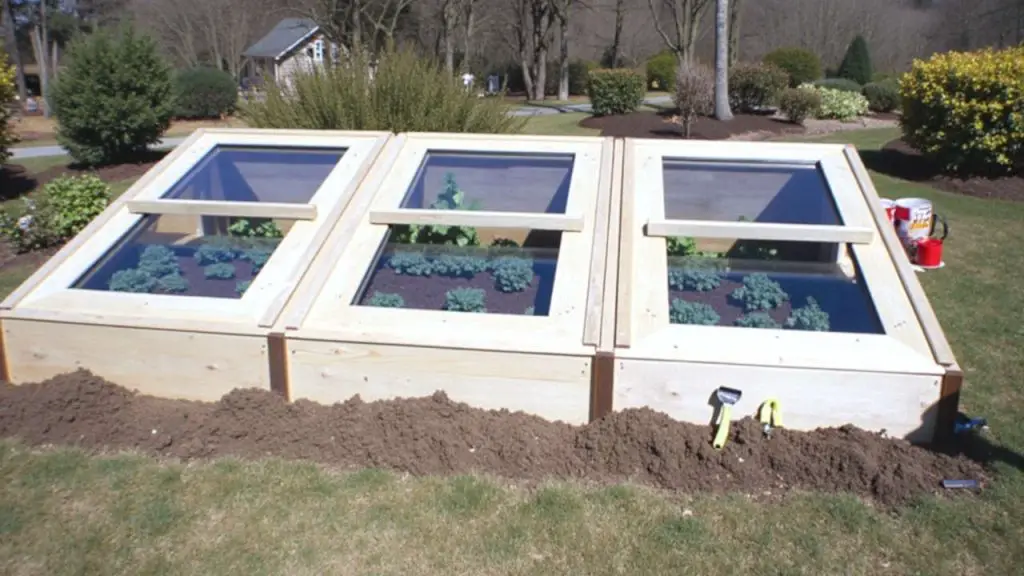
Building the Frame
Follow these steps to construct your cold frame:
- Cut the frame pieces to size according to your plan.
- Assemble the base frame, ensuring it’s square and level.
- Attach the front and back panels, making sure the front is lower than the back for proper angling.
- Install side panels, securing them firmly to the base and front/back panels.
- Add any additional supports or bracing for stability.
Tips for ensuring stability and durability:
- Use weather-resistant screws or nails.
- Apply wood preservative to wooden frames to prevent rot.
- Double-check measurements and angles before securing pieces.
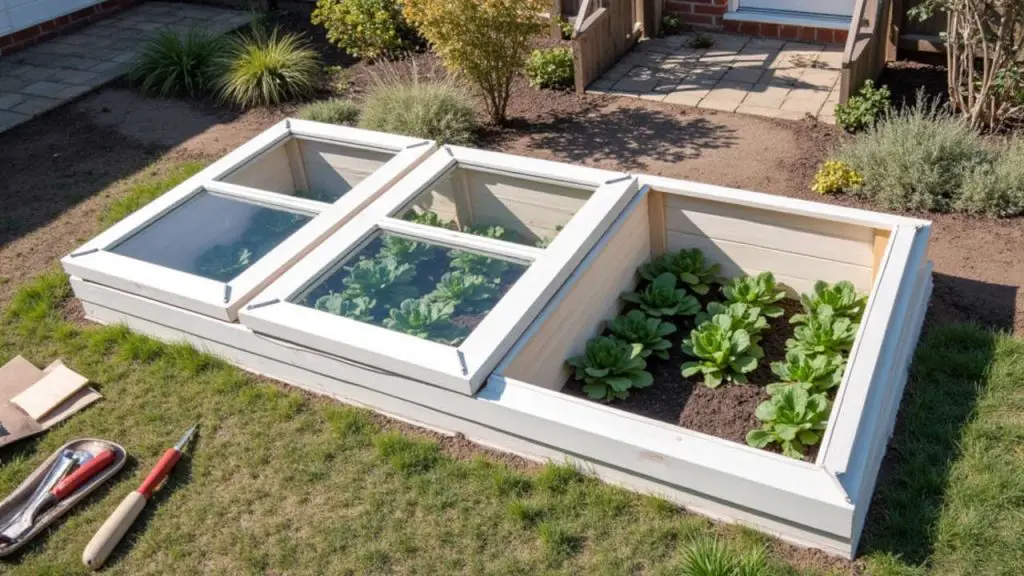
Installing the Cover
Proper installation of the cover is crucial for the cold frame’s effectiveness:
- Measure and cut the covering material to size, allowing for overlap.
- Attach hinges to the frame’s back edge.
- Secure the cover to the hinges, ensuring a tight fit.
- Install a prop stick or adjustable hinge for ventilation.
To ensure proper ventilation and access:
- Include a way to prop the lid open at various angles.
- Consider adding automatic vent openers for temperature regulation.
- Ensure the lid can be fully opened for easy plant access.
Final Adjustments
After construction, test your cold frame for light, temperature, and moisture control:
- Check for light leaks and seal any gaps.
- Monitor internal temperature over a few days to ensure proper insulation.
- Test ventilation mechanisms to prevent overheating.
- Observe moisture levels and adjust drainage if needed.
Make necessary tweaks for optimal performance:
- Add weatherstripping to improve insulation.
- Adjust the angle of the lid for better light penetration.
- Consider adding thermal mass (like water-filled containers) for temperature stability.
Tips for Effective Use of Cold Frames
Seasonal Use
Cold frames can be valuable year-round with proper management:
Spring: Start seeds early and harden off seedlings before transplanting outdoors. Use the cold frame to protect tender plants from late frosts.
Summer: Provide shade for heat-sensitive plants by covering the frame with shade cloth. Use for propagating cuttings or starting fall crops.
Fall: Fall planting to extend the harvest of warm-season crops and start cool-season vegetables for fall and winter harvests.
Winter: Grow cold-hardy vegetables and protect overwintering plants. Use additional insulation during extreme cold spells.
Transitioning between seasons requires adjustments:
- Gradually increase ventilation as temperatures rise in spring.
- Reduce watering and increase airflow to prevent fungal issues in humid weather.
- Clean and disinfect the cold frame between seasons to prevent pest and disease carryover.
Crop Rotation and Succession Planting
Maximize yields with strategic crop rotation:
- Group plants with similar needs together.
- Follow heavy feeders with light feeders or nitrogen-fixing plants.
- Avoid planting the same family of vegetables in the same spot consecutively.
Plan for continuous harvests throughout the year:
- Start new seedlings as current crops near the end of their lifecycle.
- Interplant quick-growing crops (like radishes) between slower-growing ones.
- Use vertical space for climbing plants to increase growing area.
Maintenance and Care
Regular maintenance ensures long-lasting cold frames:
- Clean the cover periodically to maximize light transmission.
- Check for and repair any damage promptly.
- Lubricate hinges and vents to ensure smooth operation.
- Remove debris and fallen leaves to prevent pest habitats.
Handle repairs and upkeep proactively:
- Replace damaged panels or glazing immediately.
- Reinforce joints if they begin to loosen.
- Reapply wood preservatives to wooden frames annually.
- Adjust the frame if it settles unevenly over time.
Common Mistakes to Avoid
Overheating and Poor Ventilation
Preventing overheating inside the cold frame is crucial for plant health:
- Monitor internal temperatures regularly, especially on sunny days.
- Open vents or prop the lid when temperatures rise above 80°F (27°C).
- Consider installing automatic vent openers for consistent temperature control.
Proper ventilation techniques include:
- Creating a daily routine of opening vents in the morning and closing them in the evening.
- Using shade cloth during peak summer heat to reduce temperature buildup.
- Ensuring air can circulate freely around plants to prevent fungal issues.
Incorrect Placement
Avoid placing cold frames in overly shaded or exposed areas:
- Reassess sun exposure throughout the year, as it changes with the seasons.
- Be mindful of surrounding trees or structures that may cast shadows.
- Protect from strong winds that can cause heat loss or physical damage.
To correct placement issues:
- Use reflective materials to increase light in partially shaded areas.
- Add windbreaks or relocate if the current position is too exposed.
- Consider using wheeled bases for smaller cold frames to adjust positioning seasonally.
Neglecting Seasonal Adjustments
The importance of adjusting usage based on weather changes cannot be overstated:
- Increase ventilation and shading as temperatures rise in spring and summer.
- Add insulation and reduce watering as temperatures drop in fall and winter.
- Adjust planting schedules to align with seasonal temperature fluctuations.
Signs that your cold frame needs adjustments include:
- Condensation buildup on the inside of the cover.
- Plants showing signs of stress, such as wilting or discoloration.
- Soil remaining waterlogged or drying out too quickly.
- Unexpected temperature fluctuations inside the cold frame.
Final Thoughts
There Are Many Benefits
Cold frames offer numerous advantages for small-scale gardeners:
- Extended growing seasons, allowing for earlier starts and later harvests.
- Protection from frost and harsh weather, reducing crop losses.
- Improved soil health through better moisture and temperature control.
- Increased crop yields and diversity in limited spaces.
- Opportunity for year-round gardening, even in challenging climates.
These benefits make cold frames an invaluable tool for maximizing productivity in small gardens.
Time to Start Using Cold Frames
We have covered many of the key aspects of why and how to use cold frames and building and using them is a manageable project for beginners. With proper planning and care, even novice gardeners can successfully create and maintain a productive cold frame. The skills and knowledge gained from using a cold frame will enhance overall gardening abilities and confidence.
The long-term benefits of incorporating a cold frame into a small garden are substantial. From enjoying fresh produce year-round to experimenting with a wider variety of plants, cold frames open up new possibilities for small-scale gardeners. They provide a stepping stone to more advanced gardening techniques and can spark a deeper passion for sustainable, productive gardening.
By starting with a cold frame, beginners take a significant step towards becoming more self-sufficient and environmentally conscious gardeners. The rewards of using a cold frame extend beyond the garden, contributing to a more sustainable lifestyle and a deeper connection with the natural world.