Design and Specifications for a 6ft x 4 ft Pallet Shed
Forget expensive lumber and cookie-cutter designs. This is about building a shed with character, a shed with a story, or just a great DIY project. This is about building with pallets. In the project laid out bellow, you’ll discover how to transform these readily available, often-discarded materials into a stunning 6×4 ft haven that’s as unique as you are. Get ready to roll up your sleeves, unleash your creativity, and build a pallet shed that will be the envy of your neighborhood.
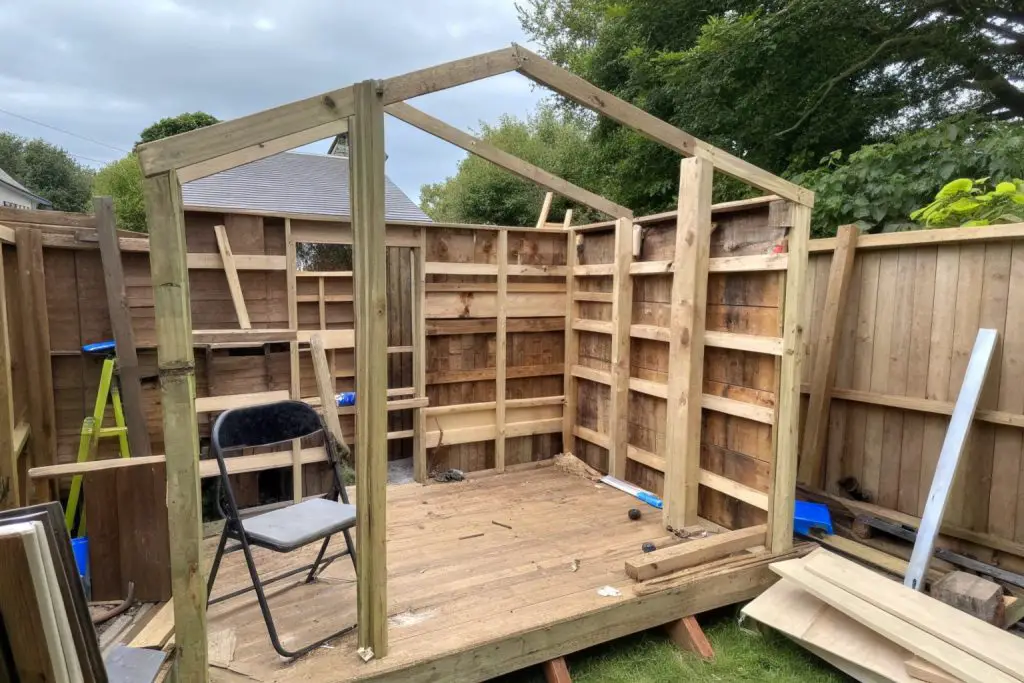
Project Title: 6×4 ft Pallet Shed
The warm, weathered wood whispers tales of its former life as a humble shipping pallet, now reborn as a sturdy wall, a secure door, a haven for your tools and treasures. This isn’t a mass-produced structure; it’s a testament to resourcefulness, a handcrafted masterpiece built with your own two hands. Let’s turn this vision into reality as we delve into the art of building a 6×4 ft pallet shed, a project that’s both practical and deeply satisfying
Project Goal: To construct a functional and aesthetically pleasing 6×4 ft shed using primarily reclaimed pallet wood, minimizing cost and environmental impact.
Approaches
There are multiple approaches that you can use when constructing your shed from old pallets.
Skeletal Structure Pallet Shed
If you are just looking for the basic structure that doesn’t need to be weather proof then you can assemble your design with your pallets, creating a skeletal structure often seen in bans.
Weather Proof Structures
It is more likely however that you will be looking for a weather proof structure and again there are a couple of approaches that you can take.
As pallets generally have intentional uniform gaps between the slats these need to be filled or closed. This can be achieved through building the skeletal structure of the shed with the pallets and then cladding the exterior in weather proof board such as OBS Board/Sterling Board.
Another option is to fill the gaps either by dismantling other pallets and using the timber or with other reclaimed timber. This option is much more labor intensive although, if done well can be more aesthetically appealing.
Reclaiming the Wood
The third option is to completely dismantle the majority of the pallets at start in order to reclaim you wood and start from scratch. This method disregards the pallet structure as a building block but allows far more flexibility in your design.
Design & Specifications
- Dimensions:
- Exterior: 6 ft (length) x 4 ft (width) x 7 ft (height at peak, 6 ft at walls)
- Interior: Approximately 5.5 ft (length) x 3.5 ft (width) x 6.5 ft (height at peak)
- Style: Gable roof with a single door on the 4 ft side.
- Foundation: Concrete blocks or pressure-treated 4×4 skids.
- Framing: Combination of pallet frames (where possible) and dimensional lumber (2x4s) for structural integrity.
- Sheathing: Pallet boards, carefully selected and arranged for a tight fit.
- Roofing: Corrugated metal or salvaged roofing materials.
- Door: Simple batten door constructed from pallet boards.
- Window (Optional): A small, fixed window can be added using a salvaged window or plexiglass.
Materials List
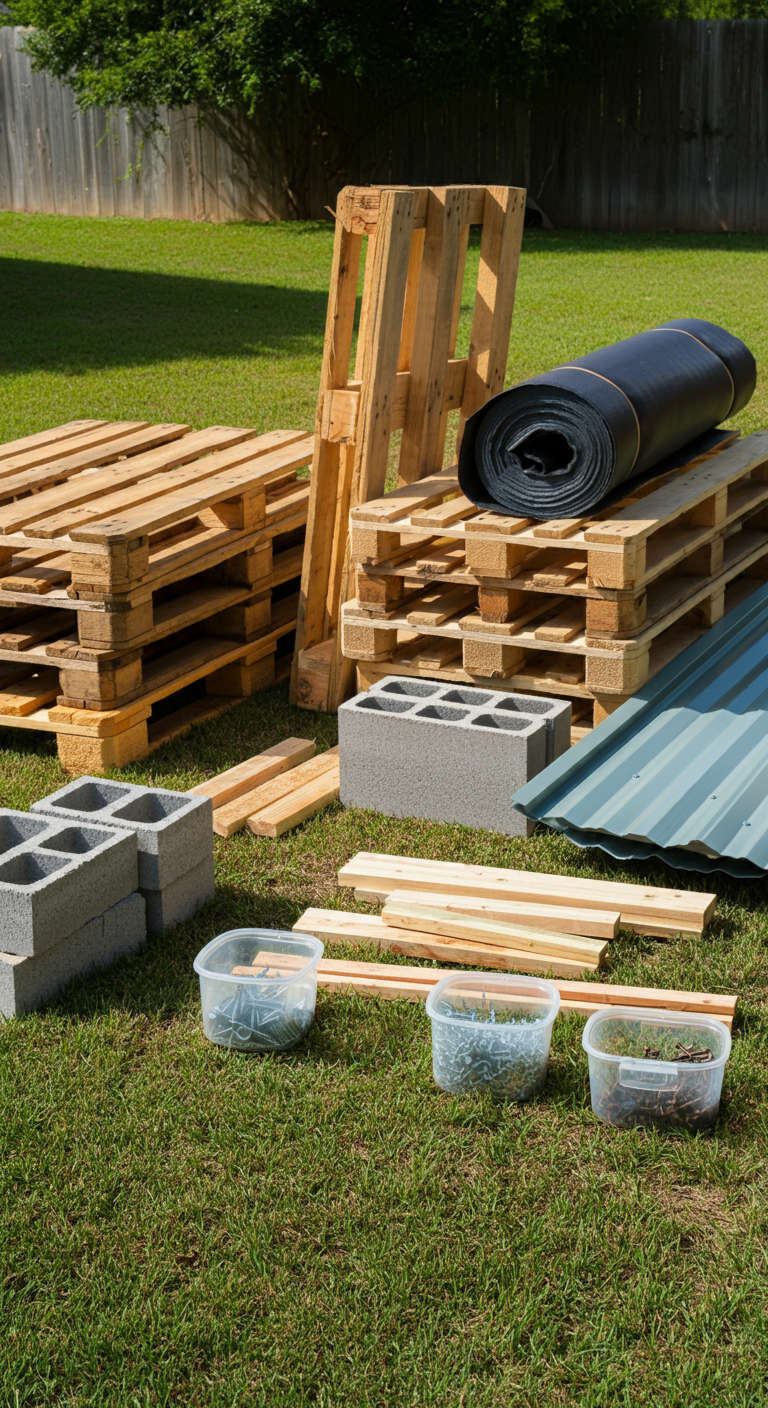
- Pallets:
- Approximately 20-30 pallets (depending on size and condition). Choose pallets that are:
- Heat-treated (marked “HT”) to avoid insects and rot.
- In good condition with minimal damage.
- As consistent in size as possible for easier construction.
- Approximately 20-30 pallets (depending on size and condition). Choose pallets that are:
- Dimensional Lumber:
- 4×4 pressure-treated lumber (for foundation skids, if used)
- 2×4 lumber (for framing, roof rafters, door frame)
- Fasteners:
- Deck screws (various lengths: 1-1/4″, 2″, 2-1/2″, 3″)
- Nails (for attaching sheathing, if preferred)
- Roofing screws with rubber washers
- Foundation:
- Concrete blocks (8″x8″x16″) or 4×4 pressure-treated skids
- Roofing:
- Corrugated metal sheets
- OR salvaged roofing materials (ensure they are waterproof)
- Door Hardware:
- Hinges (2-3, depending on door size)
- Latch or hasp
- Other:
- Plywood or OSB (for roof sheathing, optional but recommended)
- Roofing felt or underlayment (if using shingles or non-metal roofing)
- Exterior wood stain or paint (for protection and aesthetics)
- Caulk (for sealing gaps)
- Safety glasses, work gloves, dust mask
Tools Required
- Essential:
- Circular saw or reciprocating saw
- Hammer
- Drill/driver with various bits
- Measuring tape
- Level
- Square
- Pry bar (for pallet disassembly)
- Safety glasses
- Work gloves
- Pencil
- Optional but Recommended:
- Miter saw (for precise angle cuts)
- Table saw (for ripping boards)
- Nail gun (for faster sheathing installation)
- Clamps
- Ladder
Construction Steps
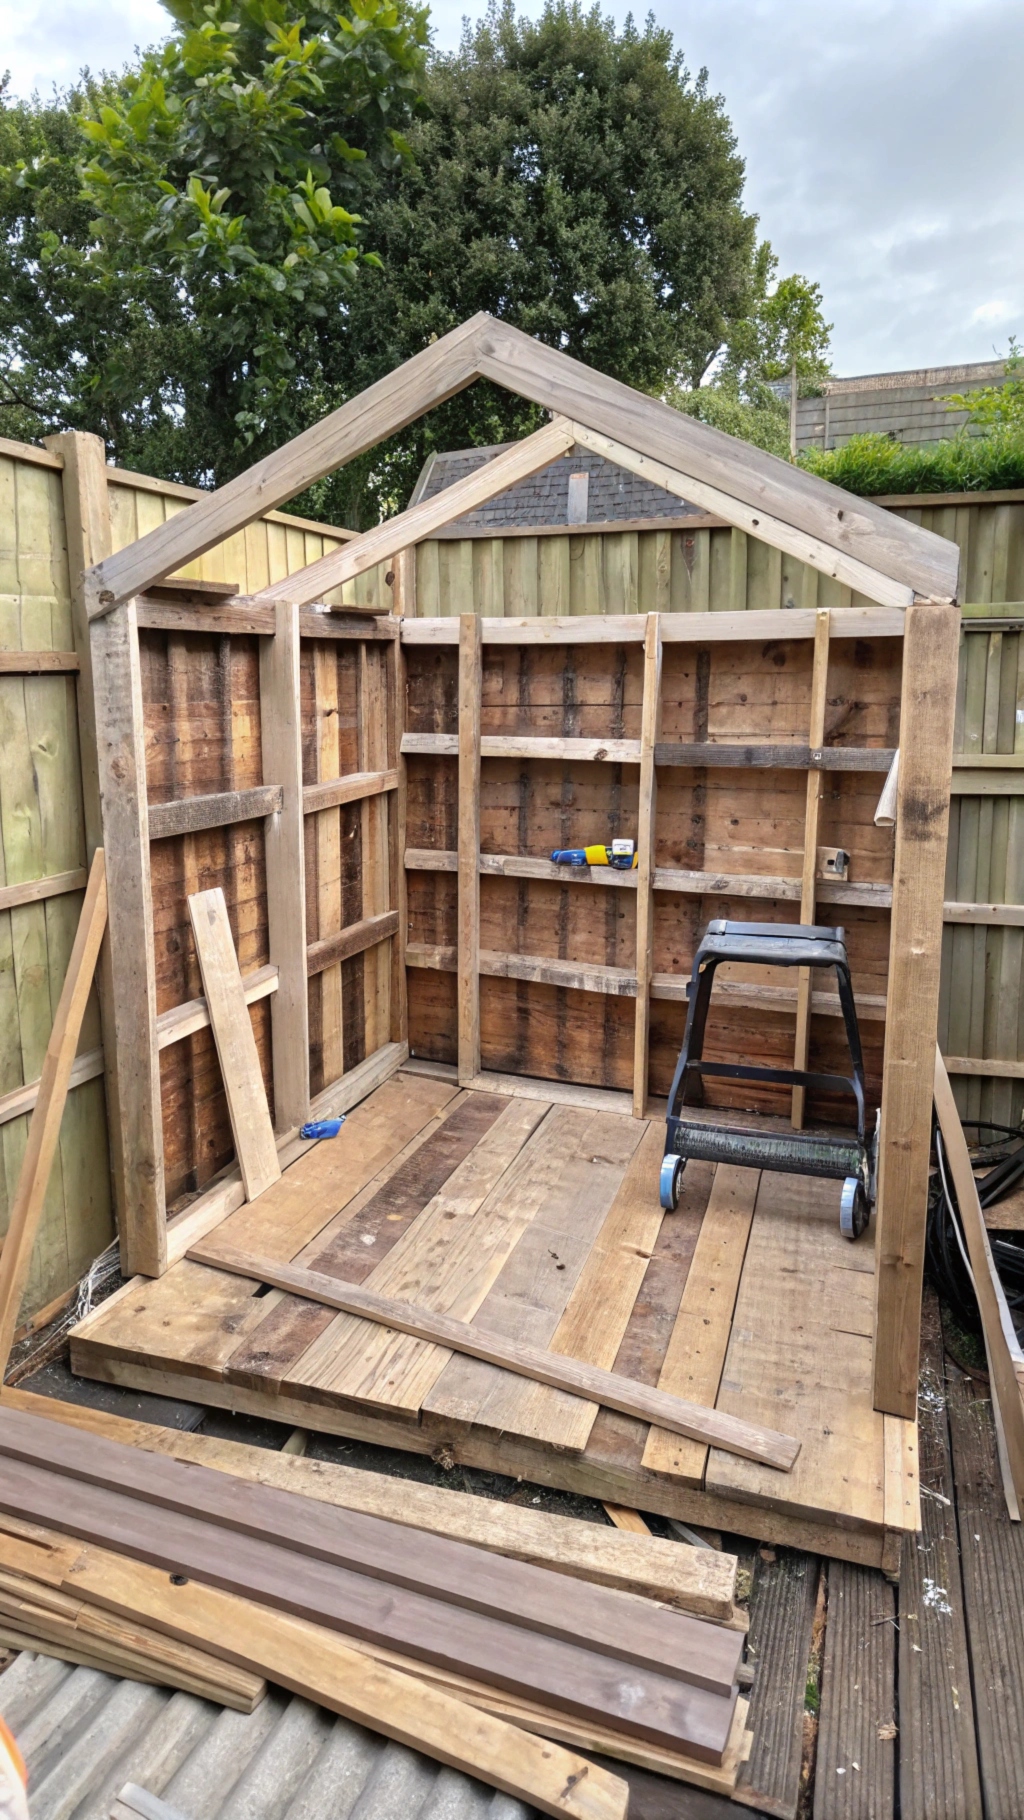
A. Foundation (1 Day)
- Site Preparation: Clear and level the area where the shed will be located.
- Foundation Placement:
- Concrete Blocks: Place concrete blocks at each corner and at intervals along the perimeter (approximately every 3-4 feet) to support the floor frame. Ensure they are level.
- 4×4 Skids: If using skids, lay two 4×4 pressure-treated beams parallel to each other, spaced about 3 feet apart. Ensure they are level and resting on a stable, compacted surface.
B. Floor Frame (1 Day)
- Pallet Selection: Choose the most robust and similarly sized pallets for the floor frame.
- Frame Construction:
- You may be able to use whole pallets, laid side by side.
- If whole pallets are not suitable, disassemble them and use the stringers (the thicker boards) to create a rectangular frame 6 ft x 4 ft.
- Use 2x4s to reinforce the frame and provide additional support.
- Attachment: Secure the floor frame to the foundation using appropriate fasteners (deck screws or lag bolts).
C. Wall Framing (2 Days)
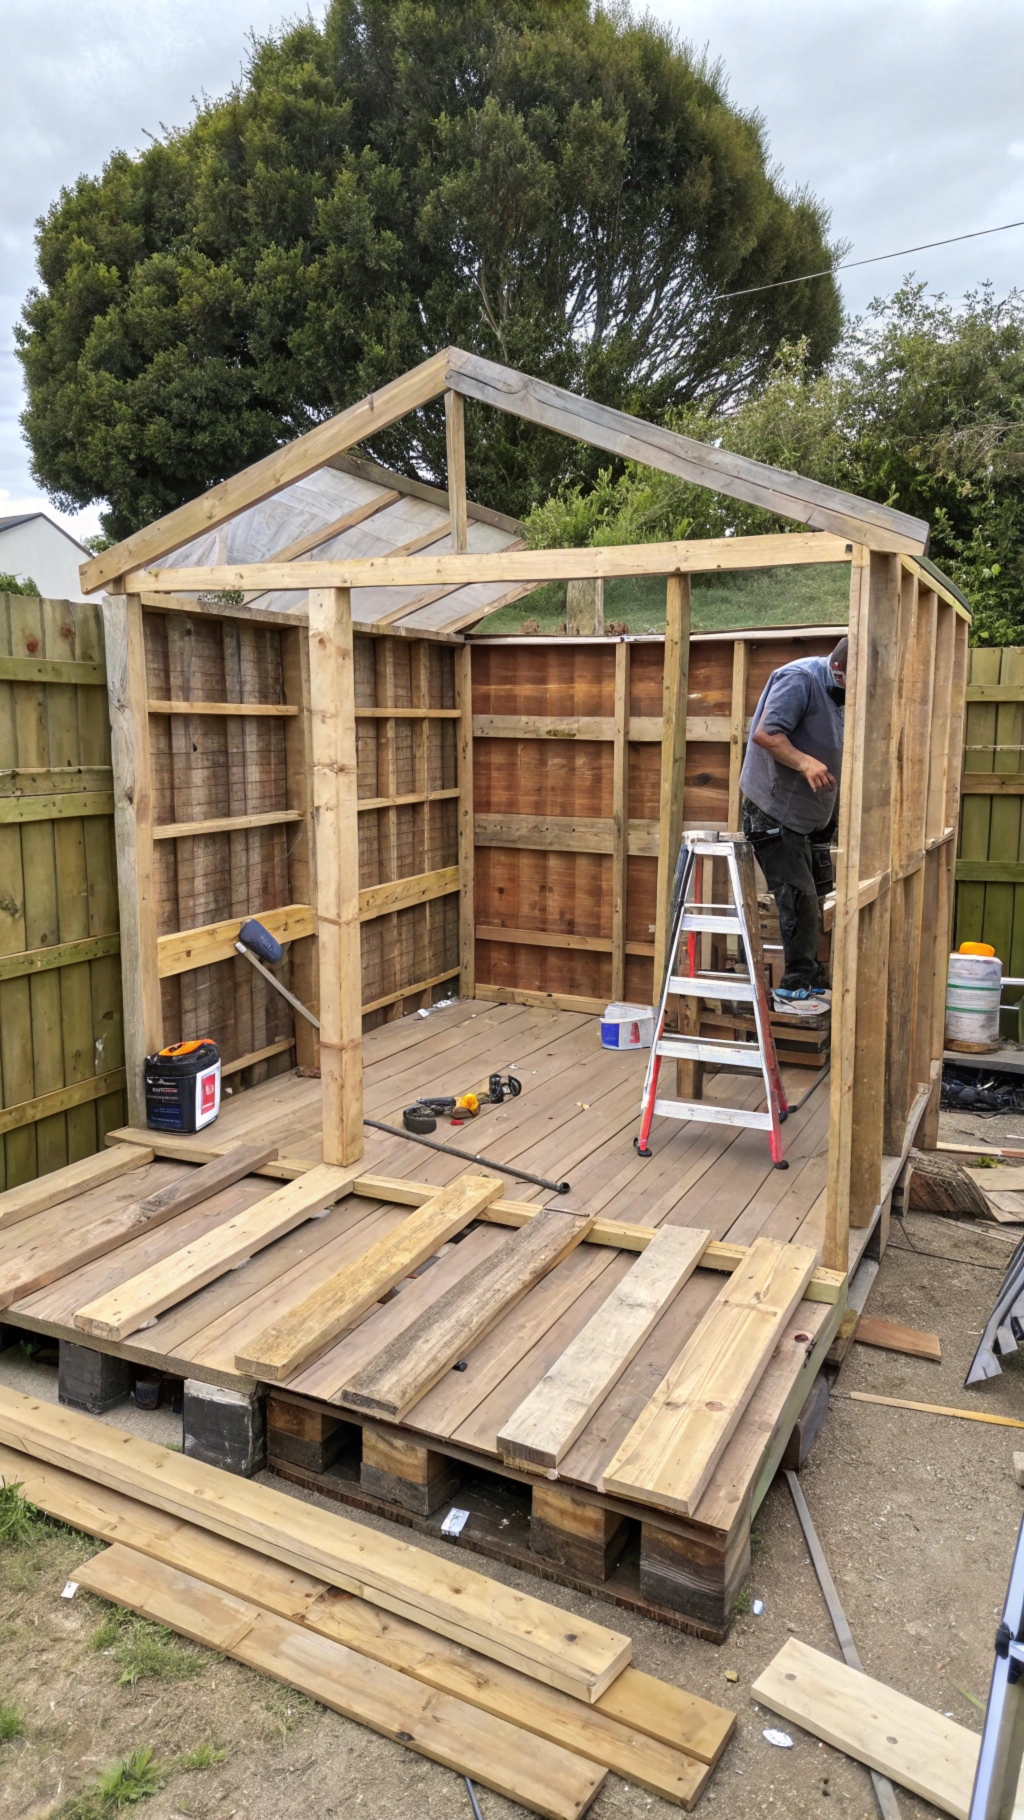
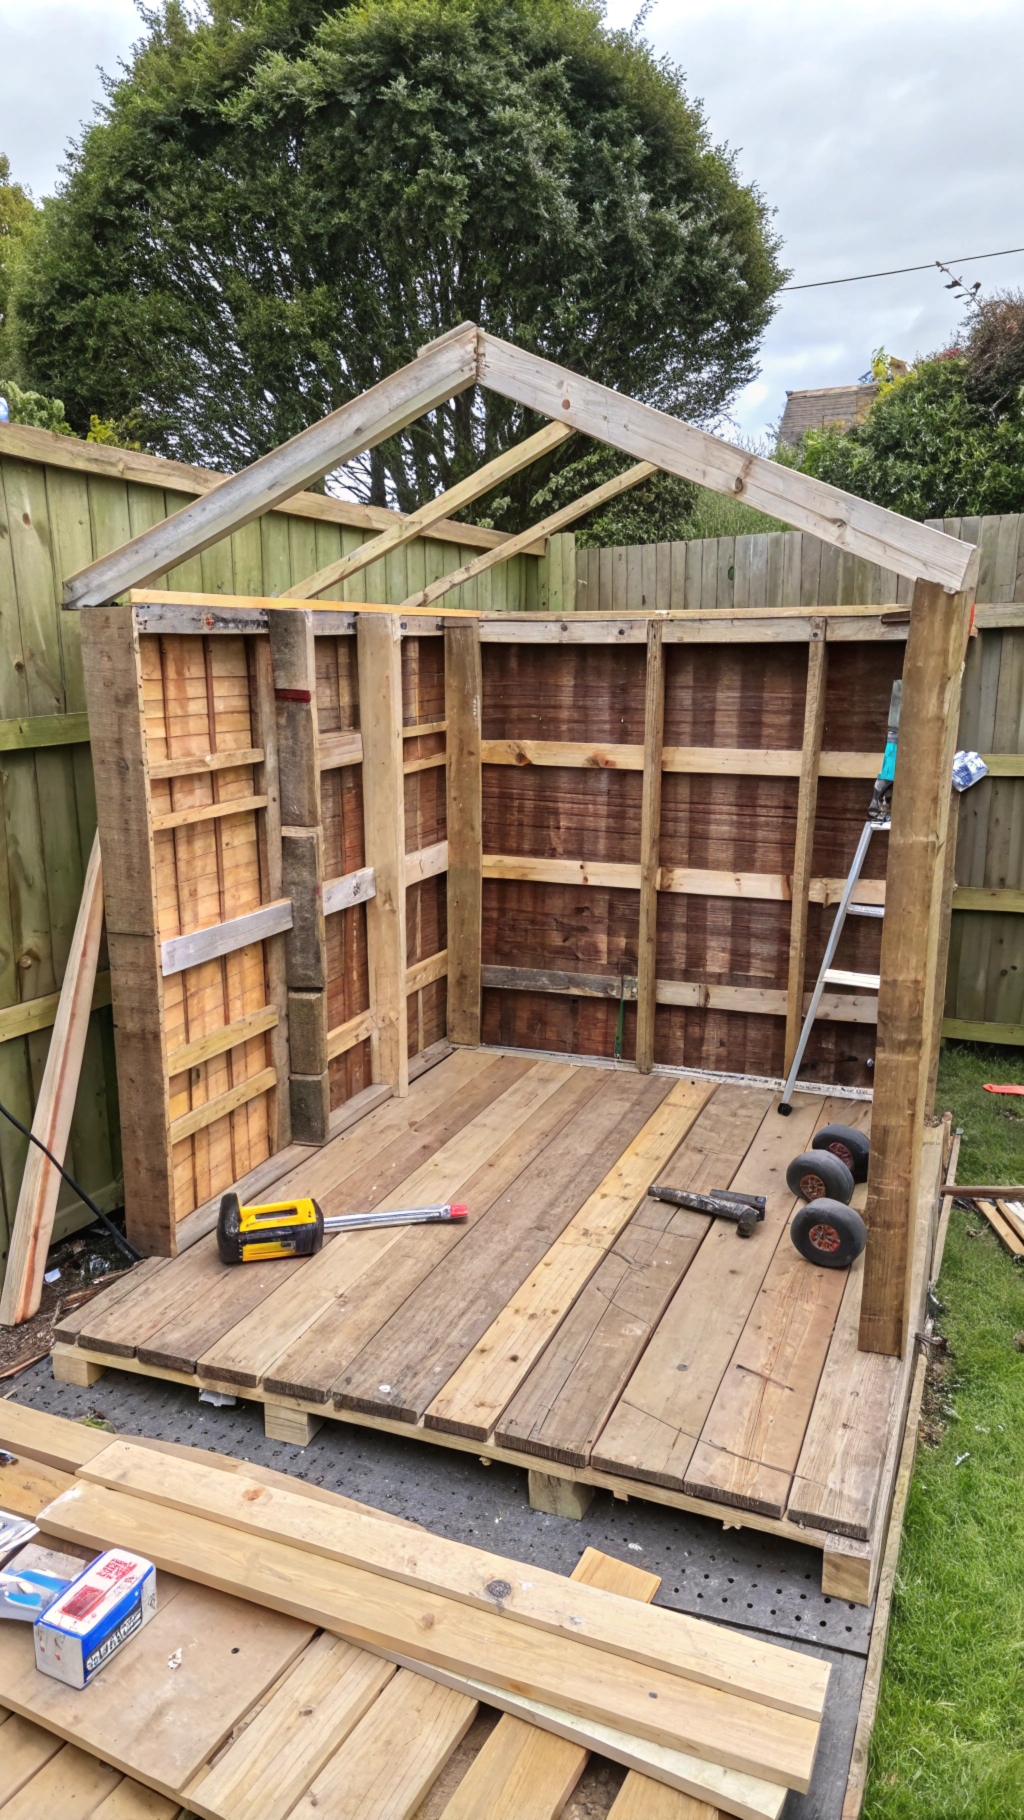
- Pallet Wall Sections: If possible, use intact sections of pallets for the walls. Trim them to the desired height (6 ft).
- Stud Framing: Where pallet sections are not feasible, build stud walls using 2x4s. Space the studs 16″ or 24″ on center.
- Wall Assembly:
- Erect the side walls first, ensuring they are plumb (vertical) and square.
- Then, erect the front and back walls, tying them into the side walls.
- Leave an opening for the door on the front wall.
- Door Header: Frame the door opening with a header (two 2x4s on edge) to support the weight above.
- Cladding: For weather proofing once your pallets for the wall are assembled you can clad the exterior in plywood or OSB board (Step E). Alternatively to can you other pallet material to fill the gaps between slats. It is recommended you do this before you install the pallet as a wall panel.
D. Roof Framing (1 Day)
- Rafter Design: Determine the roof pitch (angle). A common pitch is 4/12 (4 inches of rise for every 12 inches of run).
- Rafter Construction: Cut rafters from 2x4s according to the chosen pitch. You’ll need a ridge board (a 2×4 running the length of the roof peak) and rafters that extend from the ridge board down to the top of the walls.
- Rafter Installation:
- Attach the ridge board to the front and back walls.
- Install the rafters, spacing them 16″ or 24″ on center.
- Use hurricane ties or metal connectors to secure the rafters to the top plates of the walls.
E. Sheathing (1 Day)
- Roof Sheathing:
- If using plywood or OSB, attach it to the rafters, starting from the bottom and working your way up.
- If using pallet boards, carefully select boards that are relatively straight and of similar thickness. Overlap them slightly for a tighter seal.
- Wall Sheathing:
- Attach pallet boards to the wall studs, starting from the bottom.
- Arrange the boards in a visually appealing pattern.
- Stagger the joints for strength.
- Ensure the boards are tightly fitted to minimize gaps.
F. Roofing (1 Day)
- Underlayment (if applicable): Install roofing felt or underlayment over the roof sheathing.
- Roofing Material:
- Corrugated Metal: Install the metal sheets, overlapping them according to the manufacturer’s instructions. Use roofing screws with rubber washers to secure them.
- Other Materials: Follow the manufacturer’s instructions for the specific roofing material you are using.
G. Door Construction & Installation (1 Day)
- Door Frame: Build a simple door frame from 2x4s to fit the opening.
- Door Construction:
- Use pallet boards to create a batten door.
- Attach horizontal battens to the back of the door to hold the boards together.
- Door Installation:
- Attach hinges to the door and door frame.
- Hang the door.
- Install a latch or hasp.
H. Finishing (1 Day)
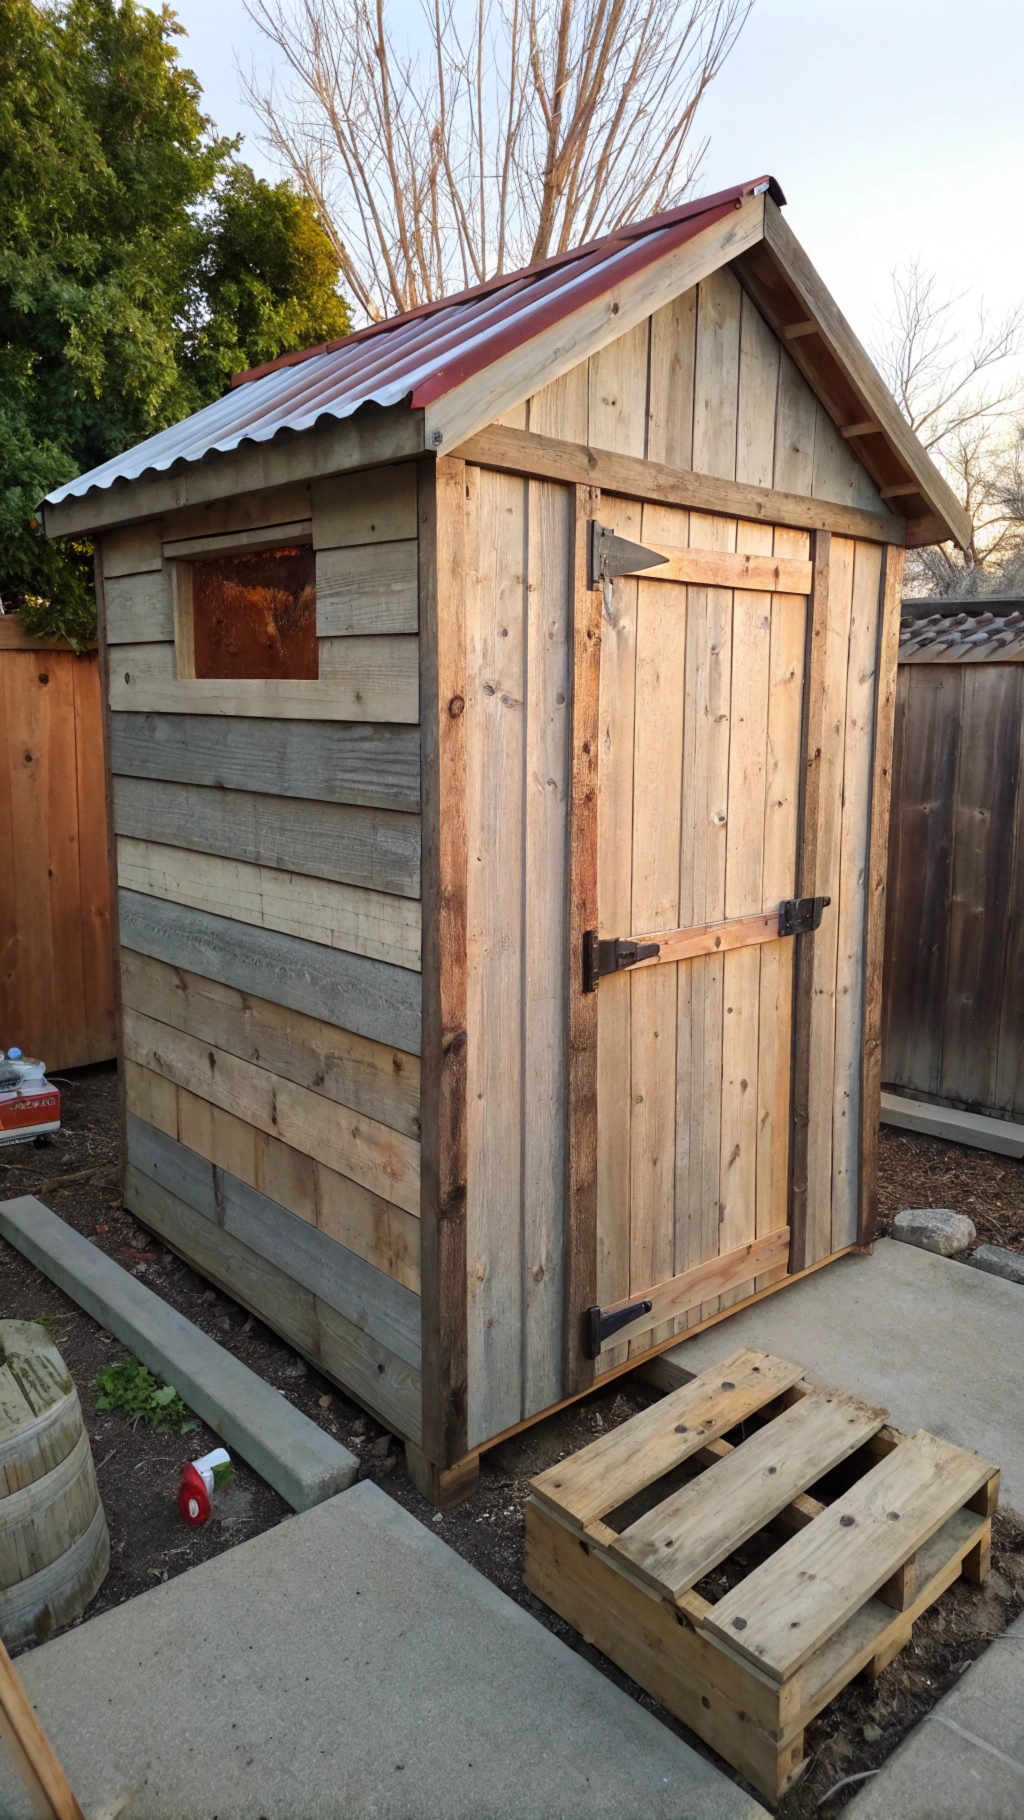
- Trim: Add trim around the door, window (if applicable), and corners using pallet boards or other trim material.
- Caulking: Seal any remaining gaps with exterior caulk.
- Staining/Painting: Apply an exterior wood stain or paint to protect the wood and enhance the appearance of the shed.
Safety Considerations
- Pallet Safety:
- Wear gloves and eye protection when handling pallets.
- Be aware of protruding nails and splinters.
- Inspect pallets for signs of rot or damage before using them.
- Tool Safety:
- Use tools properly and follow all safety instructions.
- Wear appropriate safety gear (eye protection, gloves, dust mask).
- Lifting:
- Use proper lifting techniques to avoid injury.
- Get help when lifting heavy objects.
- Electrical Safety:
- If using power tools, ensure they are properly grounded and in good working order.
- Avoid using power tools in wet conditions.
Design Variations
- Larger Door: A wider or double door can be incorporated for easier access.
- Windows: Additional windows can be added for more natural light.
- Shelving: Interior shelving can be built using pallet boards or other materials.
- Loft: A small loft can be added for extra storage space.
- Skylight: A skylight can provide additional natural light.
- Different Roofing: Shingles, roll roofing, or other roofing materials can be used.
Notes
- This plan provides a general framework. Adjust it based on the specific pallets you have available and your personal preferences.
- Take your time and work carefully.
- Enjoy the process of building your own unique pallet shed!
- Be sure to check local building codes and obtain any necessary permits before starting construction.
This detailed technical plan will help you build a sturdy, functional, and attractive 6×4 ft pallet shed. Remember to adapt the plan to your specific needs and resources. Good luck with your project!
