How to Make a DIY Pom Pom Door Wreath for Christmas
Decorating the home for Christmas is a cherished tradition that brings families together. While store-bought decorations are convenient, creating your own adds a unique touch that reflects personal style. A DIY pom pom door wreath is an excellent project for crafters of all levels. It combines simplicity with creativity, resulting in a cozy and inviting decoration that brightens up any entrance.
Creating your own wreath does not only saves money but also gives an opportunity to spend quality time with loved ones. Children can join in by helping make pom poms, turning the project into a fun family activity. The soft texture of yarn pom poms adds warmth to the winter season, making your home feel even more welcoming during the holidays. For additional inspiration, check out our article on creating handmade Christmas stockings.
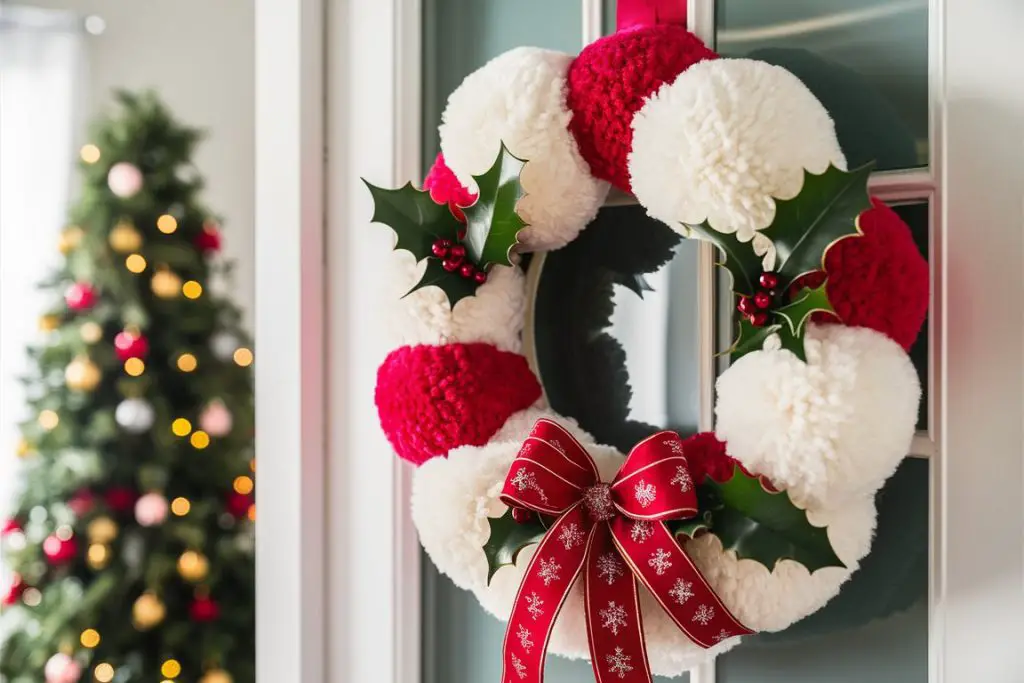
Materials Needed
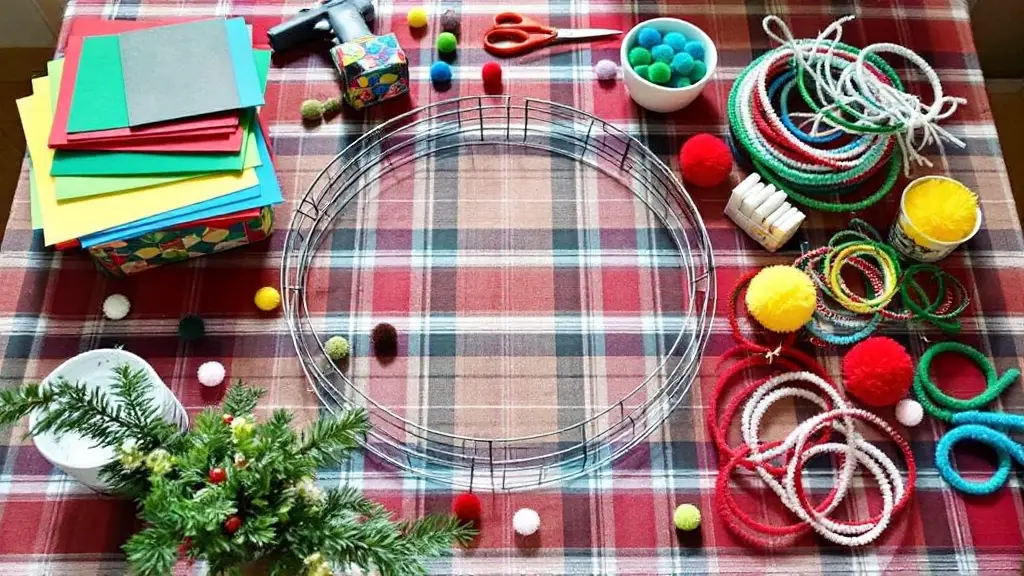
To get started on your pom pom wreath, gather the following materials:
- Yarn in various colors: Choose colors that suit your Christmas theme. Traditional choices include red, green, and white, but feel free to incorporate metallic yarns or unconventional shades like pastel blues and pinks for a modern twist.
- Pom pom makers or cardboard circles: Pom pom makers come in different sizes and make the process faster. If unavailable, cardboard circles can be made at home using recycled boxes.
- Scissors: Sharp scissors are essential for cutting yarn cleanly and trimming pom poms to shape.
- Wreath base: Options include wire frames, foam rings, or even a sturdy cardboard cutout. The size of the base will determine the number of pom poms needed.
- Hot glue gun and glue sticks: Necessary for attaching pom poms to a foam base or securing additional decorations.
- Decorative ribbons or ornaments (optional): Add embellishments like ribbons, miniature ornaments, pinecones, or berries to enhance the festive look.
- Hook or ribbon for hanging: Decide how you will display the wreath and choose an appropriate hanging method.
For tips on selecting sustainable materials, read our guide on eco-friendly crafting supplies.
Step-by-Step Guide
Step 1: Prepare the Yarn
Selecting the right yarn sets the tone for your wreath. Consider the following when choosing yarn:
- Texture: Standard acrylic yarn works well, but fluffy or chunky yarn can create larger, more textured pom poms.
- Color coordination: Decide on a color scheme. Monochromatic designs offer elegance, while multicolored pom poms bring a playful vibe.
- Amount needed: Estimate the quantity of yarn based on the size of the wreath and number of pom poms. It’s better to have extra yarn than to run out mid-project.
Step 2: Make the Pom Poms
Making pom poms is a fun process that can be done while watching a favorite holiday movie. Here’s how to create them:
Using a Pom Pom Maker:
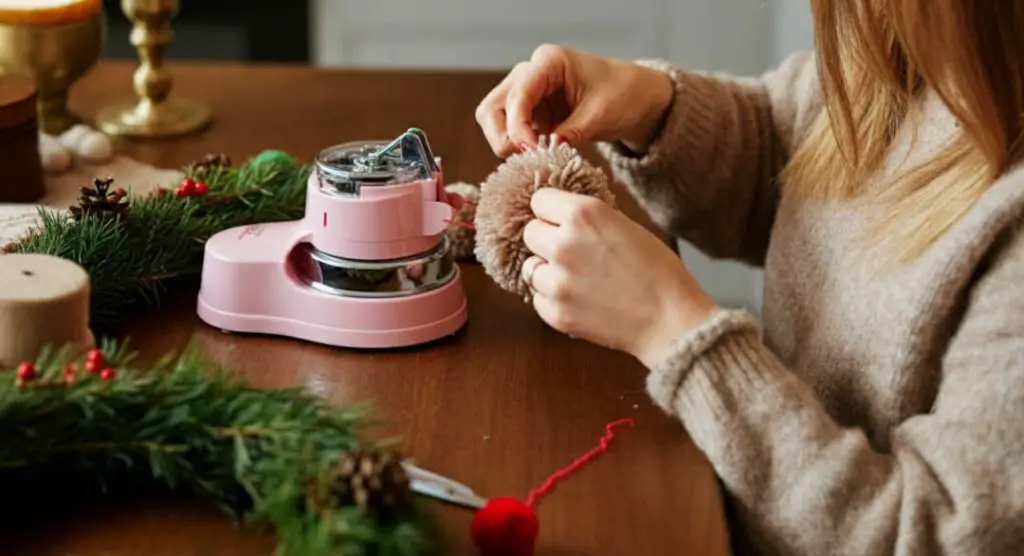
- Wrap the yarn: Open one side of the pom pom maker and wrap the yarn evenly until it’s full. Overwrapping creates denser pom poms.
- Repeat on the other side: Close the first side and wrap the second half in the same way.
- Cut the yarn: With both sides closed, insert the scissors into the groove along the edge and carefully cut the yarn all around.
- Secure the center: Tie a strong piece of yarn tightly around the middle, ensuring all strands are secured.
- Fluff and trim: Remove the pom pom from the maker, fluff it up, and trim any uneven strands for a neat appearance.
Using Cardboard Circles:
- Create templates: Cut two identical donut-shaped pieces from cardboard. The outer diameter determines the pom pom’s size.
- Wrap the yarn: Hold the templates together and wind the yarn through the center hole, covering the cardboard evenly. The more yarn used, the fuller the pom pom.
- Cut around the edge: Insert scissors between the two cardboard pieces and cut the yarn along the outer edge.
- Tie the center: Slip a strong piece of yarn between the cardboard pieces and tie it tightly around the yarn bundle.
- Finish the pom pom: Remove the cardboard templates, fluff the pom pom, and trim as needed.
Tips for Pom Pom Making:
- Consistency: Try to make pom poms of similar sizes for a uniform look, unless intentionally varying sizes.
- Quantity: For a standard 12-inch wreath, approximately 30-40 medium-sized pom poms may be needed.
- Time-saving: Enlist help from family members to speed up the process.
Step 3: Prepare the Wreath Base
Selecting the right base is crucial for the wreath’s stability.
- Wire Frame: Ideal for tying pom poms directly. Offers flexibility and is available at craft stores.
- Foam Ring: Provides a solid surface for gluing pom poms. Great for a fuller look as pom poms can be attached on all sides.
- DIY Base: Cut a ring from sturdy cardboard if a store-bought base isn’t available.
Before attaching pom poms, consider wrapping the base with yarn or fabric strips. This ensures that any gaps between pom poms won’t reveal the base material.
Step 4: Attach Pom Poms to the Base
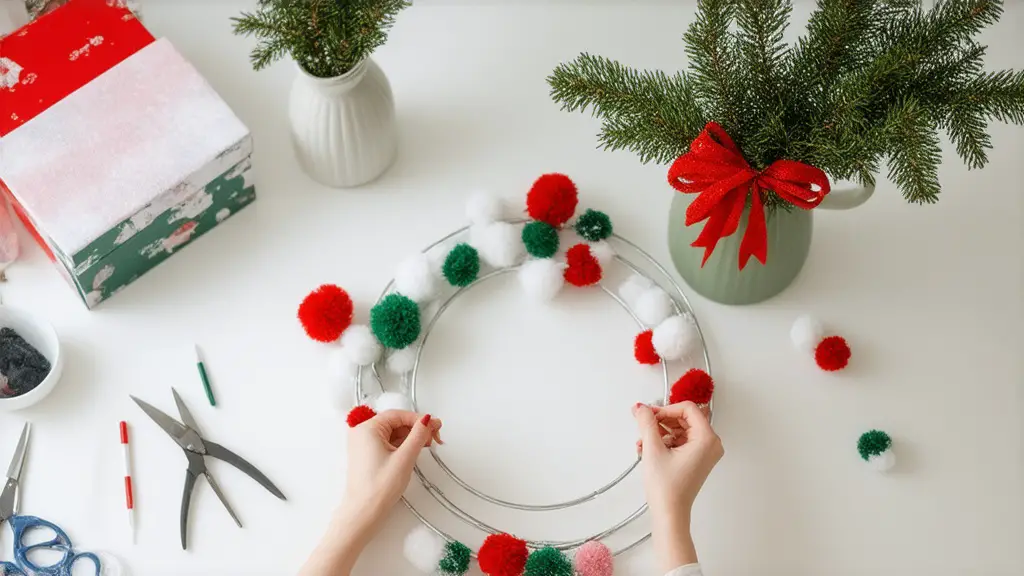
With all pom poms ready, it’s time to assemble the wreath.
- Layout Planning: Place pom poms around the base without attaching them to plan the arrangement. Mix colors and sizes for an appealing pattern.
- Attaching to Wire Frame:
- Use the yarn tails from the pom poms to tie them securely to the frame.
- Double-knot the ties to prevent them from loosening.
- Trim excess yarn or tuck it behind the pom pom.
- Attaching to Foam Ring:
- Apply a generous amount of hot glue to the back of the pom pom.
- Press it firmly onto the foam ring and hold for a few seconds until the glue sets.
- Continue adding pom poms, ensuring they are tightly packed.
Layering: For a fuller wreath, add a second layer of pom poms on top of the first, filling any visible gaps.
Step 5: Add Decorative Elements
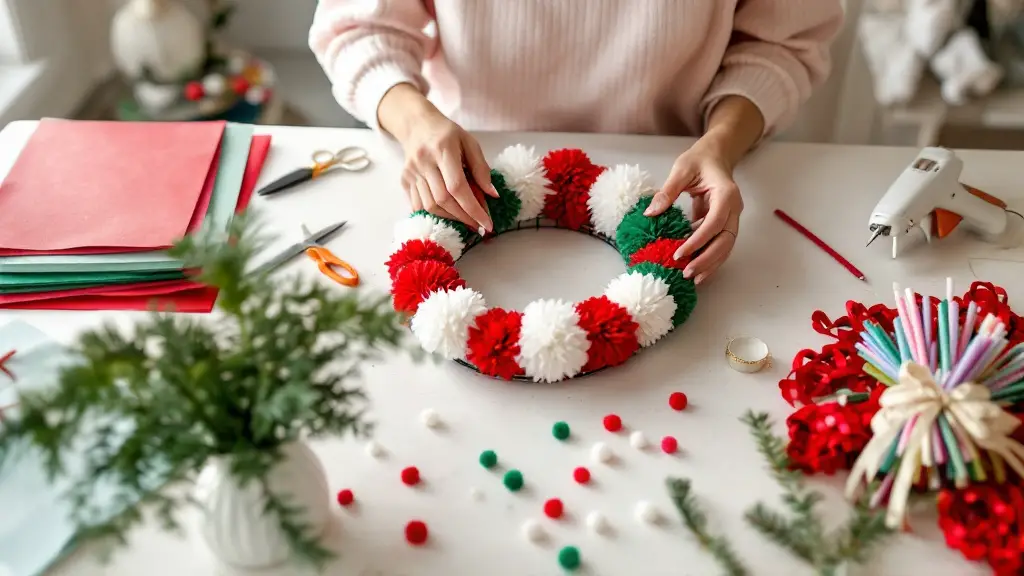
Personalization makes your wreath stand out.
- Ribbons: Tie a large bow with festive ribbon and attach it to the top or bottom of the wreath.
- Ornaments: Small baubles, bells, or stars can be glued among the pom poms for extra sparkle.
- Natural Elements: Incorporate pinecones, holly sprigs, or cinnamon sticks for a rustic touch.
- Lights: Battery-operated fairy lights woven through the wreath add a magical glow at night.
Ensure that any added elements are securely attached, especially if the wreath will be outside.
Step 6: Finish and Hang the Wreath
Finalize your creation with the following steps:
- Check for Gaps: Inspect the wreath from all angles and fill any sparse areas.
- Secure Hanging Mechanism:
- Attach a loop of strong ribbon or wire to the back of the wreath.
- If using a foam base, glue the ribbon securely.
- For wire frames, tie the ribbon directly to the frame.
- Display Location: Choose a spot that’s sheltered from harsh weather to prolong the wreath’s lifespan.
- Maintenance Tips: If the wreath gets wet, allow it to dry thoroughly to prevent mold or damage to the yarn.
Tips and Tricks
Crafting a pom pom wreath offers endless possibilities. Here are additional ideas to enhance your project:
- Theme Variations:
- Winter Wonderland: Use white and silver yarns, add snowflake ornaments.
- Candy Cane: Alternate red and white pom poms, incorporate candy cane decorations.
- Natural Look: Use neutral yarn colors like cream and brown, add burlap ribbons and pinecones.
- Texture Play: Mix different types of yarn, such as chenille, wool, or metallic threads, for varied textures.
- Eco-Friendly Options: Use organic or recycled yarns. Repurpose old sweaters by unraveling the yarn.
- Adding Scents: Infuse the wreath with holiday aromas by attaching cinnamon sticks or scented ornaments.
- Custom Shapes: Experiment with different base shapes, like hearts or stars, for a unique twist.
- Gift Idea: Create smaller pom pom wreaths as gifts for friends and family.
- Storage Tips: When the season ends, store the wreath in a cool, dry place to keep it in good condition for next year.
Alternative Ideas and Customizations
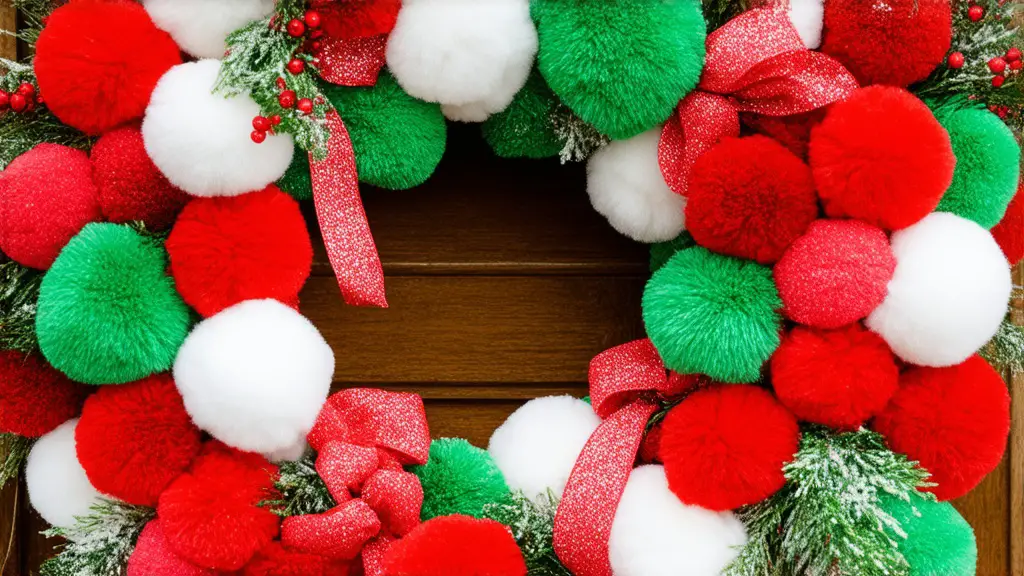
The beauty of crafting your own wreath lies in the ability to tailor it to your preferences. Here are some alternative ideas to consider:
- Mini Pom Pom Wreaths: Create smaller wreaths to use as indoor decorations or as part of a centerpiece. They can also serve as charming gifts for guests. See our tutorial on making mini wreaths for holiday decor.
- Letter-Shaped Wreaths: Form the base into an initial or a holiday-related word like “JOY” or “NOEL.” Cover the shaped base with pom poms for a personalized touch.
- Themed Wreaths for Other Holidays: Adapt the pom pom wreath concept for different occasions. Use pastel colors for Easter, patriotic colors for Independence Day, or autumn hues for Thanksgiving. Explore our ideas in seasonal wreath crafting.
- Incorporate Photos: Attach small framed photos of family members among the pom poms. This adds a sentimental element to your decoration.
- Interactive Elements: Add pockets or small pouches between pom poms to hold treats or notes, turning your wreath into an advent calendar.
Materials Substitutions
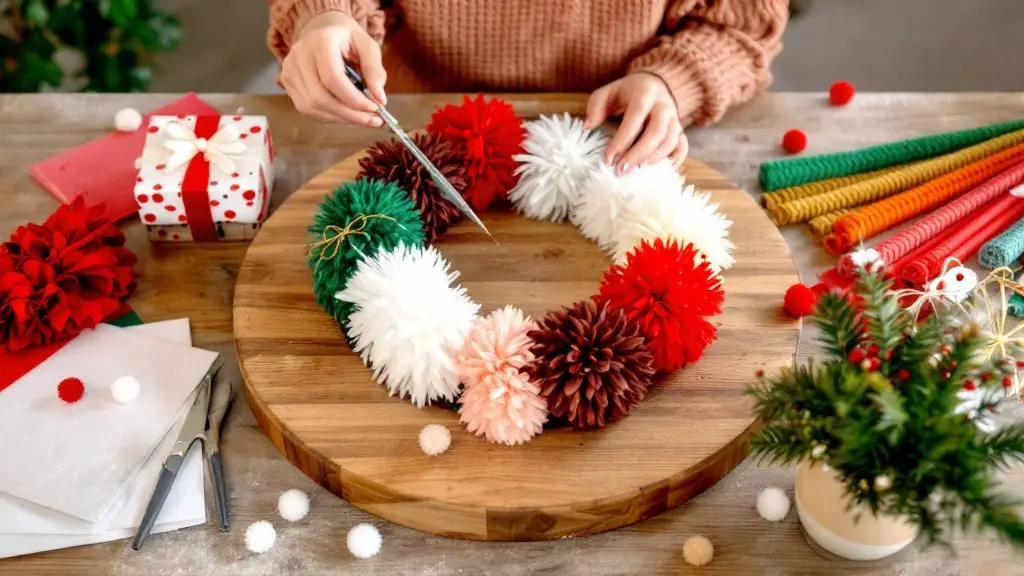
If certain materials are unavailable, consider these substitutions:
- Yarn Alternatives: Use strips of fabric, ribbon, or even paper to create pom poms. Old T-shirts can be cut into yarn-like strips for a recycled option.
- Base Alternatives: Instead of a traditional wreath base, use an embroidery hoop, hula hoop (for a large wreath), or flexible branches shaped into a circle.
- Adhesive Options: For those sensitive to hot glue, double-sided tape or strong fabric glue can be alternatives, though they may not be as durable.
Safety Precautions
While crafting is enjoyable, it’s important to keep safety in mind:
- Hot Glue Gun Use:
- Always place the glue gun on a heat-resistant surface when not in use.
- Keep fingers away from the hot nozzle and melted glue.
- Unplug the glue gun when finished to prevent accidents.
- Scissor Safety:
- Use sharp scissors for clean cuts, but handle them carefully.
- Keep scissors closed when not in use and out of reach of young children.
- Allergies:
- Be aware of any allergies to wool or other materials used.
- Opt for hypoallergenic yarns if necessary.
- Supervision:
- Monitor children closely if they are helping, especially around sharp tools and hot glue.
Environmental Considerations
Being mindful of the environment adds value to your project:
- Sustainable Materials: Choose eco-friendly yarns made from organic cotton or recycled fibers.
- Minimal Waste: Use leftover yarn scraps to make smaller pom poms or other decorations.
- Reusability: Design the wreath so elements can be removed and reused or repurposed for future crafts.
Final Thoughts
Making a DIY pom pom door wreath is more than just crafting a decoration; it’s about embracing the joy of creating something with your own hands. The process allows for relaxation and serves as a creative outlet during the busy holiday season. Displaying your handmade wreath becomes a testament to your effort and adds a heartfelt touch to your home. Gather your materials, perhaps invite some friends over, and enjoy making a festive decoration that will bring joy throughout Christmas. For more festive DIY ideas, consider reading our guide on creating personalized holiday ornaments.
