Spring is Almost Here – Gardening Tasks for March
It is time to get serious with your garden. March brings the first real awakening of spring, with the cold, gloomy days of January and February now behind us.
Indeed, March is a critical time for gardeners, setting the tone for the rest of the growing season. You can ensure that your garden will flourish in the coming months by taking the time to chit potatoes, order compost, heat growing areas, water seed trays from below, and hand pollinate early blooms.
An Outline of Common Gardening Tasks for March
In March, many seeds can be sown for vegetables, such as asparagus, beetroot, broad beans, Brussels sprouts, cabbage, and carrots. Adequate soil preparation is essential to ensure optimal growth and a healthy garden.
It’s also an excellent time to prune blueberries, apply top dressing to fruit trees, and start tender tubers in pots or directly outdoors. If you have a greenhouse, cleaning, and sorting ventilation is crucial to prevent condensation and mold. In addition, ensuring a ready source and supply of room-temperature tap water for the watering of your new seedlings can help avoid fungal pathogens.
With the proper techniques and attention to detail, you can ensure that your garden will thrive throughout the year, providing you with a bountiful harvest of fresh produce.
Starting Tender Tubers
If you plan to grow tender tubers like yams, sweet potatoes, and oca, March is the perfect time to start them off. These plants thrive in warm weather, and starting them off in pots or planting them directly outdoors in March will give them enough time to mature and produce a good harvest.
To start them off in pots, fill a pot with a rich, well-draining soil mix and plant your tubers 4-6 inches deep. Keep them moist but not waterlogged, and place them in a warm and sunny location. Once the weather warms up, and there is no more risk of frost, transplant the seedlings to your garden bed, spacing them out according to the variety’s recommended distance.
Potting on Seedlings
Starting seeds indoors is a great way to get a head start on the gardening season, but it’s important to pot them on to avoid stunting their growth.
When seedlings have grown their first true leaves and a good set of roots have been established, it’s time to transplant them to a larger pot. This process is called “potting on.” Choose a pot that is slightly larger than the current one and fill it with a well-draining soil mix.
Gently lift the seedling from the old pot and place it into the new one, being careful not to damage the roots. Fill in around the seedling with soil, water it in, and place it back in a warm and sunny location. Repeat this process as necessary until the seedlings are ready to be transplanted outdoors.
Water Seedlings with the Right Type of Water
When watering seedlings, using the right kind of water is important. While rainwater might seem like the natural choice, it can actually contain fungal pathogens that can harm young plants. Instead, use room-temperature tap water to water your seedlings.
This water is free of harmful pathogens and is the perfect temperature for young plants. It’s also a good idea to water seedlings from the bottom by filling a tray with water and allowing them to soak it up through the drainage holes in their pots. This helps to prevent fungal growth on the leaves and stems of the plants.
Remember to water seedlings regularly, but be careful not to overwater, as this can lead to root rot.
Ensuring Adequate Ventilation in Your Greenhouse
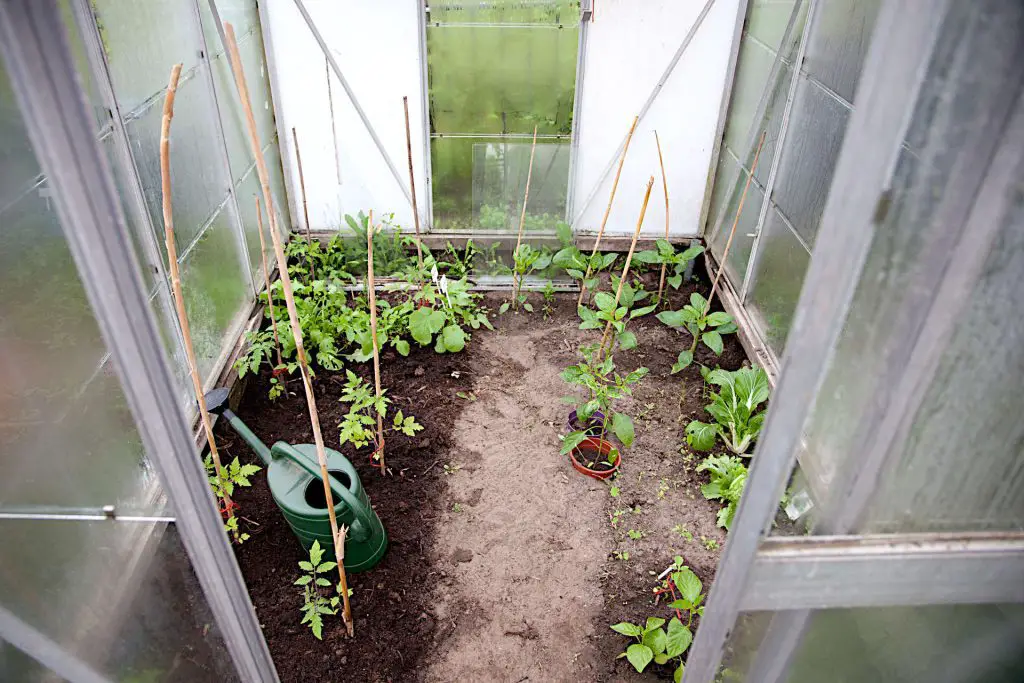
Greenhouses are a great way to extend the growing season and protect your plants from the elements. However, ensuring adequate ventilation is important to prevent condensation and mold from forming. Excess moisture can accumulate without proper ventilation, leading to mold and mildew growth. This can be harmful to both your plants and your health.
Install vents or fans to circulate air within the greenhouse to ensure proper ventilation. Open doors and windows during the day when the weather is warm and close them at night when temperatures drop. This will help to maintain a healthy growing environment for your plants.
Pruning Blueberries for Optimal Growth
Pruning is an essential part of maintaining healthy and productive blueberry bushes. March is the perfect time to prune blueberries because the plants are still dormant and have not yet started to bud. Pruning blueberries helps to encourage new fruiting stems, create an open habit for better light penetration and air circulation, and reduce stress and pest issues.
To prune your blueberries, first remove any dead or diseased wood. Then, cut back any branches that are crossing or rubbing against each other. Finally, prune back the remaining branches by about one-third to one-half of their length. This will encourage new growth and help to ensure a bountiful harvest come summer.
Applying Top Dressing and Mulching for Fruit Trees
Fruit trees need proper care and attention to produce healthy and delicious fruit. March is a great time to apply a top dressing of compost or well-rotted manure to fruit trees to provide them with the necessary nutrients for optimal growth.
A top dressing also helps to make the fruit sweeter and more flavorful. In addition to top dressing, consider mulching around the base of your fruit trees to conserve moisture and prevent weed growth. This will help to keep the soil moist and reduce the need for frequent watering. Apply a layer of mulch that is 2-4 inches deep, being careful not to pile it up against the trunk of the tree. With proper care, your fruit trees will thrive and produce a bountiful harvest for years to come.
Chitting Potatoes for Better Results
Chitting, or sprouting, potatoes is a great way to give your 1st and 2nd early potatoes a head start. Chitting involves exposing the seed potatoes to light and allowing them to sprout before planting. This process can help increase yields, improve uniformity, and ensure that your potatoes are ready for harvesting simultaneously. To chit your potatoes:
- Place them in a tray or egg carton with the end that has the most eyes facing upwards.
- Keep the tray in a cool, bright, and dry area for 4-6 weeks until the sprouts are 1-2 inches long.
- Plant them in the ground, ensuring that each sprout is facing upwards.
The Importance of Ordering Compost
Early compost is an essential ingredient for healthy and productive gardens. Whether you’re starting seeds, planting new shrubs, or maintaining existing plants, you’ll need plenty of high-quality compost.
If you haven’t been preparing your own compost over the winter, ordering compost early is important, as it can take time to process and deliver. This is especially true if you’re ordering large quantities or specialized blends. Alternatively, you can make your own compost at home using kitchen scraps, leaves, and other organic matter. Composting is a great way to reduce waste, save money, and improve the health of your garden soil.
Heating a Growing Area with 100-Hour Candles
Heating a small growing area can be a challenge, especially if you don’t have access to electricity or gas. However, 100-hour candles can provide a reliable and inexpensive source of heat. These candles are designed to burn for up to 100 hours and can produce enough heat to keep a small growing area warm.
To make your own 100-hour candles, you’ll need wax, wicks, and a heat source. Melt the wax in a double boiler, add the wicks, and pour the melted wax into a jar or container. Allow the wax to cool and solidify before lighting the wick. Place the candles in a safe and well-ventilated area and use them to heat your growing area as needed.
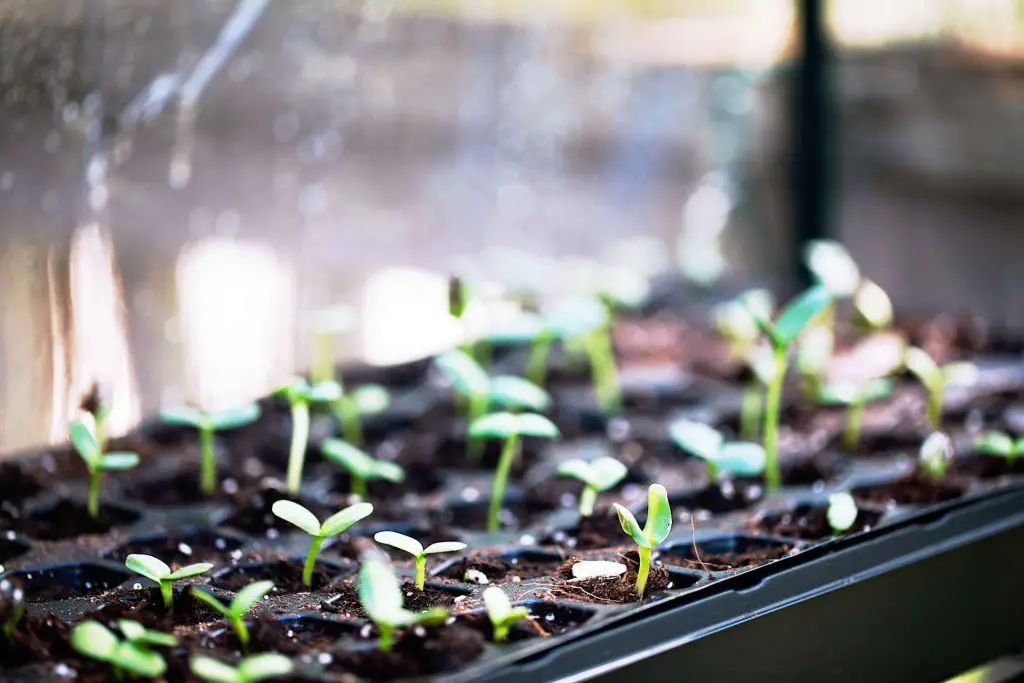
Preventing Molds and Algae Growth in Seed Trays
Keeping seed trays well-watered is crucial for germination, but it can also lead to molds, algae growth, and damping-off disease. To prevent these issues, it is best to water seed trays from below.
Fill a tray with water and place the seed tray on top, allowing the soil to soak up the water through the drainage holes. This will also encourage roots to grow downwards. It is vital to make sure that the soil is not too wet and that the water does not reach the top of the soil.
Hand Pollination for Early Blooms
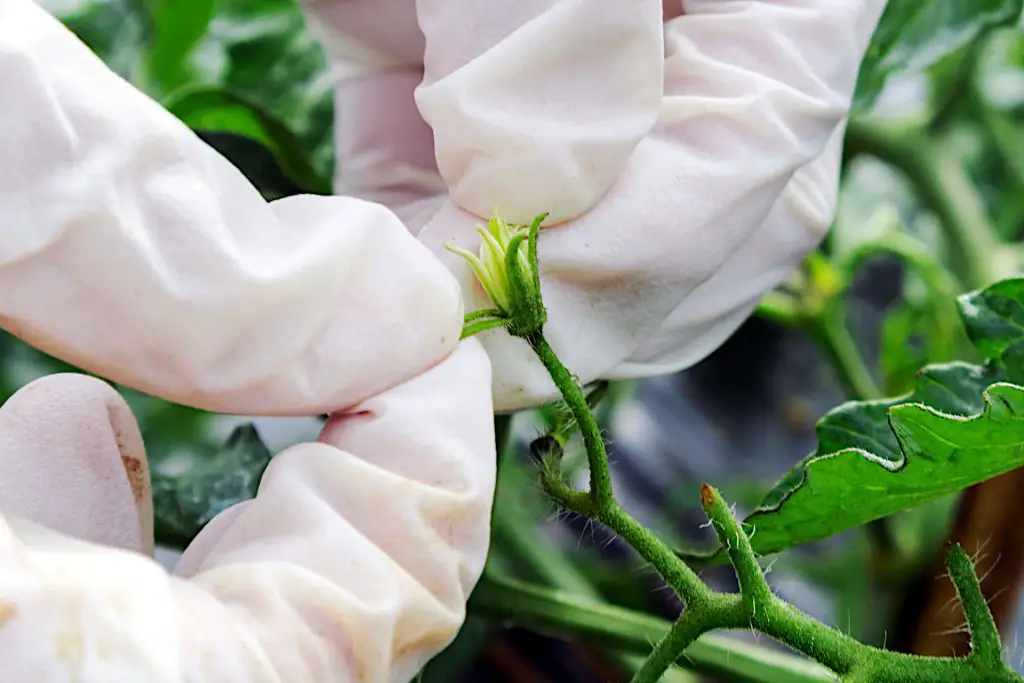
Early-blooming fruit trees, like peach trees, may not have enough bee activity for proper pollination. If this is the case, you can hand-pollinate the blooms yourself. Use a small brush or cotton swab to collect pollen from the stamen of one flower and transfer it to the stigma of another.
Be sure to avoid cross-contamination by cleaning the brush or swab in between flowers. This will help ensure proper fruit set and yield.
Sowing Seeds for a Variety of Vegetables
March is the perfect time to sow seeds for various vegetables, including asparagus, beetroot, broad beans, Brussels sprouts, cabbage, and carrots. Start by preparing the soil with compost and fertilizer. Follow the instructions on the seed packet for planting depth and spacing.
Keep the soil consistently moist and warm for optimal germination. Once the seedlings have grown to a few inches tall, thin them out to prevent overcrowding. With proper care, you can enjoy a bountiful harvest of fresh, homegrown vegetables in no time.
More Ambitious Vegetables
With the arrival of March, gardeners have many seed-sowing options beyond vegetables. Some popular options include cauliflower, celeriac, celery, globe artichokes, salad leaves, kohlrabi, leeks, lettuce, onions, peas, peppers, radish, spinach, Swiss chard, tomatoes, and kale.
Each of these plants has unique requirements, so it is important to research each seed’s specific needs before planting. While some of these plants can be started indoors, others can be directly sowed outdoors. Whatever method you choose, follow the instructions on the seed packet to ensure the best possible results.
Preparing Your Soil for a Successful Garden
Good soil is the foundation of a successful garden. Before planting, it is important to prepare the soil by removing weeds, adding compost, and loosening the soil. Start by clearing the garden bed of debris and weeds, including the roots. Then, add a layer of compost or other organic matter to the topsoil to improve soil structure, fertility, and water-holding capacity. Mix the compost thoroughly with the soil using a garden fork or tiller, being careful not to overwork the soil.
Consider also testing the soil pH and nutrient levels to ensure that the soil is balanced for your desired crops. You can purchase a soil testing kit from your local garden center or cooperative extension office. Once you have prepared your soil, you can then start sowing your seeds according to their specific requirements. With proper soil preparation, your plants will grow strong and healthy, providing you with a bountiful harvest throughout the growing season.