Homesteading Skills: A Beginner’s Guide to Canning, Pickling, and Preserves
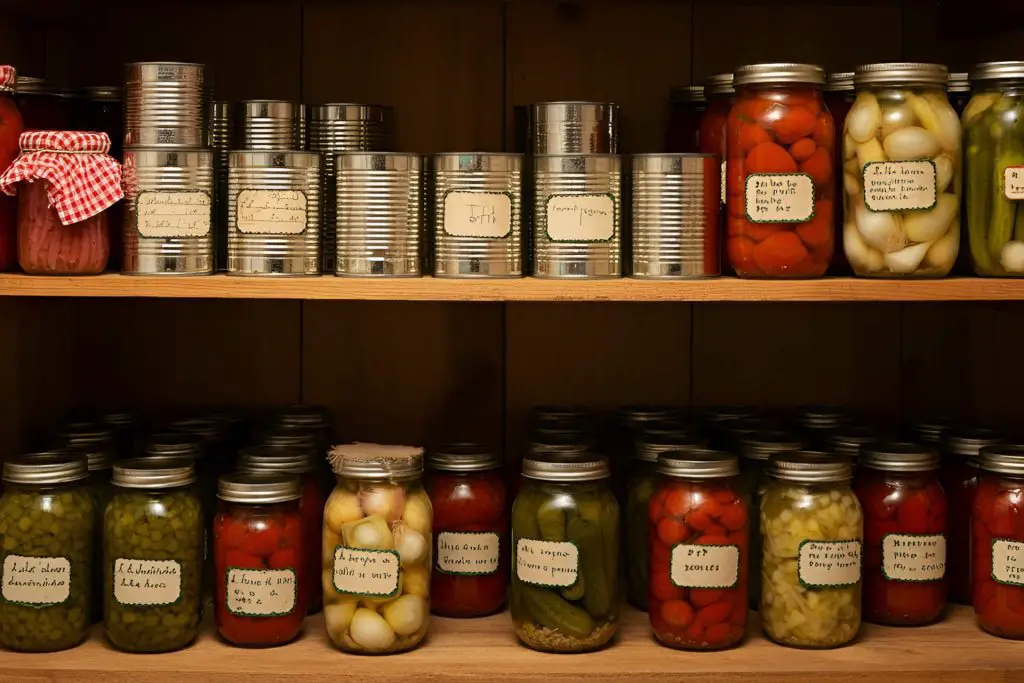
Want to be able to savor the sweet taste of summer strawberries in the dead of winter or adding a zesty crunch of homemade pickles to your sandwich when the garden is covered in snow. Preserving your own harvest not only extends the bounty of your homestead but also brings a sense of fulfillment that’s hard to match. If you’re new to homesteading, mastering the art of canning, pickling, and making preserves is an essential step towards self-sufficiency and enjoying the fruits (and veggies) of your labor all year round.
If you are just starting out homesteading then you will know that ultimately it is a commitment to a lifestyle of self-reliance, sustainability, and a deep connection with the land. Central to this way of life is the ability to preserve the bounty that your homestead produces. Canning, pickling, and creating preserves are not just culinary arts; they are vital skills that will enable yo to make the the most of their harvests.
In truth, the importance of these skills cannot be overstated. They allow you to:
- Reduce Waste: By preserving excess produce, you prevent waste and make full use of the food you’ve worked hard to grow.
- Enhance Food Security: Having a stocked pantry of preserved goods ensures a reliable food source regardless of external circumstances.
- Save Money: Preserving your own food is cost-effective, reducing the need to purchase out-of-season produce.
- Connect with Tradition: These practices link us to generations past, honoring time-tested methods of food preservation.
If you can master these techniques, you’re not just storing food; you’re embracing a core aspect of homesteading that reinforces independence and resilience.
The Basics of Food Preservation
Before diving into the specifics, it’s essential to understand the fundamental methods of food preservation. Each technique offers unique benefits and requires particular tools and knowledge.
Understanding the Methods
Canning
Canning is a process that involves placing foods in jars and heating them to a temperature that destroys microorganisms and inactivates enzymes. The heating and subsequent cooling create a vacuum seal that prevents other microorganisms from contaminating the food within the jar.
- Water Bath Canning: Ideal for high-acid foods such as fruits, pickles, jams, jellies, and tomatoes (when acidified). This method involves submerging jars in boiling water for a specified period.
- Pressure Canning: Necessary for low-acid foods like vegetables, meats, poultry, and seafood. Since these foods cannot be safely processed using a water bath, pressure canning reaches higher temperatures needed to eliminate the risk of botulism.
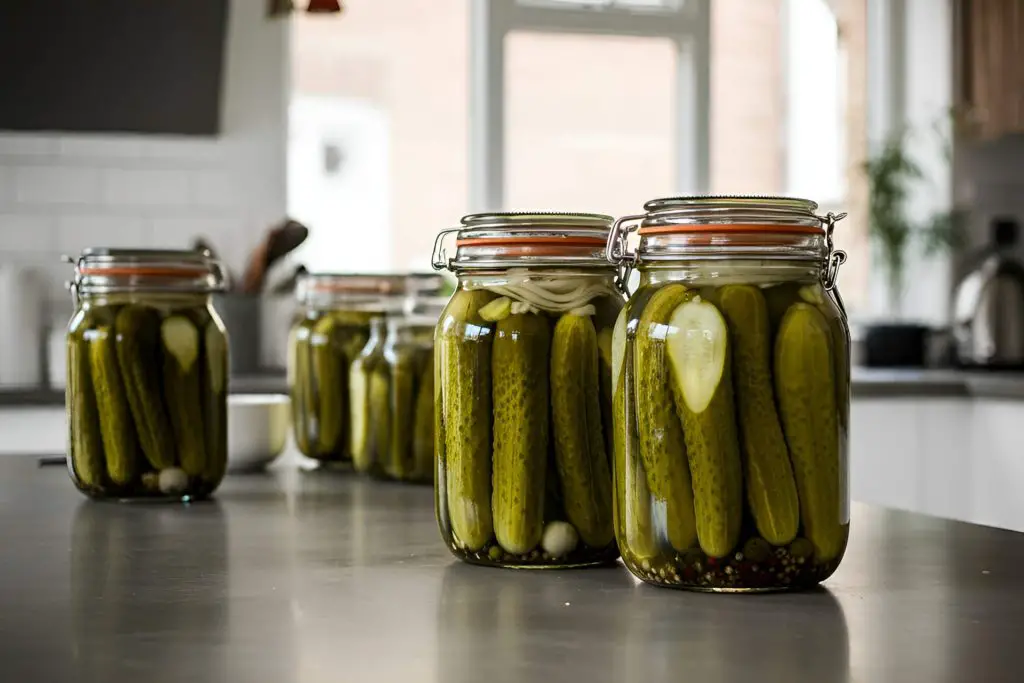
Pickling
Pickling preserves food by creating an acidic environment that inhibits bacterial growth. This can be achieved through:
- Vinegar Pickling: Involves immersing food in a vinegar solution, often with added spices and herbs for flavor.
- Fermentation Pickling: Relies on the natural fermentation process, where beneficial bacteria convert sugars in the food into lactic acid, preserving the food and enhancing its nutritional value.
Preserves
Preserves are made by cooking fruit with sugar, resulting in spreads that can be stored for extended periods. The category includes:
- Jams: Thick spreads containing fruit pieces or pulp.
- Jellies: Clear spreads made from fruit juice.
- Marmalades: Citrus-based spreads that include peel and pulp.
Essential Equipment and Tools
Equipping yourself with the right tools is crucial for safe and successful food preservation. Here’s what you’ll need:
- Canning Jars: Also known as Mason jars, they are designed to withstand the heat of processing.
- Two-Piece Lids: Consist of a flat metal lid with a sealing compound and a screw band to hold it in place during processing.
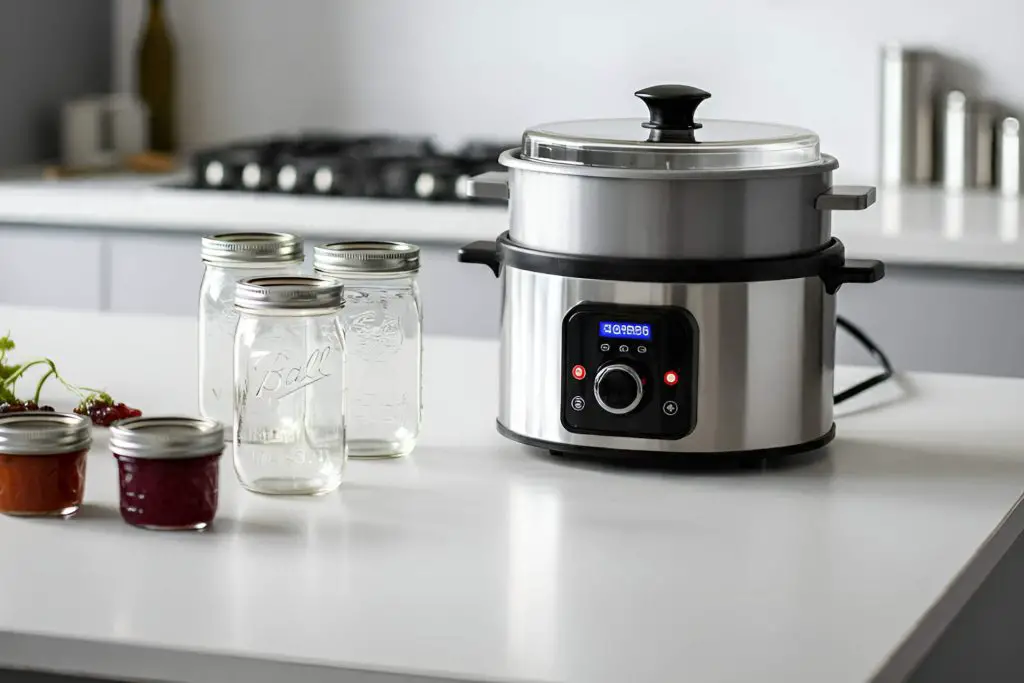
- Water Bath Canner: A large, deep pot with a lid and a rack to hold jars off the bottom.
- Pressure Canner: A heavy-duty pot with a locking lid, pressure gauge, and vent for steam, necessary for processing low-acid foods.
- Jar Lifter: A tool with rubberized grips to safely remove hot jars from the canner.
- Funnel: Helps fill jars without spilling.
- Bubble Remover/Headspace Tool: Removes air bubbles and measures headspace—the distance between the food and the jar’s rim.
Investing in quality equipment ensures not only the success of your preservation efforts but also the safety of the food you store.
Getting Started with Canning
Canning is a time-honored method that allows you to store food at room temperature safely. It’s an essential skill for any homesteader looking to maximize their harvest.
Safety First
Food safety is paramount when canning. Improper canning can lead to the growth of Clostridium botulinum, a bacterium that produces a deadly toxin. To ensure safety:
- Sterilize Jars: Wash jars, lids, and bands in hot, soapy water. Sterilize jars by boiling them for at least 10 minutes.
- Use Recommended Processing Times: Follow trusted recipes and processing times from reliable sources like the USDA or the National Center for Home Food Preservation.
- Avoid Altering Recipes: Changes in ingredient proportions can affect acidity levels and compromise safety.
- Check Seals: After processing, ensure that the lids have sealed properly. The lid should be concave and not move when pressed.
Step-by-Step Guide to Water Bath Canning
Water bath canning is suitable for high-acid foods. Here’s how to get started:
Selecting the Right Produce
Choose ripe, unblemished fruits and vegetables. Quality in equals quality out. Wash produce thoroughly to remove dirt and bacteria.
Preparing Jars and Lids
- Inspect Jars: Check for cracks or chips, which can lead to breakage or sealing failures.
- Sterilize: Boil jars for at least 10 minutes if processing times are less than 10 minutes. For longer processes, washing in hot, soapy water is sufficient.
- Prepare Lids: Follow manufacturer’s instructions, which often involve simmering lids in hot water to soften the sealing compound.
Processing Times and Techniques
- Fill Jars: Use a funnel to fill jars with prepared food, leaving the recommended headspace (usually 1/4 to 1/2 inch).
- Remove Air Bubbles: Slide a non-metallic spatula around the inside of the jar to release trapped air.
- Wipe Rims: Clean jar rims with a damp cloth to ensure a good seal.
- Apply Lids and Bands: Place lids on jars and screw bands on until fingertip-tight.
- Process Jars: Place jars on the rack in the canner, ensuring they are covered by at least 1-2 inches of water. Bring to a rolling boil and start timing according to your recipe.
- Cool and Store: After processing, remove jars and place them on a towel to cool undisturbed for 12-24 hours. Check seals before storing.
Canning with Manual Tin Can Machines
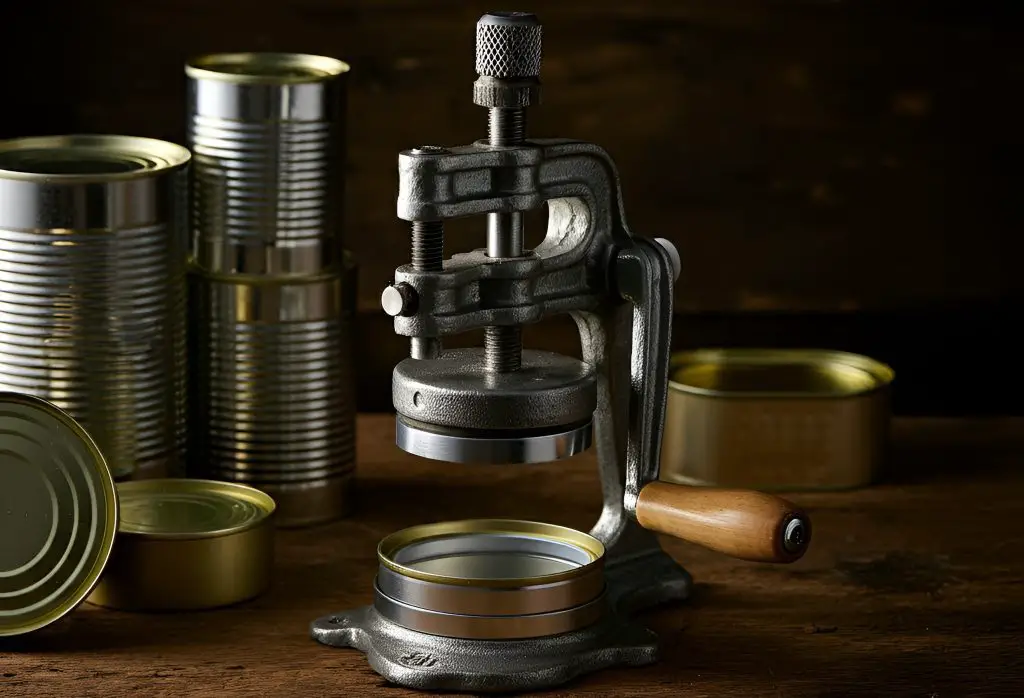
While glass jars are the traditional choice for home canning, manual tin can machines offer an alternative that brings unique benefits. Using tin cans can enhance the durability and longevity of your preserved foods, making them a valuable addition to your homesteading skills.
Benefits of Using Tin Cans
- Durability: Tin cans are less prone to breakage compared to glass jars, making them ideal for transportation and storage.
- Light Protection: They prevent light exposure, which can degrade food quality over time.
- Extended Shelf Life: Properly sealed tin cans can preserve food safely for several years.
- Space Efficiency: Their uniform shape allows for efficient stacking and storage in your pantry.
Equipment Needed
To start canning with tin cans, gather the following tools:
- Manual Tin Can Sealer: A device that seals lids onto tin cans by crimping the edges.
- Tin Cans and Lids: Food-grade cans suitable for home canning, available in various sizes.
- Canning Pot or Pressure Canner: For processing the sealed cans, depending on the food type.
- Protective Gloves: To handle hot cans safely.
Step-by-Step Guide to Using a Manual Tin Can Machine
- Prepare the FoodFollow your chosen recipe to prepare the food for canning. Whether it’s fruits, vegetables, or meats, ensure it’s cooked or blanched as required.
- Fill the Cans
- Sanitize Cans: Rinse cans with hot water to ensure cleanliness.
- Add Food: Fill cans with the prepared food, leaving appropriate headspace (usually about 1/2 inch).
- Remove Air Bubbles: Gently tap the cans or use a non-metallic tool to release trapped air.
- Apply Lids
- Place the lid onto the filled can, ensuring it’s centered and seated properly.
- Some lids may require a sealing compound; follow the manufacturer’s instructions.
- Seal the Cans Using the Manual Sealer
- Set Up the Sealer: Secure the manual tin can sealer to a sturdy surface.
- Adjust Settings: Configure the sealer for the size of your cans.
- Seal the Can: Place the can in the sealer. Turn the handle according to the device’s instructions to crimp the lid tightly onto the can.
- Check the Seal: Inspect the can for a uniform seal with no gaps or imperfections.
- Process the Sealed Cans
- Determine Processing Method: Use a water bath canner for high-acid foods or a pressure canner for low-acid foods.
- Process According to Guidelines: Place cans in the canner and process for the time specified in your recipe, ensuring the correct pressure and temperature are maintained.
- Cool and Store
- Cooling: Remove cans carefully using protective gloves or jar lifters. Place them on a heat-resistant surface to cool.
- Drying: Once cooled, wipe cans dry to prevent rust.
- Labeling: Write the contents and date on the cans using permanent markers or adhesive labels.
- Storage: Store cans in a cool, dark place with stable temperatures.
Safety Considerations
- Proper Equipment Use: Familiarize yourself with the manual sealer’s operation. Incorrect sealing can lead to spoilage or contamination.
- Can Quality: Use only new, food-grade tin cans. Reusing commercial cans is not recommended due to potential sealing issues.
- Processing Accuracy: Adhere strictly to processing times and pressures to eliminate harmful microorganisms.
- Handling: Be cautious when handling hot cans and equipment to prevent burns.
Tips for Successful Tin Can Canning
- Practice Sealing TechniqueBefore working with food, practice sealing empty cans to become comfortable with the sealer’s operation.
- Consistent HeadspaceMaintain consistent headspace in each can to ensure proper sealing and processing.
- Monitoring During ProcessingKeep an eye on pressure gauges and processing times. Adjust heat as necessary to maintain consistent pressure.
- Regular Equipment MaintenanceClean and inspect your manual sealer regularly. Sharp blades and well-maintained parts ensure effective sealing.
Advantages for Homesteaders
Using tin cans can be particularly advantageous for homesteaders who:
- Produce Large QuantitiesTin cans are ideal for bulk canning, allowing you to preserve large harvests efficiently.
- Seek Long-Term StorageWith their durability and light-blocking properties, tin cans are suitable for long-term food storage needs.
- Value PortabilityTin cans are sturdy and less likely to break, making them easier to transport or trade with others.
Environmental Considerations
- RecyclabilityTin cans are recyclable. After use, they can be recycled, reducing environmental impact.
- Resource UseConsider the balance between the durability of tin cans and the resources required to produce them compared to reusable glass jars.
Beginner-Friendly Recipes
Classic Tomato Sauce
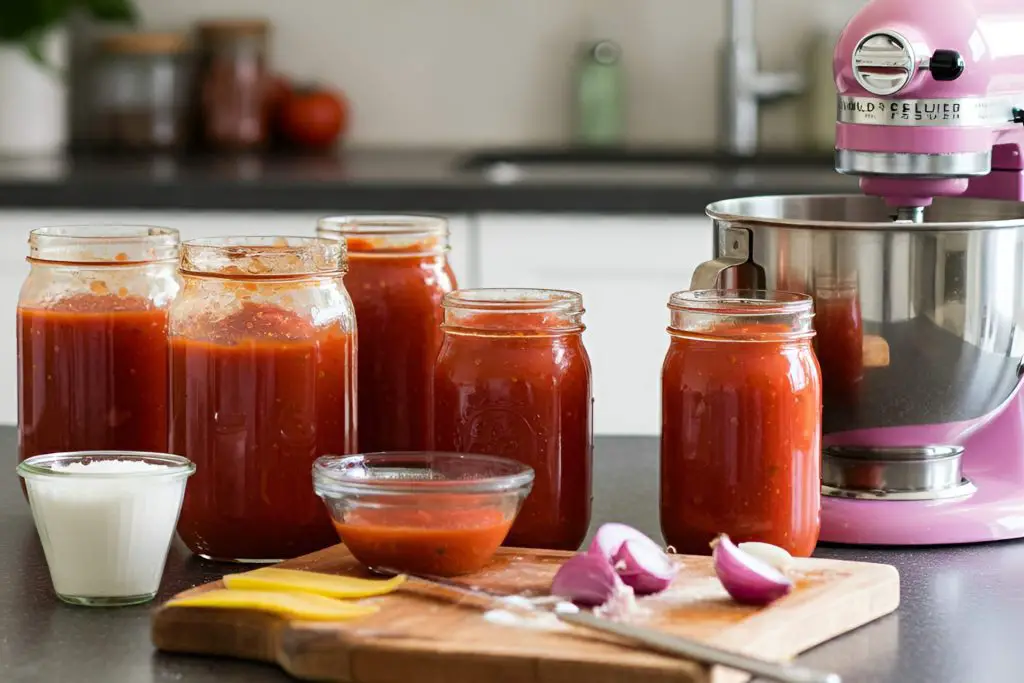
Making tomato sauce is an excellent way to use an abundant tomato harvest.
Ingredients:
- 20 pounds of tomatoes
- 1 cup chopped onions
- 5 cloves garlic, minced
- 1/4 cup fresh basil, chopped
- 2 tablespoons olive oil
- 2 teaspoons salt
- 1 teaspoon black pepper
- Bottled lemon juice
Instructions:
- Prepare Tomatoes: Wash, core, and blanch tomatoes to remove skins. Cut into quarters.
- Cook Sauce: In a large pot, sauté onions and garlic in olive oil until softened. Add tomatoes, basil, salt, and pepper.
- Simmer: Cook over medium heat, stirring occasionally, until the sauce reduces and thickens (about 1-2 hours).
- Blend: Use an immersion blender for a smoother texture, if desired.
- Prepare Jars: Add 2 tablespoons of bottled lemon juice to each quart jar (1 tablespoon for pints) to ensure proper acidity.
- Fill Jars: Ladle hot sauce into jars, leaving 1/2 inch headspace.
- Process: Wipe rims, apply lids, and process in a boiling water bath—35 minutes for pints, 40 minutes for quarts.
Homemade Applesauce
A simple and versatile recipe that’s perfect for beginners.
Ingredients:
- 12 pounds of apples (a mix of sweet and tart varieties)
- 2 cups water or apple juice
- Sugar to taste (optional)
- 1 tablespoon ground cinnamon (optional)
Instructions:
- Prepare Apples: Wash, peel, core, and slice apples.
- Cook Apples: In a large pot, combine apples and water. Cook over medium heat until apples are soft (about 15-20 minutes).
- Mash or Puree: For chunky applesauce, use a potato masher. For smooth applesauce, use a food mill or blender.
- Sweeten and Spice: Add sugar and cinnamon if desired. Taste and adjust accordingly.
- Heat Sauce: Return applesauce to the pot and bring to a gentle boil.
- Fill Jars: Ladle hot applesauce into jars, leaving 1/2 inch headspace.
- Process: Wipe rims, apply lids, and process in a boiling water bath—15 minutes for pints, 20 minutes for quarts.
The Art of Pickling
Pickling is a flavorful way to preserve a variety of vegetables, adding diversity to your pantry.
Quick Pickles vs. Fermented Pickles
Understanding the difference between these methods helps you choose the right approach for your needs.
- Quick Pickles (Refrigerator Pickles): Made by pouring a hot vinegar-based brine over vegetables. They are stored in the refrigerator and are ready to eat in a few days.
- Fermented Pickles: Involve submerging vegetables in a saltwater brine, allowing natural bacteria to ferment the food. This process takes longer (weeks to months) but results in probiotic-rich foods.
Crafting Your First Pickle Jar
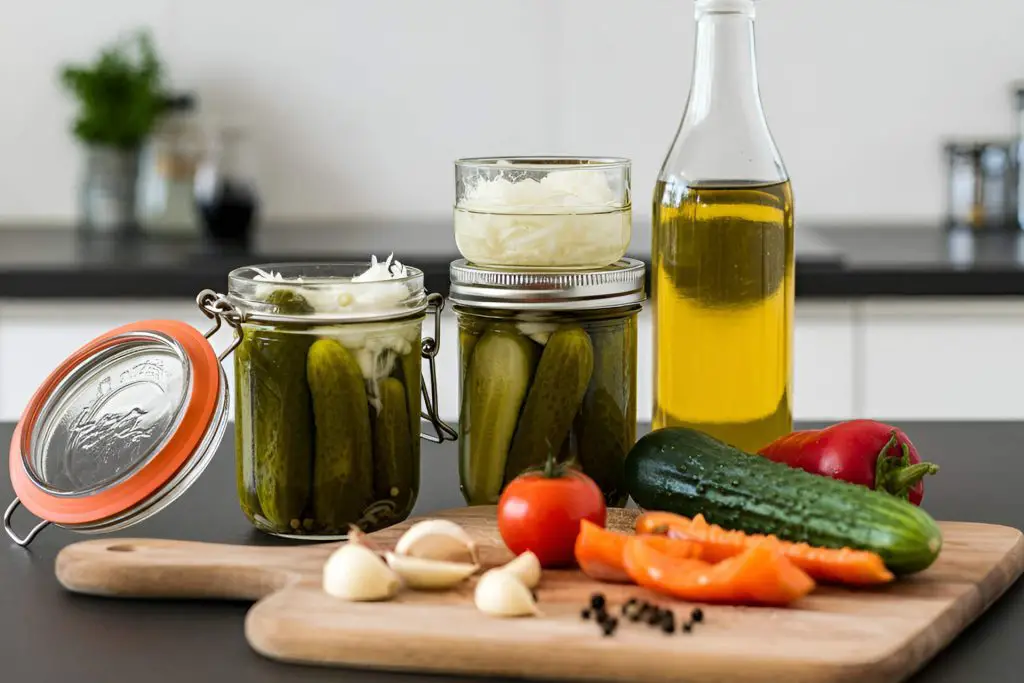
Choosing Vegetables and Brines
Popular vegetables for pickling include cucumbers, carrots, beans, beets, and peppers. The brine’s composition is critical:
- Vinegar Brine: A mixture of vinegar (at least 5% acidity), water, salt, and sometimes sugar.
- Salt Brine: For fermentation, a specific salt concentration is necessary to promote beneficial bacteria growth while inhibiting harmful microbes.
Flavoring with Spices and Herbs
Enhance your pickles with:
- Spices: Mustard seeds, coriander seeds, peppercorns, and cloves.
- Herbs: Dill, thyme, rosemary, and bay leaves.
- Aromatics: Garlic, onions, and ginger.
Experimenting with different combinations allows you to create unique flavors tailored to your preferences.
Simple Pickling Recipes
Crunchy Dill Pickles
A classic recipe that’s a staple in many households.
Ingredients:
- 4 pounds small cucumbers
- 4 cups water
- 4 cups white vinegar (5% acidity)
- 1/2 cup pickling salt
- Fresh dill sprigs
- 8 cloves garlic
- 2 tablespoons mustard seeds
- 1 tablespoon peppercorns
Instructions:
- Prepare Cucumbers: Wash thoroughly and trim the blossom end to prevent softening.
- Sterilize Jars: Prepare jars and lids as previously described.
- Pack Jars: Place dill, garlic, mustard seeds, and peppercorns at the bottom of each jar. Pack cucumbers tightly but without bruising.
- Prepare Brine: In a pot, combine water, vinegar, and pickling salt. Bring to a boil.
- Fill Jars: Pour hot brine over cucumbers, leaving 1/2 inch headspace.
- Remove Air Bubbles: Gently tap jars or use a bubble remover tool.
- Process: Wipe rims, apply lids, and process in a boiling water bath for 15 minutes.
Spicy Pickled Carrots
Add a kick to your pantry with these flavorful carrots.
Ingredients:
- 3 pounds carrots, peeled and cut into sticks
- 2 cups white vinegar (5% acidity)
- 2 cups water
- 1/4 cup honey or sugar
- 2 tablespoons pickling salt
- 4 cloves garlic, sliced
- 2 jalapeño peppers, sliced
- 1 teaspoon red pepper flakes (optional)
Instructions:
- Prepare Carrots: Peel and cut into uniform sticks.
- Blanch Carrots: Boil carrots for 2 minutes, then plunge into ice water to retain crispness.
- Pack Jars: Place garlic and jalapeño slices at the bottom of jars. Add carrot sticks, packing tightly.
- Prepare Brine: Combine vinegar, water, honey or sugar, pickling salt, and red pepper flakes. Bring to a boil.
- Fill Jars: Pour hot brine over carrots, leaving 1/2 inch headspace.
- Process: Wipe rims, apply lids, and process in a boiling water bath for 15 minutes.
Creating Delicious Preserves
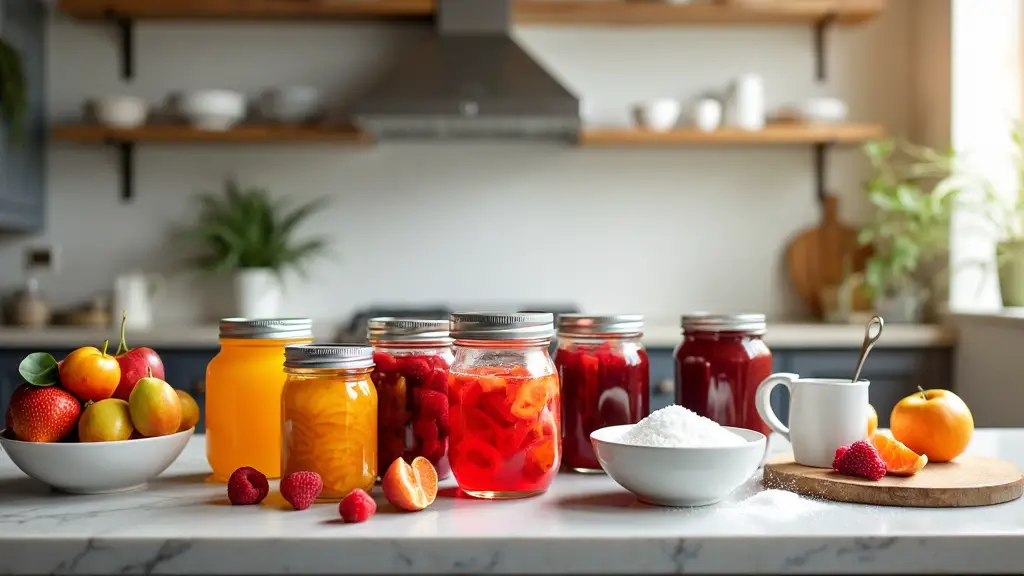
Preserving fruits as jams, jellies, and marmalades captures their flavors at peak ripeness.
Sugar’s Role in Preservation
Sugar is integral in making preserves. It:
- Acts as a Preservative: Binds water molecules, reducing available moisture for microbial growth.
- Contributes to Gel Formation: Interacts with pectin and fruit acids to create the desired texture.
- Enhances Flavor: Balances tartness and intensifies fruit flavors.
Jam-Making Basics
Pectin Use and Alternatives
Pectin is a natural fiber found in fruits that helps jams set. Options include:
- Commercial Pectin: Available in powdered or liquid form, it’s reliable and reduces cooking time.
- Natural Pectin Sources: Some fruits like apples, citrus peels, and quinces are high in pectin and can be added to low-pectin fruits.
- Long-Boil Method: Cooking the fruit mixture longer can concentrate natural pectin but may alter the flavor and color.
Achieving the Perfect Set
Factors affecting the set include:
- Pectin Content: Adjust pectin levels based on the fruit used.
- Acidity: A certain level of acidity is necessary for pectin to gel properly.
- Sugar Ratio: Proper proportions of sugar are crucial.
Testing for set:
- Spoon Test: Dip a cold spoon into the jam. If it forms a sheet and hangs off the edge without dripping, it’s ready.
- Plate Test: Place a small amount on a chilled plate. If it wrinkles when pushed, the set is good.
Easy Preserve Recipes
Strawberry Jam
A delightful spread that’s a favorite for many.
Ingredients:
- 6 cups crushed strawberries
- 4 cups sugar
- 1 package (1.75 ounces) powdered pectin
- 1/4 cup lemon juice
Instructions:
- Prepare Fruit: Wash, hull, and crush strawberries.
- Combine Ingredients: In a large pot, mix strawberries, pectin, and lemon juice.
- Bring to Boil: Stir constantly over high heat until it reaches a full rolling boil.
- Add Sugar: Stir in sugar quickly. Return to a full boil and boil hard for 1 minute.
- Skim Foam: Remove from heat and skim off any foam.
- Fill Jars: Ladle hot jam into jars, leaving 1/4 inch headspace.
- Process: Wipe rims, apply lids, and process in a boiling water bath for 10 minutes.
Orange Marmalade
A tangy and sweet spread perfect for toast and baking.
Ingredients:
- 4 large oranges
- 2 lemons
- 8 cups water
- 8 cups sugar
Instructions:
- Prepare Citrus: Wash fruit thoroughly. Cut oranges and lemons into thin slices, removing seeds.
- Soak Fruit: Combine fruit and water in a large pot. Let stand for 24 hours.
- Cook Fruit: Bring mixture to a boil, then reduce heat and simmer until the fruit is tender (about 1 hour).
- Add Sugar: Stir in sugar until dissolved. Increase heat and boil gently, stirring frequently, until the marmalade reaches the setting point.
- Test Set: Use the plate test to check.
- Fill Jars: Ladle hot marmalade into jars, leaving 1/4 inch headspace.
- Process: Wipe rims, apply lids, and process in a boiling water bath for 10 minutes.
Storing and Enjoying Your Preserved Goods
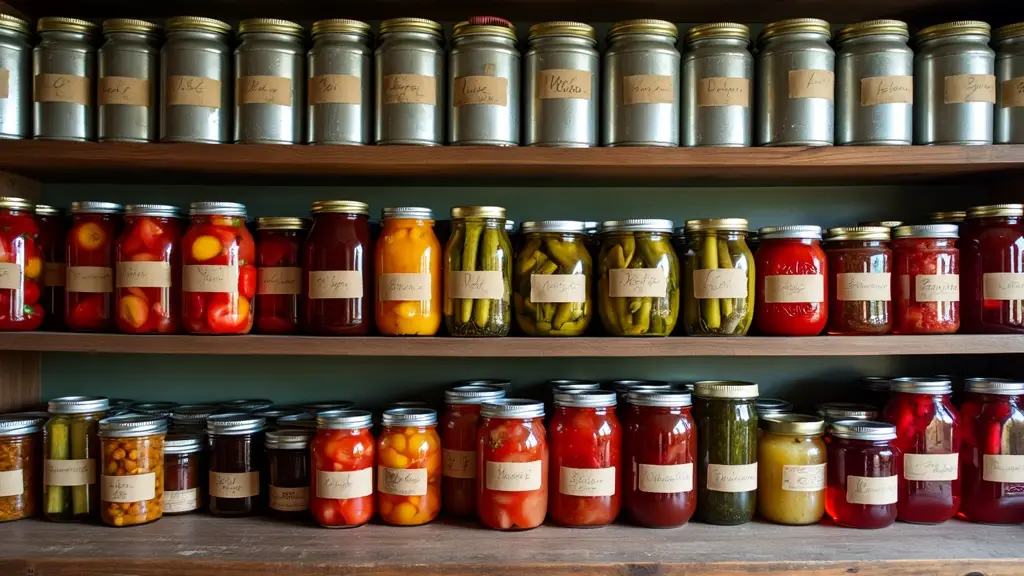
Proper storage maximizes the shelf life and quality of your preserved foods.
Proper Storage Techniques
- Cooling Jars: After processing, let jars cool undisturbed for 12-24 hours.
- Checking Seals: Press the center of each lid. If it doesn’t flex, the seal is good.
- Labeling: Include the contents and date of preservation.
- Storage Conditions: Keep jars in a cool, dark, and dry place. Avoid direct sunlight and extreme temperatures.
- Shelf Life: For best quality, consume home-canned goods within one year.
Incorporating Preserved Foods into Meals
Your preserved foods can enhance a variety of dishes:
- Jams and Jellies: Use on toast, in yogurt, or as glazes for meats.
- Pickles: Add to sandwiches, salads, or serve as side dishes.
- Canned Vegetables: Include in soups, stews, casseroles, or as standalone sides.
- Fruit Preserves: Use as fillings for pastries, toppings for pancakes, or mix into oatmeal.
By integrating these foods into your meals, you enjoy the flavors of your harvest throughout the year.
Troubleshooting Common Issues
Encountering problems is part of the learning process. Understanding how to address them is essential.
Identifying Spoilage
Signs that preserved food may have spoiled include:
- Unsealed Lids: If the lid has come unsealed or bulges.
- Leaks: Liquid seeping from the jar.
- Off Odors: Unpleasant smells upon opening.
- Mold: Visible mold growth inside the jar.
- Bubbles: Active bubbling or fermentation inside the sealed jar.
If you suspect spoilage, do not taste the food. Dispose of it safely.
Fixing Setbacks
Jam Didn’t Set
- Possible Causes: Insufficient pectin, incorrect sugar ratio, or undercooking.
- Solutions: Re-cook the jam with added pectin or sugar. Follow instructions for remaking soft jams provided by pectin manufacturers.
Lids Didn’t Seal
- Possible Causes: Food particles on the rim, inadequate headspace, or over-tightening bands.
- Solutions: Reprocess within 24 hours using new lids. Ensure rims are clean and headspace is correct.
Expanding Your Skills
As you gain confidence, you can explore more complex preservation methods and expand your repertoire.
Exploring Advanced Techniques
Pressure Canning Low-Acid Foods
Pressure canning allows you to safely preserve:
- Vegetables: Green beans, corn, peas, and carrots.
- Meats: Beef, chicken, pork, and game meats.
- Seafood: Fish and shellfish.
- Prepared Foods: Soups, stews, and sauces.
Learning pressure canning opens up a world of possibilities for food preservation.
Dehydrating and Freezing
- Dehydrating: Removes moisture from foods, concentrating flavors and extending shelf life.
- Freezing: A simple method suitable for many fruits, vegetables, and prepared foods.
Resources for Continued Learning
- Books:
- Ball Complete Book of Home Preserving
- The Joy of Pickling by Linda Ziedrich
- Preserving Everything by Leda Meredith
- Workshops and Classes: Local cooperative extension services often offer hands-on classes.
- Online Communities:
- Forums like Homesteading Today
- Social media groups focused on canning and preserving
- Websites:
- National Center for Home Food Preservation (nchfp.uga.edu)
These resources provide guidance, inspiration, and support as you continue to develop your skills.
Final Thoughts
Mastering canning, pickling, and making preserves is more than just a practical endeavor for homesteaders; it’s a reaffirmation of self-reliance and a deep connection to the cycles of nature. These skills are foundational to the homesteading lifestyle, ensuring that the labor and love invested in your garden sustain you throughout the year.
By preserving your harvest, you:
- Embrace Sustainability: Reduce dependence on store-bought goods and minimize waste.
- Strengthen Resilience: Build a pantry that supports your household regardless of external factors.
- Foster Community: Share your preserved goods, recipes, and knowledge with others, enriching relationships.