How to Prepare the Ground Before Hydroseeding | Getting a Premium Quality Finished Lawn
One of the great benefits of hydroseeding is that it is very flexible in terms of the quality ground to which you can apply the process. In general it possible to hydroseed almost to any soil area.
The results though, can be indifferent and the process on occasion prone to fail if little or no preparation effort is made. It is, therefore, important to consider proper ground preparation, where it is feasible, when planning the project as this is likely to make a huge difference to the end result. Good preparation can take the finished grass area from adequate grass coverage to being an outstanding lawn.
How to Prep for Hydroseeding
Depending on the agreement reached with your contract or unless you have engaged them to prepare the ground for the hydroseeding application, it is likely that it will be down to you.
Most contractors are likely to give you advice on what to do. The process is relatively straightforward and shouldn’t take too long.
Getting Your Site Ready for Hydroseeding
In many respects getting your site ready for hydroseeding is ostensibly the same as seeding grass using more traditional methods with just a few tweaks. The better you prepare the site the higher the quality of the finished lawn is likely to be so it is worth
Enhancing the Soil Environment
Poor soil conditions are the source of or contribute to the majority of plant and grass issues. Compacted soil particles can cause a reduction in the circulation of air, water, and the capacity of roots to penetrate deeply into the soil.
As such good soil preparation can make a big difference to the long term health of any newly seeded lawn. Depending on the condition of the ground and whether you are hydroseeding over an existing grassed area, you are preparing some elements of the preparation are different or may make take longer.
Hydroseeding Over Bare Ground
There are several elements to preparing the bare ground for hydroseeding. Each should be accomplished before you spay the slurry from the hydroseeder.
Removing Debris
The first step is to clear away any debris from the ground. Rocks, branches, sticks, leaves, etc. should all be removed before starting work. If there are large stones then they need to be broken up prior to removal.
Removing Weeds and Unwanted Vegetation
You will also want to remove any weeds present. It is best that you don’t use chemicals for this process as residual amounts of chemicals in the soil could damage the grass seed in the slurry that hydroseed lays down Instead this should be done by hand or with a weed whacker, making sure that you remove by the roots.
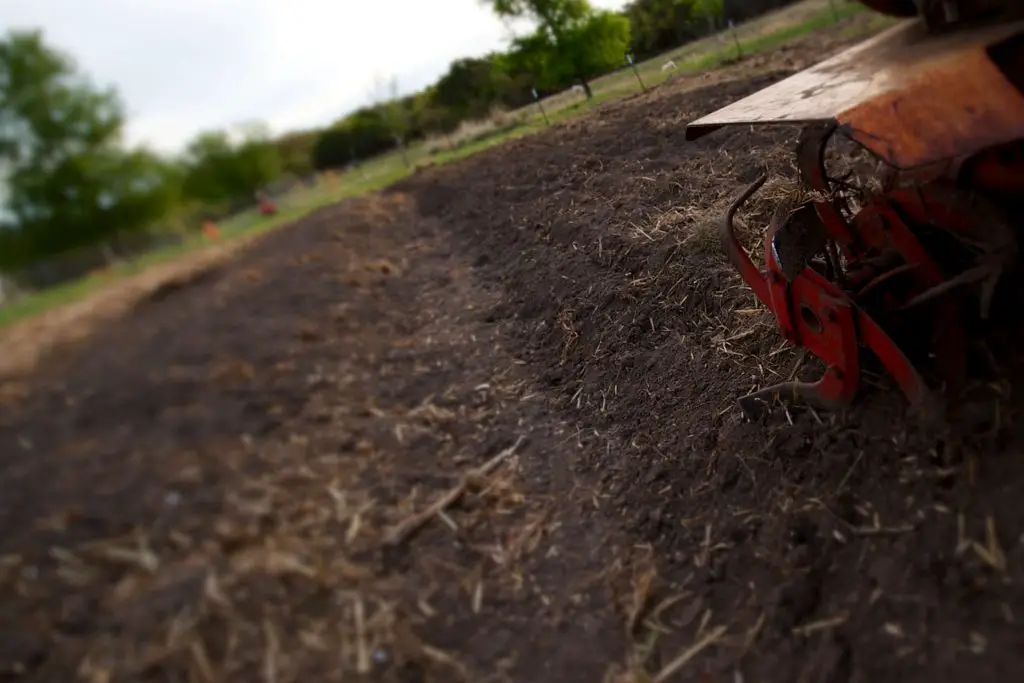
Decompacting the Soil
Once the soil is clear of debris and weeds the next stage is to decompact the ground. This will allow air and moisture to more freely circulate as the roots of the new grass seed drive into the soil.
There are several ways this can be done, the method you choose will depend on the size of the area and equipment to hand.
For most average size residential lawns you should be able to aerate the ground by hand using a tool as basic as a garden pickaxe or garden fork and it is an easier process if the ground is moist..
If that sounds like hard work or if you have an extensive area the option is to use a rototiller. These can easily be hired by the day and will make short work of breaking the soil up.
The ground should be broken up three to four inches deep and then racked flat. Any further stones or debris that is dug up will need to be picked out.
Irrigation System
You should give some thought to irrigation. Germinating grass is water hungry and requires constant monitoring so that the ground remains moist. Although the hydroseeding process allows the seeds to absorb several times their weight in water before being sprayed, within a few days further watering is likely to be needed.
As with other seeding processes once the seed it is down you don’t want to walk on the area while the seeds fully germinate and take root. With smaller lawns, you may be able to water the area effectively without standing on the lawn. However, with bigger areas, you will need to set up a sprinkler system to ensure that the whole area is fully watered.
Adding Top Soil

Once the ground is broken up you should add topsoil to the loose soil to help aid the root growth of the grass. You probably need to add topsoil to a depth of around 4 inches, depending on the depth of the loose soil.
A loamy compost mix is the best choice for the soil. The result should be eight inches deep loose nutrient-rich topsoil onto which the hydroseeding slurry can be applied. This should create an ideal soil condition for healthy grass allowing good growth and enabling the grass to fill out properly.
When preparing the soil some are tempted to shortcut the process by adding just a few inches of topsoil over the bare compacted. This can cause long term problems as the resulting grass growth will may not be able to drive their roots deep enough making the grass vulnerable to both flooding in winter and drought in summer.
Preparing the Ground for Hydroseeding Over an Existing Lawn
There is much disinformation as to whether hydroseeding over an existing grass area can be done or indeed is good practice. The fact is that there is no obvious reason why you shouldn’t use the hydroseeding process to overseed an existing lawn. Indeed it is probably the most efficient way to overseed if the mulch is applied at the correct thickness.
There are though, some differences in terms of how you would go about preparing the area for hydroseeding as opposed to hydroseeding over bare ground. The main differences being in clearing of debris and decompacting the soil .
Removing Debris
Hopefully, you do not have too much of a problem with stones and sticks on your existing lawn. This is an ongoing process for most good lawn maintenance programs but any remaining debris will need to be removed.
Removing Weeds and Unwanted Vegetation
Again hopefully this isn’t too much of a problem with an existing lawn but if there are weeds then these will need to be removed from the root by hand or with a weed whacker.
Aerate and Scarify the Lawn
You don’t need to break up your existing lawn in the same manner that you do when you hydroseed over an existing grass area. However, the ground must be well aerated and fully scarified before the hydroseed slurry is applied.
Aeration is a method of opening small ventilation holes in the soil that are about half an inch in diameter and about four inches deep This can by done with a simple garden fork or by using an aerating tool such as a tine.
By aerating, you remove compacted soil from the root zone, which will better allow oxygen and nutrients to reach the roots.
After aerating you should scarify the existing grass. This process removes thatch and moss from the area to be hydroseeded. At this point the original grass area may seem naked as a result, but the seeds will more easily come into in contact with soil when the slurry is sprayed.
Both of these preparation procedures aid in the establishment of new turfgrass seedlings and should result in a better finished lawn.
Irrigation and Top Soil
Much the same as hydroseeding on bare soil if you don’t already have an irrigation system then you should consider adding sprinklers, especially if you are unable to water effectively without venturing onto the hydroseeded area.
After aerating you should add a layer of compost to the area around two inches deep. This will help feed the existing grass and help the new grass establish itself.
Summary: How to Prepare the Ground Before Hydroseeding
Hydroseeding is a very flexible and adaptive method of grassing an area. In general terms, you can have good success without too much preparation. However, this approach is really only suited for industrial applications such as roadside banks and erosion control projects.
When dealing with residential hydroseeding applications good preparation can transform the results and produce healthier[1] and quite spectacular finished lawns. It is therefore, important to prepare the ground properly to achieve the best results.
Commonly Asked Questions
Q. Will hydroseeding over an existing lawn kill the grass already there?
When hydroseeding over an existing lawn the thickness of the slurry that is sprayed will be less thick than if hydroseeding bare soil. This is to prevent the slurry from suffocating thew existing grass.
Notes:
[1] Washington State University: Establishing a New Lawn