No Dig Gardening: Grow More Vegetables with Less Weeding (A Beginner’s Guide to Healthy Soil)
I dropped the last wheelbarrow of compost onto the cardboard-covered patch of my clients weedy grass . Her neighbor, who was working on his garden next door paused mid-till, rototiller roaring, and called over the fence. “You’re not even digging that up first?” I shook her head, poked holes through the mulch, and tucked seedlings directly into the fluffy compost. By July, my clients bed overflowed with zucchini and tomatoes while her neighbor battled bindweed for the third time that season. The secret wasn’t more work. It was less. No rototiller. No back-breaking digging. Just layers, life, and letting nature do what it does best.
Welcome to no dig gardening, the gentle revolution happening in backyards across the country. This isn’t a trendy gimmick or complicated science project. It is an intuitive approach that honors the life already thriving beneath our feet. And the best part? It rewards you with healthier plants, fewer weeds, and more time to actually enjoy your garden rather than wage war on it.
What Exactly Is No Dig Gardening?
At its heart, no dig gardening is beautifully simple. Instead of turning over the soil with a spade or tiller, you garden on top of the ground. You build fertility upward by layering organic materials like compost, straw, and leaves directly onto your existing soil or even right over grass and weeds. Plants grow in these nutrient rich layers while the soil ecosystem below remains undisturbed, happy, and incredibly productive.
This stands in stark contrast to traditional digging methods. For generations, we were taught that good gardening meant turning the earth each season, breaking up clumps, and burying last year’s debris. But every time we dig, we disrupt a hidden world of beneficial fungi, earthworms, and microorganisms that form nature’s original recycling system. Think of your soil as a bustling city. Tilling is like bulldozing downtown every few months, scattering residents and destroying infrastructure. No dig gardening, on the other hand, is like thoughtful urban renewal. You add resources at street level, and the citizens below quietly build a thriving, resilient community.
You might hear no dig gardening called by other names like lasagna gardening or sheet mulching. These are close cousins in the same family of gentle growing methods. Pioneers like Ruth Stout popularized heavy mulching decades ago, and modern advocates have refined the approach into a reliable system for abundant harvests. But you do not need to know any of these names to succeed. You just need to understand one principle: feed the soil on the surface, and let nature handle the rest.
The Quiet Revolution Happening Beneath Your Feet
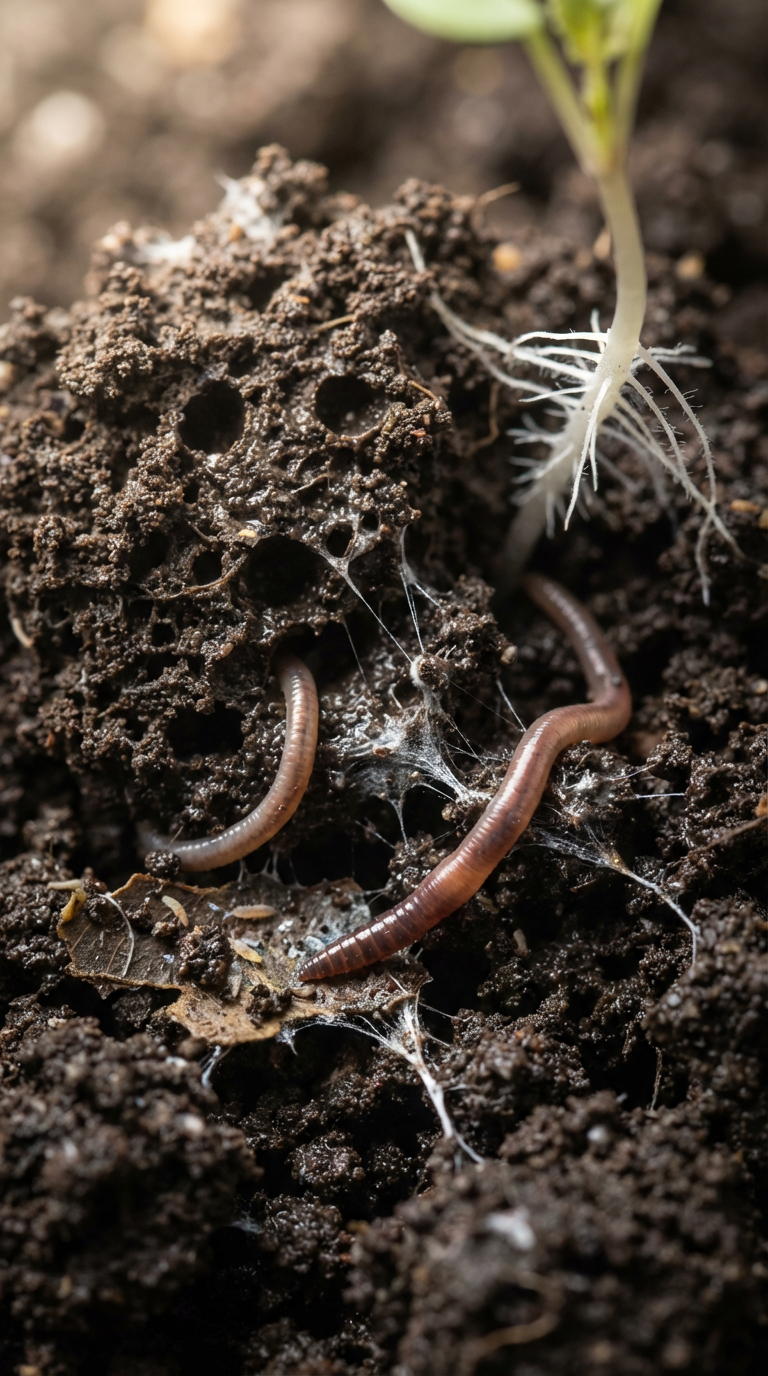
So why does leaving soil undisturbed make such a dramatic difference? The answer lies in the invisible web of life that exists just below the surface. Healthy soil is not dirt. It is a living, breathing ecosystem teeming with earthworms that create natural drainage channels, fungi that form vast underground networks to share nutrients between plants, and billions of bacteria that break down organic matter into plant available food.
When we till, we slice through fungal networks, bring dormant weed seeds to the surface where they happily sprout, and expose stored carbon to the air where it escapes as carbon dioxide. We also destroy soil structure, leading to compaction after rain and reduced water retention. It is no wonder tilled gardens often demand constant weeding, watering, and fertilizing. We have disrupted the very systems that would otherwise support our plants.
No dig gardening works with these natural processes instead of against them. By applying compost and mulch to the surface, we feed soil organisms from the top down. Earthworms and beetles gradually pull these materials downward, naturally aerating and enriching the soil without any human intervention. The mulch layer acts as a living blanket, suppressing weeds by blocking light while still allowing water and air to pass through. It also dramatically reduces evaporation, meaning you will water less frequently even during dry spells.
Gardeners who switch to no dig often report something magical happening after just one season. Their soil becomes darker, crumblier, and alive with earthworms. Plant roots grow deeper and stronger. Vegetables taste noticeably sweeter and more vibrant. And perhaps most joyfully, the constant battle with weeds softens into an occasional, easy to pull intruder. Your garden begins to feel less like a chore and more like a partnership.
Your First No Dig Bed: A Weekend Project
Ready to try it yourself? Building your first no dig bed is genuinely one of the most satisfying weekend projects you will ever complete. You need no special tools, no heavy machinery, and no prior gardening expertise. Just a bit of cardboard, some compost, and a willingness to try something new.
Step 1: Choose Your Spot
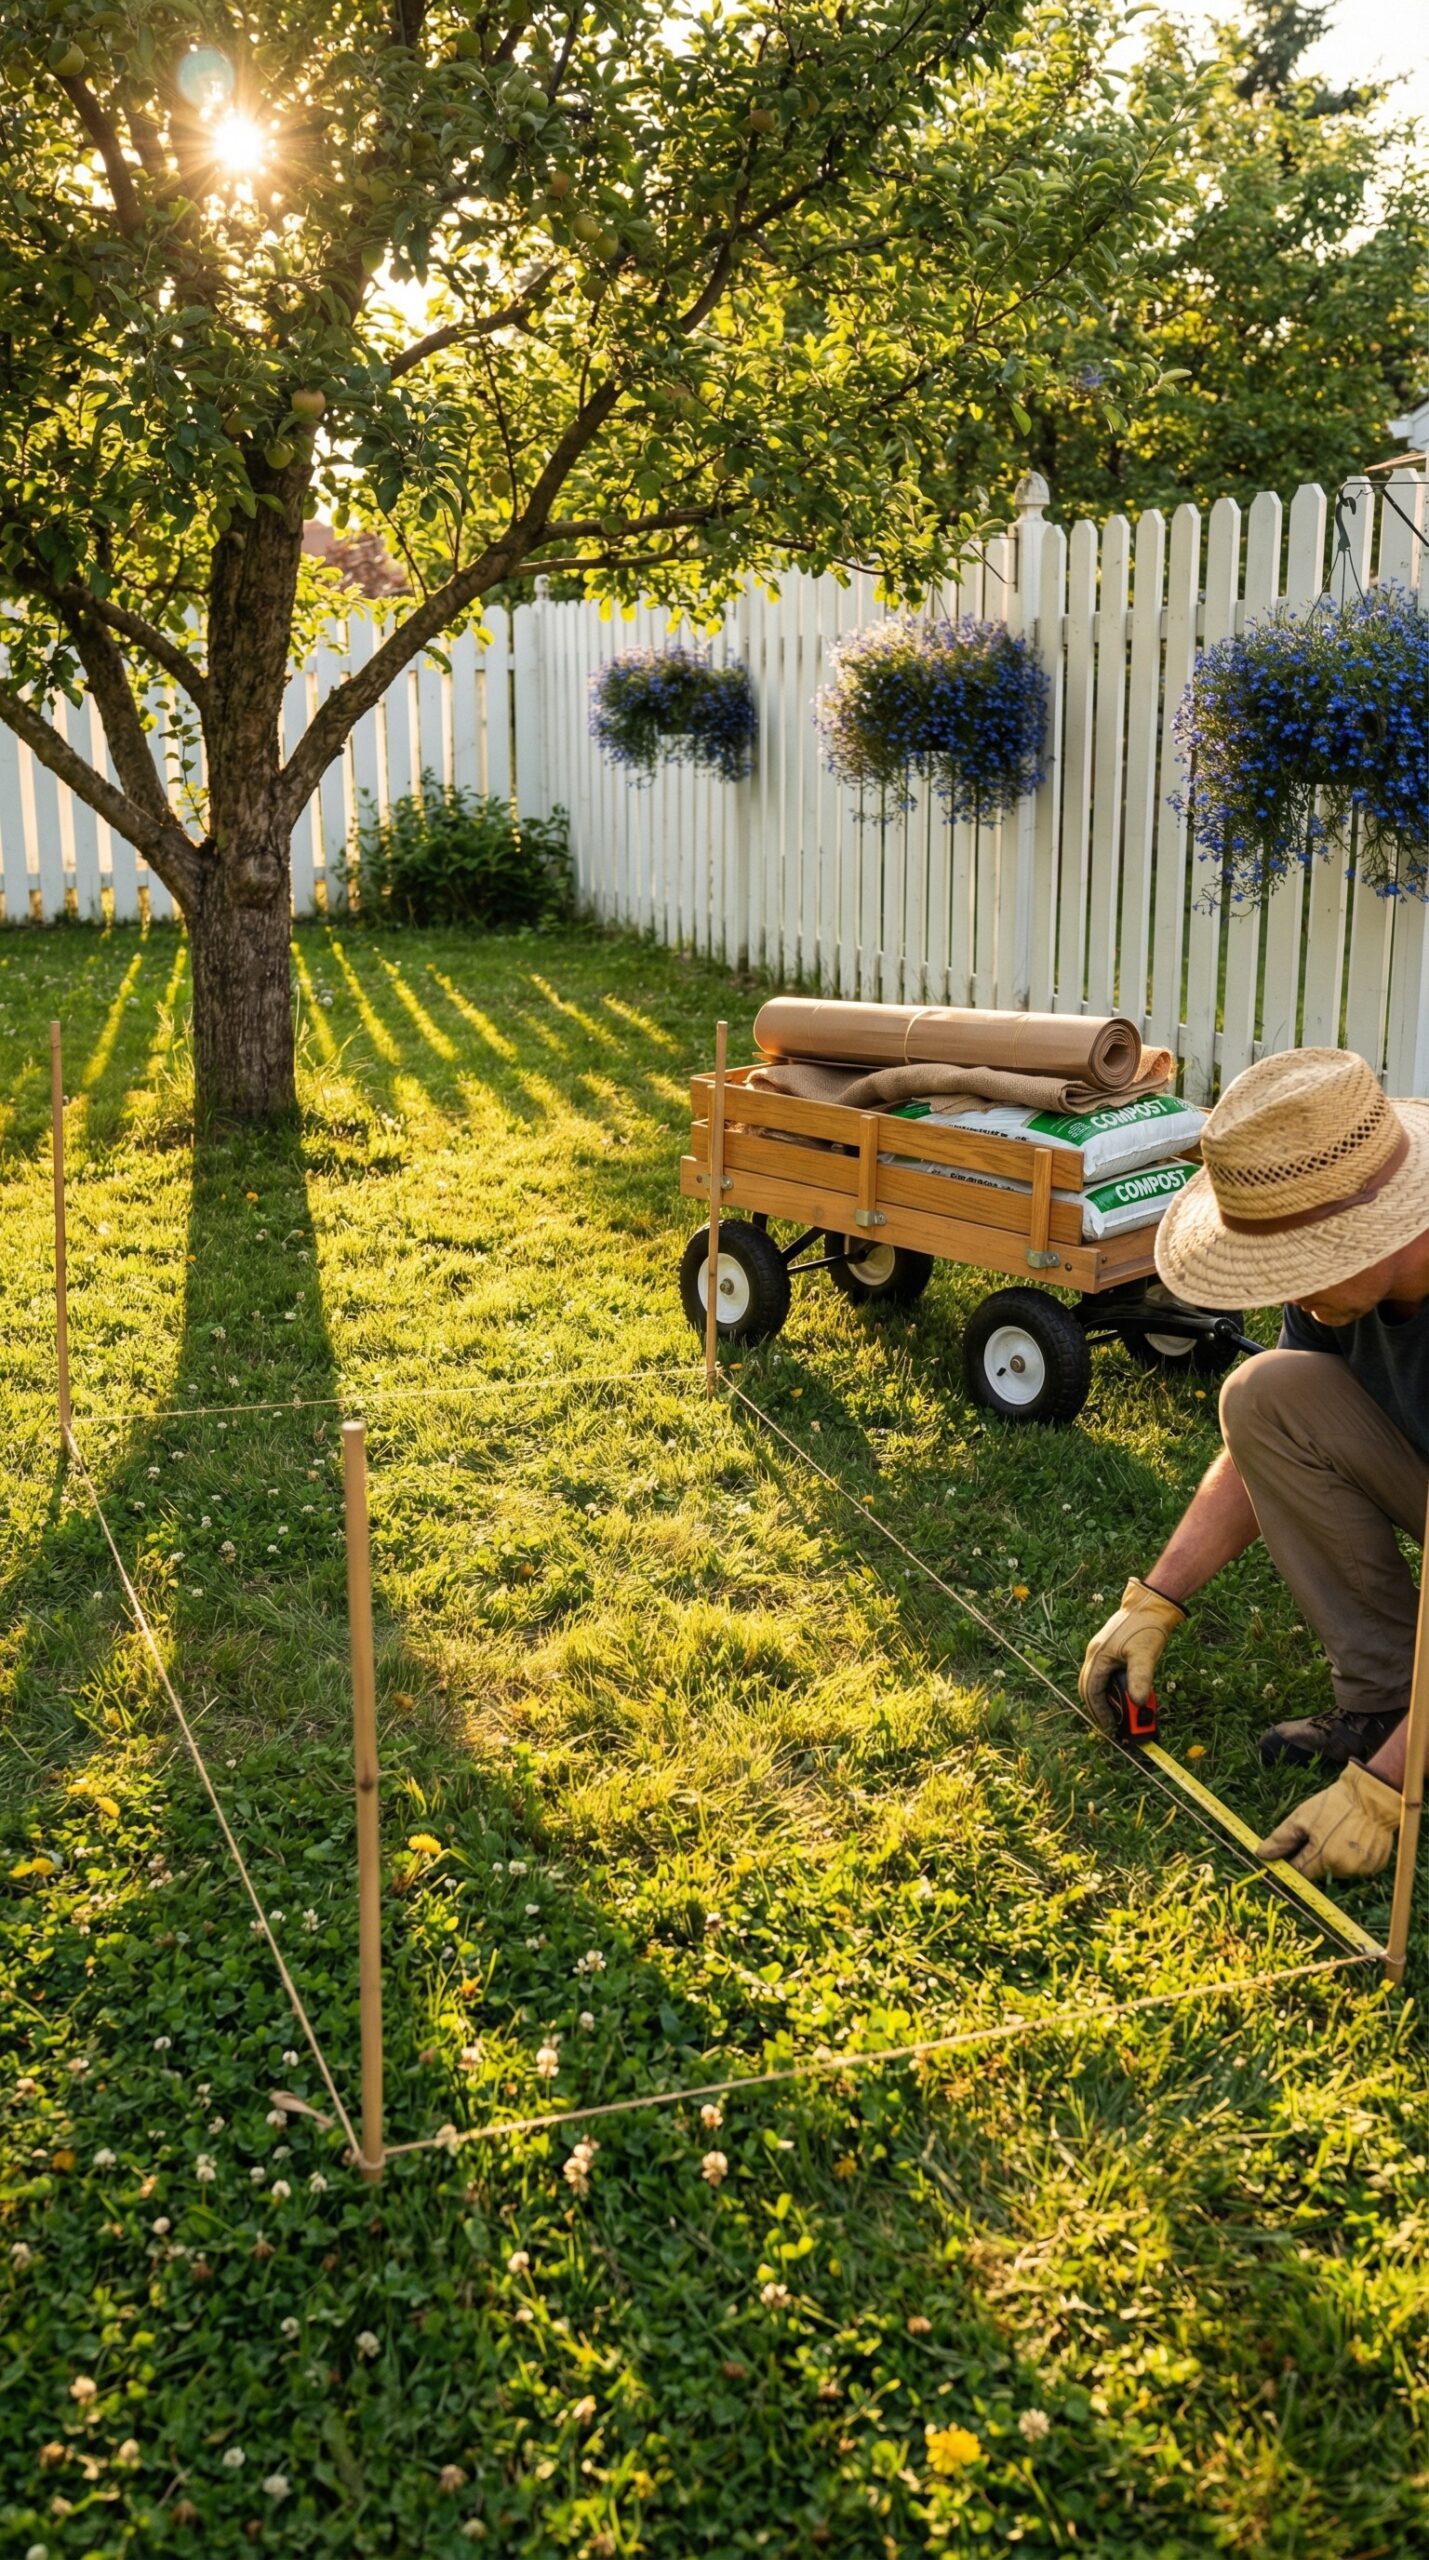
Start small to build confidence. A 4 foot by 8 foot rectangle is perfect for beginners. It is large enough to grow a meaningful harvest but small enough to manage easily. You can reach the center from either side without stepping on the bed, which is important because compacted soil slows down the no dig magic. Pick a location that receives at least six hours of sunlight daily and is relatively level. Do not worry about the quality of your existing soil or the weeds currently growing there. No dig works over clay, sand, grass, or even persistent weeds.
Step 2: Lay Your Weed Barrier
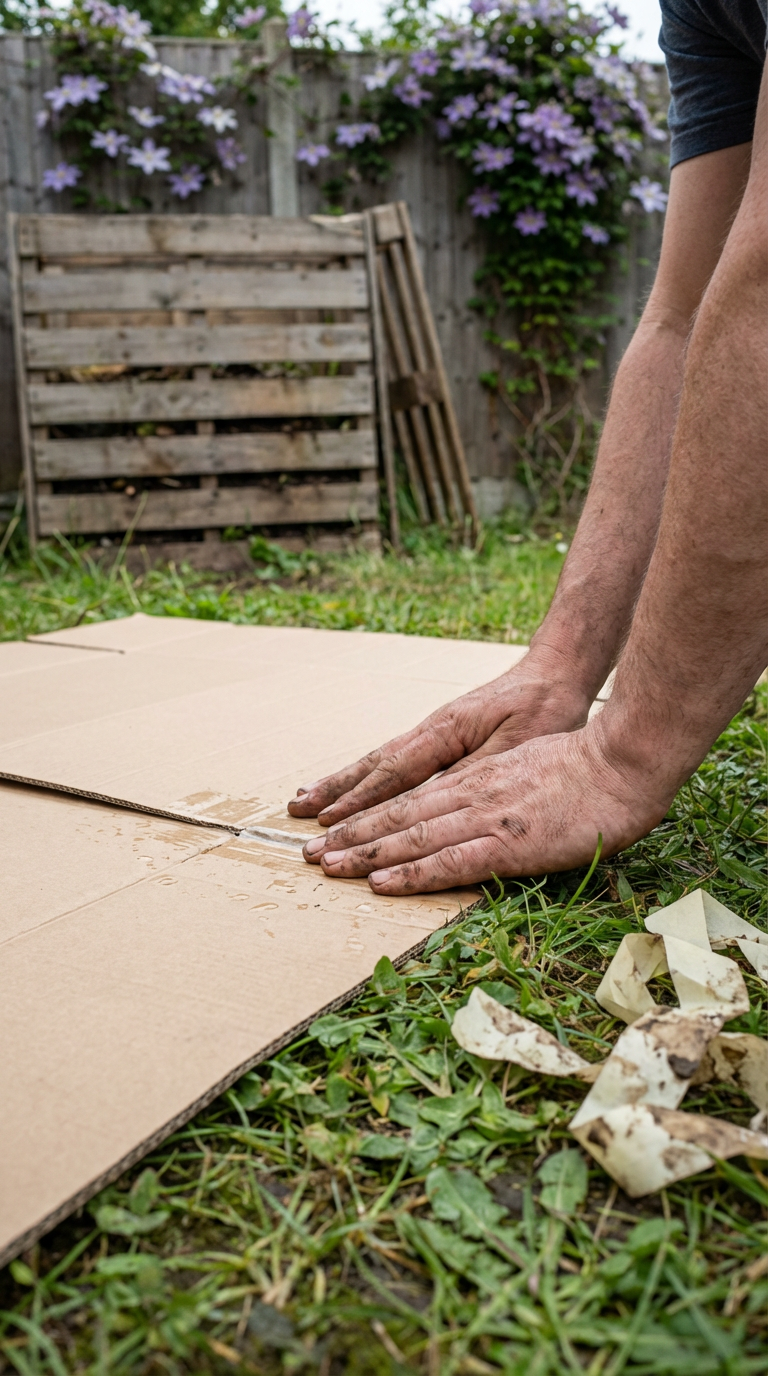
This is where the cardboard comes in, and it is simpler than you might think. Collect plain cardboard boxes, removing any tape, labels, or plastic windows. Newspaper works too, but you will need about ten sheets thick to be effective. Lay the cardboard directly over your chosen area, overlapping the edges by at least six inches so no gaps remain for weeds to peek through. If you are working over thick grass or persistent weeds, do not be shy with the cardboard. Two layers provide extra insurance.
Once the cardboard is in place, water it thoroughly with a hose. You want it completely saturated. This serves two purposes: it weighs the cardboard down so it will not blow away, and it creates a moist environment that earthworms adore. They will quickly move upward to investigate this new habitat, beginning their quiet work of integration.
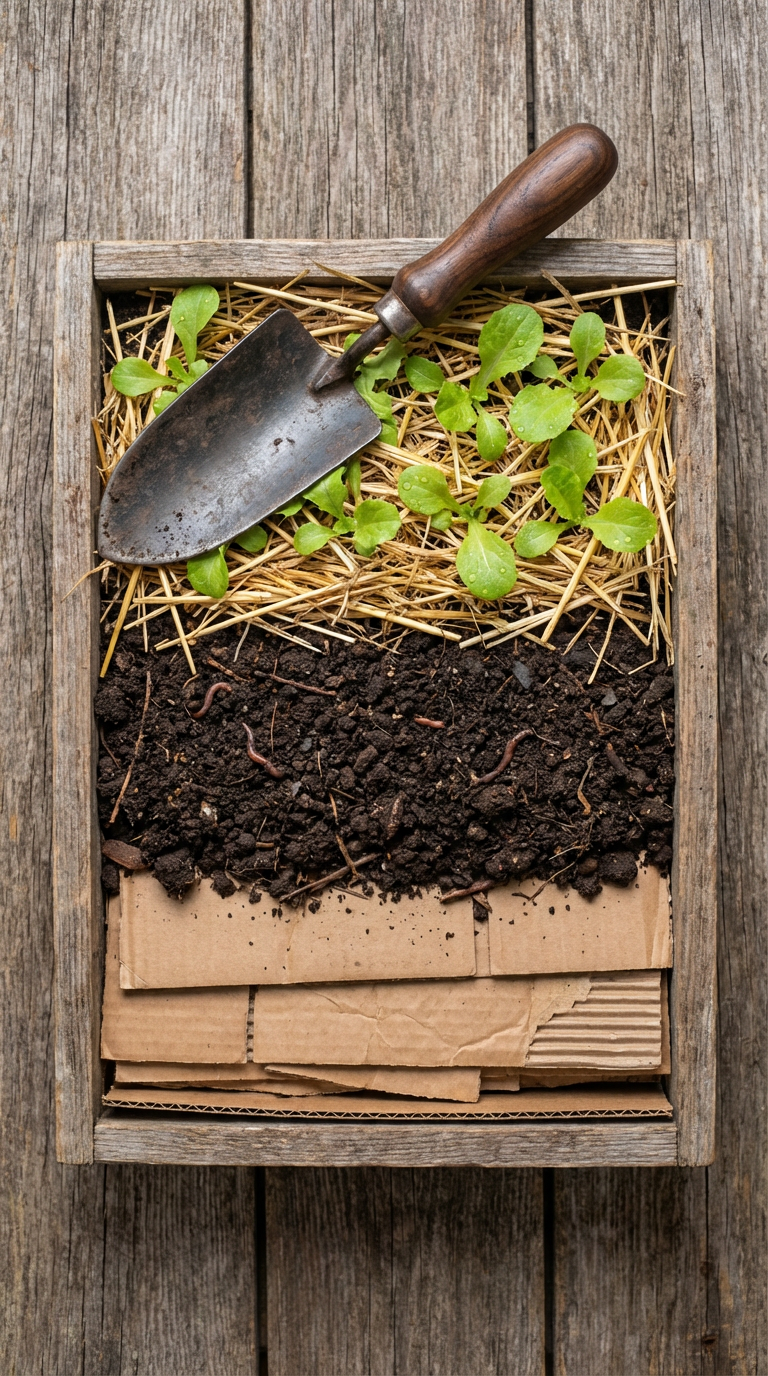
Step 3: Build Your Growing Layers
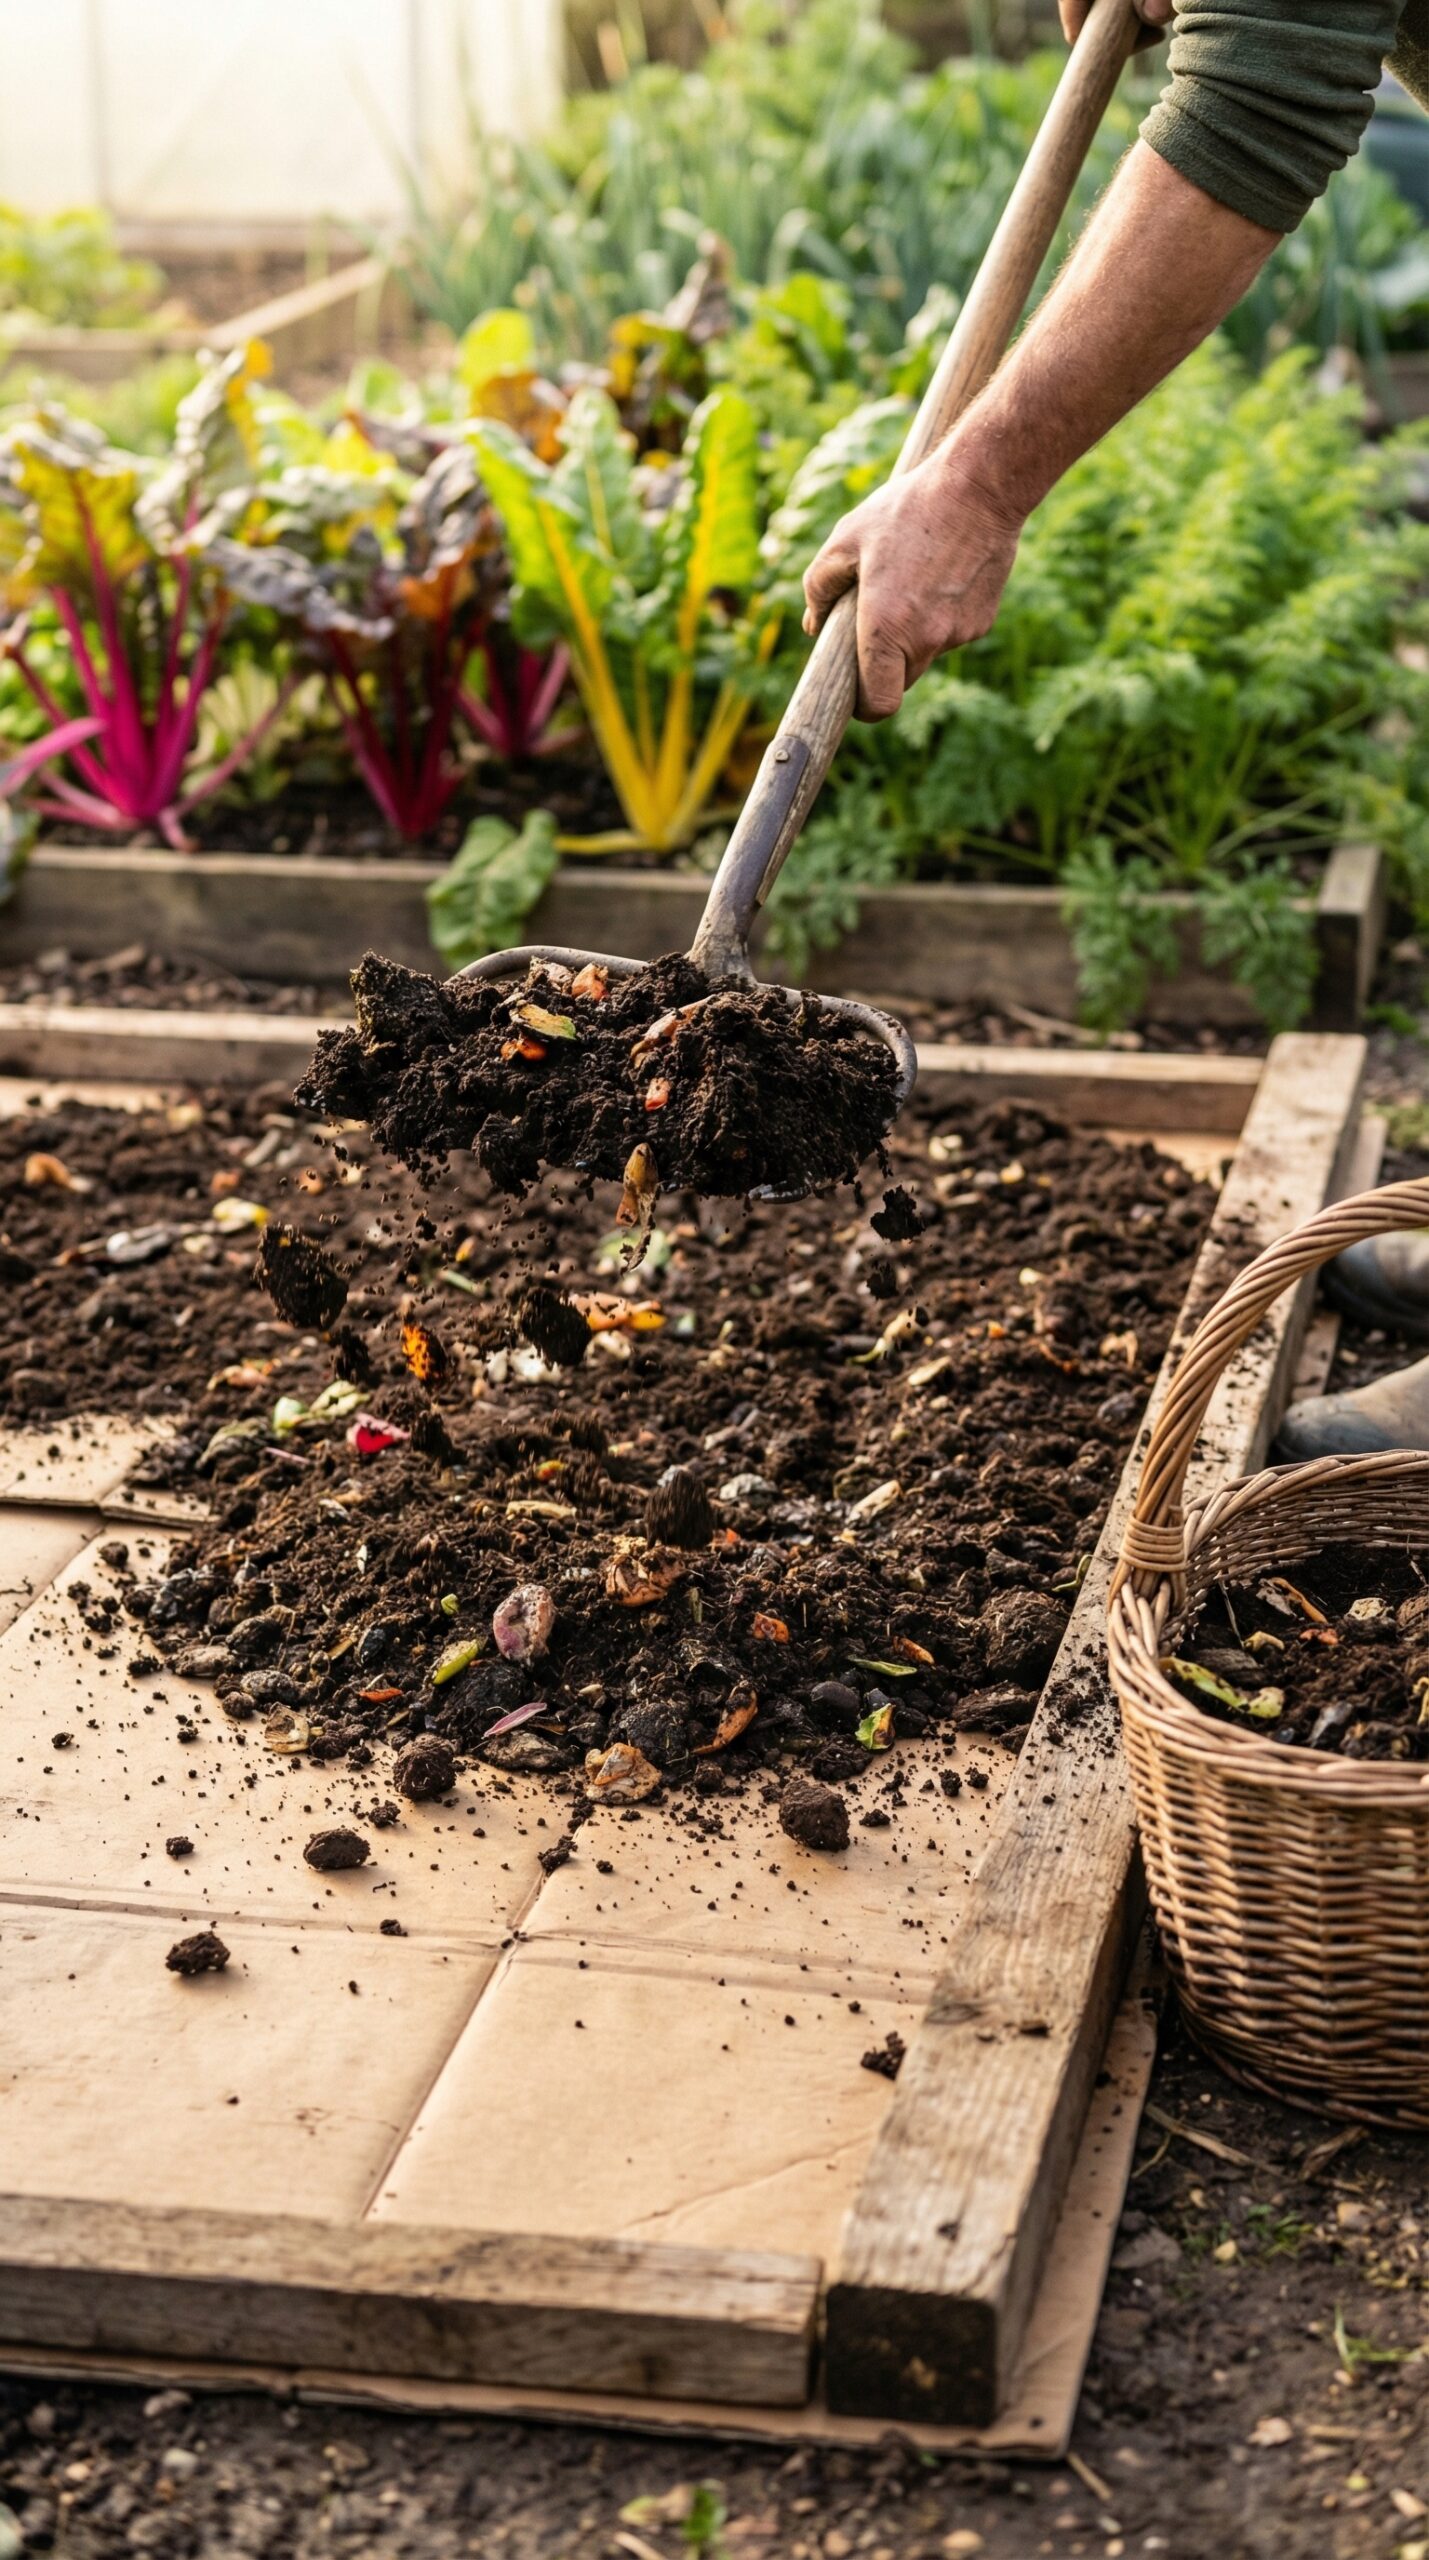
Now for the fun part. Spread a layer of compost or well rotted manure four to six inches deep over the entire cardboard surface. This is your planting medium, so quality matters. If you purchase compost, look for one that is dark, crumbly, and smells earthy, not sour. If you make your own, ensure it is fully decomposed. This layer should be deep enough to support plant roots through the growing season.
This is where the cardboard comes in, and it is simpler than you might think. Collect plain cardboard boxes, removing any tape, labels, or plastic windows. Newspaper works too, but you will need about ten sheets thick to be effective. Lay the cardboard directly over your chosen area, overlapping the edges by at least six inches so no gaps remain for weeds to peek through. If you are working over thick grass or persistent weeds, do not be shy with the cardboard. Two layers provide extra insurance.
Once the cardboard is in place, water it thoroughly with a hose. You want it completely saturated. This serves two purposes: it weighs the cardboard down so it will not blow away, and it creates a moist environment that earthworms adore. They will quickly move upward to investigate this new habitat, beginning their quiet work of integration.
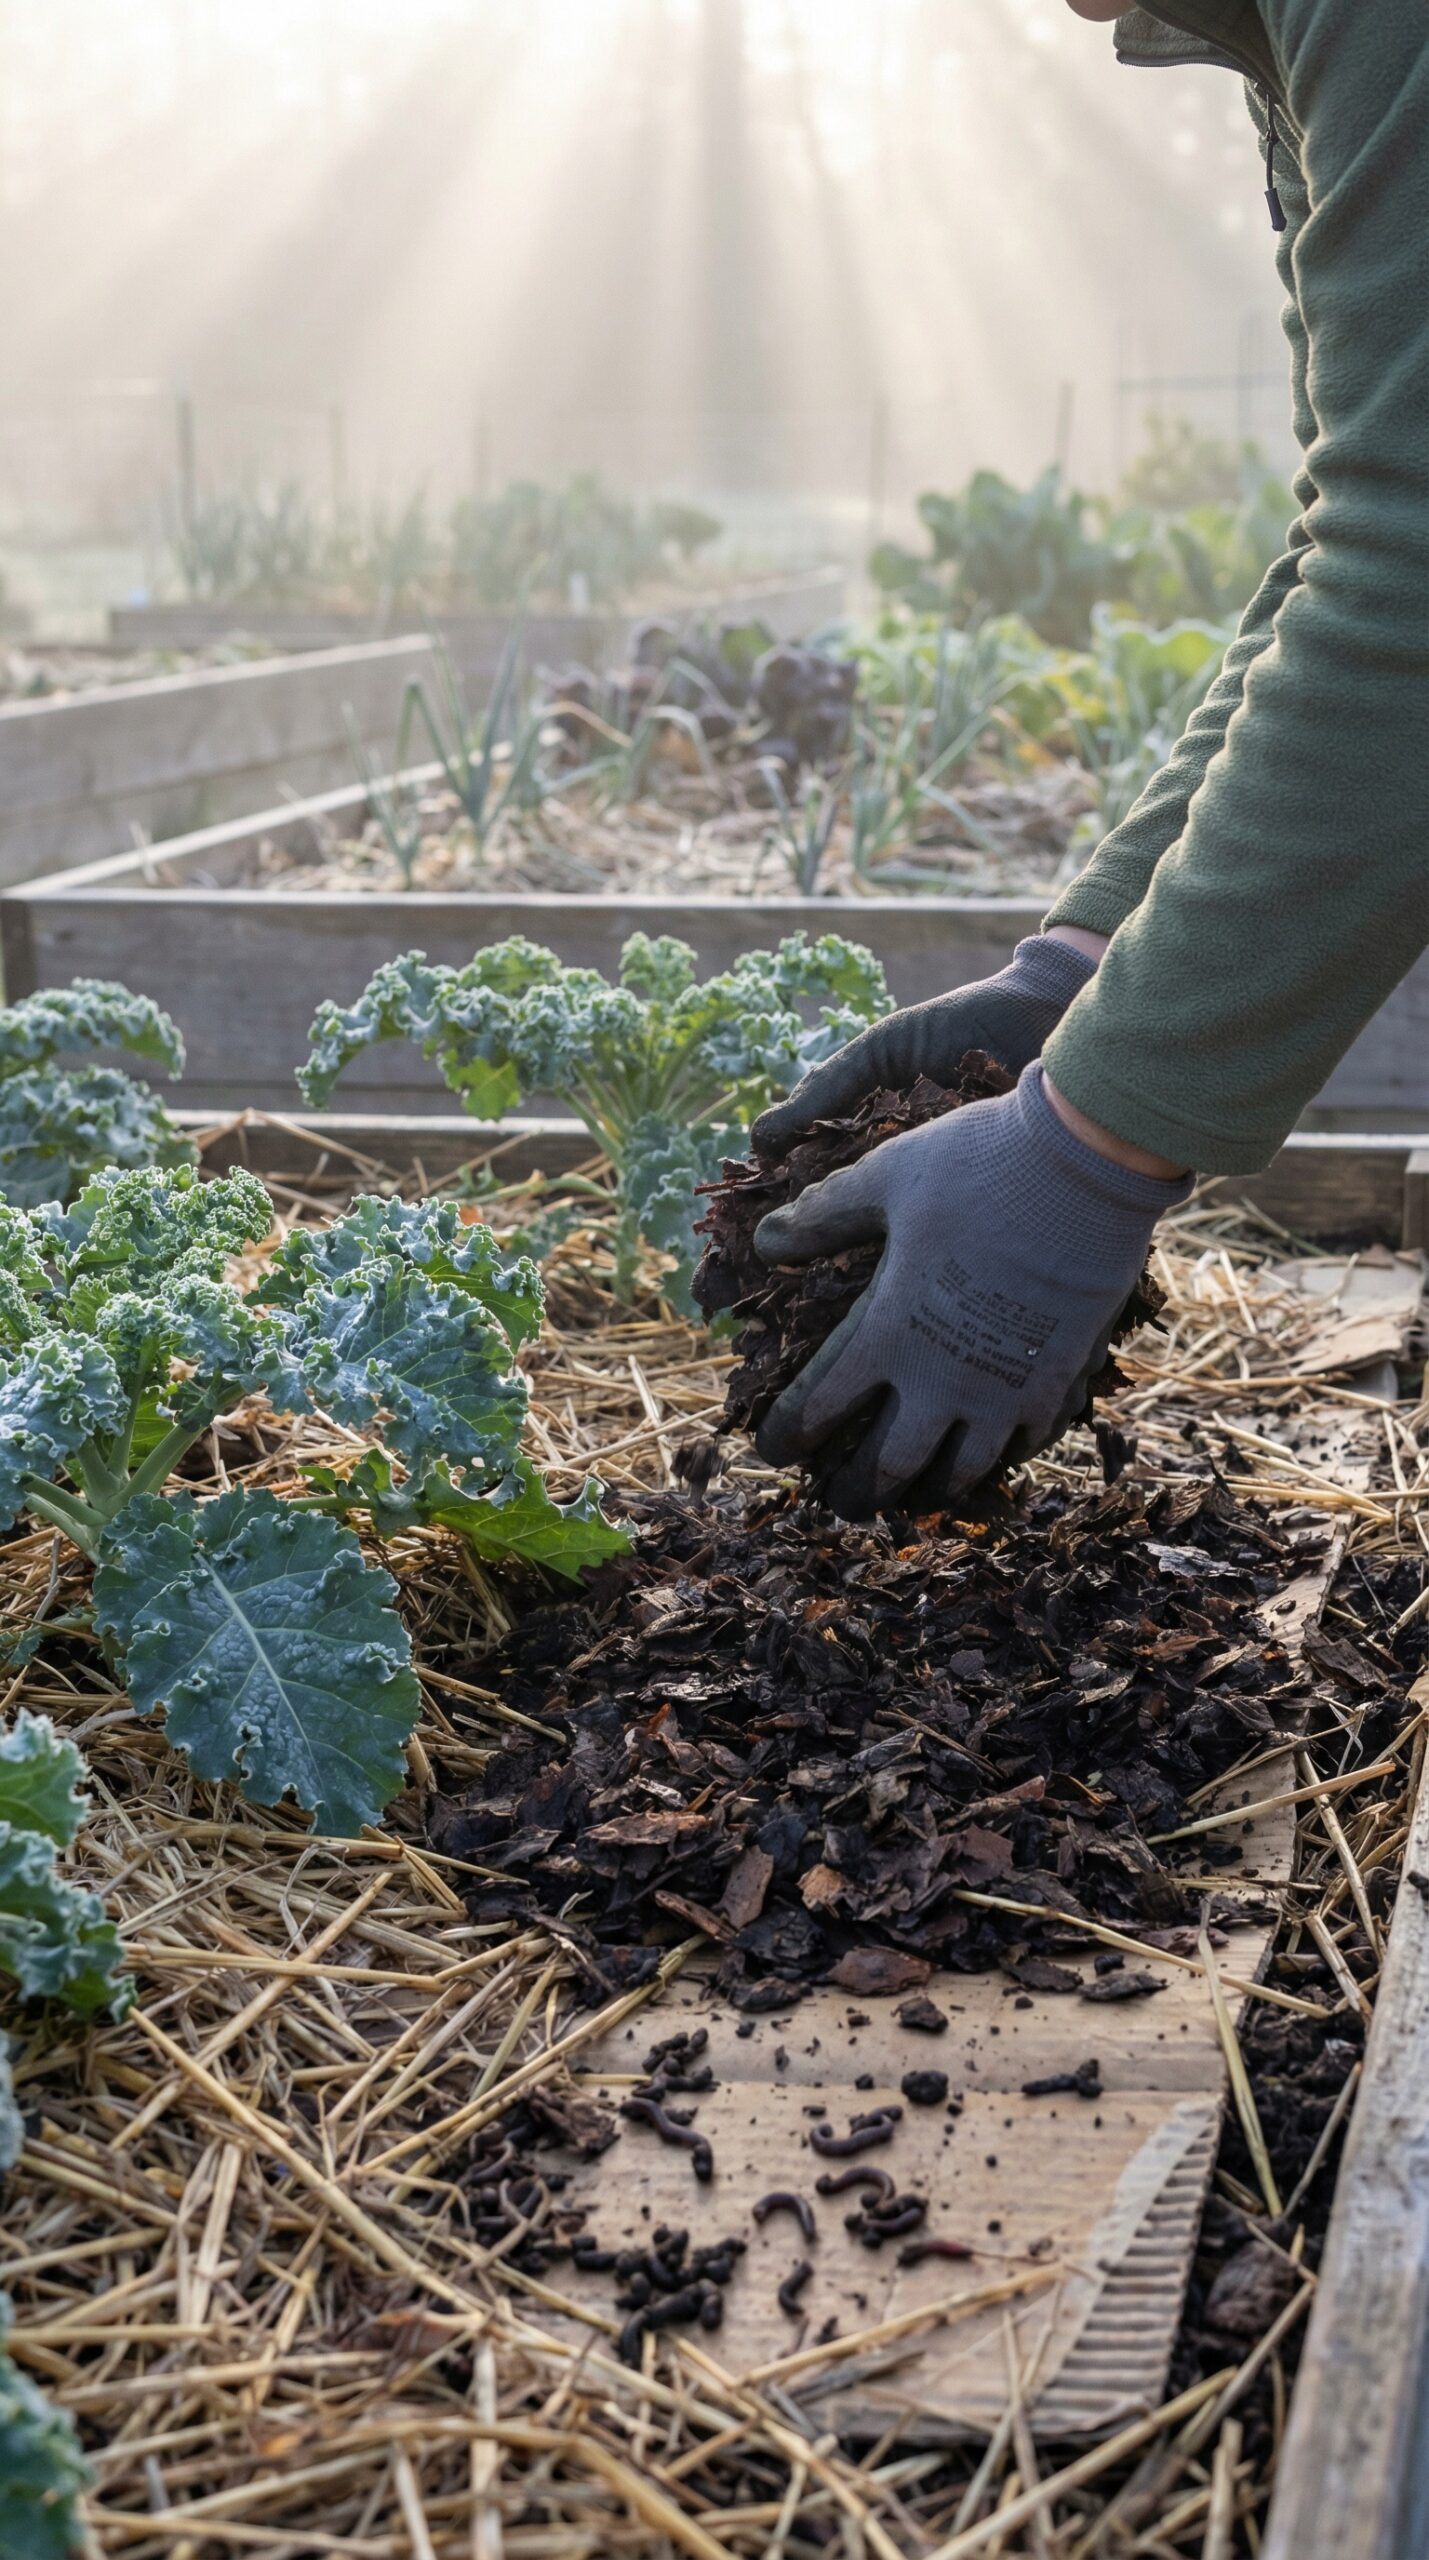
On top of the compost, add a two to three inch layer of mulch. Straw is ideal because it allows water to penetrate while staying loose. Avoid hay, which often contains weed seeds. Shredded leaves, wood chips, or even grass clippings work well too. This mulch layer protects the soil, conserves moisture, and gradually breaks down to feed the soil below.
A friendly note here: do not overcomplicate the layering. Some guides suggest elaborate recipes with multiple materials. For your first bed, compost plus mulch is absolutely sufficient. Nature is remarkably forgiving and adaptable.
Step 4: Plant Right Away
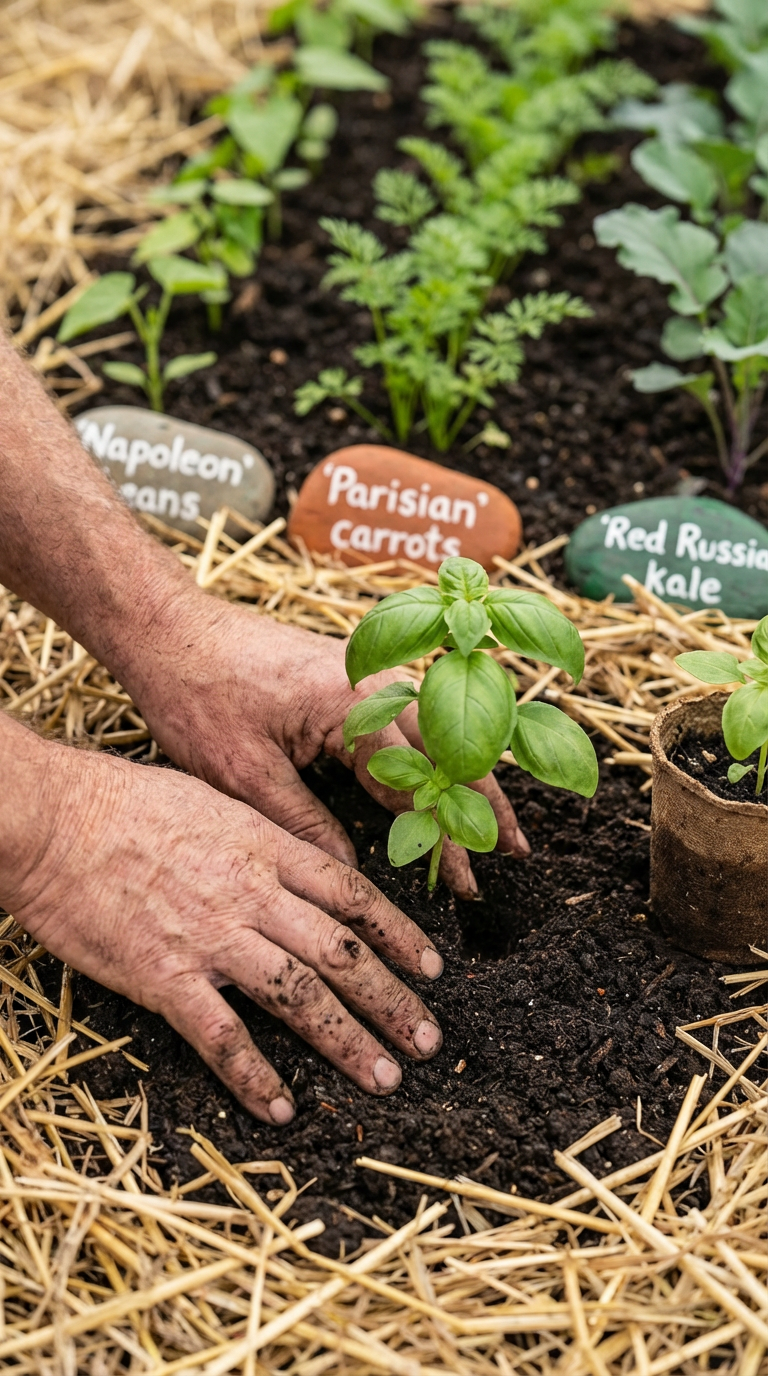
One of the most delightful surprises of no dig gardening is that your bed is ready to plant immediately. There is no waiting period. For seedlings, simply pull back the mulch where you want to plant, use your finger or a trowel to make a small hole in the compost, place your plant inside, and gently firm the compost around its base. Then let the mulch settle back around the stem, keeping it an inch or so away to prevent rot.
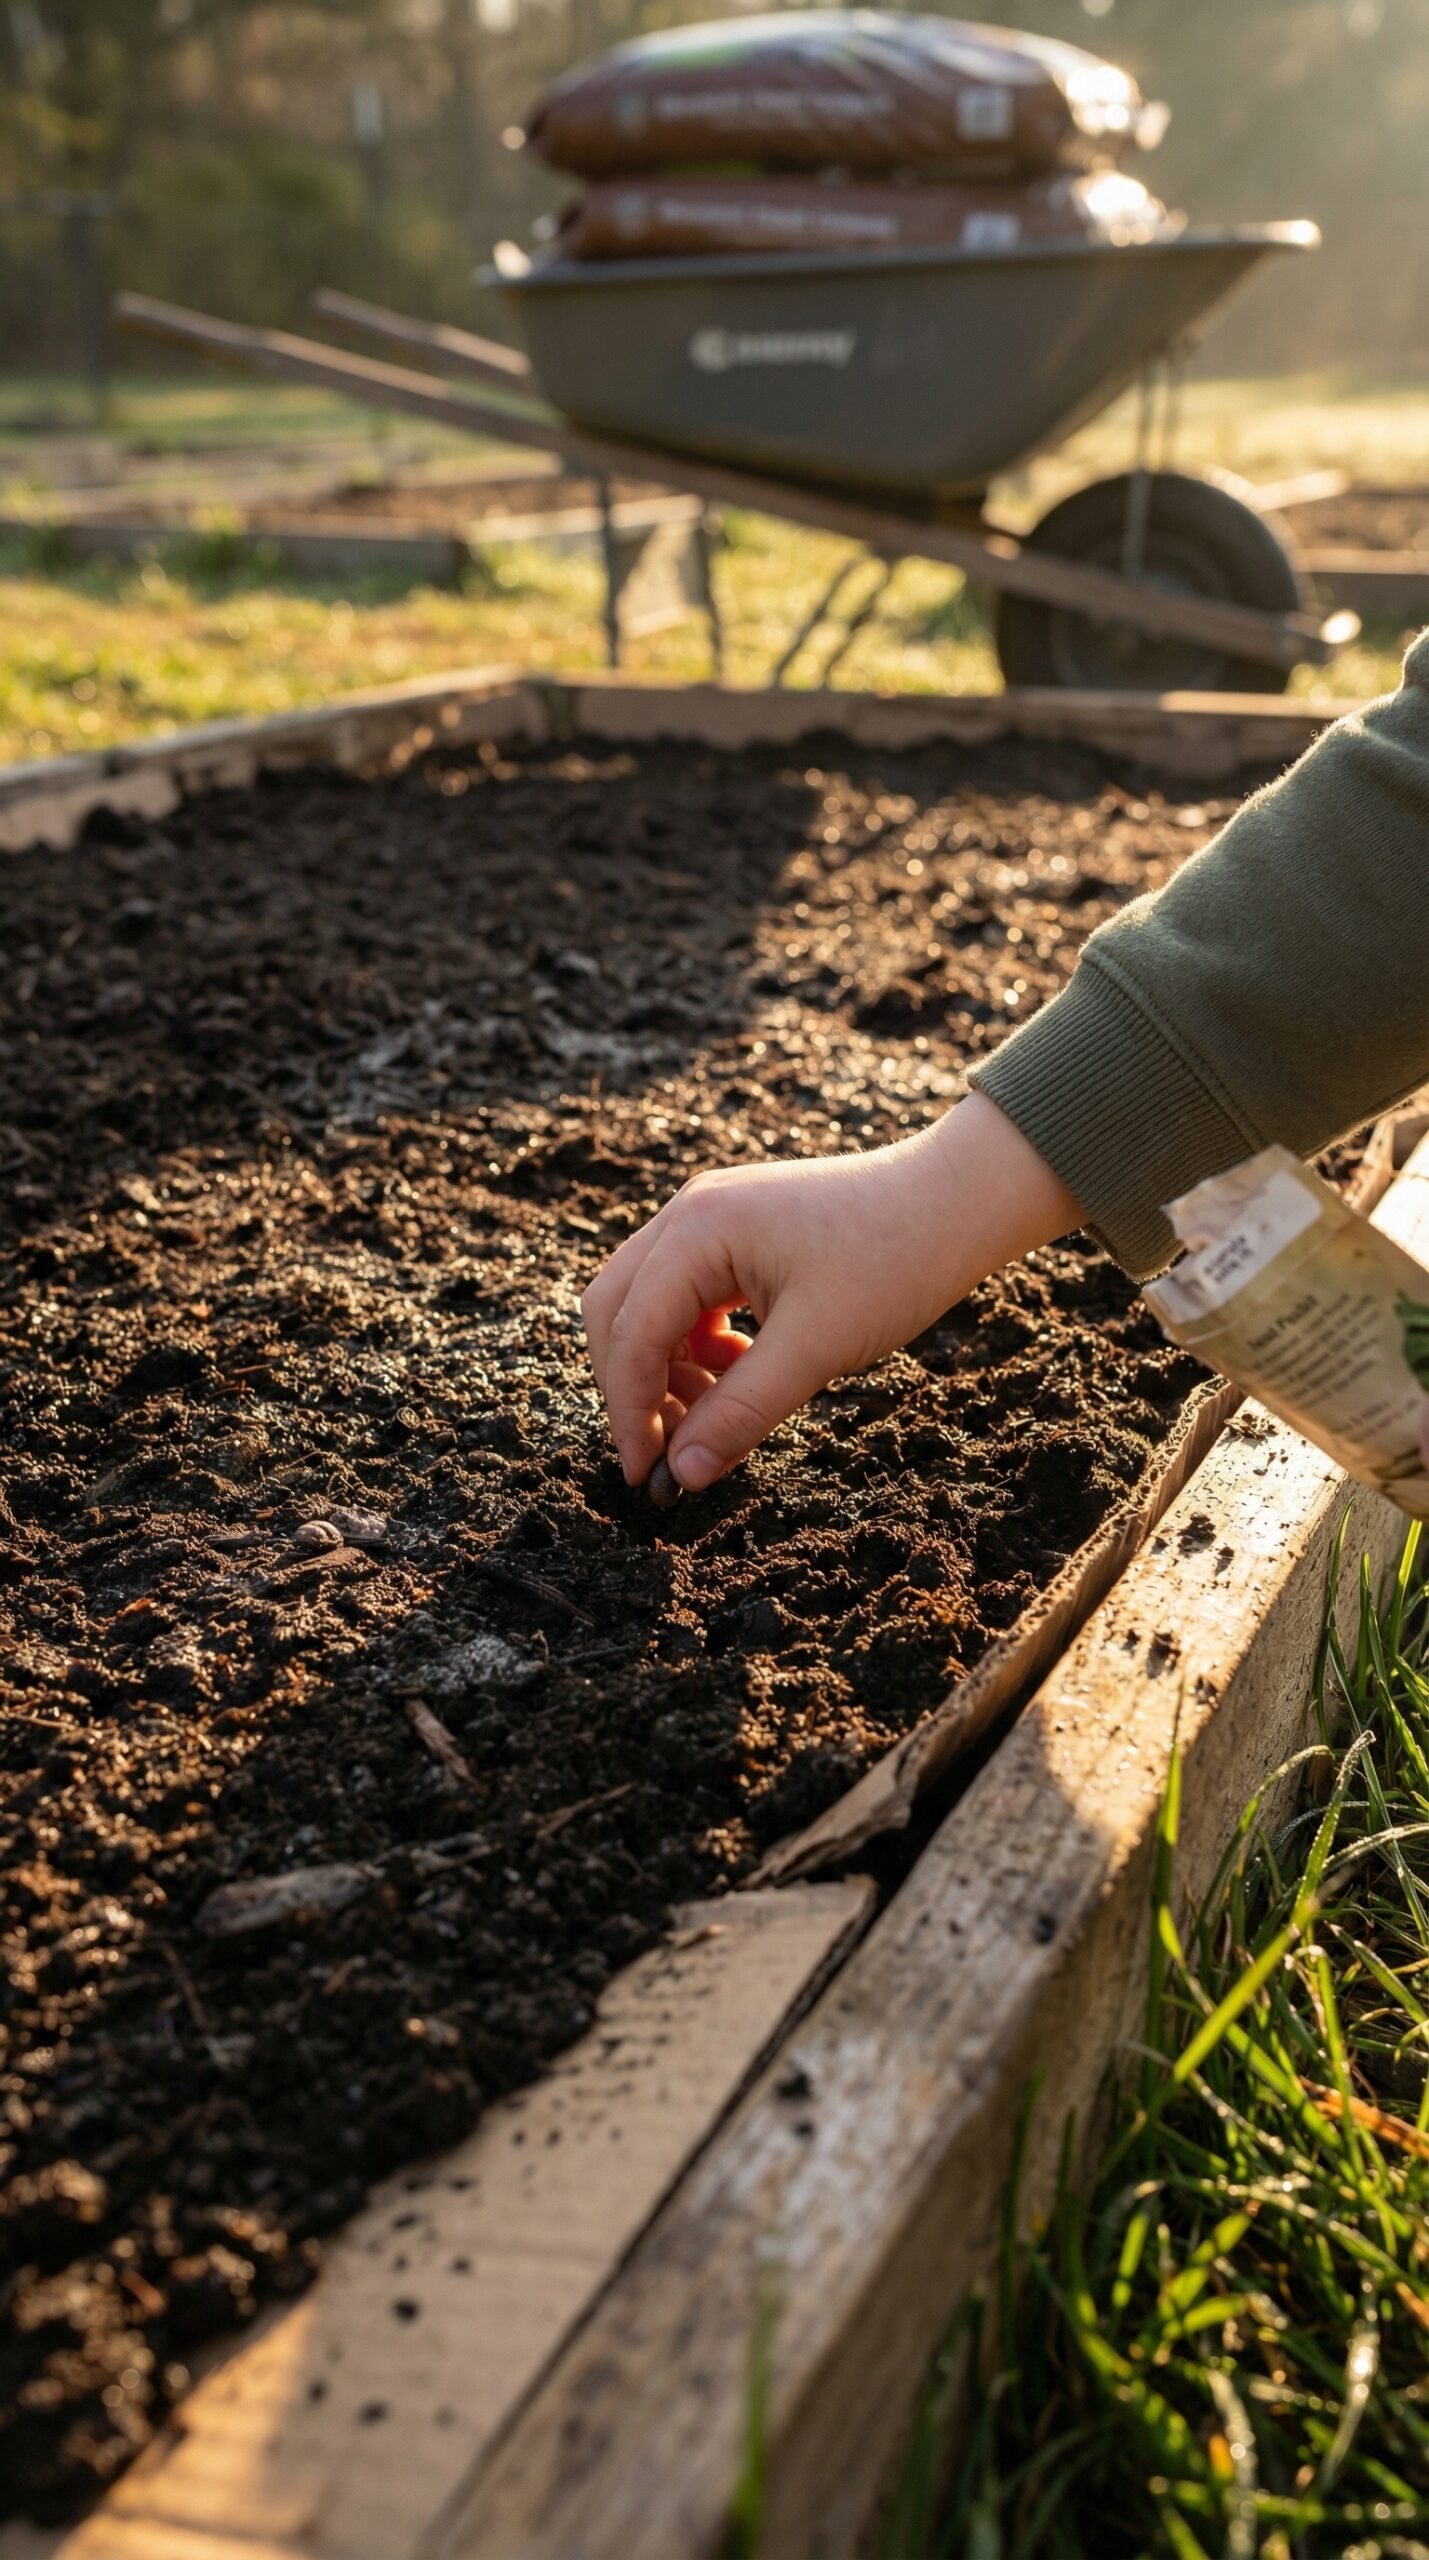
For seeds, sow them directly into the compost layer according to packet instructions, then lightly cover with a thin dusting of extra compost or fine soil. Water gently with a rose attachment on your watering can to avoid disturbing the seeds. Within days, you will see bright green sprouts emerging through the dark compost, a sight that never loses its magic.
No Dig in Raised Beds
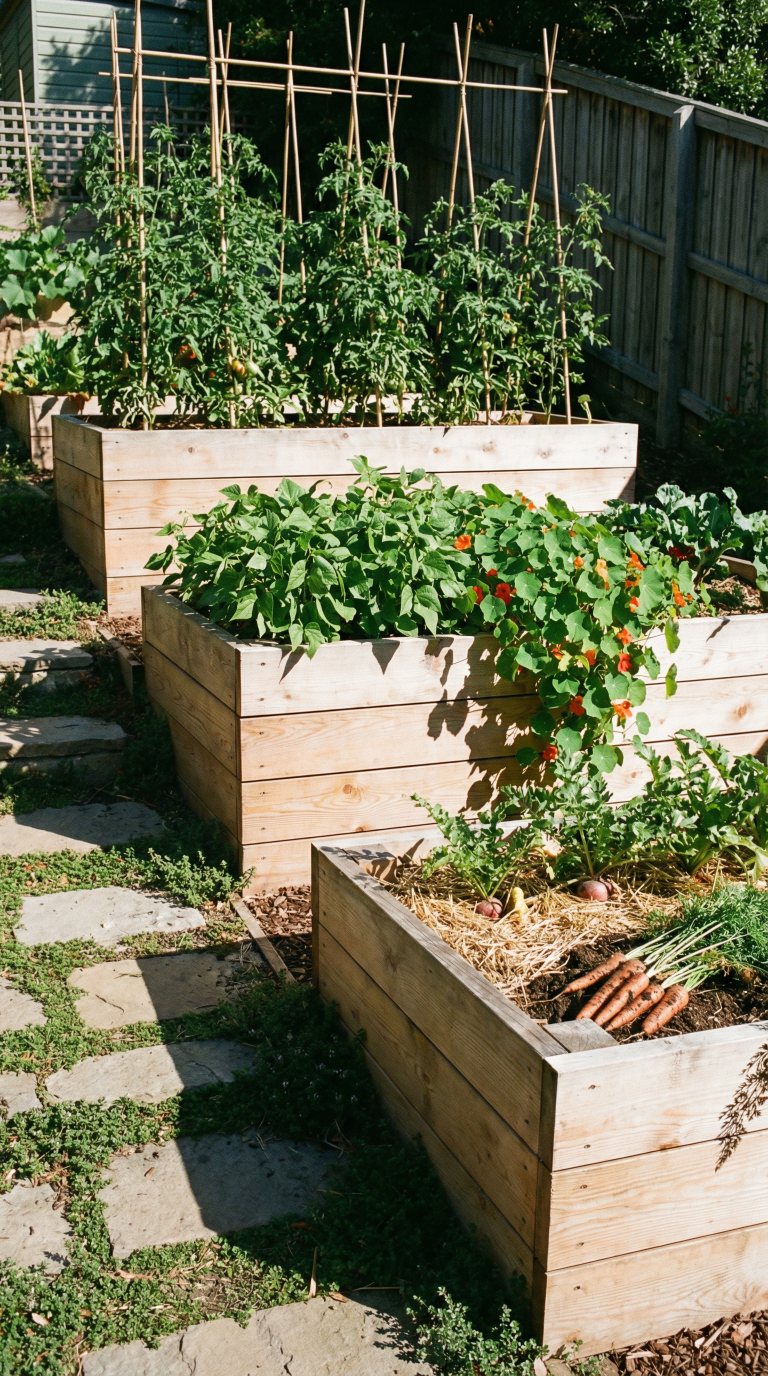
If you already have raised beds or plan to build some, the no dig method works beautifully within wooden frames. Simply follow the same layering process inside your bed. Start with cardboard on the bottom if weeds are a concern, then add your compost and mulch layers. This approach is especially helpful if your native soil is particularly poor or if you prefer gardening at a raised height for comfort. The principles remain identical: feed from the top, never dig down.
What to Grow in Your No Dig Garden
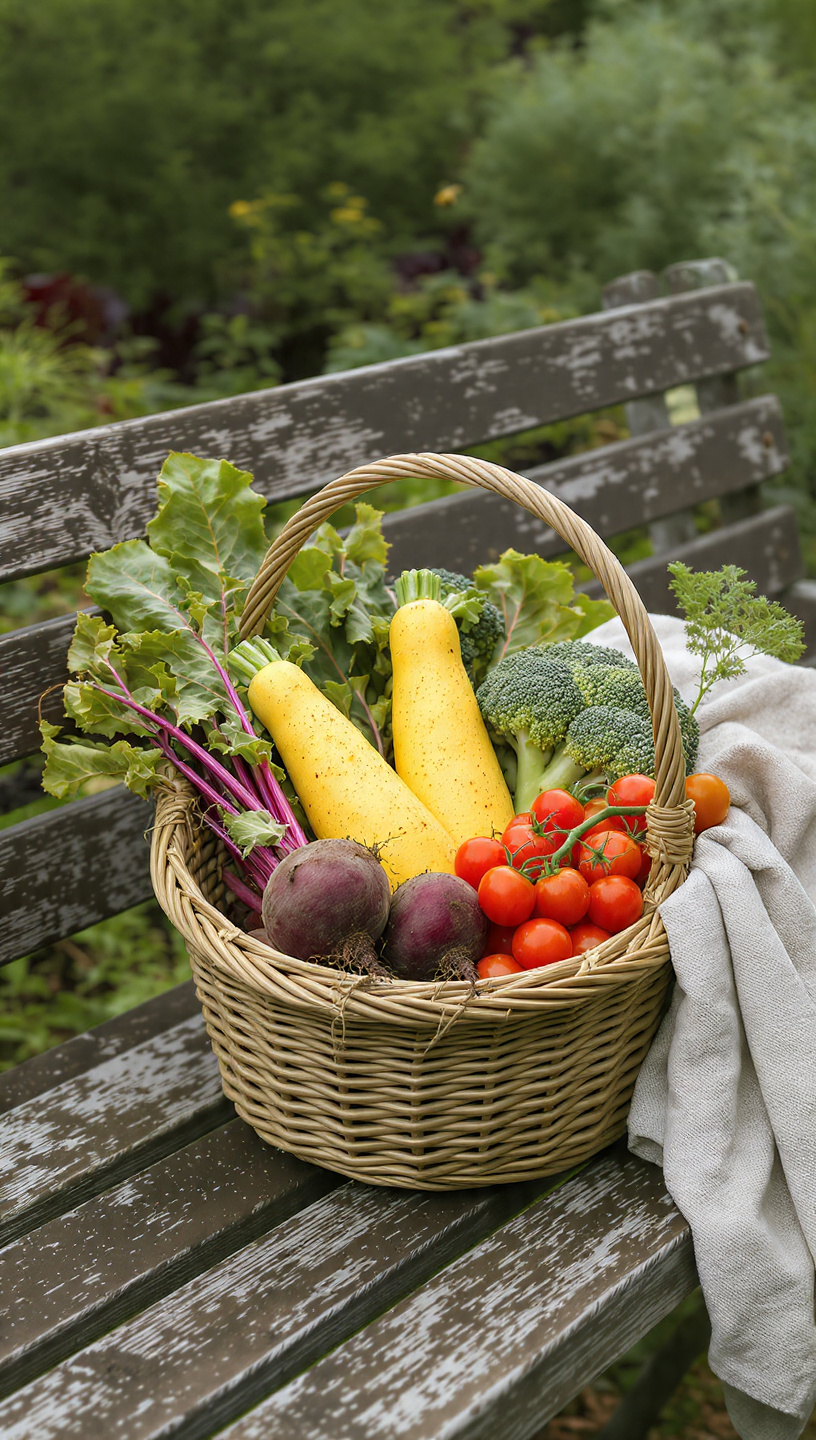
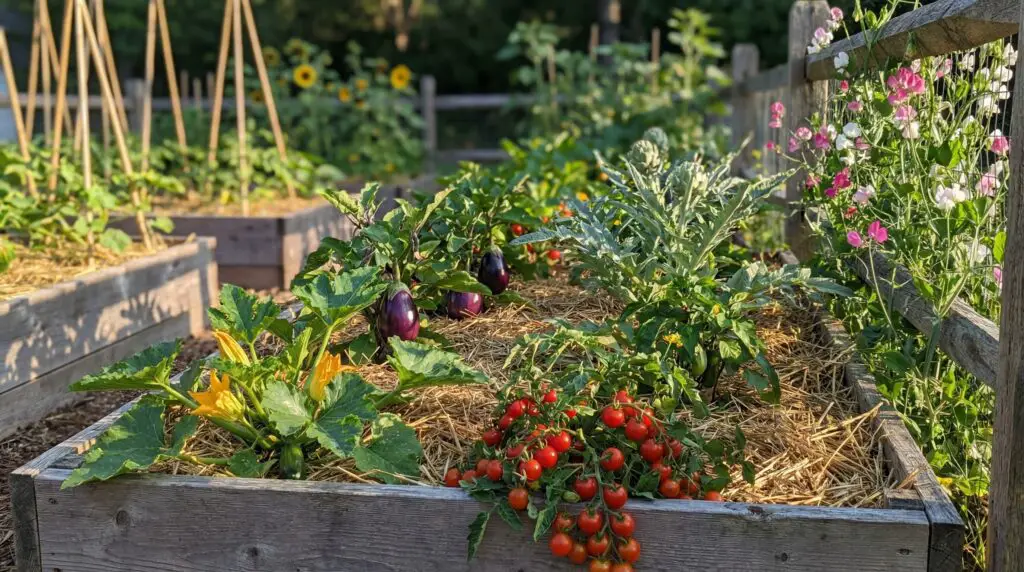
One of the joys of no dig gardening is that almost everything thrives in this rich, undisturbed environment. For your first season, choose a few forgiving crops to build confidence. Leafy greens like lettuce, spinach, and kale grow quickly and can be harvested multiple times. Radishes are ready in under a month, giving you an early win. Bush beans, zucchini, and cherry tomatoes are generous producers that reward even modest care.
As you become comfortable, experiment with seasonal planting. In early spring, tuck in cool weather crops like peas, carrots, and beets. Once the soil warms in late spring, plant heat lovers like tomatoes, basil, peppers, and cucumbers. In late summer, sow a fall crop of kale, Swiss chard, and overwintering onions or garlic. The continuous layering of compost in no dig beds means the soil stays fertile season after season, supporting this productive rotation without exhaustion.
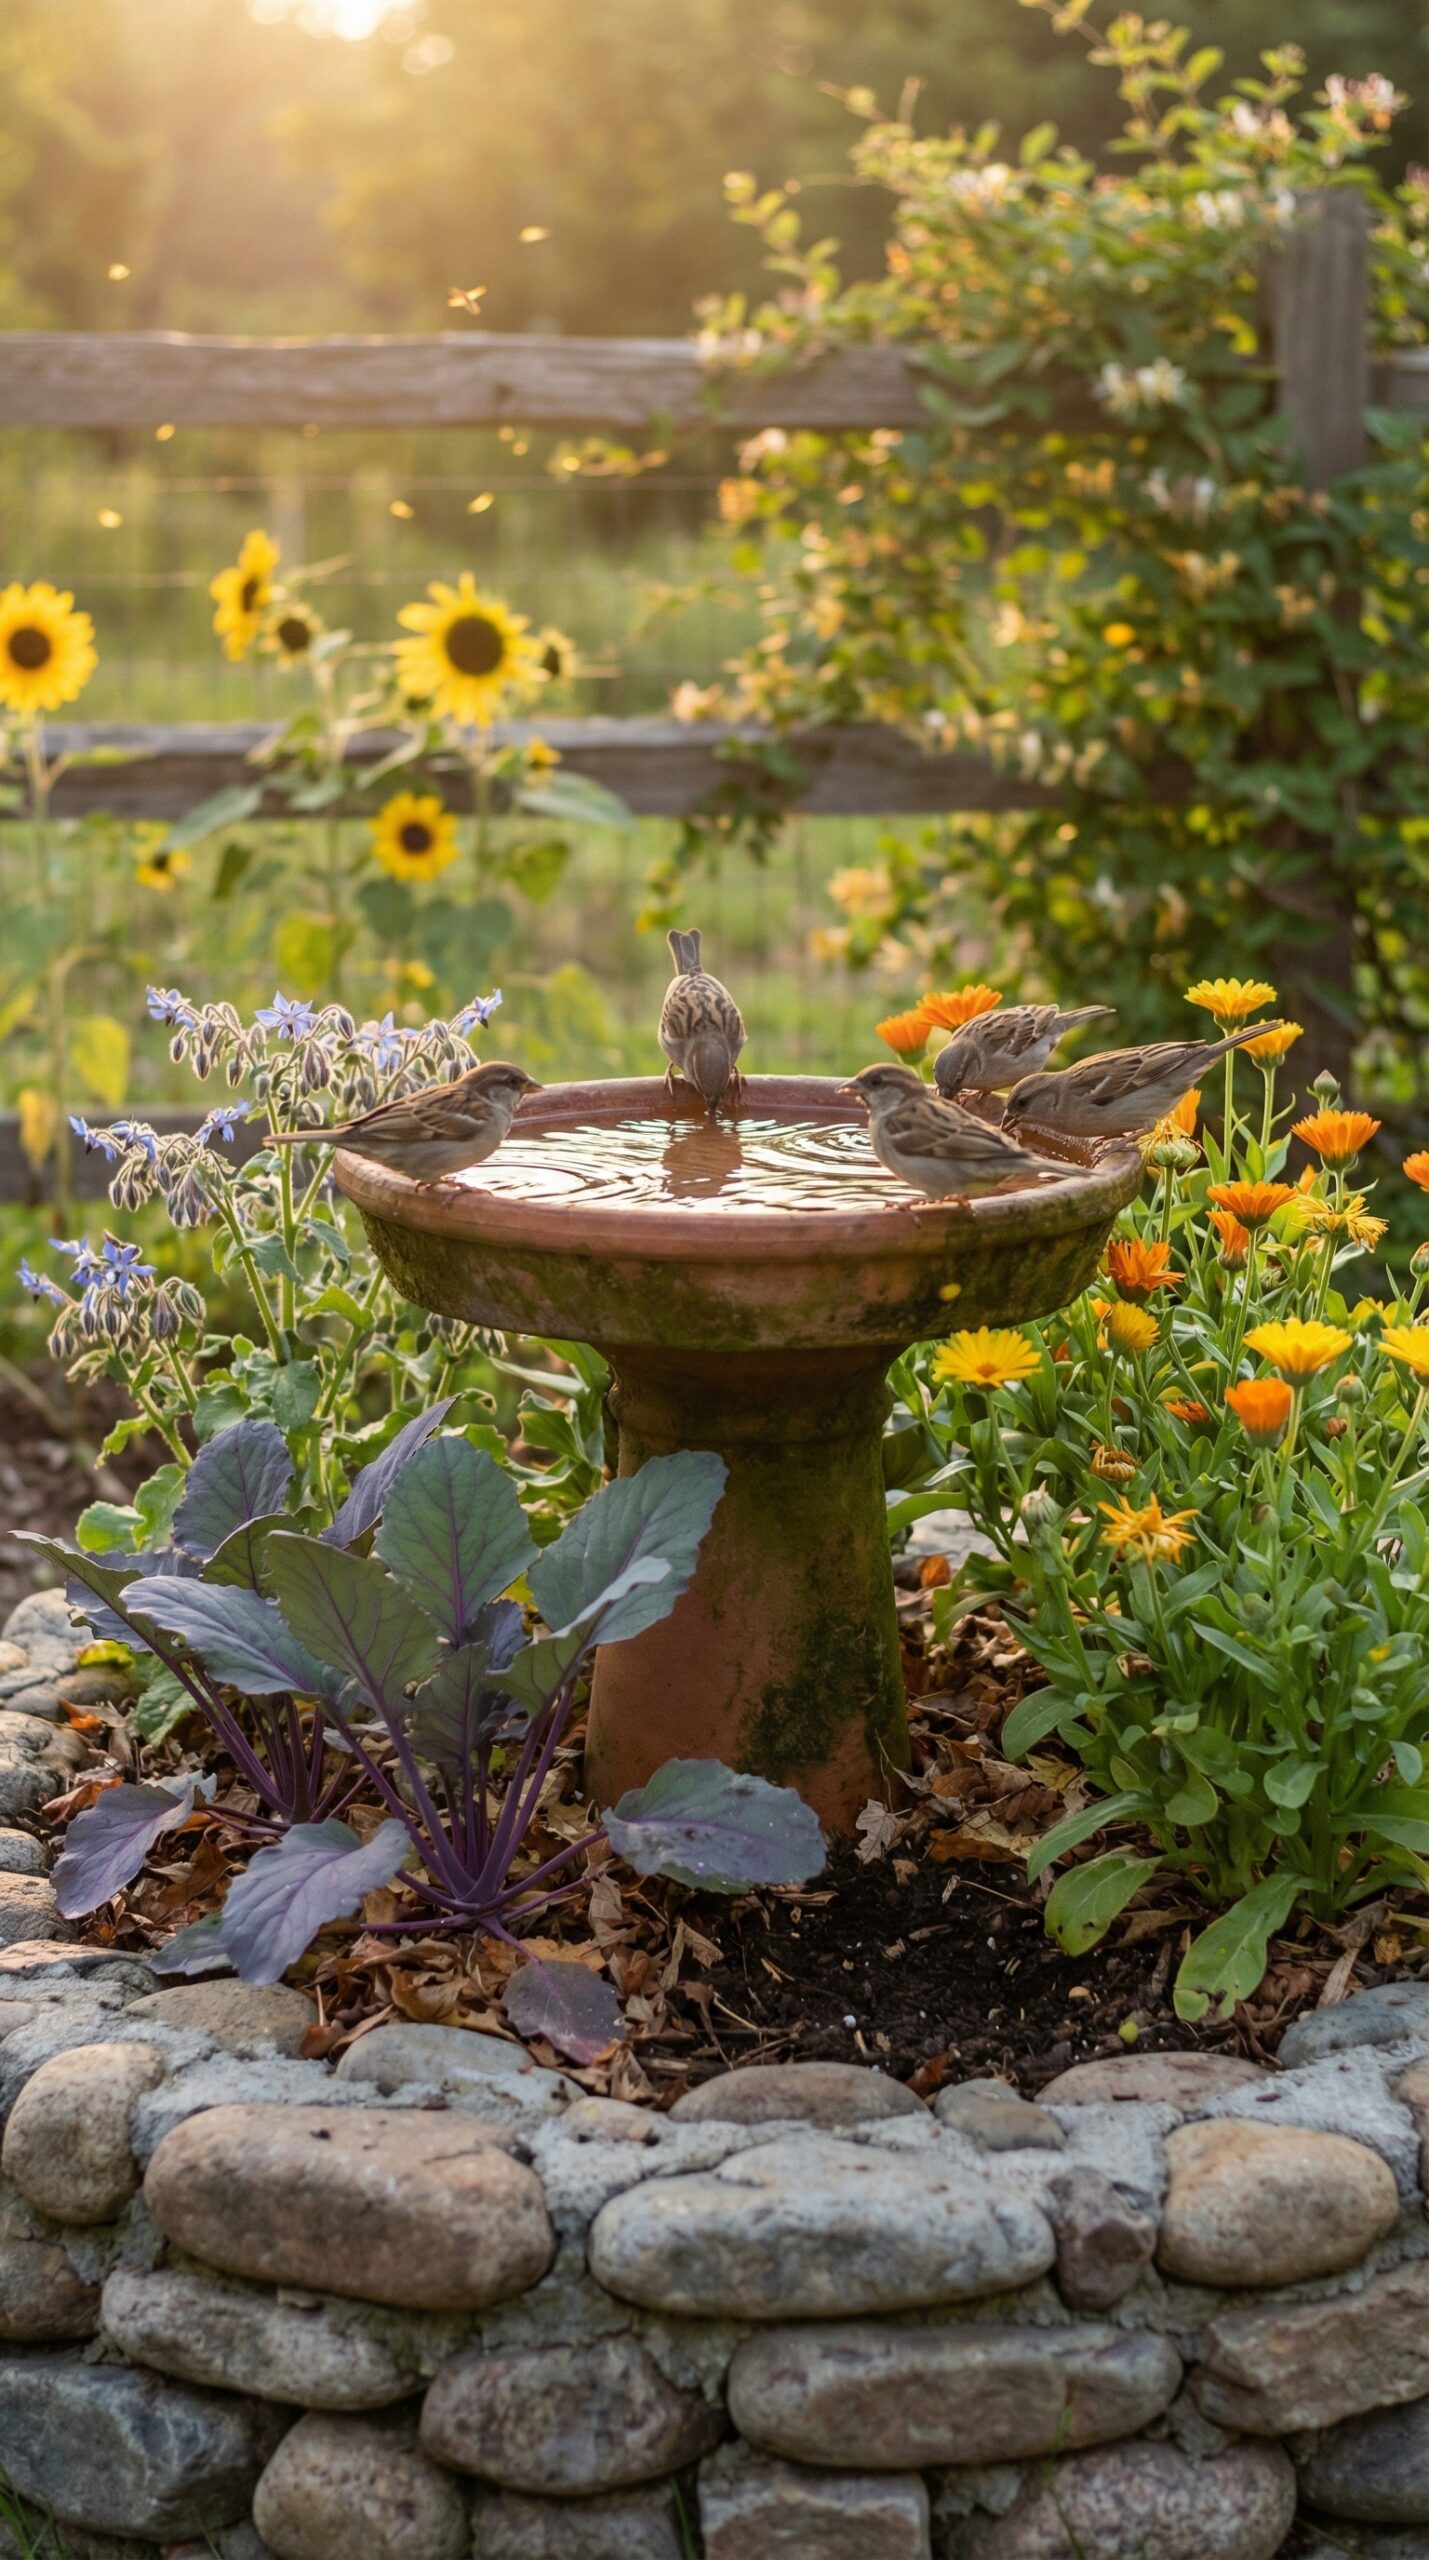
Consider adding a few flowers around the edges of your bed. Marigolds deter certain pests naturally, while borage and calendula attract pollinators and beneficial insects. Nasturtiums spill cheerfully over edges and their peppery leaves and flowers are edible too. These companions create a more resilient ecosystem while adding beauty to your productive space.
Remember that no dig gardening is not about perfection. Your first season might include a few surprises, a crop that does not thrive, or an unexpected visitor. That is part of the adventure. Observe what works in your unique space, make small adjustments next time, and celebrate every harvest, whether it is a single perfect tomato or a basket overflowing with beans.
The Gentle Art of No Dig Maintenance
If you are accustomed to gardens that demand weekly weeding sessions and constant soil amendment, you might feel almost suspicious of how little maintenance no dig requires. And that is the point. This method is designed to reduce labor while increasing results.
Each season, simply add a fresh one to two inch layer of compost to the surface of your bed before planting. There is no need to mix it in. Earthworms and other soil dwellers will gradually incorporate it downward. After planting, refresh your mulch layer if it has thinned. That is truly the extent of bed preparation.
Watering becomes more intuitive. Because mulch conserves moisture so effectively, you will likely water less frequently. When you do water, apply it slowly and deeply so moisture reaches the root zone. Early morning is ideal, giving leaves time to dry before evening.
Weeding, when it occurs, is a gentle affair. Any weeds that appear will have shallow roots because they cannot establish deeply through the mulch layer. A quick pull with your fingers is usually sufficient. There are no stubborn taproots to wrestle with.
A few gentle reminders will help your beds thrive. Never walk on your growing area, as this compacts the soil and disrupts its structure. Resist the urge to dig or turn the soil, even if it feels counterintuitive at first. And do not worry if your compost layer settles over time. This is normal and desirable. Just top it up before the next planting.
Troubleshooting Without Panic
Every gardener encounters challenges, and no dig gardening is no exception. The difference is that solutions tend to be simple and non disruptive.
If slugs discover your tender seedlings, try evening patrols with a flashlight and a bucket of soapy water. Copper tape placed around bed edges creates a mild barrier they dislike crossing. Encouraging natural predators like birds, frogs, and ground beetles by providing habitat nearby also helps maintain balance over time.
If your compost layer sinks noticeably after a few weeks, do not worry. This is simply the materials settling and beginning to integrate with the soil below. It is not a problem. Just add another thin layer of compost before planting your next crop. This gentle top dressing is the rhythm of no dig gardening.
If weeds push through in spots, it likely means your cardboard layer was too thin or had gaps. Simply pull the weeds, add a bit more mulch to that area, and make a mental note to overlap cardboard more generously next time. No dig is forgiving. One imperfect bed does not ruin the system.
If plants seem slow to grow, check the quality of your compost. It should be dark and crumbly with an earthy smell. Sour or ammonia odors indicate incomplete decomposition, which can temporarily tie up nitrogen. In this case, wait a week or two for the compost to mellow, or add a light sprinkling of organic fertilizer to give plants a gentle boost.
The most important mindset shift is to approach challenges with curiosity rather than frustration. Ask yourself what the garden is trying to tell you. Often, the solution is a small adjustment rather than a complete overhaul.
Why Your Great Grandchildren Will Thank You
Beyond the immediate joys of easier gardening and tastier vegetables, no dig gardening quietly contributes to something much larger. Undisturbed soil acts as a carbon sink, pulling carbon dioxide from the atmosphere and storing it safely underground. By choosing not to till, you help combat climate change right in your own backyard.
Mulched beds require significantly less water, conserving this precious resource during increasingly frequent dry spells. Healthy soil also filters rainwater more effectively, reducing runoff and protecting local waterways.
Perhaps most beautifully, no dig beds become havens for biodiversity. The thriving soil ecosystem supports stronger plants that naturally resist pests and diseases. Flowers and herbs planted among vegetables attract bees, butterflies, and beneficial insects. Your garden becomes not just a source of food, but a small sanctuary for life.
You are not just growing dinner. You are participating in the healing of a small piece of the earth. And that is a legacy worth cultivating.
Your Invitation to Garden Differently
No dig gardening is not a rigid set of rules or a test of perfection. It is an invitation to slow down, observe closely, and trust that life knows how to thrive when we stop fighting it. Your first bed might have uneven layers. Your zucchini might still get powdery mildew in late summer. Weeds might occasionally appear. And that is perfectly alright.
What will change is how you experience your garden. You will spend less time bent over with a hoe and more time sitting on a bench with a cup of tea, watching bees dance among the blossoms. You will feel the soft, crumbly texture of healthy soil between your fingers. You will taste vegetables that burst with flavor because they grew in living soil, not sterile dirt.
So grab a cardboard box from behind the grocery store, pick up a bag of compost, and claim a small patch of earth for yourself. Lay down your first layer this weekend. Plant one packet of seeds or a single tray of seedlings. Water gently. Then step back and watch what happens when you stop digging and start growing.
The soil has been waiting for this moment. And so have you.