The Secret to Propagating Trees, Shrubs, and Climbers: Hardwood Cuttings
If you want to fully capitalize on a plant’s natural reproduction instincts, consider propagating some of the trees, shrubs, and climbers in your garden to generate new plants. Not only is this an extremely rewarding exercise, but it could also save you a lot of money on purchasing new plants.
Below, we’ll cover the steps involved in the propagation process, as well as which plants are best propagated during the fall and winter months and which are best propagated during the winter and spring. We’ll also provide tips for caring for your newly propagated plants to ensure their success as well as consider possible problems that can arise.
Quick Guide to Propagating Trees, Shrubs, and Climbers

Below is a quick guide to propagating plants. Other factors also need to be considered, but these offer a good starting point for the task.
| Step | Description |
|---|---|
| Choosing healthy shoots | Choose healthy, non-flowering shoots from the current year’s growth. These should be about the thickness of a pencil and around 8-12 inches long. |
| Taking good cuttings | Cut the shoots cleanly, just below a leaf joint or bud. |
| Preparing the cutting | Cut the bottom of the shoot at a sloping angle, just below a leaf joint or bud. This will allow water to drain away easily and help prevent rot. |
| Removing vegetation | Remove the lower leaves from the cutting, leaving just a few at the top. |
| Preparing a container | Fill a pot with a well-draining, soil-less mix, such as perlite or vermiculite. Water the mix well, and then make a hole in the center with a pencil or dibble stick. |
| Applying hormone powder | Dip the bottom of the cutting into rooting hormone powder or liquid. This will help encourage root growth. |
| Planting the cutting | Place the cutting into the hole in the pot, and gently firm the mix around the base. |
| Watering | Water the cutting well, and place the pot in a propagator or cover it with a plastic bag to create a humid environment. Keep the mix moist, but not waterlogged. |
| Aftercare | After a few months, the cutting should have formed roots. |
| Re-potting | At this point, you can transplant the cutting into a larger pot or into the ground. |
In-Depth Look at Propagating Trees, Shrubs, and Climbers
We have outlined the basic requirements and techniques for propagating climbers, shrubs, and trees. Still, there are other considerations that you should take into account, including caring for the newly propagated plants as well as understanding the success rate and some of the problems and challenges that can arise.
Detailed instructions:
To take hardwood cuttings, you will need a sharp knife or pruning shears, a pot with drainage holes, a well-draining soil-less mix such as perlite or vermiculite, rooting hormone powder or liquid, and a propagator or clear plastic bag. Follow these steps to propagate your trees, shrubs, or climbers:
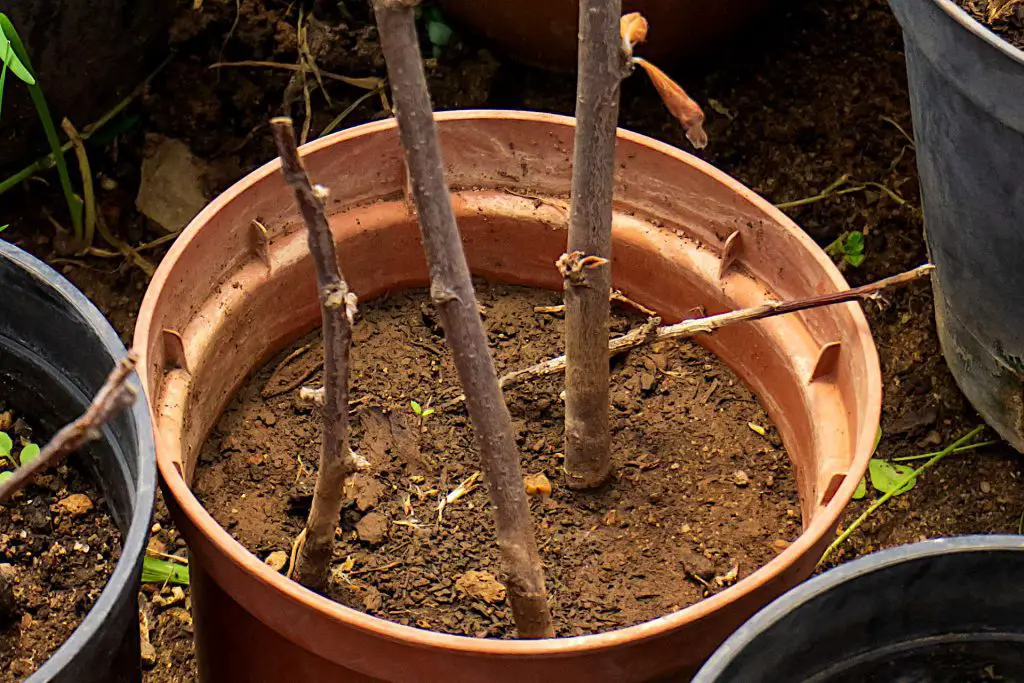
- Choose healthy, non-flowering shoots from the current year’s growth. These should be about the thickness of a pencil and around 8-12 inches long.
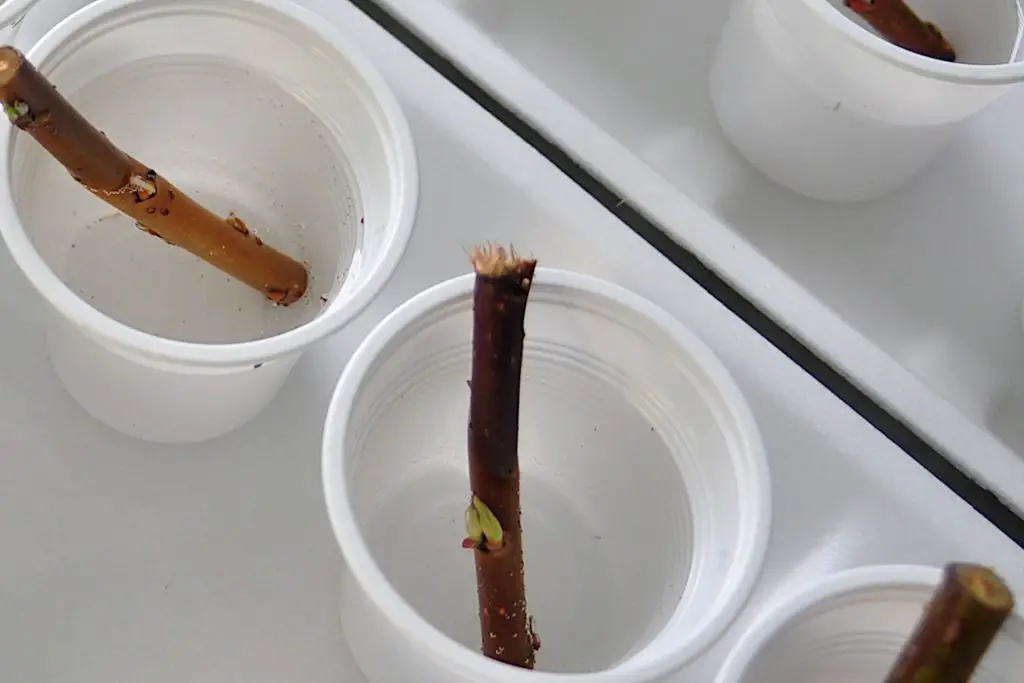
- Cut the shoots cleanly, just below a leaf joint or bud.
- Cut the bottom of the shoot at a sloping angle, just below a leaf joint or bud. Doing this will allow water to drain away quickly and help prevent rot.
- Remove the lower leaves from the cutting, leaving just a few at the top.
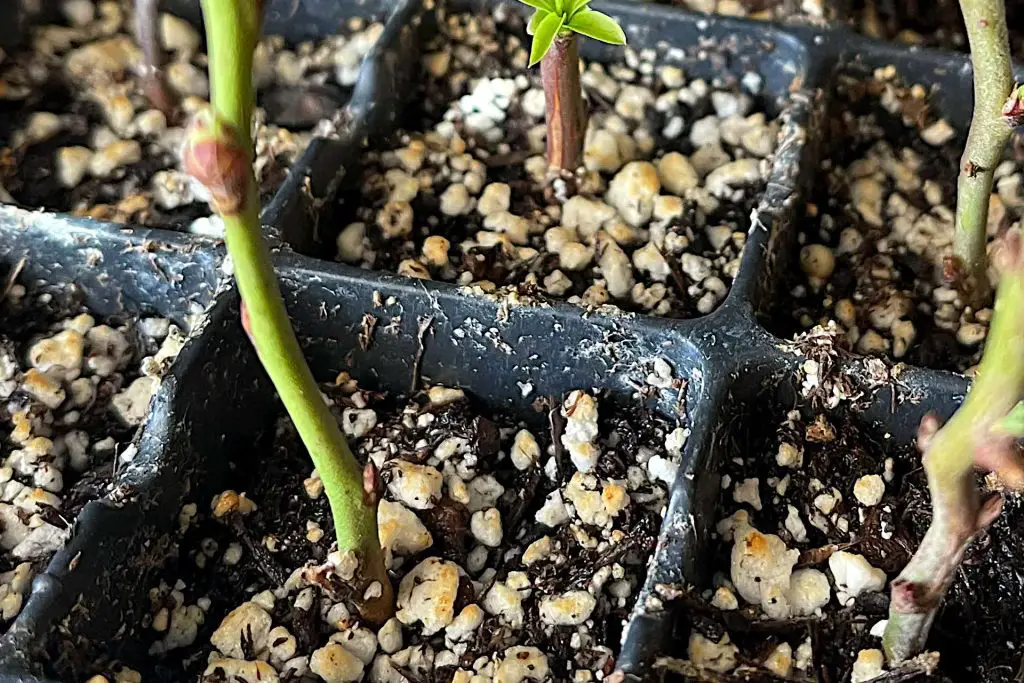
- Fill the pot with the soil-less mix, and water it well. Make a hole in the center of the mix with a pencil/dibble stick/knitting needle.
- Dip the bottom of the cutting into the rooting hormone powder or liquid.
- Place the cutting into the hole in the pot, and gently firm the mix around the base.
- Water the cutting well, and place the pot in a propagator or cover it with a clear plastic bag to create a humid environment.
- Keep the mix moist but not saturated/waterlogged. An excellent way to check the moisture level is to stick your finger about an inch into the mix; if it feels dry at that depth, it’s time to water.
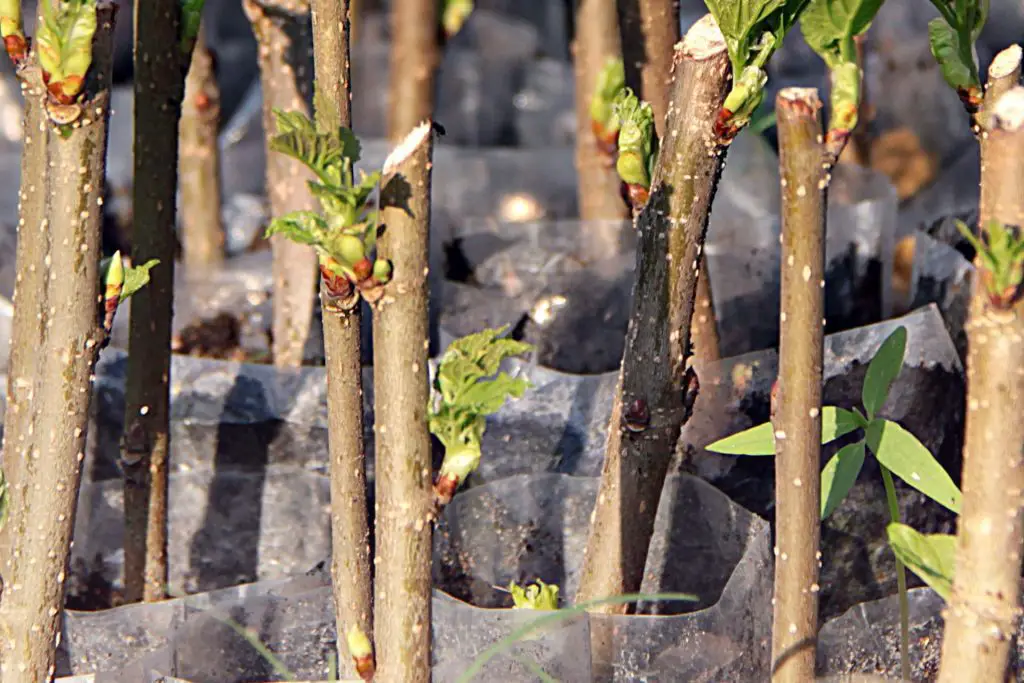
- After a few months, the cutting should have formed roots. At this point, you can transplant it into a larger pot or the ground. Use a flowerpot that is at least 6 inches in diameter, and choose a well-draining soil mix for transplanting.
Potential Challenges and Troubleshooting:

There are a few potential challenges that you may encounter when propagating plants using hardwood cuttings. One common problem is rot, which can occur if the cuttings are too wet or the mix needs to be well-draining. To prevent rot, use a well-draining soil-less mix and water the cuttings sparingly, allowing the mix to dry out slightly between waterings. If you notice that the cuttings are starting to rot, remove any infected parts and reduce watering.
Another challenge is difficulty rooting. Several different factors cause rooting issues. These include:
- poor quality cuttings,
- lack of humidity,
- low rooting hormone levels.
To increase the chances of successful rooting, use healthy, non-flowering shoots and apply a rooting hormone before planting. Keep the cuttings in a humid environment, either in a propagator or under a clear plastic bag, and be patient; it can take several months for roots to form.
What Types of Plants Can You Propagate?
You can propagate various trees, shrubs, and climbers using hardwood cuttings. Some examples include:
- Trees: oak, ash, maple, cherry, pear, apple
- Shrubs: hydrangea, lilac, forsythia, rhododendron, azalea
- Climbers: wisteria, jasmine, honeysuckle, climbing roses
Keep in mind that the success rate of propagating plants using hardwood cuttings can vary widely depending on the species and the conditions in which the cuttings are grown. Some plants may root more easily than others, and some may be more sensitive to environmental factors such as humidity and temperature.
The Science Behind Successful Hardwood Cuttings
The Role of Rooting Hormone in Propagation
When it comes to hardwood cuttings, the use of a rooting hormone can be a game-changer. This substance, available in both powder and liquid forms, acts as a catalyst in the root formation process. By dipping the cut end of your shoot into rooting hormone, you significantly increase the chances of successful root development. It’s like giving your cuttings a head start in the race towards becoming a fully grown plant.
The Importance of Soil-less Mix
Another crucial element in the propagation process is the growing medium. A soil-less mix, often composed of perlite or vermiculite, provides an ideal environment for root growth. Unlike regular soil, a soil-less mix is sterile and free from pathogens that could harm your cuttings. It also offers excellent drainage, ensuring that your cuttings remain moist but not waterlogged. When preparing your pot or container, make sure to use a soil-less mix to set the stage for optimal root development.
Why Use a Propagator?
You might wonder why you can’t just stick your cuttings in a pot and leave them be. Well, you could, but using a propagator can make a world of difference. A propagator is essentially a miniature greenhouse that maintains a controlled, humid environment for your cuttings. This is crucial for hardwood cuttings, as they require consistent moisture levels to initiate root growth. If you don’t have a propagator, a simple plastic bag can also do the trick. Just make sure to monitor the humidity levels and adjust as needed.
Caring for Propagated Plants:

Once your hardwood cuttings have formed roots and been transplanted into a larger pot or the ground, you need to think about providing proper care to ensure they thrive. Here are some tips for caring for your propagated plants:
- Water regularly, but keep the soil from becoming saturated/waterlogged. Check the moisture level by sticking your finger about an inch into the soil; if it feels dry at that depth, it’s time to water.
- Fertilize the plants with a balanced fertilizer, following the instructions on the label.
- Prune the plants as needed to encourage healthy growth and remove any diseased or damaged branches.
- Provide plenty of sunlight, as most trees, shrubs, and climbers prefer full sun.
- Protect the plants from extreme temperatures and harsh weather conditions, such as strong winds or freezing temperatures.
- Monitor the plants for pests or diseases, and take appropriate action if needed.
List of materials needed:
To take hardwood cuttings, you’ll need a few things. First, grab a sharp knife or pruning shears. You’ll also need a pot with drainage holes, a well-draining soil-less mix like perlite or vermiculite, rooting hormone powder or liquid, and a propagator or clear plastic bag. Got all that? Great, now you’re ready to get started.
Best time of year:
When’s the best time to take hardwood cuttings? It depends on the type of plant you’re propagating. For many plants, this is often best done in the late fall or early winter, while others have greater success rates in the late winter or early spring. A good rule of thumb is to take cuttings when the plant is dormant or not actively growing.
One thing to remember is that different plants are better propagated at varying times of the year. Some common plants you can propagate in the late fall or early winter include:
- Hydrangeas: These pretty shrubs are best propagated in the late fall or early winter when the plant is dormant. Take hardwood cuttings from healthy, non-flowering shoots and follow the steps I outlined earlier to propagate your own hydrangeas.
- Forsythias: The forsythia is another excellent plant to propagate in the late fall or early winter. These cheerful shrubs are known for their bright yellow flowers and are straightforward to propagate using hardwood cuttings. Just make sure to choose healthy, non-flowering shoots and follow the steps I mentioned earlier.
- Maple trees: If you’re looking to add some trees to your landscape, consider propagating maples. Again the best time of year for these is the late fall or early winter when the plant is dormant. Take hardwood cuttings from healthy, non-flowering shoots, and you’ll have your own maple trees in no time.
Okay, so we talked about some common plants best propagated in the late fall or early winter, but what about the late winter or early spring? Well, plenty of plants prefer this time of year, too. Here are a few examples:
- Rhododendrons: These colorful shrubs are best propagated in the late winter or early spring when the plant is just starting to come out of dormancy. To propagate rhododendrons, take hardwood cuttings from healthy, non-flowering shoots and follow the earlier steps.
- Azaleas: Like rhododendrons, azaleas are best propagated in the late winter or early spring. These beautiful shrubs are known for their colorful flowers and are easy to propagate using hardwood cuttings. Choose healthy, non-flowering shoots and follow the steps I mentioned earlier.
- Roses: If you love roses and want to propagate your own, the late winter or early spring is a great time to do it. Take hardwood cuttings from healthy, non-flowering shoots, and follow the steps I outlined earlier to propagate your own climbing roses.
Success rate:

How successful are hardwood cuttings at propagating plants? It can vary. Some plants root easily using this method, while others can be more difficult. Factors that can affect the success rate include:
- The type of plant.
- The quality of the cuttings.
- The conditions in which the cuttings are grown.
You can achieve good results with patience and the proper technique with hardwood cuttings.
Grafting
Another popular propagating option is through grafting. This has a number of advantages, not least the ability to create multi-fruiting trees, but it also can help with pet and disease resistance.
Suppose you are grafting your cuttings scion onto rootstock. In that case, there will be different challenges in terms of success rate with the capability of the rootstock, meaning they need to be of the same botanical species to work.
Caring for Newly Propagated Plants:
Now that you’ve propagated your plants, how do you care for them?
- First, water them regularly, but keep the soil from getting waterlogged. It would be best if you also fertilized them with a balanced fertilizer, following the instructions on the label.
- Prune them as needed to encourage healthy growth and remove any diseased or damaged branches.
- Give them plenty of sunlight, as most trees, shrubs, and climbers prefer full sun.
- And protect them from extreme temperatures and harsh weather conditions.
- Keep an eye out for pests or diseases, and take appropriate action if you see any. With a little bit of TLC, your newly propagated plants should thrive.
Final Thoughts
Understanding the science behind each step of hardwood cutting propagation can significantly improve your success rate. From the catalytic role played by rooting hormone to the benefits of a soil-less mix and the controlled environment of a propagator, each element contributes to the thriving future of your new plants. So the next time you’re ready to propagate, remember these key components for a fruitful gardening experience.
Propagating your own plants using hardwood cuttings is both rewarding and economical. This article serves as a comprehensive guide, but remember, the key to successful propagation lies in attention to detail and patience. Whether you’re a seasoned gardener or a beginner, these techniques can yield fruitful results,
