
What to Do With Your North Carolina Cannas and Elephant Ears Once Frost Turns the Leaves Black
One cold October or November morning, you walk outside and find your big tropical leaves hanging limp and black. It looks like a disaster, but it is actually a signal that your cannas and elephant ears are ready for their winter plan.
What you do next decides whether those plants come back bigger next summer or rot away in the ground. The good news is that the steps are simple, and you can handle them in an afternoon.
1. Wait a Few Days Before Cutting
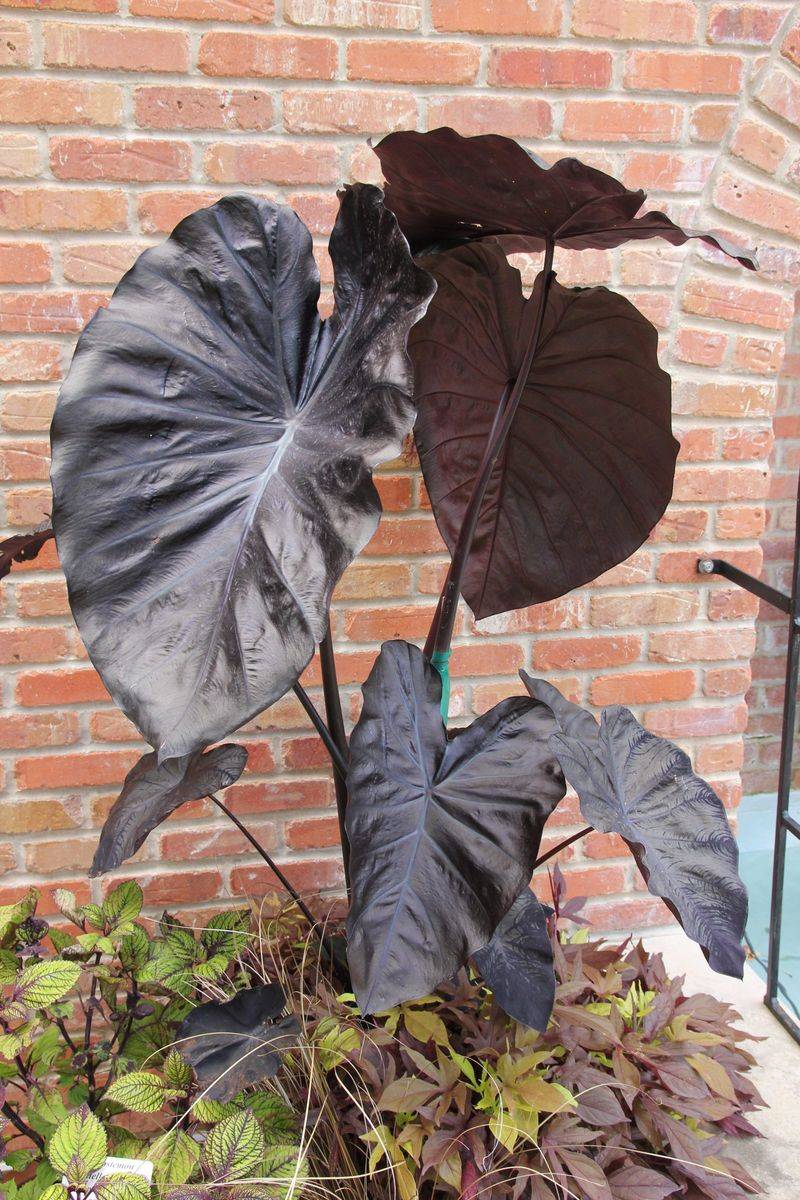
Patience pays off here. When frost first hits, the plant still pulls some energy from the dying leaves down into its roots and tubers.
Give it three to seven days after that first hard freeze. The foliage will look awful, but that ugly stretch helps the underground parts toughen up for winter.
Use the time to check your weather app and plan your next move. If another warm spell is coming, there is no rush at all.
2. Know Your North Carolina Growing Zone
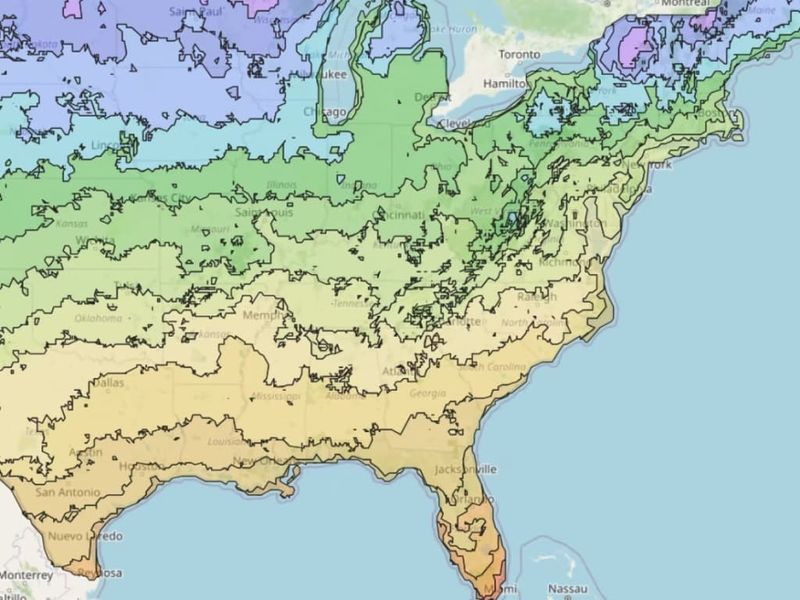
A gardener in Boone and a gardener in Wilmington face very different winters. North Carolina stretches from chilly zone 6 in the mountains to mild zone 8 along the coast.
In the Piedmont and coastal areas, most cannas and many elephant ears can stay in the ground with some protection. Up in the high country, digging them up is usually the safer bet.
Fun fact: the common green elephant ear, Colocasia esculenta, is the same plant grown for taro root in Hawaii. Hardier types like Colocasia ‘Pink China’ can survive zone 6 winters with ease.
3. Cut the Stalks Back Cleanly
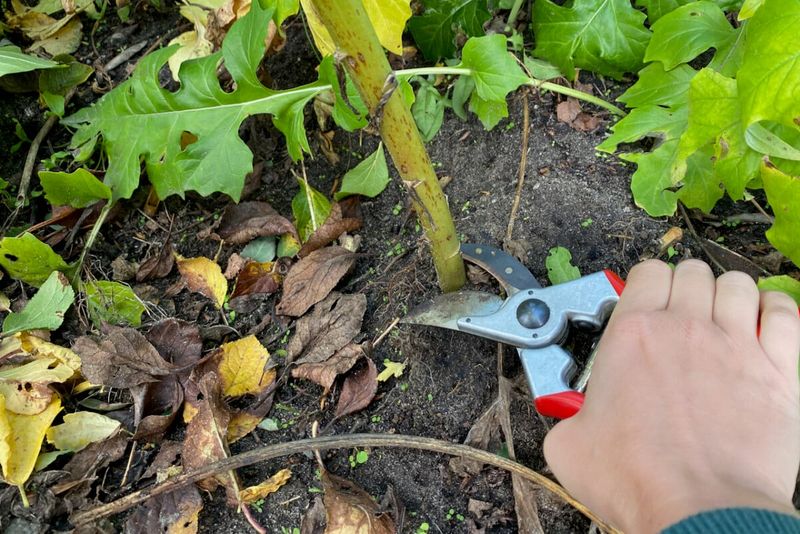
Grab sharp pruners and a pair of gloves, because elephant ear sap can sting sensitive skin. Cut the stems down to about four to six inches above the soil.
Leaving short stubs helps you remember where the plants are hiding. It also keeps you from stabbing a tuber with a shovel next spring.
Toss the mushy leaves in the trash or a hot compost pile rather than leaving them on the bed. Rotting foliage can invite fungus and slugs to set up camp right over your roots.
4. Mulch Heavily If Leaving Them in the Ground
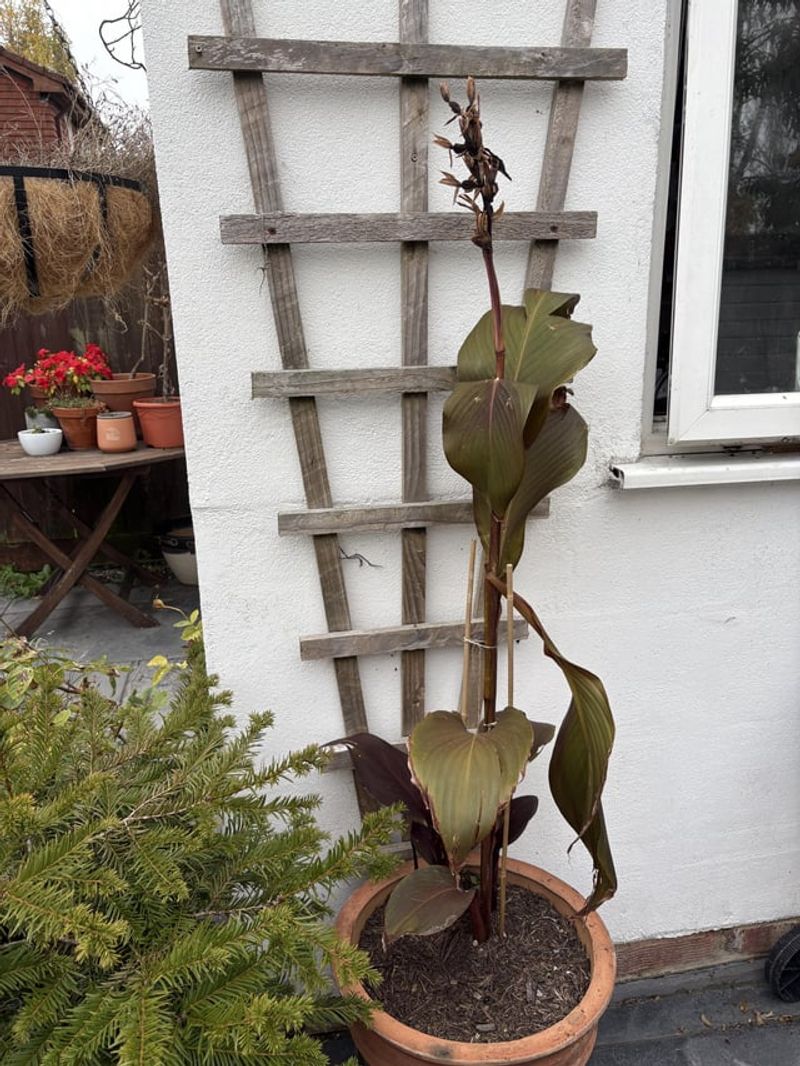
Think of mulch as a warm winter blanket. For gardeners in the Piedmont and east, a layer four to six inches deep can carry cannas and elephant ears safely to spring.
Pine straw is a classic North Carolina choice, and it is cheap and easy to find. Shredded leaves or wood chips work just as well.
Pile it on after the ground has cooled but before the deep cold of January. Pull it back in April so the soil can warm up and new shoots can push through.
5. Fix Drainage Before Winter Rain
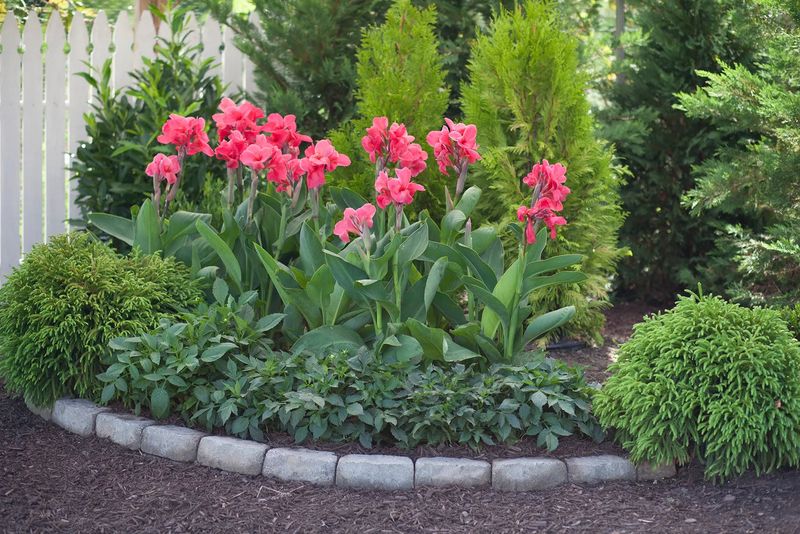
Cold rarely kills these plants in the Tar Heel State. Wet, soggy clay does far more damage.
Red clay holds water like a bowl, and a tuber sitting in cold mud all winter can turn to mush. If puddles stay in your bed for hours after rain, you have a problem worth solving.
Mounding soil slightly over the crowns helps water run off. In really heavy spots, digging the plants up may be smarter than gambling on a mild, dry winter.
6. Dig Up Rhizomes and Tubers for Storage
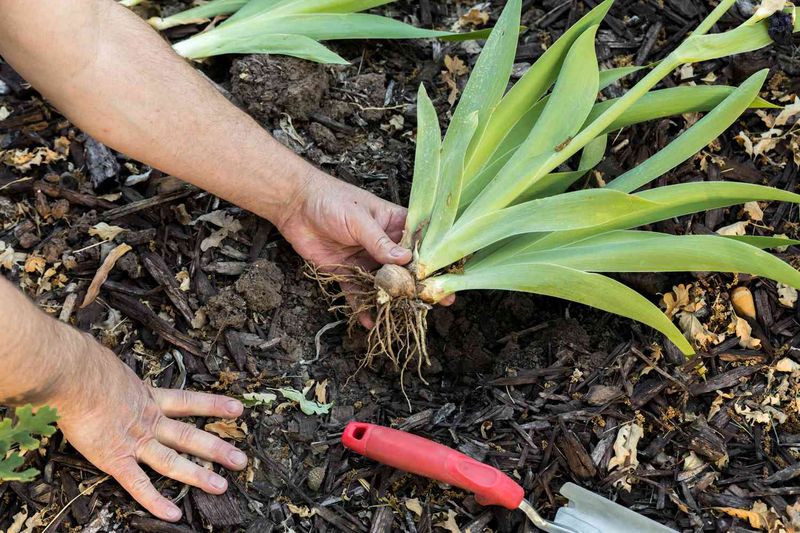
Mountain gardeners, this one is for you. Slide a garden fork in about a foot away from the stalk and gently lift the whole clump.
Canna rhizomes look like knobby, sprawling ginger roots. Elephant ear tubers are rounder, a little like hairy brown potatoes, and some get as big as a softball.
Shake off loose dirt, but do not scrub them clean. Let them dry in a garage or shady porch for a few days until the outside skin feels firm.
7. Store Them Cool, Dark, and Dry
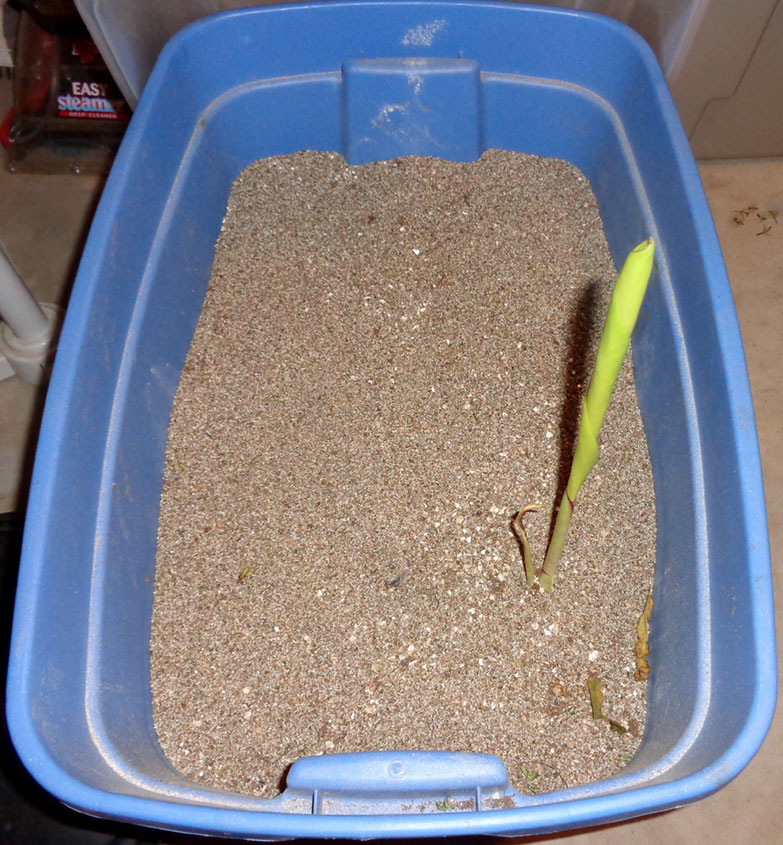
Picture a root cellar from your grandparents’ day. That steady, cool spot between 45 and 55 degrees is exactly what your tubers want.
Pack them in boxes or bins filled with dry peat moss, wood shavings, or vermiculite. Keep pieces from touching so one rotten tuber cannot spoil the bunch.
An unheated basement, crawl space, or insulated garage usually works. Label each container by color or variety so planting time is easy.
8. Check In Monthly and Plan for Spring
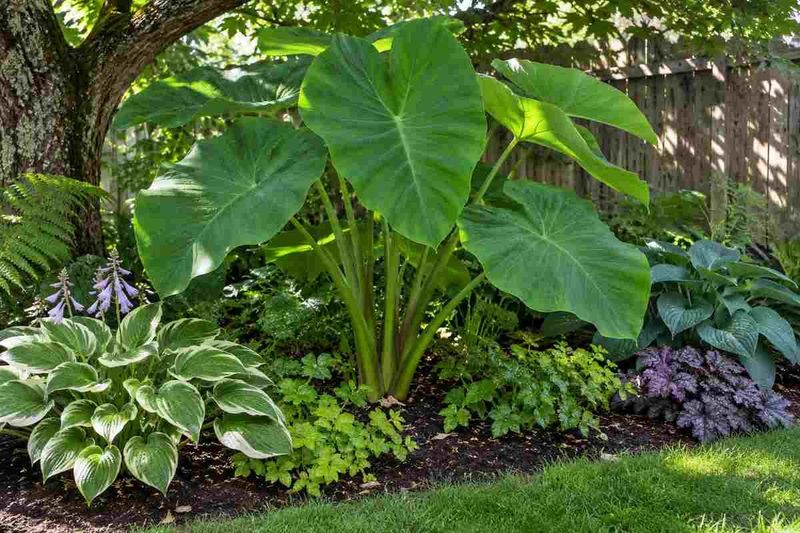
Once a month, take a peek. Squeeze a few tubers and toss any that feel soft or smell sour.
If they look shriveled, mist the packing material lightly. You want them firm, like a fresh potato, not wrinkled like a raisin.
Around early April, you can start them in pots indoors for a head start. Plant them outside after your last frost date, usually mid-April in the Piedmont and early May in the mountains, and get ready for those giant leaves all over again.