Spring is Upon Us: Gardening Tasks for April
Spring is pretty much here, we have seen off March and, hopefully, the last of the real cold, and it’s time to get our gardens in top shape! April is an exciting month in the gardening calendar for gardeners, as it marks the beginning of the growing season for many plants. With the days getting longer and warmer, it’s the perfect time to start preparing your garden for the months ahead. Whether you’re a seasoned pro or a beginner, there are plenty of tasks to keep you busy in April.
From revitalizing your soil to potting on your seedlings, there’s something for everyone. With this comprehensive guide, you’ll learn everything you need to know to get your garden off to a great start. We’ll cover everything from feeding your trees to building support structures for your climbing plants. We’ll even give you tips for sowing a wildflower meadow and keeping your pond clean and clear.
So, let’s get started! Whether you’re a seasoned gardener or just starting out, there’s something here for you. With a little bit of effort and some TLC, you can transform your garden into a beautiful and bountiful oasis.
Prepare Your Garden Soil for Planting
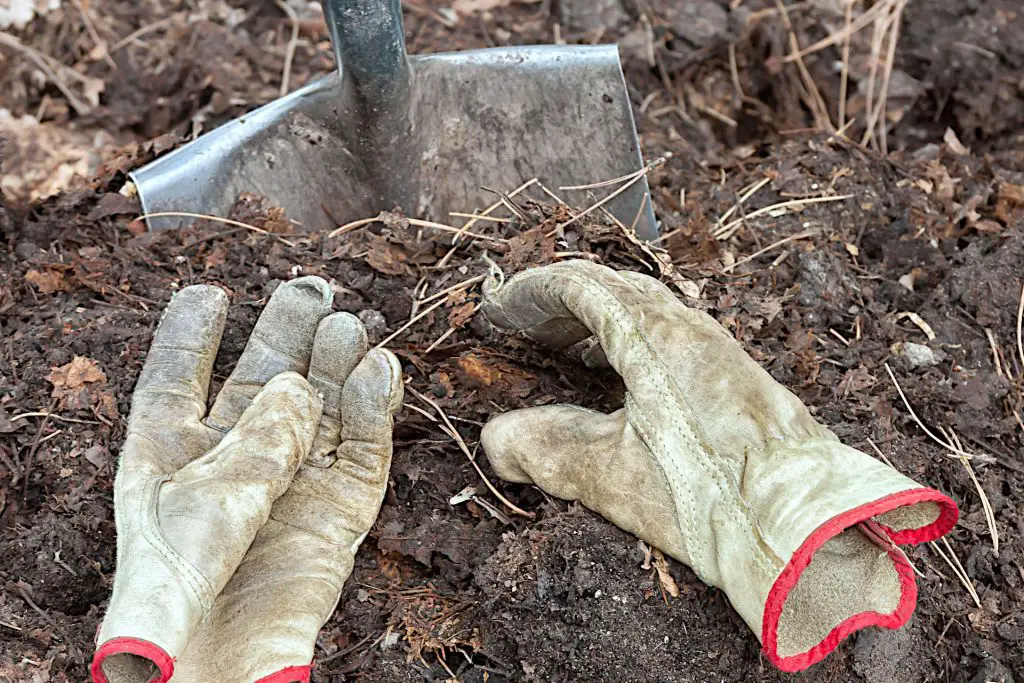
Healthy soil is the foundation for a successful garden. In order to grow healthy plants, you need healthy soil. If your soil is not in good condition, it can affect the growth and health of your plants. That’s why it’s important to revitalize your soil before planting.
The first step in revitalizing your soil is to test its pH levels. pH is a measure of the acidity or alkalinity of your soil. Most plants prefer slightly acidic soil with a pH level between 6.0 and 7.0. If your soil is too acidic or too alkaline, it can affect the availability of nutrients to your plants. You can test your soil’s pH levels with a simple at-home testing kit or by sending a soil sample to a lab.
Next, it’s important to add organic matter to your soil. Organic matter can come in the form of compost, manure, or leaf mold. Adding organic matter helps to improve soil structure, increase water retention, and promote the growth of beneficial microorganisms.
Lastly, it’s important to remove any weeds, rocks, or debris from your soil. Weeds can compete with your plants for nutrients and water, while rocks and debris can interfere with root growth.
The Ultimate Guide to Potting On: Increasing Pot Sizes of Your Seedlings
If you started your plants from seed indoors, or purchased young plants in smaller pots, they will eventually outgrow their containers and need to be potted on to larger pots. This process is known as “potting on” and is essential for the health and growth of your plants.
Select the right pot size for your plant. Choose a pot that is 2-4 inches larger in diameter than the current pot, and at least 2-3 inches deeper. This will give the roots of your plant room to grow and allow for proper drainage.
Before potting on, make sure the soil in the new pot is moist. This will make it easier to remove the plant from the old pot without damaging the roots. Gently loosen the soil around the root ball of your plant and carefully remove it from the old pot.
The Importance of Hardening Off Seedlings and How to Do It
If you started your seedlings indoors or in a greenhouse, it’s essential to harden them off before transplanting them outside. Hardening off is the process of gradually exposing your young plants to outdoor conditions, allowing them to adjust to the change in environment and avoid shock.
Hardening off is a critical step in the growth process because it prepares your plants for the harsh realities of the outdoors. Without this step, your plants may experience transplant shock, which can stunt their growth or even kill them.
To begin hardening off your seedlings, start by gradually introducing them to outdoor conditions. For the first few days, place them outside in a sheltered spot for a few hours each day, gradually increasing the amount of time they spend outdoors. Be sure to bring them back inside at night or if the weather turns chilly.
As your seedlings become more acclimated to outdoor conditions, you can gradually increase the amount of time they spend outside and expose them to more intense conditions. After a few weeks of this process, your seedlings should be ready to transplant into their permanent home in the garden.
Remember to keep a close eye on your seedlings during the hardening off process. Watch for signs of stress, such as wilting or yellowing leaves, and adjust the amount of time they spend outside accordingly.
How to Check and Maintain Your Irrigation System for Optimal Garden Growth
As the weather heats up and the growing season gets into full swing, it’s essential to ensure your irrigation system is working correctly. A well-maintained irrigation system is critical for ensuring your plants receive the right amount of water at the right time.
The first step in checking your irrigation system is to inspect it for any visible damage or leaks. Check each sprinkler head and hose for cracks or breaks, and replace any damaged parts as needed. Be sure also to check the water pressure and make sure it’s consistent throughout the system.
Next, test each zone of your irrigation system to ensure that it’s providing adequate water coverage. You can do this by running each zone for a set amount of time and checking the soil for moisture afterward. If the soil is too dry, adjust the watering time accordingly.
It’s also essential to check your irrigation system’s timer and programming to ensure that it’s set correctly for your garden’s needs. Consider adjusting the timing and frequency of your watering as the weather changes throughout the season to ensure your plants receive the right amount of water.
Regular maintenance of your irrigation system is crucial for ensuring its long-term health and efficiency. Be sure to clean your sprinkler heads regularly to remove any dirt or debris that can clog the nozzles. Also, check and replace the system’s filters as needed to ensure that the water flowing through the system is clean.
Keep Your Plants Hydrated: Tips for Monitoring Soil Moisture Levels and Watering
As the weather starts to warm up in April, it’s important to keep a close eye on your plants’ water needs, especially if it’s a dry spring. The key to healthy and productive plants is providing them with the right amount of water, neither too little nor too much.
To ensure your plants are getting the right amount of water, it’s crucial to monitor the soil moisture levels regularly. One simple way to do this is to stick your finger about an inch into the soil. If it feels dry, it’s time to water. If the soil feels moist, check again in a day or two.
When watering, it’s important to do so deeply and thoroughly. A light sprinkling of water will encourage shallow root growth, which can lead to weaker plants. Instead, water slowly and deeply to encourage the roots to grow down into the soil.
To minimize water waste, consider using a soaker hose or drip irrigation system. These methods deliver water directly to the soil, minimizing evaporation and runoff.
It’s also important to avoid overwatering, which can lead to waterlogged soil and root rot. To prevent this, only water when necessary and avoid getting the leaves wet, as this can lead to fungal diseases.
Protect Your Fruit Blossoms from Frost
Fruit blossoms are delicate and can be easily damaged by frost. If you’re growing fruit trees, it’s important to protect them from frost to ensure a bountiful harvest. Here are some tips to help you protect your fruit blossoms from frost:
Cover Your Trees: One of the easiest ways to protect your fruit trees is to cover them with blankets or tarps when frost is in the forecast. This can help to trap heat and protect the blossoms from the cold. Make sure to remove the covers during the day to allow the trees to get sunlight and air.
Use Frost Covers: Frost covers are special fabrics that are designed to protect plants from frost. They are lightweight and can be draped over your fruit trees. They work by trapping heat and preventing frost from settling on the blossoms. Frost covers can be found at most garden centers.
Water Your Trees: Watering your fruit trees can help to protect them from frost. Wet soil can absorb more heat than dry soil, which can help to keep the surrounding air temperature higher. Water your trees a few hours before frost is expected to help keep them warm.
Add Some Vibrance to Your Garden: Planting Summer Flowering Bulbs
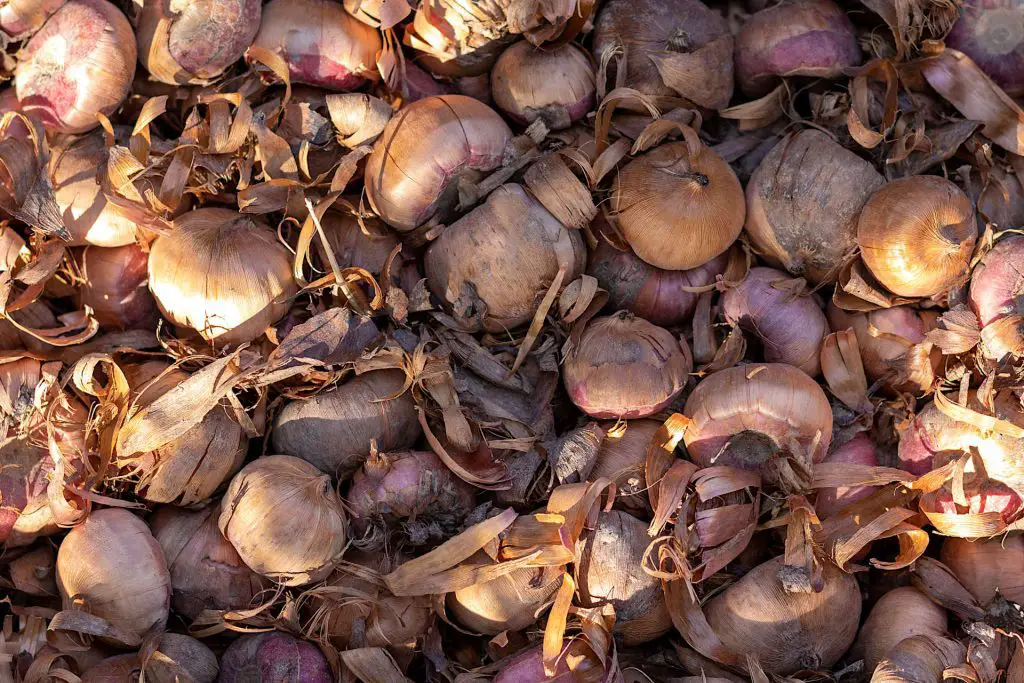
Remember those catalogs you ordered in December and the plans you drew up in January? Well, now is a great time to start planning and planting summer flowering bulbs. Whether you are looking for vibrant colors, fragrant blooms, or unique textures, there are a wide variety of bulbs to choose from that will thrive in the summer heat.
Before planting, it’s important to choose the right location for your bulbs. Most bulbs prefer well-draining soil, and should be planted in an area that receives plenty of sunlight. You should also take into consideration the mature size of the plant, and ensure that it has enough space to grow.
When it comes to planting depth, a good rule of thumb is to plant bulbs at a depth that is twice their diameter. Be sure to also add some compost or other organic matter to the soil to give your bulbs a nutrient-rich environment to grow in.
Some popular summer flowering bulbs include:
- Dahlias: Known for their large, colorful blooms, dahlias come in a wide variety of shapes and sizes, making them a great choice for adding some diversity to your garden. They can be planted in the spring once the soil has warmed up.
- Gladiolus: These tall, graceful flowers come in a wide range of colors, and are a great choice for adding vertical interest to your garden. They should be planted in the spring after the last frost.
- Lilies: With their beautiful, fragrant blooms, lilies are a classic choice for any garden. They come in a wide range of colors, sizes, and shapes, and should be planted in the spring or early summer.
Supporting Your Climbing Plants: A Guide to Building Effective Structures
Climbing plants can add a touch of elegance and beauty to any garden or landscape. However, to ensure their healthy growth and prevent damage to other plants, it is important to provide them with the necessary support structures. Here are some tips for building effective structures for your climbing plants.
Determine the Type of Climbing Plant
Different climbing plants have different requirements when it comes to support structures. Some plants, such as ivy and climbing hydrangeas, can attach themselves to walls and structures with aerial roots. Other plants, such as clematis and wisteria, need support structures to climb onto. Before building any support structures, it is important to determine the type of climbing plant you have.
Choose the Right Material
The material you use for your support structure will depend on your climbing plant’s needs, your personal preferences, and the style of your garden. Common materials include wood, metal, and bamboo.
Decide on the Structure’s Size and Shape
The size and shape of your support structure will depend on the size and growth habits of your climbing plant. For instance, if you have a large climbing rose, you may need to build a sturdy arbor or pergola to support its weight. On the other hand, if you have a small clematis, a simple trellis may be sufficient.
Keep your Garden Pristine: Strategies for Weed Control

A weed is any plant that grows where it is not wanted. Weeds compete with garden plants for space, water, and nutrients, and can even harbor pests and diseases. They can be a nuisance, but with proper weed control, you can keep your garden pristine and healthy.
One strategy for weed control is to remove weeds by hand. This involves pulling the weeds out by their roots. It is important to remove the entire root to prevent regrowth. To make hand weeding easier, it is best to weed after it has rained, or after watering, when the soil is moist. This will make it easier to remove the entire root of the weed.
Another strategy for weed control is to mulch your garden. Mulching involves covering the soil with a layer of organic material, such as straw, leaves, or wood chips. This helps to suppress weed growth by preventing light from reaching the soil and preventing weed seeds from germinating. Mulching also helps to retain moisture in the soil and regulate soil temperature, which is beneficial for plant growth.
Using herbicides is another strategy for weed control. Herbicides can be either selective or non-selective. Selective herbicides target specific weeds, while non-selective herbicides will kill any plant it comes into contact with. It is important to follow the instructions on the herbicide label carefully, as improper use can be harmful to plants, humans, and pets.
Finally, preventing weeds from germinating in the first place is the best strategy for weed control. This can be achieved by using a pre-emergent herbicide, which is applied to the soil before weed seeds germinate. Another way to prevent weeds from germinating is by using landscape fabric or weed barrier. These materials are placed over the soil and prevent weeds from growing by blocking sunlight and air.
Rejuvenate Your Lawn Back to Life: Rake Out Dead Moss from the Grass
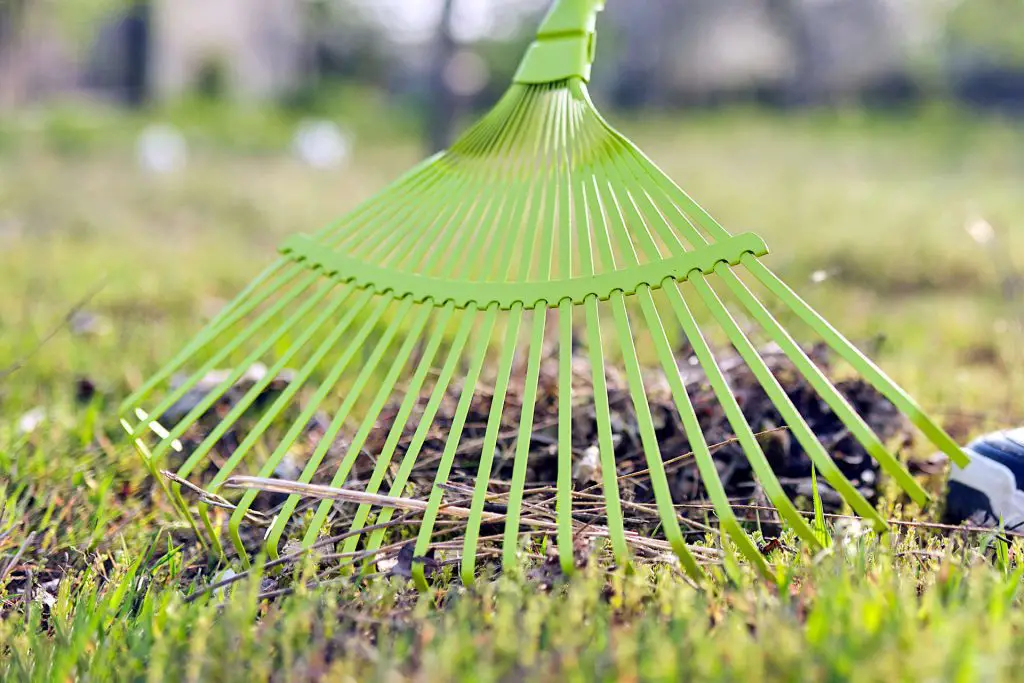
Spring is a great time to rejuvenate your lawn after the winter months. One of the best ways to get your lawn looking lush and green again is to remove the dead moss that may have accumulated over the winter months. Dead moss can smother your grass and prevent it from getting the nutrients it needs to thrive. Raking out the dead moss is a simple task that can make a big difference in the appearance of your lawn.
To start, you will need a lawn rake with stiff, metal tines. Begin by raking the entire lawn in a back and forth motion, using the rake to lift the moss out of the lawn. It is important to rake deeply enough to remove the moss but not so deeply that you damage the grass roots.
Once you have removed the majority of the dead moss, use a leaf rake or a garden vacuum to collect and dispose of the debris. If you leave the dead moss on your lawn, it can create a layer of thatch that can make it difficult for water and nutrients to reach the roots of your grass.
After raking out the dead moss, it is a good idea to aerate your lawn to improve water and nutrient absorption. Aeration is the process of creating small holes in your lawn to allow air, water, and nutrients to penetrate the soil. You can rent an aerator from a garden center or hire a lawn care service to do it for you.
In addition to raking and aerating, it is also important to feed your lawn with a high-quality fertilizer. Choose a fertilizer that is appropriate for your grass type and follow the manufacturer’s instructions for application rates and timing.
Takeaway: Gardening Tasks for April
There is no doubt that April can be a busy month for gardening, but if you can complete or make good headway on the tasks that pertain to your garden, it makes the potential gardening jobs to do in May that much less hectic.
Notes/Further Reading
- Ohio State University: April’s List of Gardening Tasks
- University of California: Garden Tasks for April