How to Build a DIY Backyard Fire Pit Quickly and Inexpensively
Imagine gathering around a warm fire pit in your backyard, creating memories with family and friends. It’s easier and cheaper to build than you think! A backyard fire pit can transform your outdoor space into a cozy retreat, perfect for relaxing evenings and lively gatherings. We’ll walk you through the steps to create your own fire pit, considering key factors like location, size, and safety. Whether you’re a seasoned DIY enthusiast or just getting started, our guide will help you build a beautiful and functional fire pit quickly and inexpensively.
Choosing the Perfect Location
Selecting the right spot for your fire pit is crucial for both safety and enjoyment. A well-chosen location ensures that your fire pit is not only a centerpiece but also a safe and convenient feature in your backyard.
Importance of Location:
- Proximity to the house and other structures
- Away from overhanging branches or flammable materials
- Consider wind direction and common usage areas
Practical Tips:
- Flat, even ground for stability
- Easy access from the main seating area
The location you choose can greatly impact your fire pit experience. Ensure it’s far enough from your house, fences, and low-hanging branches. This prevents any accidental fires and keeps smoke from blowing into your home. Think about prevailing wind directions to avoid smoke blowing towards seating areas. A flat, level surface provides stability, making the fire pit safe and easy to use. Finally, make sure it’s easily accessible from your main seating area so everyone can enjoy the warmth and ambiance comfortably.
Determining the Right Size
Once a location has been sorted finding the perfect size for your fire pit is essential for both functionality and aesthetics. Whether you want a small, intimate setting or a larger gathering space, the right dimensions will make all the difference.
Size Considerations:
- Typical dimensions for various uses (e.g., family gatherings, small parties)
- Balance between space and functionality
Design Inspiration:
- Examples of small, medium, and large fire pits
- Visual balance with the backyard environment
When deciding on the size of your fire pit, think about how you plan to use it. A smaller fire pit is ideal for intimate family gatherings, providing a cozy ambiance without taking up too much space. For larger parties, a medium to large fire pit offers ample room for guests to gather around and enjoy the warmth.
Keep in mind the available space in your backyard, ensuring the fire pit fits well without overwhelming the area. Striking a balance between size and functionality ensures your fire pit becomes a natural extension of your outdoor living space.
DIY vs. Bought Fire Pit Kits

Your text decision is whether to build the pit yourself or buy a ready-made solution. Each option has its own set of advantages, and your choice will depend on factors like budget, time, and personal preference.
Pros and Cons of DIY
Creating a fire pit yourself offers the benefit of customization. You can choose the materials and design that best match your backyard and personal style. It’s also typically more cost-effective, as you can source materials within your budget. However, a DIY project requires some basic masonry skills and the right tools. For those short on time or lacking confidence in their DIY skills, bought kits provide a convenient alternative. These kits come with all necessary components and are designed for easy assembly, saving you time and effort. Additionally, they offer a variety of designs, ensuring you find one that fits your backyard aesthetic.
Pros of DIY:
- Customization: Building your own fire pit allows for complete customization. You can choose specific materials, shapes, and sizes to fit your backyard perfectly.
- Cost Savings: Sourcing your own materials can be more affordable than purchasing a pre-made kit. This allows you to allocate your budget more efficiently.
- Personal Satisfaction: Completing a DIY project provides a sense of accomplishment and adds a personal touch to your backyard.
Cons of DIY:
- Skills Required: Building a fire pit from scratch requires basic masonry skills and an understanding of construction principles. Those without experience might find it challenging.
- Time-Consuming: A DIY fire pit can take considerable time to plan and build, especially for beginners.
- Tools Needed: Specific tools, such as a level, trowel, and shovel, are essential for constructing a durable and safe fire pit. If you don’t already own these tools, you may need to purchase or rent them, adding to the overall cost.
Pros and Cons of Bought Kits
Choosing a fire pit kit can be an attractive option for those who prefer convenience and ease. Kits offer a straightforward solution, but it’s essential to weigh their benefits and drawbacks.
Pros of Bought Kits:
- Convenience: Fire pit kits come with all necessary components and instructions, making the assembly process straightforward and hassle-free.
- Time Savings: Pre-packaged kits significantly reduce the time required to plan and build a fire pit, allowing you to enjoy your new feature sooner.
- Design Variety: Kits are available in a wide range of designs, sizes, and materials, ensuring you find one that suits your backyard aesthetic and needs.
- Professional Finish: Kits often result in a more polished and professional appearance, as they are designed and tested for optimal performance and safety.
Cons of Bought Kits:
- Cost: Pre-made kits can be more expensive than sourcing your own materials, especially if you’re on a tight budget.
- Limited Customization: Kits offer limited flexibility in terms of design and materials, which might not perfectly match your vision or backyard layout.
- Generic Look: While kits provide a professional finish, they may lack the unique, personalized touch that a DIY project can offer.
Creating a fire pit yourself offers the benefit of customization. You can choose the materials and design that best match your backyard and personal style. It’s also typically more cost-effective, as you can source materials within your budget. However, a DIY project requires some basic masonry skills and the right tools.
For those short on time or lacking confidence in their DIY skills, bought kits provide a convenient alternative. These kits come with all necessary components and are designed for easy assembly, saving you time and effort. Additionally, they offer a variety of designs, ensuring you find one that fits your backyard aesthetic.
Gathering Materials and Tools
If you are going to build this thing then being properly equipped for the job is essential. Before diving into construction, assemble all the necessary materials and tools you are going to need as it is going to save you time and prevent problems when you get started on the project.
Essential Materials:
- Fire-resistant bricks or stones
- Gravel or sand for the base
- Metal fire ring (optional for added durability)
Tools Needed:
- Shovel
- Level
- Trowel
- Measuring tape
Start with fire-resistant bricks or stones, as these form the core of your fire pit’s structure. Gravel or sand provides a stable and heat-resistant base, ensuring your fire pit remains level and secure. Including a metal fire ring adds durability, protecting the inner walls from heat damage and prolonging the life of your fire pit.
Essential tools include a shovel for digging and leveling the ground, a level to ensure the fire pit is even, and a trowel for precise placement of bricks or stones. Measuring tape helps in marking out the dimensions and ensuring accuracy during construction. Having all these materials and tools on hand before starting will make the building process straightforward and enjoyable.
Step-by-Step Installation Guide
Building your fire pit can be a rewarding and enjoyable project. Following a clear, step-by-step guide ensures that your fire pit is safe, functional, and aesthetically pleasing.
Preparing the Ground
Creating a solid foundation is the first step in building a sturdy and safe fire pit. Proper preparation of the ground ensures that your fire pit will be stable and long-lasting.
Marking out the Fire Pit Area:
- Choose the desired location based on the guidelines provided in Section 1.
- Use stakes and string or spray paint to mark the circumference of the fire pit.
- Ensure the marked area is a perfect circle to maintain symmetry.
Digging and Leveling the Base:
- Begin digging within the marked circle to a depth of about six inches.
- Remove any grass, roots, or debris to create a clean surface.
- Use a shovel and a rake to level the ground, ensuring a flat and even base.
Start by selecting the exact spot for your fire pit, guided by the considerations outlined earlier. Once the location is chosen, mark the area using stakes and string or spray paint. This will help you maintain a perfect circle, which is crucial for the structure’s stability and aesthetic appeal.
Dig within the marked circle to a depth of about six inches. Removing grass, roots, and other debris ensures a clean surface for the fire pit. Using a shovel, carefully dig out the area, and then rake the ground to level it. Ensuring the base is flat and even is essential, as it provides a stable foundation for the layers of bricks or stones that will form your fire pit.
Building the Fire Pit
Constructing the main structure of your fire pit involves careful placement and layering of materials. Following these steps will help you create a durable and attractive fire pit.
Laying the Foundation Layer:
- Spread a layer of gravel or sand evenly across the base.
- Ensure the layer is approximately two inches thick for stability and drainage.
Never use dirt in a fire pit. The dirt can catch fire and cause the fire to spread. If you live in an area that has bugs, you may want to line the bottom of the fire pit with a tarp as well.
Lining the Pit with Bricks
Start building the fire pit with a foundation layer of fire-resistant bricks on top of each other. You will need to leave a hole in the middle of the fire pit for the fire. Each piece should fit snugly against the next to create a cohesive and tight circle. This initial layer sets the groundwork for the subsequent layers.
Staggering the Layers for Stability:
- Begin the second layer, offsetting the bricks or stones from the first layer.
- Continue this pattern for each subsequent layer to enhance the structure’s stability.
For added stability, stagger each new layer of bricks or stones. Offset the placement of each piece from the one below it, which interlocks the layers and enhances the structure’s strength. Continue this pattern for each subsequent layer until the desired height is reached.
Using a Level to Ensure Evenness:
- Check the evenness of each layer with a level.
- Adjust as needed to maintain a flat, stable surface.
Make sure that the bricks in each layer are level all the way around the fire pit. The fire pit will be unstable if the bricks are not level. If you are not confident with an ordinary level you can use a laser level to ensure that the bricks are even.
Once the bricks are stacked, fill the top of the fire pit with a smaller bricks. These should be smaller than the bricks that you are using to line the barrel. Fill the space in between the bricks with sand. Again, you will need to make sure that the sand is level.
Adding a Grate
After filling the gaps with sand you can place the fire pit grate on top of the fire pit. If this is a DIY build, you will have to cut the grate to fit. The grate should fit perfectly on the fire pit. You can also add a cover for the fire pit if you would like.
Using and Maintaining Your Fire Pit
Enjoying your fire pit is the ultimate reward for your hard work. Proper use and regular maintenance ensure it remains a safe and welcoming feature in your backyard for years to come.
First Use Tips
- Start with small, dry wood to create an easy-to-light fire.
- Gradually add larger pieces of wood once the fire is established.
Recommended Types of Wood
- Hardwood, such as oak or maple, burns longer and hotter.
- Softwood, like pine, ignites quickly but burns faster, making it ideal for kindling.
Maintenance Tips
- Regularly clean out ashes and debris to keep the fire pit functioning properly.
- Inspect the structure for any signs of wear or damage, such as cracks or loose stones.
- Cover the fire pit when not in use to protect it from the elements.
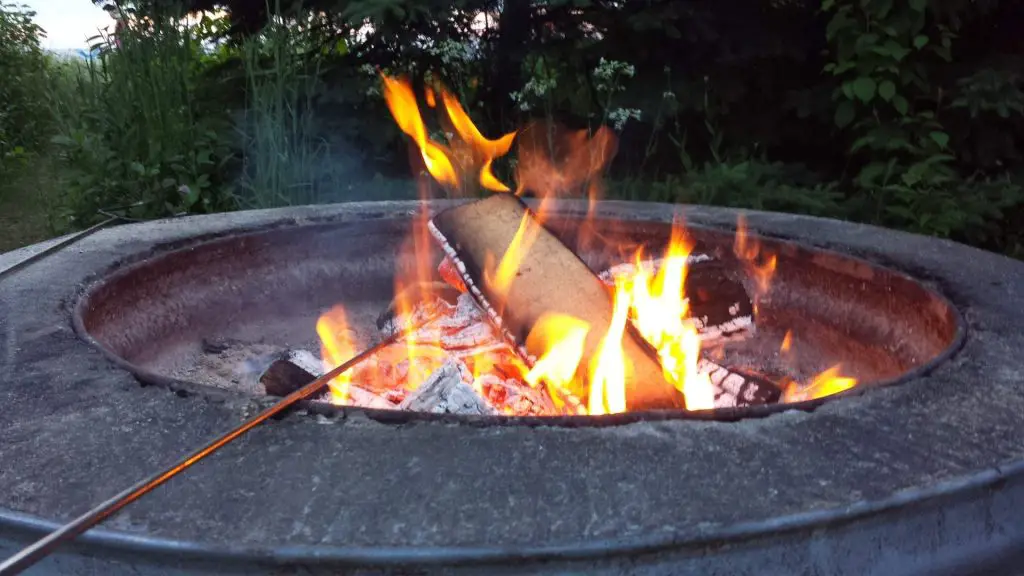
Lighting your fire pit for the first time can be an exciting experience. Begin with small, dry pieces of wood that light easily. Once the fire is established, gradually add larger pieces to maintain a steady burn. Choosing the right type of wood is crucial; hardwoods like oak or maple burn longer and provide more heat, while softwoods like pine ignite quickly and are perfect for kindling.
Maintaining your fire pit involves regular cleaning and inspections. Remove ashes and debris after each use to ensure proper airflow and functionality. Regularly inspect the structure for any signs of wear or damage, such as cracks or loose stones, and make necessary repairs to keep it safe and stable. Covering your fire pit when not in use protects it from the elements, prolonging its lifespan and keeping it ready for your next gathering.
Enjoying your fire pit responsibly ensures it remains a beloved feature of your backyard, providing warmth and ambiance for countless evenings under the stars.
Alternative Cooking Methods
Alternatively, ff you prefer, you can use a gas grill to cook on the fire pit or a fire pit ring to cook over the fire pit. These can be placed on top of the fire pit grate.
Safety Considerations
Ensuring the safety of your fire pit is paramount to enjoying it responsibly. Taking a few precautions can prevent accidents and make your fire pit a safe addition to your backyard.
Safety Tips
- Maintain a safe distance from flammable objects
- Always have a fire extinguisher or water source nearby
- Never leave the fire unattended
Legal and Local Regulations
- Check with local authorities for fire pit regulations
- Understand any restrictions on open fires
Keeping safety in mind while using your fire pit is essential. Position the fire pit at a safe distance from any flammable objects, including your house, sheds, and low-hanging branches. Always have a fire extinguisher, garden hose, or bucket of water nearby to quickly extinguish any unexpected flames.
Never leave the fire unattended. Ensure the fire is completely out before leaving the area or going to bed. A responsible approach to fire pit use prevents accidents and ensures a fun, worry-free experience for everyone.
Familiarize yourself with local regulations regarding fire pits. Some areas have specific rules or restrictions on open fires, especially during certain times of the year. Contact local authorities or check community guidelines to ensure compliance and avoid any potential fines or issues.
Practicing these safety measures ensures that your fire pit remains a safe and enjoyable feature of your backyard. Responsible use not only protects your property but also enhances the overall experience for you and your guests.
Final Thoughts: Getting the Job Done
If you are looking for a DIY project, then building a fire pit is a good project to have a go at. It is fairly straightforward and should be easy to complete. If you plan and prepare well then this is a project that can be completed in a day or at most over a weekend.
Once done you will have a great family focal point and is perfect for backyard BBQ’s and will give you something to make you want to spend more time in your backyard.
Additional Tips and Ideas
Enhance your fire pit experience with a few creative touches and seasonal considerations. These extra ideas can make your fire pit even more enjoyable and versatile.
Creative Ideas
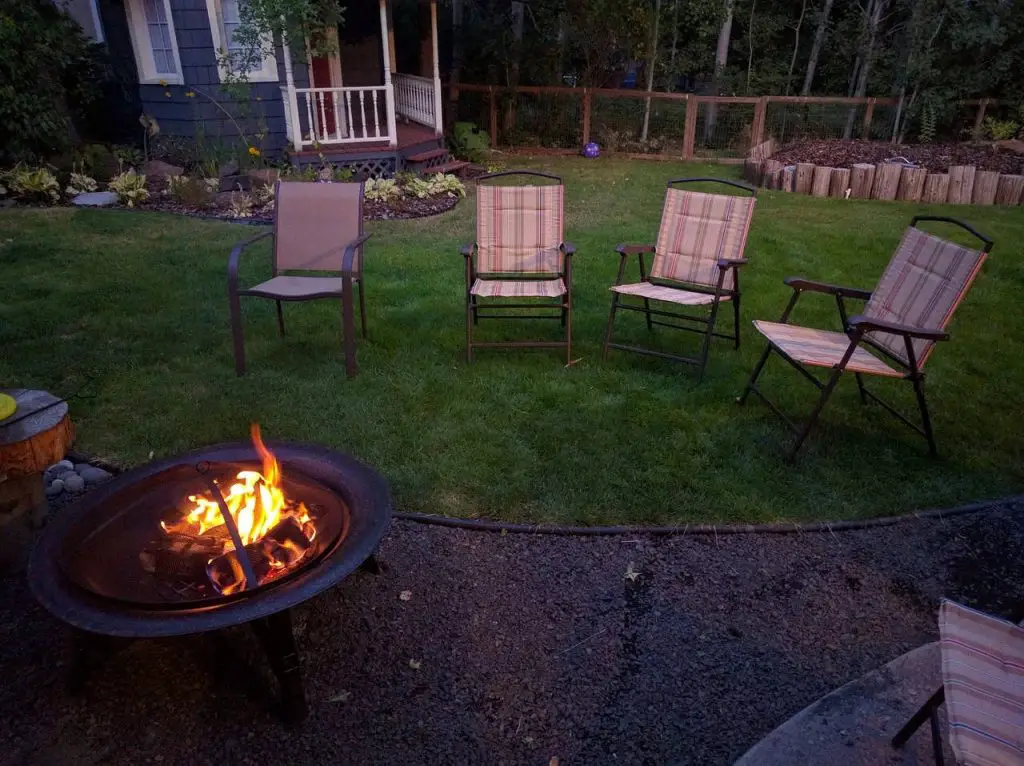
- Adding Seating: Arrange comfortable seating around your fire pit. Use weather-resistant chairs, benches, or even built-in stone seating to create a welcoming circle.
- Decorative Elements: Incorporate decorative stones, tiles, or even mosaic patterns into the design. These personal touches can make your fire pit a unique focal point.
- Lighting: Install outdoor string lights or solar lanterns around the fire pit area. Soft lighting adds ambiance and ensures safety during nighttime gatherings.
Seasonal Usage
- Spring and Summer: Use your fire pit for roasting marshmallows, making s’mores, or simply enjoying a cool evening outdoors. Consider adding a grill grate to convert your fire pit into a cooking station.
- Fall and Winter: Keep the fire pit active during colder months. Gather around the fire for warmth and comfort, and enjoy hot beverages and cozy blankets to enhance the experience.
Adding comfortable seating around your fire pit encourages guests to relax and stay longer. Weather-resistant furniture ensures durability and comfort, while built-in stone seating adds a permanent and stylish solution. Decorative elements like stones or tiles can personalize your fire pit, making it a unique feature in your backyard. You can even set up a screen and enjoy a backyard movie night.
Lighting is another way to enhance your fire pit area. Outdoor string lights or solar lanterns provide soft, ambient lighting, creating a magical atmosphere and improving safety at night. Seasonal usage ensures your fire pit is enjoyed year-round. During spring and summer, it becomes a hub for activities like roasting marshmallows or grilling. In fall and winter, it offers warmth and a cozy gathering spot for friends and family.