Leveling a Garden Slope | How to Level a Sloping Garden?
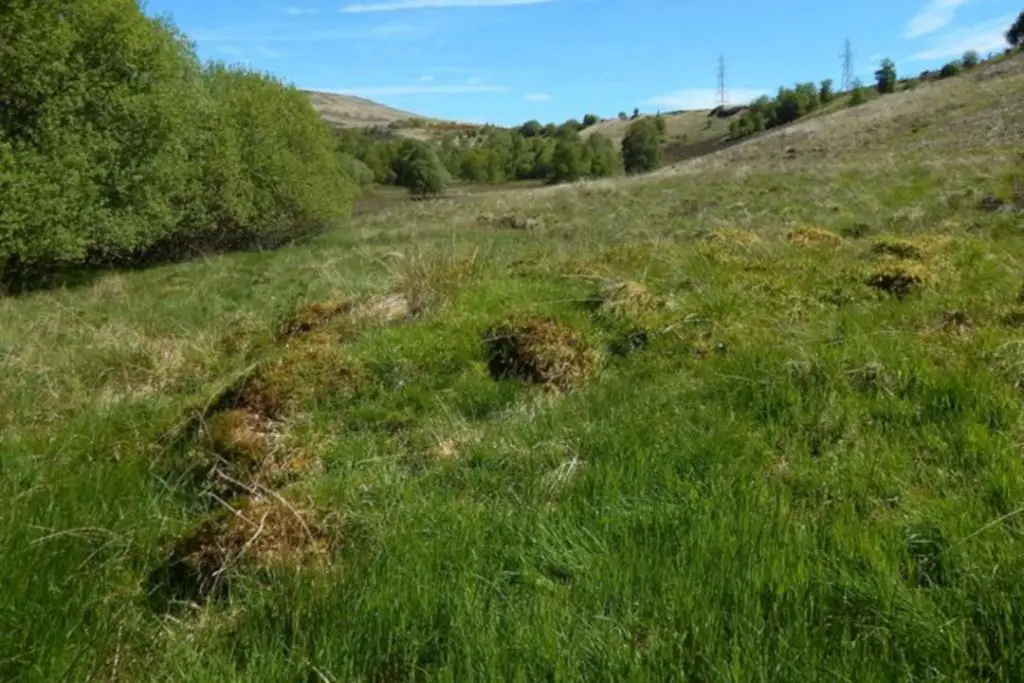
Dealing with a sloping garden can often feel like an uphill battle. The uneven terrain poses challenges, from landscaping difficulties to the negative impact on aesthetics. More seriously, these gradients can accelerate soil erosion and increase the risk of floods in your garden. But don’t let this steep situation dampen your spirits! Transforming your yard is entirely possible through the process of leveling a garden slope.
Steep slopes may lend a touch of drama to your landscape, but they often disrupt the harmony of your outdoor space. Picture this: You’ve just bought a beautiful bench for your garden, only to find it tilting awkwardly on uneven ground. Or maybe you’re dreaming of hosting summer barbecues but are deterred by the sloping surface that could send your grill rolling downhill. Not to mention, maintaining a sloping garden can be labor-intensive and tricky.
However, there’s good news! You don’t have to live with these inconveniences forever. Through simple procedures and some elbow grease, you can correct these gradients and transform the slope into level surfaces or charming terraces. Whether you plan to create a flat lawn for kids and pets or cultivate a vegetable patch or flower bed – leveling your garden opens up endless possibilities. So why wait? Dive into this comprehensive guide on how to level a garden slope and turn those hilly hurdles into leveled luxuries.
The Importance of Leveling a Garden Slope
Benefits of a Level Garden
Having a level garden comes with numerous benefits. First and foremost, it improves the usability of your outdoor space. Whether you want to create an area for kids to play, a spot for your pets to roam, or a place to grow vegetables and flowers – leveling your garden makes these dreams possible.
A level garden also helps prevent floods and erosion. By controlling the flow of water, you can protect your soil from being washed away during heavy rains. Furthermore, with proper drainage systems in place, you can ensure that excess water doesn’t pool on the surface but seeps evenly into the ground.
Lastly, let’s not forget about aesthetics! A level garden enhances the visual appeal of your yard. It provides a clean canvas for you to plant flowers, install water features or even set up a patio or deck. With some creativity and planning, you can transform your leveled garden into an enchanting oasis.
Here are some key benefits:
| Benefit | Explanation |
|---|---|
| Usability | Enables various activities like playing, gardening etc |
| Prevention of Floods and Erosion | Controls water flow and protects soil |
| Enhanced Aesthetics | Provides a blank canvas for creative landscaping |
Discomforts and Limitations of Sloping Gardens
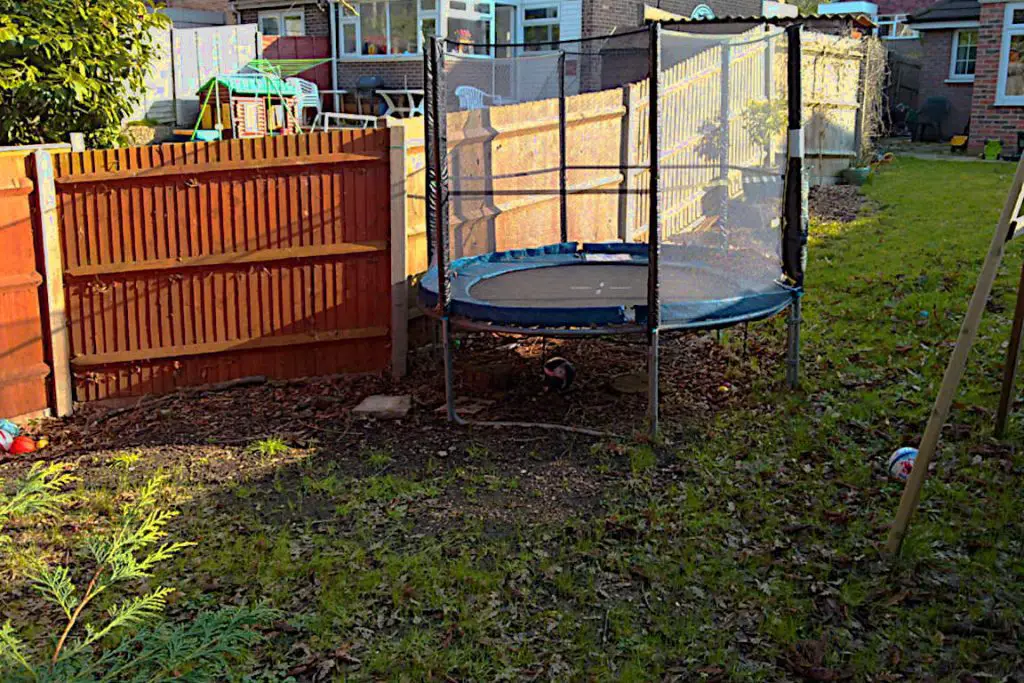
On the other hand, sloping gardens come with their fair share of discomforts and limitations. For starters, placing furniture on uneven ground can be tricky. Chairs may tilt awkwardly while tables wobble annoyingly every time you try to enjoy an alfresco meal.
Engaging in outdoor activities is another challenge posed by sloping terrain. Kids might find it difficult to play on sloped land due to safety concerns while pets may struggle to navigate through steep inclines.
Moreover, maintaining a sloping garden requires extra effort compared to its flat counterpart. Mowing grass on uneven terrain is not only laborious but also risky as it increases the chances of accidents.
Also, if you’re keen on growing plants in your garden – whether vegetables or flowers – dealing with sloping surfaces can make this task more complex than necessary.
Let’s summarize these challenges:
| Challenge | Explanation |
|---|---|
| Furniture Placement | Difficulty in setting up furniture on uneven ground |
| Outdoor Activities | Safety concerns for kids and pets |
| Maintenance | Laborious mowing process; increased risk of accidents |
| Gardening | Complexities involved in planting on slopes |
When all is said and done, leveling your garden not only eliminates these issues but also opens up new possibilities for enhancing usability and aesthetics.
Methods of Leveling
Two Principal Methods
When it comes to leveling a garden slope, you have two principal methods at your disposal: leveling the entire garden as a whole or creating terraces on steep slopes.
| Method | Ideal For | Description |
|---|---|---|
| Whole Garden Leveling | Activities requiring flat surfaces | Creating one uniform level |
| Terracing | High-gradient slopes; varied landscaping | Creating multiple flat levels |
- Leveling the Entire Garden: This method involves removing soil from higher areas and adding it to lower regions until you achieve a uniform level across the entire garden. It’s an ideal option if you want a flat lawn for playing games, setting up outdoor furniture, or installing features like patios or decks.
- Creating Terraces: If your garden has a steep gradient, terracing is an excellent choice. By constructing horizontal ‘steps’ down the slope, each with its own flat surface, you create multiple mini-gardens within your yard. You could use each terrace for different purposes – one for flowers, another for vegetables, and perhaps one as a play area for kids.
Your choice between these two methods will depend on your specific needs and preferences as well as the existing design and inclination of your garden.
Garden Design and Inclination
The design of your garden plays a crucial role in choosing the best method for leveling. For instance:
- If your garden has a gentle slope and you prefer an open landscape without divisions, leveling the entire garden would be suitable.
- Conversely, if your yard features a steeper gradient but you love the idea of having separate spaces for different activities or plants, creating terraces would be more appropriate.
The table below summarizes these considerations:
| Garden Feature | Leveling Entire Garden | Creating Terraces |
|---|---|---|
| Gentle Slope | Suitable | Less Suitable |
| Steep Gradient | Less Suitable | Suitable |
| Preference for Open Landscape | Suitable | Less Suitable |
| Love for Separate Spaces | Less Suitable | Suitable |
Understanding your garden’s topography and reflecting on what you want from your outdoor space are essential steps in determining how best to level it.
Leveling the Entire Garden
Step-by-Step Process
Leveling your entire garden might seem daunting, but with a systematic approach, you can transform your sloping terrain into a level landscape.
- Measure the Slope: First, gauge the rise and run of your garden. The ‘rise’ refers to the height difference from the highest point to the lowest, while the ‘run’ is the horizontal distance between these two points..
- Check for Utilities: Before digging or moving soil, ensure there are no underground utilities like pipes or cables in your work area.
- Grading: Grading is the process of arranging land to divert water drainage in a particular direction.
- Establish the Angle of The Gradient: Establish the angle of the gradient and use stakes and strings to mark out the area you want to level.
- Remove Topsoil: Dig out topsoil from areas that are higher and move it to lower regions until you achieve an even surface.
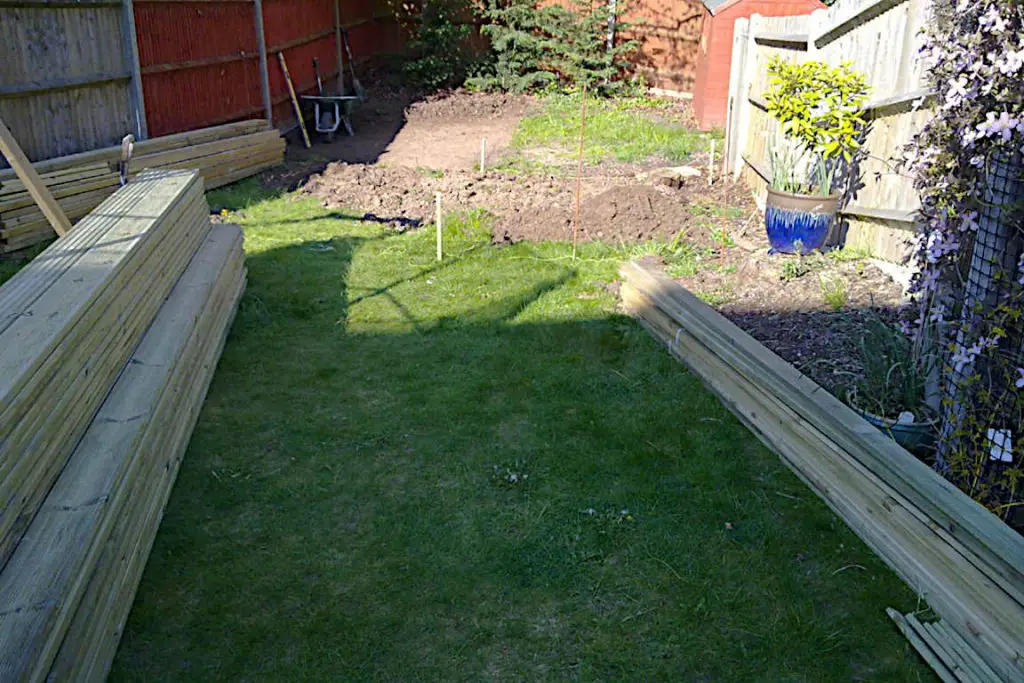
- Build Retaining Wall: If necessary, construct a retaining wall at the base of the slope for stabilization and rainwater management.
- Add Soil Behind Wall: Once the retaining wall is completed and sturdy, load in the dirt behind it.
Equipment Needed
To carry out all these tasks effectively, you’ll need some basic tools as a minimum but will need more if you are building a retaining wall:
- Pegs and thread: To mark out your working area
- Spirit Level: To check that surfaces are flat
- Shovel: For digging and moving soil
- Wheelbarrow: To transport soil
Importance of Measuring Rise and Run
Accurately measuring the rise and run of your garden is crucial for planning how much soil needs to be moved and where it should go. This step ensures that you don’t end up with too much or too little soil in certain areas.
Checking for Underground Utilities
Until inspectors visit to check, identify, and name any underground electricity, water, and telephone lines, that might be underneath your garden or yard. This is likely to be particularly important if the ground you are looking to level is at the front of your building
Grading
Grading is the process of arranging land to divert water drainage in a particular direction. Grading is typically done to direct water away from existing structures.
Grading is important before leveling the garden slope in order to make sure that the rainwater run-off is flowing in the appropriate direction and not towards your building or other structure.
A simple eye exam will show you areas you need to improve on. Go around your building to detect low places. Use sand to fill the spaces up, then make the space compact by hitting it with the back of your shovel.
Establishing the Angle of the Garden Slope
The next step is to determine the slope of your garden or yard. A sloping garden in some instances, can be as steep as 45 degrees or as shallow as 3 degrees. The ideal slope is between 10-15 degrees which helps with poor drainage and irrigation.
Determining the slope will allow you to establish the height of the retaining wall that will be required as well as the quantity of dirt you’ll need to fill in the space behind it when it’s finished.
Two stakes are driven into the ground, one at the top and one at the bottom of the slope, with a string connected between them. The length of the string is referred to as the ‘run,’ and the height of the string at the second stake is referred to as the ‘rise.’
It is important that the string on the top stake be at ground level and that it extends all the way to the other stake. At this stage, you should lay a spirit level on the line to ensure that it is perfectly leveled. It’s critical to do this properly particularly if you are laying new grass as it will be laid out in the same direction as the run.
If you recall your school mathematics, the rise and run measurements provide you with two sides of a triangle whose area can be calculated using simple algebra. Taking the size of this triangle and multiplying it by the length of your retaining wall will give you an estimate of the approximate volume of the space that will have to be filled at the back of the retaining wall.
Removal of Topsoil
Removing topsoil is an essential step in leveling your garden. Dig out topsoil from areas that are higher and move it to lower regions until you achieve an even surface. The topsoil is the rich, black material that accounts for around the top 5-8 inches of the ground. This process involves digging out soil from higher areas and moving it to lower regions to create an even surface.
Dig out topsoil from areas that are higher and move it to lower regions until you achieve an even surface. Remember, topsoil is full of nutrients, so consider preserving it for later use in plant beds or vegetable patches.
Constructing a Retaining Wall
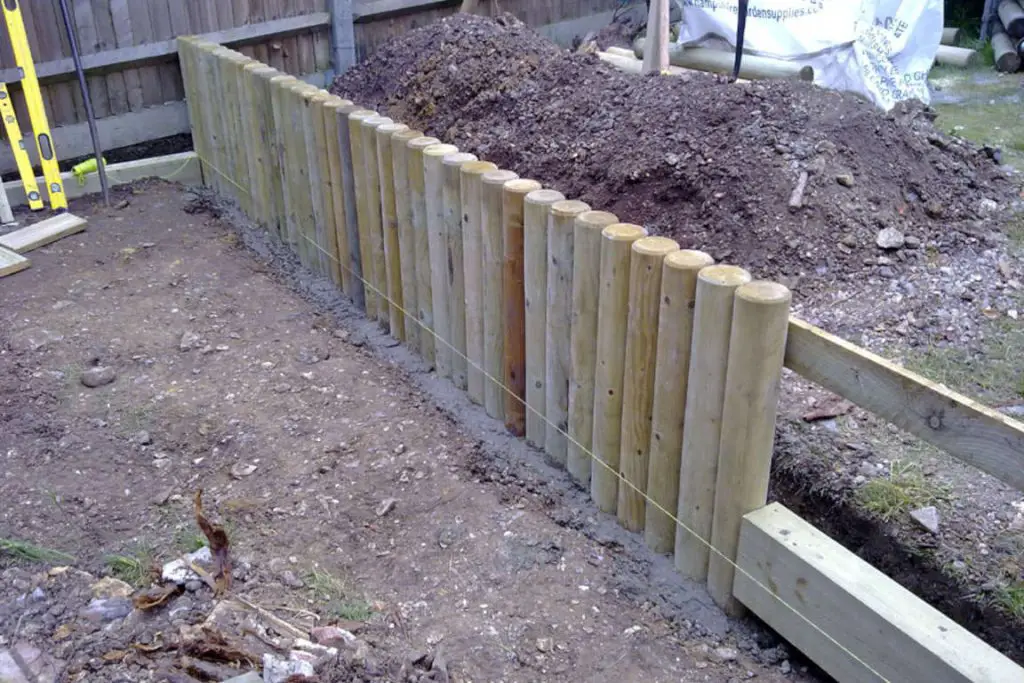
If your garden has a significant slope, building a retaining wall can help manage soil movement and rainwater runoff. You can construct this wall using various materials like concrete blocks, gabions, or railway sleepers. The choice depends on factors such as budget, aesthetics, and the wall’s required strength.
Here are some steps to follow when constructing a retaining wall:
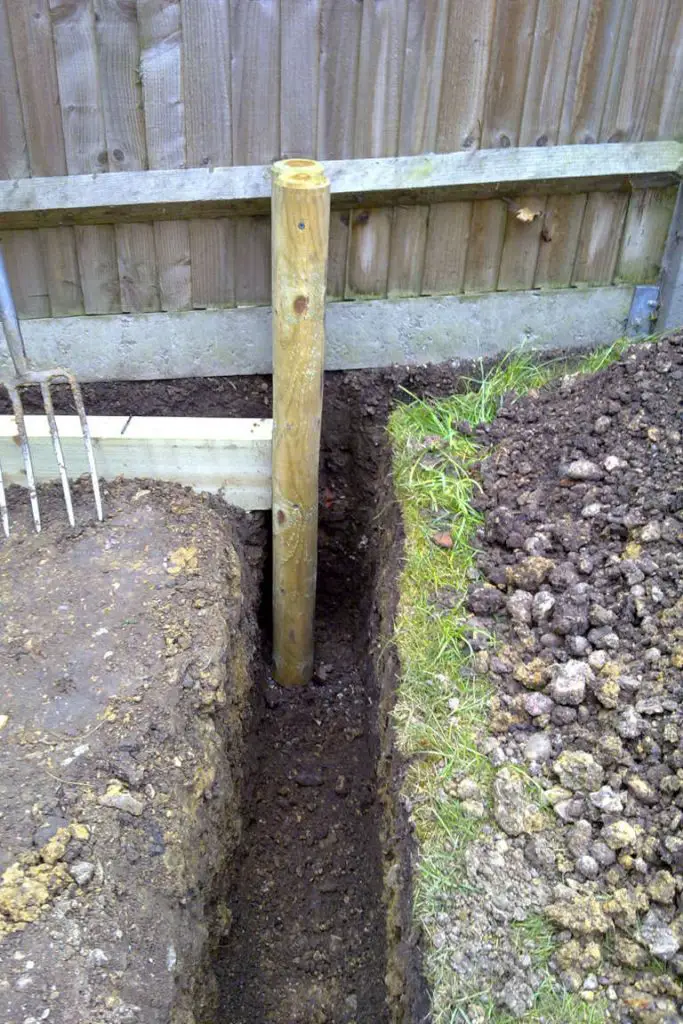
- Dig a trench at the base of your slope.
- Lay down gravel for drainage and compact it using a lawn roller.
- Start placing your chosen material (concrete blocks or railway sleepers) in the trench.
- Use mortar (for concrete blocks) or long screws (for wooden sleepers) to secure each layer.
- Continue stacking until you reach the desired height.
A retaining wall is meant to sustain the freshly elevated ground in your yard, and to prevent your fine new level grass from collapsing after rain. The retaining wall keeps back the pressure of the earth and, when it rains, the water that soaks into it.
It’s critically crucial that the materials chosen for the wall be strong enough to prevent the chance of it collapsing, but we’ll explore this in the following section.
Building a retaining wall might involve some hefty lifting You should strive for a retaining wall no more than two feet tall. Beyond this stage, they are exposed to enormous quantities of pressure that make collapse more probable.
If the rise of your sloping garden is over two feet, consider installing a series of terraces instead. This tutorial is targeted at leveling a sloping garden, although the technique for building a succession of terraces is comparable.
Building Up Soil Level Behind Retaining Wall
Once your retaining wall is up, it’s time to build up the soil level behind it:
- Start by adding layers of soil behind the wall until it reaches just below the top edge.
- Compact each layer as you go along with a garden roller to prevent future settling.
- If you’re planning on planting in this area, remember to add back some of that nutrient-rich topsoil you saved earlier.
Level the Ground and Create a Solid Base
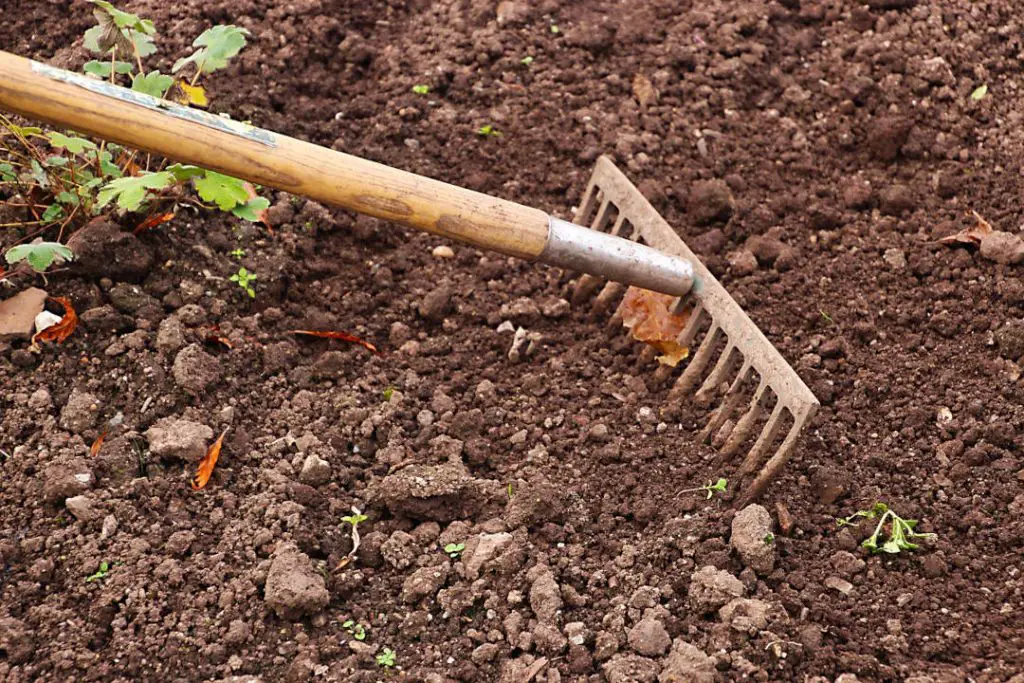
Take a heavy roller and roll it in rows over the ground to compress the soil and keep it from sinking and creating a stable base.
Using a spade or shovel, fill any depressions that may have formed with extra subsoil. Rake the dirt surface with your hands to smooth it out. Roll the grass roller over the ground with your feet once more.
Place a long piece of board around 4-6 inches wide on the ground at the top of the slope. Place it so that its length is pointed down the slope, with one end of the board level with the top horizontal edge of the slope. Lift the bottom end of the board until the spirit level indicates that it is level, then set another level on top and continue the procedure.
Measure the distance between the raised end of the board and the ground below the lifted end of the board using a measuring tape or a ruler. Your grade is correct if the distance between the two points is 2 inches. Repeat this method down the whole length of the slope to maintain an equal gradient.
By following these steps meticulously, you can effectively level an entire sloping garden into an even terrain perfect for any outdoor activities or gardening plans you have in mind!
Lay a New Lawn or Build a Structure
Once you have a stable base you replace the topsoil that you initially removed and either lay your new lawn on the exposed soil build a patio or add decking if that is your goal.
In terms of laying a new lawn, if you’re starting from seed, sprinkle the seeds evenly over the soil according to the instructions on the seed package.
If you’re using turf, make sure the sheets are as level and near together as possible. It will be almost hard to notice the lines or gaps between the various pieces after they have taken root.
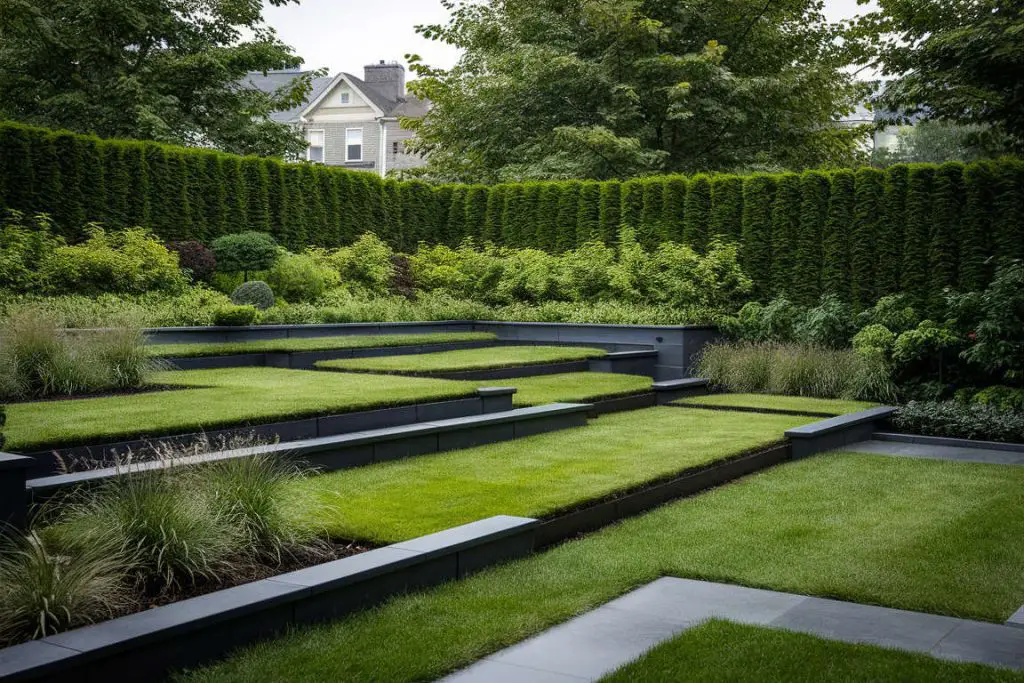
Leveling A Garden Slope with Terraces
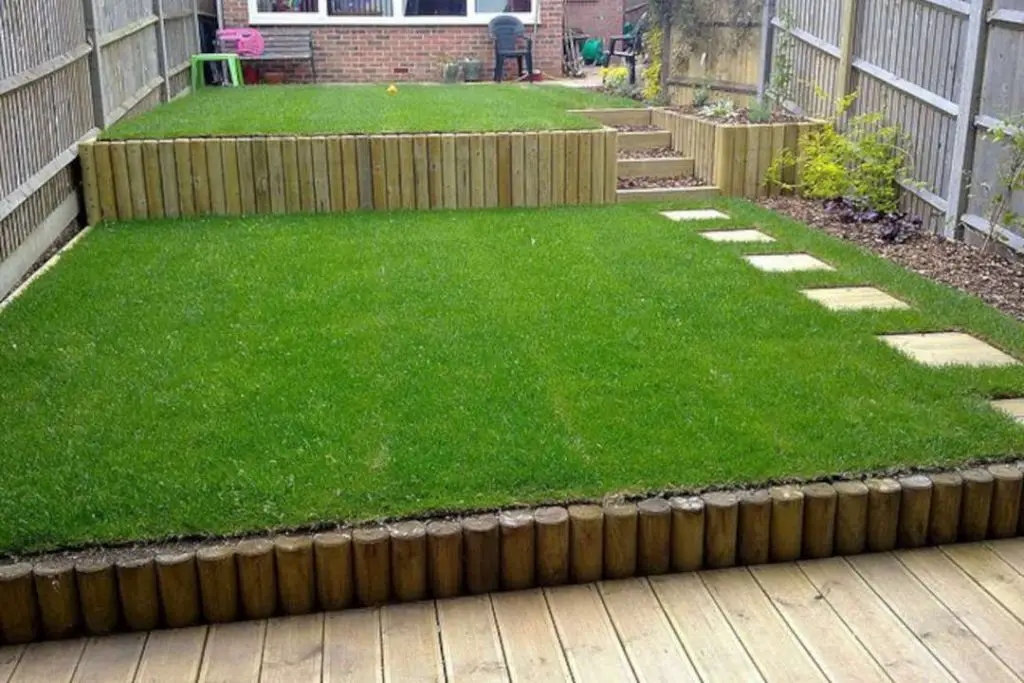
If your garden slope is too steep or you prefer a more structured look, creating terraces can be an effective solution. Besides adding visual interest to your garden, terraces also help control soil erosion and improve drainage.
Understanding Terracing
Terracing involves dividing a sloping garden into several flat levels or ‘steps’ using retaining walls. Each terrace becomes a level garden area that you can use for planting flowers, vegetables, or even setting up seating areas.
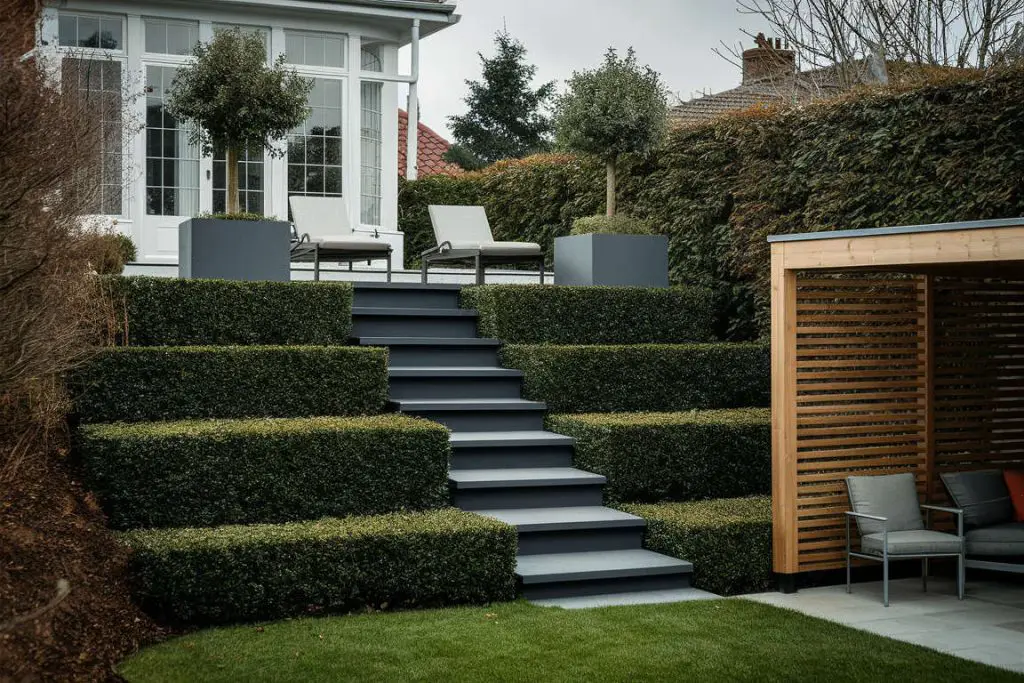
To create miniature stair-like terraces on mild slopes, wood retainers may be used in conjunction with a retaining wall. In this situation, moving the dirt about the garden is doable, and it is work that can be completed by the homeowner.
Retaining walls will probably be necessary on steeper slopes in order to hold the soil in place, and the soil should then be heaped up behind the retaining walls. Retaining walls may be visually appealing elements, and they can be constructed from a variety of materials including bricks, stone, sleepers, gabions (wire cages filled with stones), reclaimed pallets and unique concrete blocks, among others.
Determine and Mark the Number of Terraces.
You can compute the number of terrace levels by using the run and rise numbers.
It is preferable to have a lower rise on each terrace since it ensures greater integrity. Generally, when building terraces, each terrace has a 2-foot elevation and a 5-foot run. However, if you can construct a physically robust holding wall, you may still have a greater elevation.
When the increase in elevation is significant, there is always a chance that the retaining wall will be put under too much strain weakening its integrity and possibly causing substantial damage.
Creating Terraces
To create terraces in your sloping garden, follow these steps:
- Mark out the areas where you want to create terraces using pegs and string.
- Dig out the soil from the higher areas of each marked-out terrace.
- Move this soil to the lower parts of each terrace until you have a level surface.
- Repeat this process for all the marked-out terraces.
Remember that each terrace should have a slight gradient (about 1%) away from the retaining wall for proper drainage.
Strength and Material Choice for Retaining Walls
The strength of your retaining walls is crucial as they need to hold back significant amounts of soil and resist weathering over time. Materials like wooden railway sleepers, concrete blocks, or gabions filled with rocks are popular choices due to their durability and aesthetic appeal.
When choosing materials for your retaining walls, consider factors such as:
- The height of the wall: Higher walls require stronger materials.
- The type of soil in your garden: Some soils exert more pressure on walls than others.
- Your budget: While some materials may be cheaper initially, they may not last as long and could cost more in the long run.
- Aesthetics: The material should complement other elements in your garden.
Professional Help for Retaining Wall Construction
Building sturdy retaining walls can be challenging if you’re not familiar with construction techniques. If you’re unsure about doing it yourself, consider hiring professionals who specialize in building retaining walls or landscapers experienced in sloping terrain management.
Professional help ensures that your retaining wall is built correctly – strong enough to hold back soil and designed with proper drainage channels to prevent water build-up behind the wall which could lead to structural failure over time.
In conclusion, leveling a sloping garden by creating terraces is an excellent way to transform uneven ground into usable spaces while adding charm and structure to your outdoor area!
Common Questions and Answers
When considering leveling a garden slope, several questions may arise. Let’s address some of the most common ones:
How long will it take to level a sloping garden?
The time required to level a sloping garden depends on factors like the size of your garden, the steepness of the slope, and whether you’re doing it yourself or hiring professionals. For a medium-sized garden with moderate slopes, expect to spend several weekends if you’re tackling it as a DIY project.
How do you drain a sloping garden?
Proper drainage is crucial in any gardening project, especially when dealing with slopes. When leveling your garden or creating terraces, ensure each flat area has a slight gradient (about 1%) away from any retaining walls for water runoff. Additionally, consider installing gravel-filled trenches or French drains at strategic points to help manage excess water.
Do I need permission to level my garden?
In most cases, planning permission isn’t required to level your garden unless it significantly alters the landscape or affects neighboring properties’ drainage. However, regulations can vary by location, so it’s always wise to check with local authorities before starting your project.
How much does it cost to level a sloping garden?
Costs can vary widely based on factors like the size and steepness of your slope, whether you’re doing the work yourself or hiring professionals, and materials used for tasks like building retaining walls. As an estimate, professional services could range from $1,000 – $3,000 for small gardens up to $5,000 – $10,000 for larger projects.
Remember that while there might be upfront costs in leveling your sloping garden for better usability and aesthetics – these improvements often add value to your property and enhance the enjoyment of your outdoor space over time.
Final Thoughts
Transforming a sloping garden into a level, usable space can seem like a daunting task, but with careful planning and execution, it’s an achievable goal that brings numerous benefits.
Benefits of Levelling a Sloping Garden
Leveling your garden offers improved usability, allowing you to make the most out of every square foot. It provides better conditions for planting vegetables and flowers by preventing soil erosion and improving water management. Plus, it enhances the aesthetics of your outdoor space – imagine a beautifully manicured lawn or rows of vibrant flower beds instead of an unusable slope!
Choosing the Appropriate Method
The best method for leveling your garden depends on its design and slope. If you’re dealing with moderate slopes and prefer a smooth expanse of green, leveling the entire garden might be suitable. On the other hand, if your garden has steep slopes or you want to add structure to your landscape, creating terraces would be more appropriate.
Remember that each method requires different tools and techniques – from using pegs, thread, spirit level for measuring the slope to constructing retaining walls or wooden retainers for terracing.
Transform Your Sloping Garden Into Beautiful Spaces
Don’t let challenging terrain deter you from enjoying your outdoor space fully. Whether it’s through leveling the entire area or creating attractive terraces, transforming your sloping garden opens up possibilities for various activities – from growing your own vegetables to setting up an outdoor dining area or even installing water features.
With patience and effort (and perhaps some professional help), you can turn any sloping surface into beautiful spaces that serve not just functional purposes but also contribute significantly to your property’s overall appeal. So why wait? Start planning today and transform that sloping terrain into a leveled garden paradise!