
Greenhouse Heating for Winter Without Wasting Heat or Space
A warm greenhouse begins with a decision about what deserves the heat. A few pelargoniums waiting for spring need a different winter home from trays of seedlings or a collection of tropical plants. Yet it’s surprisingly easy to buy a heater first and discover its running costs later, usually during the coldest week of the year.
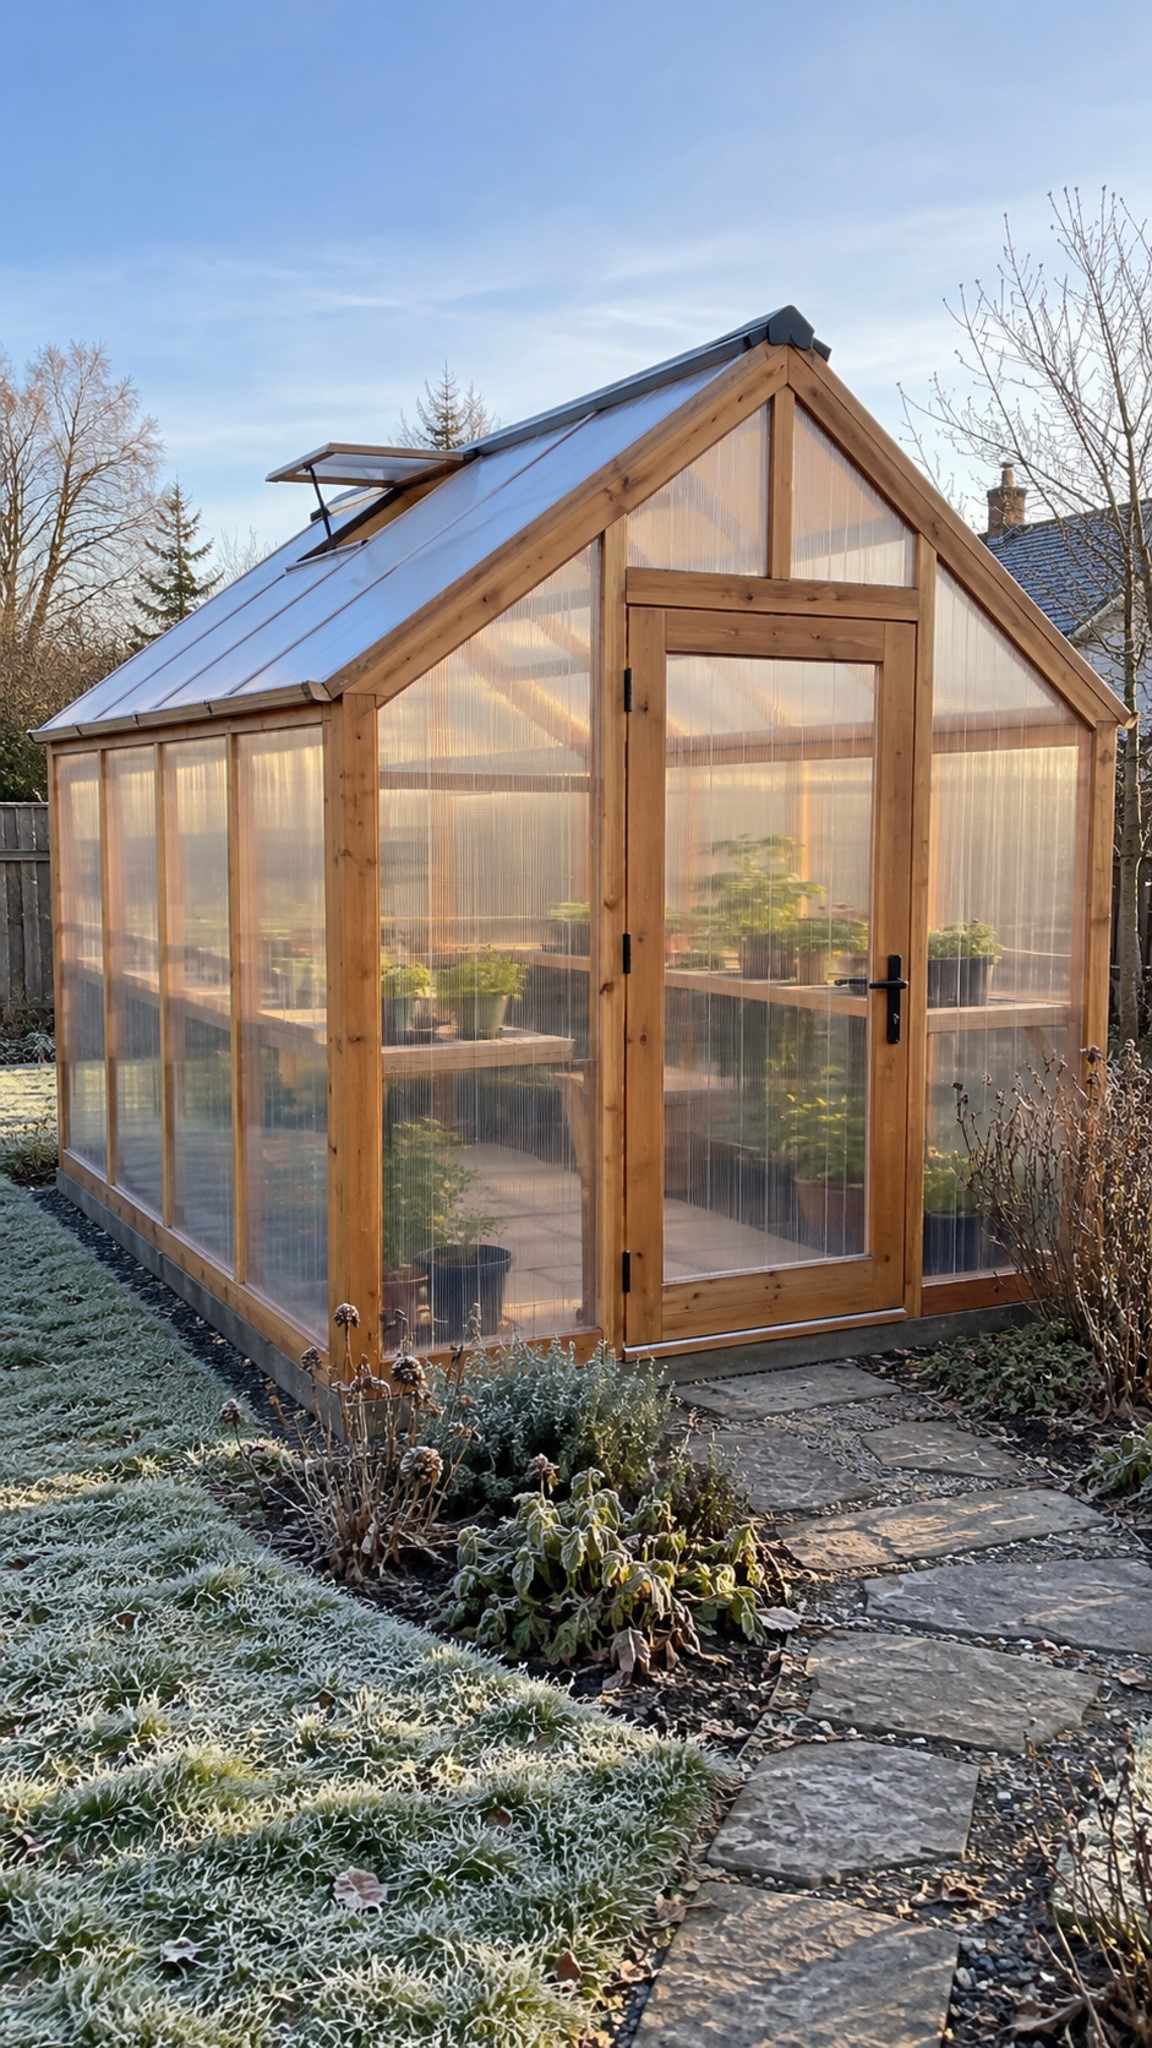
Plan the heat around your plants and the greenhouse they live in.
Start with your plants, then look at the building around them. A draught under the door, a poorly placed thermostat or a barrel blocking the path can make winter gardening more expensive and awkward than it needs to be. The aim is a greenhouse you can afford to heat and still enjoy using. These ideas will help you choose a sensible arrangement, with room left for the things you actually want to grow.
Download FREE Comprehensive Guide to Heating Residential Greenhouses
This FREE, comprehensive 40-page guide with heating comparisons, purchase and running costs, dimensioned plans, technical diagrams, photographs and detailed instructions on how to best heat your greenhouse during winter.
How to Heat a Greenhouse for the Plants You Grow
Write down what will stay inside through winter and check each plant’s minimum temperature. For suitable plants, a frost-protection setting around 4–5°C (39–41°F) can be a useful starting point. That won’t suit every tender plant. Warm-season seedlings and tropical collections may need considerably more heat, while hardy crops can often manage with much less intervention.
Measure the temperature where the plants live. Put the thermostat sensor near leaf height, shaded from direct sun and away from the heater’s warm air. A separate minimum thermometer in a cold corner will tell you what happened overnight. Check both before adding your most treasured plants. A sunny afternoon reading can hide a miserable night.
Keep winter light in the calculation too. Turning up the thermostat doesn’t lengthen the day. If your greenhouse is shaded and your main aim is to carry plants through to spring, encouraging lots of soft growth can create more work than it solves.
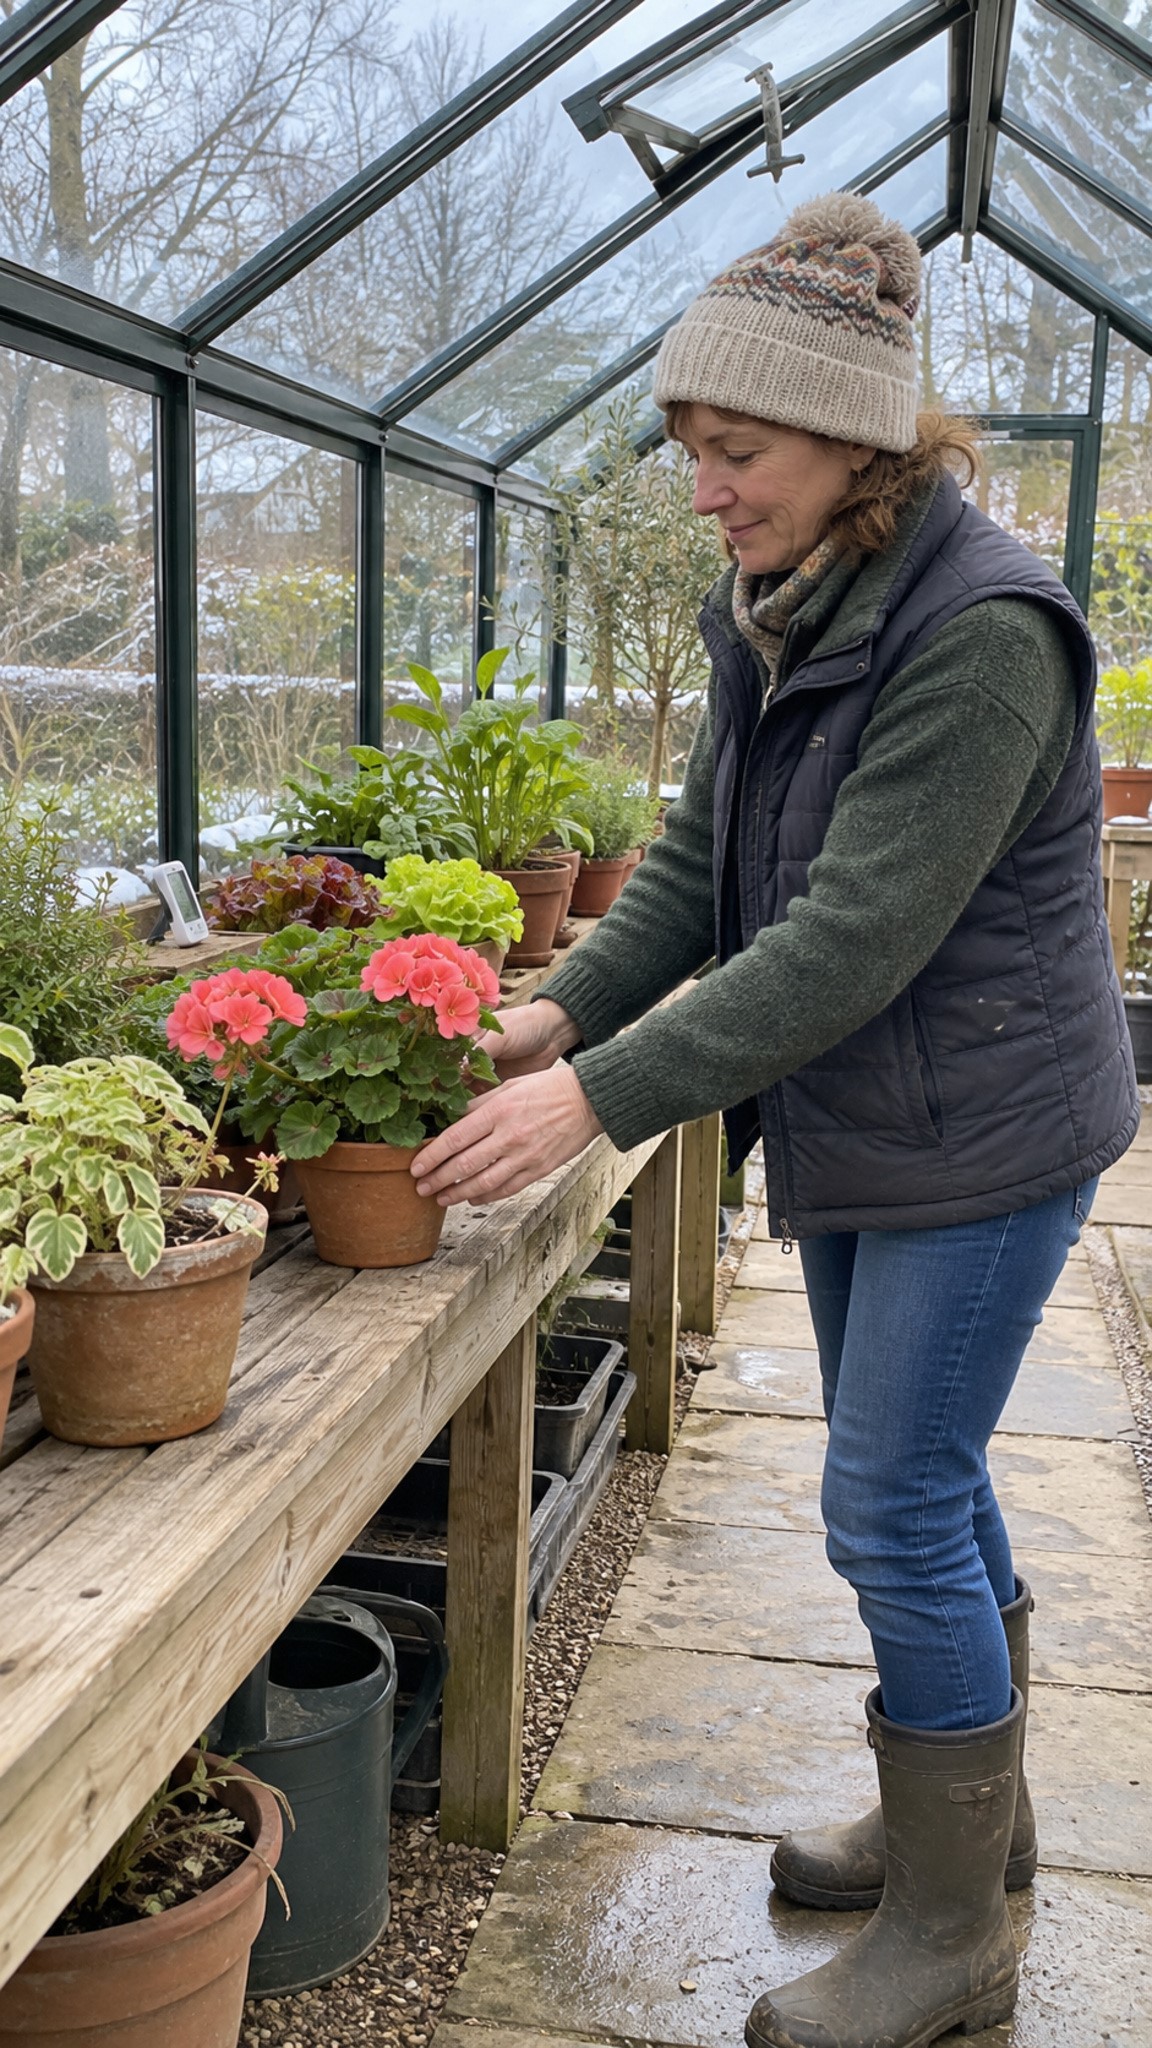
Check each plant’s winter temperature needs before setting the thermostat.
Make Greenhouse Insulation Your First Heating Job
Before shopping for equipment, spend an afternoon finding draughts. Replace broken panes, secure loose panels and renew worn door seals. Check that roof vents shut properly. These small repairs make the heater’s job easier without taking over a single bench, and they’re often more useful than adding another heater to a building that leaks warm air all night.
Horticultural bubble insulation can reduce heat loss through the glazing. Clip it securely to the frame and keep it clear of hot equipment. Make separate flaps around vents so they still open. There’s a trade-off: any extra lining reduces the light reaching your plants. Start with clean glazing and choose material made for greenhouse use, rather than an assortment of old packing plastic.
An insulated base or north-facing solid wall can help too, where the greenhouse design allows it. Keep insulation dry and protected. If you add a night curtain, it must retract clear of the plants by day and stay well away from heaters. Don’t seal away your means of ventilation.
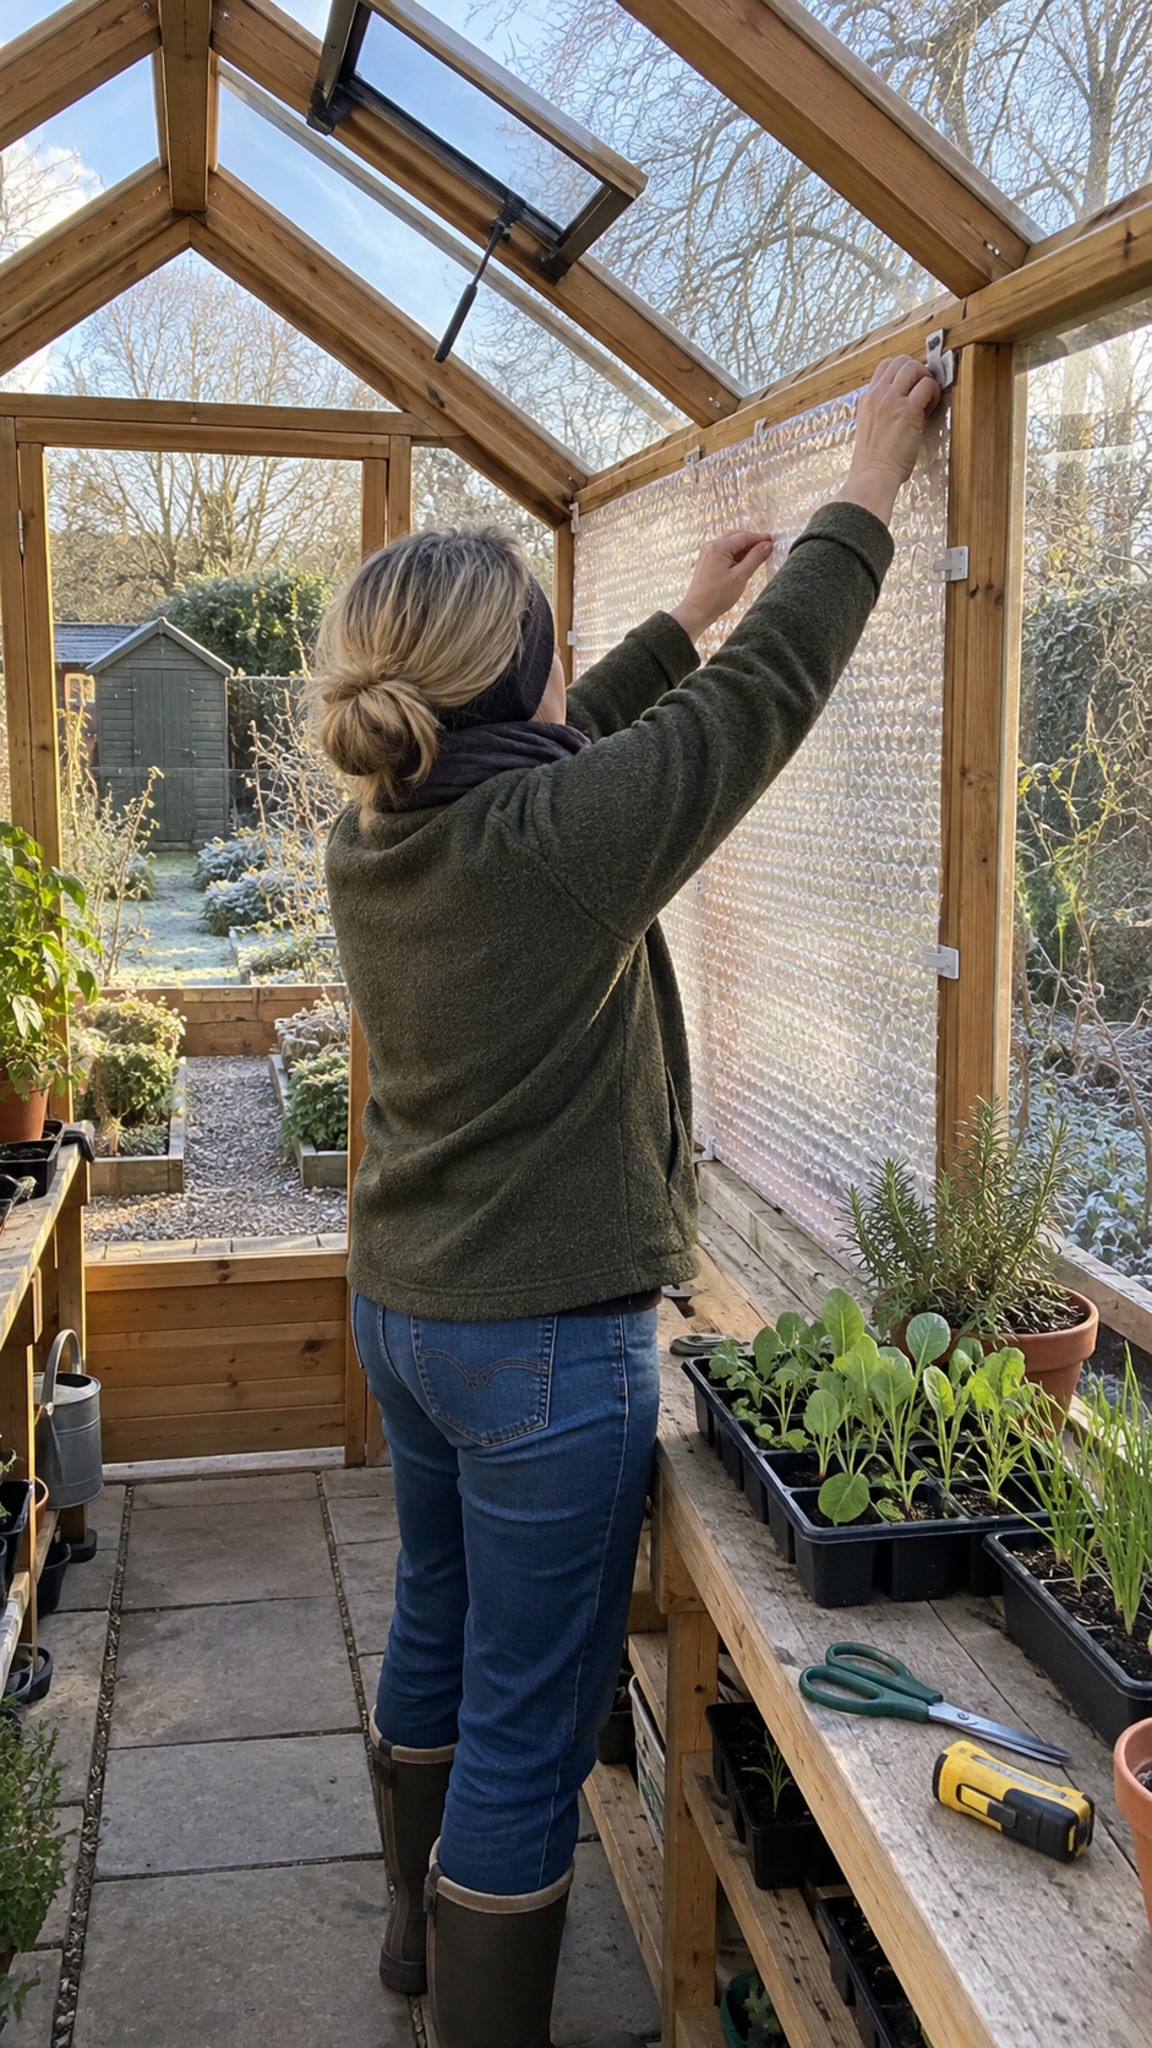
Fit horticultural bubble lining so the vents can still open.
Plan Small Greenhouse Heating Around the Growing Space
In a 6 × 8 ft greenhouse, the heater’s safety clearance can matter more than its footprint. Draw the benches and doorway first, then mark the space required around the equipment. Follow the manufacturer’s distances, including the area in front of a fan heater. Pots have a habit of creeping into convenient gaps. The gap beside the heater needs to stay a gap.
Two narrow side benches can leave a useful central aisle, but stop them short of the heating area. Keep the path clear enough to carry a watering can without brushing leaves against hot surfaces. A small heated propagator may be a better purchase than more whole-house heat if you’re mainly raising seedlings. It warms a limited growing area and leaves the rest of the greenhouse available for plants that tolerate cooler air.
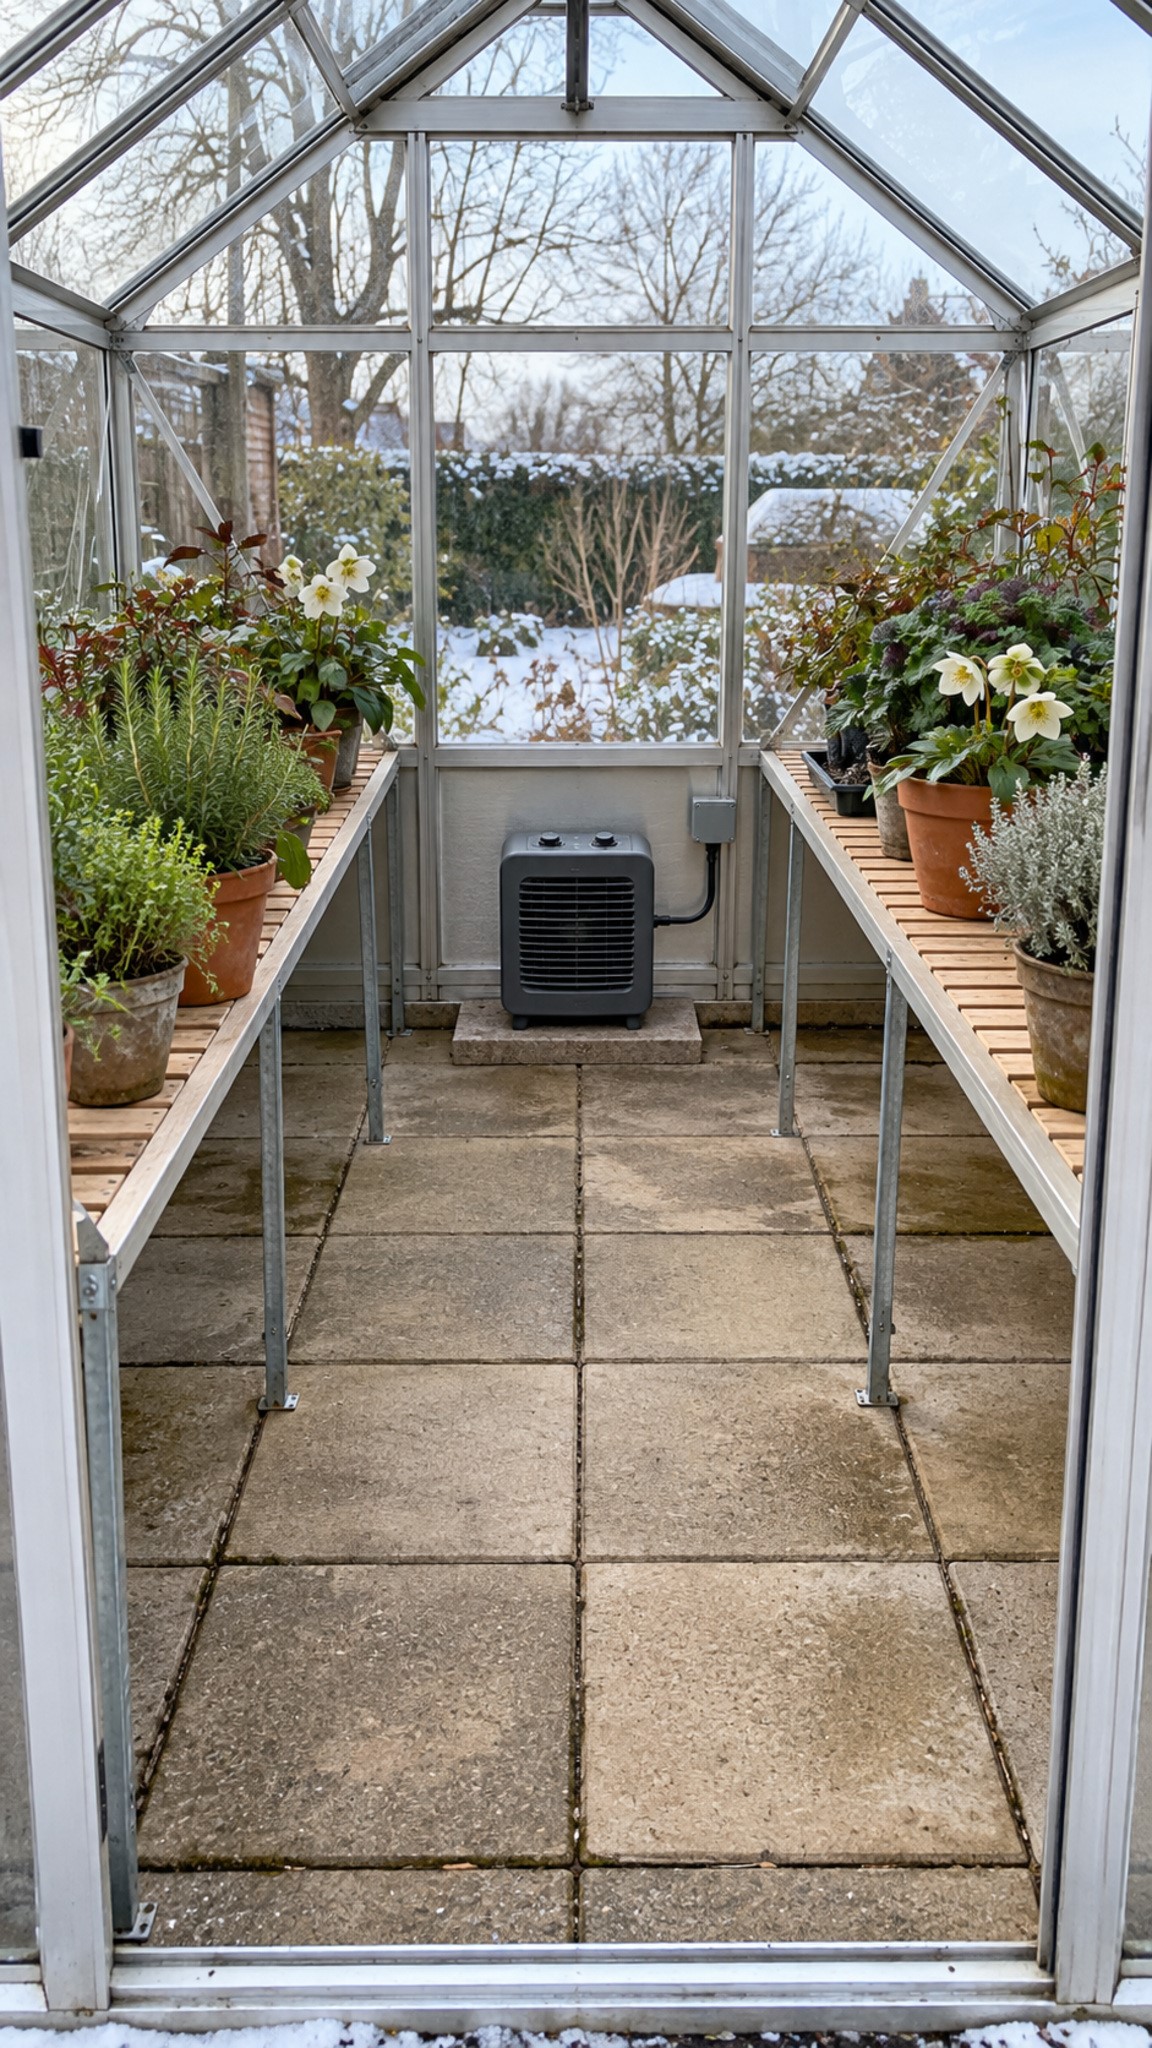
Allow for heater clearances when arranging benches in a small greenhouse.
Give Medium and Large Greenhouse Heating More Room
An 8 × 12 ft greenhouse offers room to divide the growing space. A clear partition with a proper doorway can separate a warmer end for tender plants from a cooler area for hardy crops. Include the roof space in the division and retain ventilation on both sides. A loose curtain with large gaps won’t provide the same separation.
In a 12 × 20 ft greenhouse, plan how warm air will reach the far end. Tall plants and full benches can obstruct it. Allow space for servicing equipment as well as walking past it. A wall-mounted system may recover floor space, though its weight needs suitable structural support. Glass and thin glazing bars aren’t convenient mounting boards.
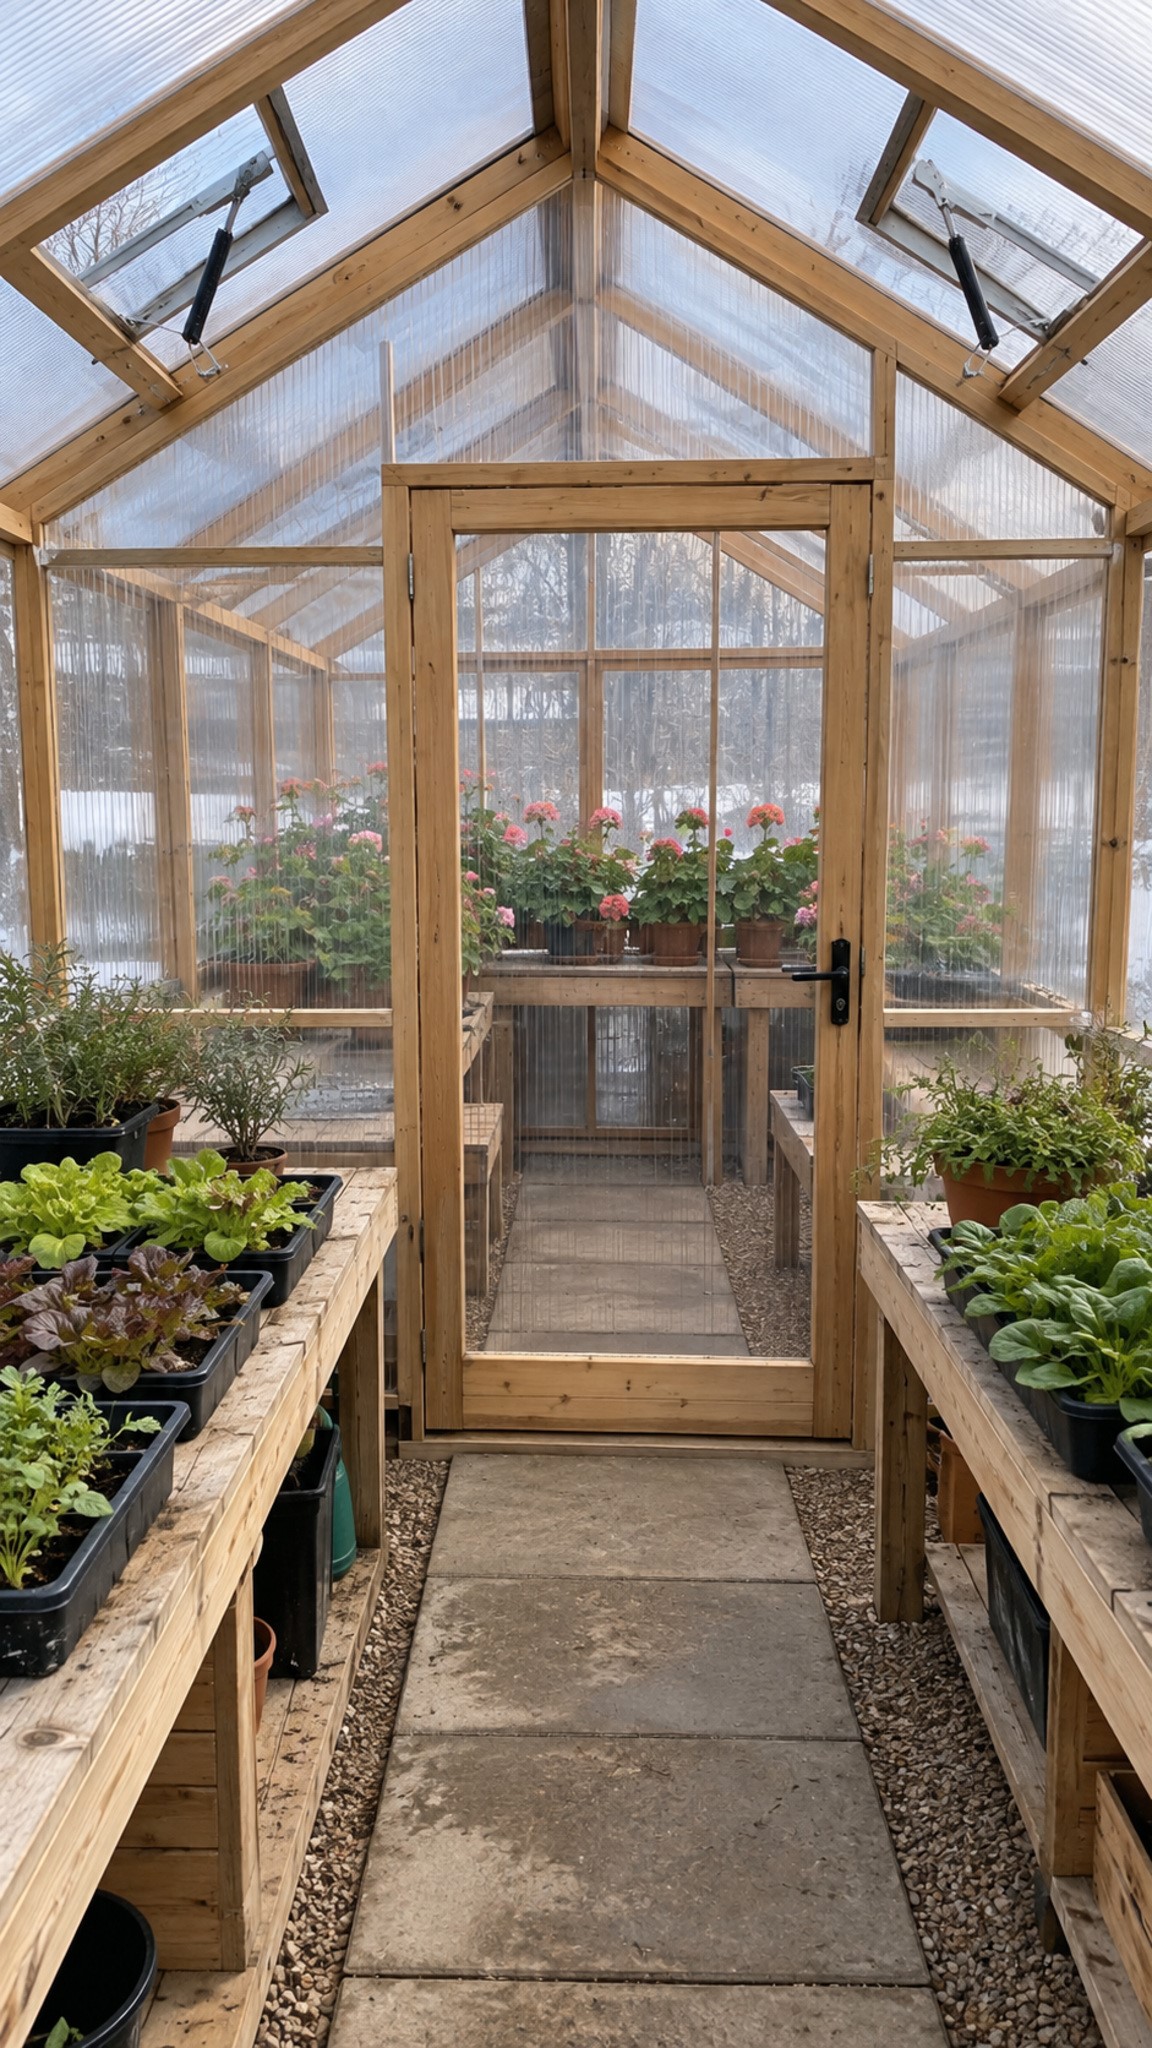
A clear partition can create a separate warmer growing area.
Choose Electric Greenhouse Heaters for Real Winter Conditions
A purpose-made electric greenhouse fan heater is a practical choice where a suitable power supply is available. Its fan helps distribute warmth, while a thermostat controls when heat is needed. Check that the model is approved for the greenhouse environment and the unattended operation you require. A household heater borrowed from the spare room isn’t automatically suitable for a damp building.
Size it for heat loss on your coldest planned night. Floor-area ratings alone miss the effects of glazing, wind and the temperature you want indoors. A leaky glass greenhouse can need far more heat than an insulated one of the same size. Low-powered tube heaters have their uses, but they may be unable to keep the whole structure frost-free. Oil-filled and ceramic resistance heaters don’t produce extra heat from each unit of electricity.
Have an electrician provide a suitable protected supply, with RCD or GFCI protection as locally required. Keep connections dry and raised. Don’t run heaters through extension reels or power strips, and follow every clearance in the equipment instructions.
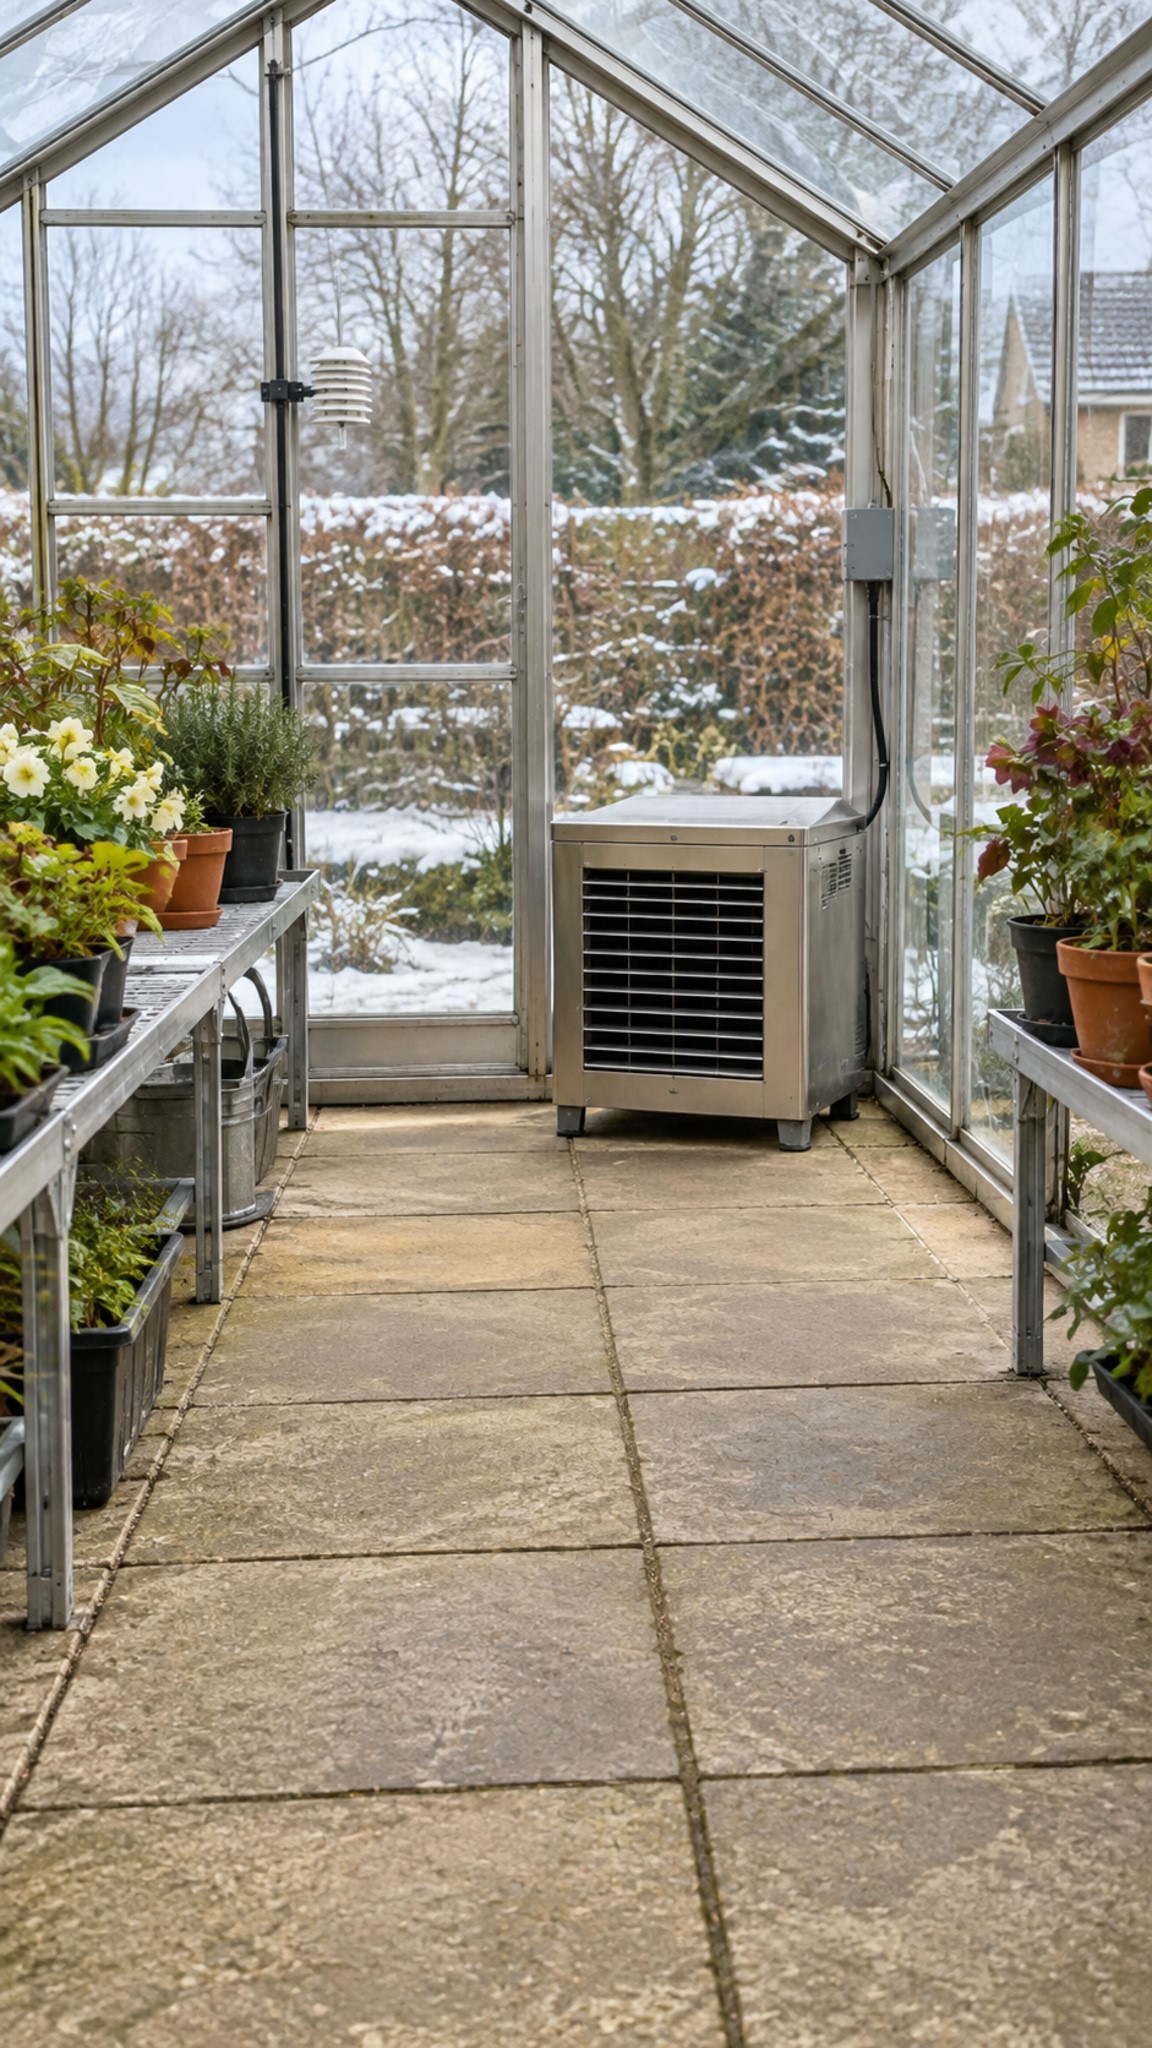
Choose heating equipment suited to the greenhouse environment.
Add Greenhouse Heating Beneath Your Seed Trays
A thermostatically controlled heat mat warms the compost close to the roots. It can make sense when you need a warm germination area but don’t need the whole greenhouse at that temperature. Follow the seed packet’s requirements and put the probe where the mat manufacturer specifies, usually in the growing medium. A warm mat doesn’t guarantee warm leaves during a hard frost.
Use a horticultural mat on a suitable bench and protect its controls from watering. Don’t fold it, overlap it or add improvised insulating covers. Once seedlings emerge, adjust warmth and ventilation for the crop. Pairing a heated seed tray with modest background heat gives each part of the greenhouse a clear job.
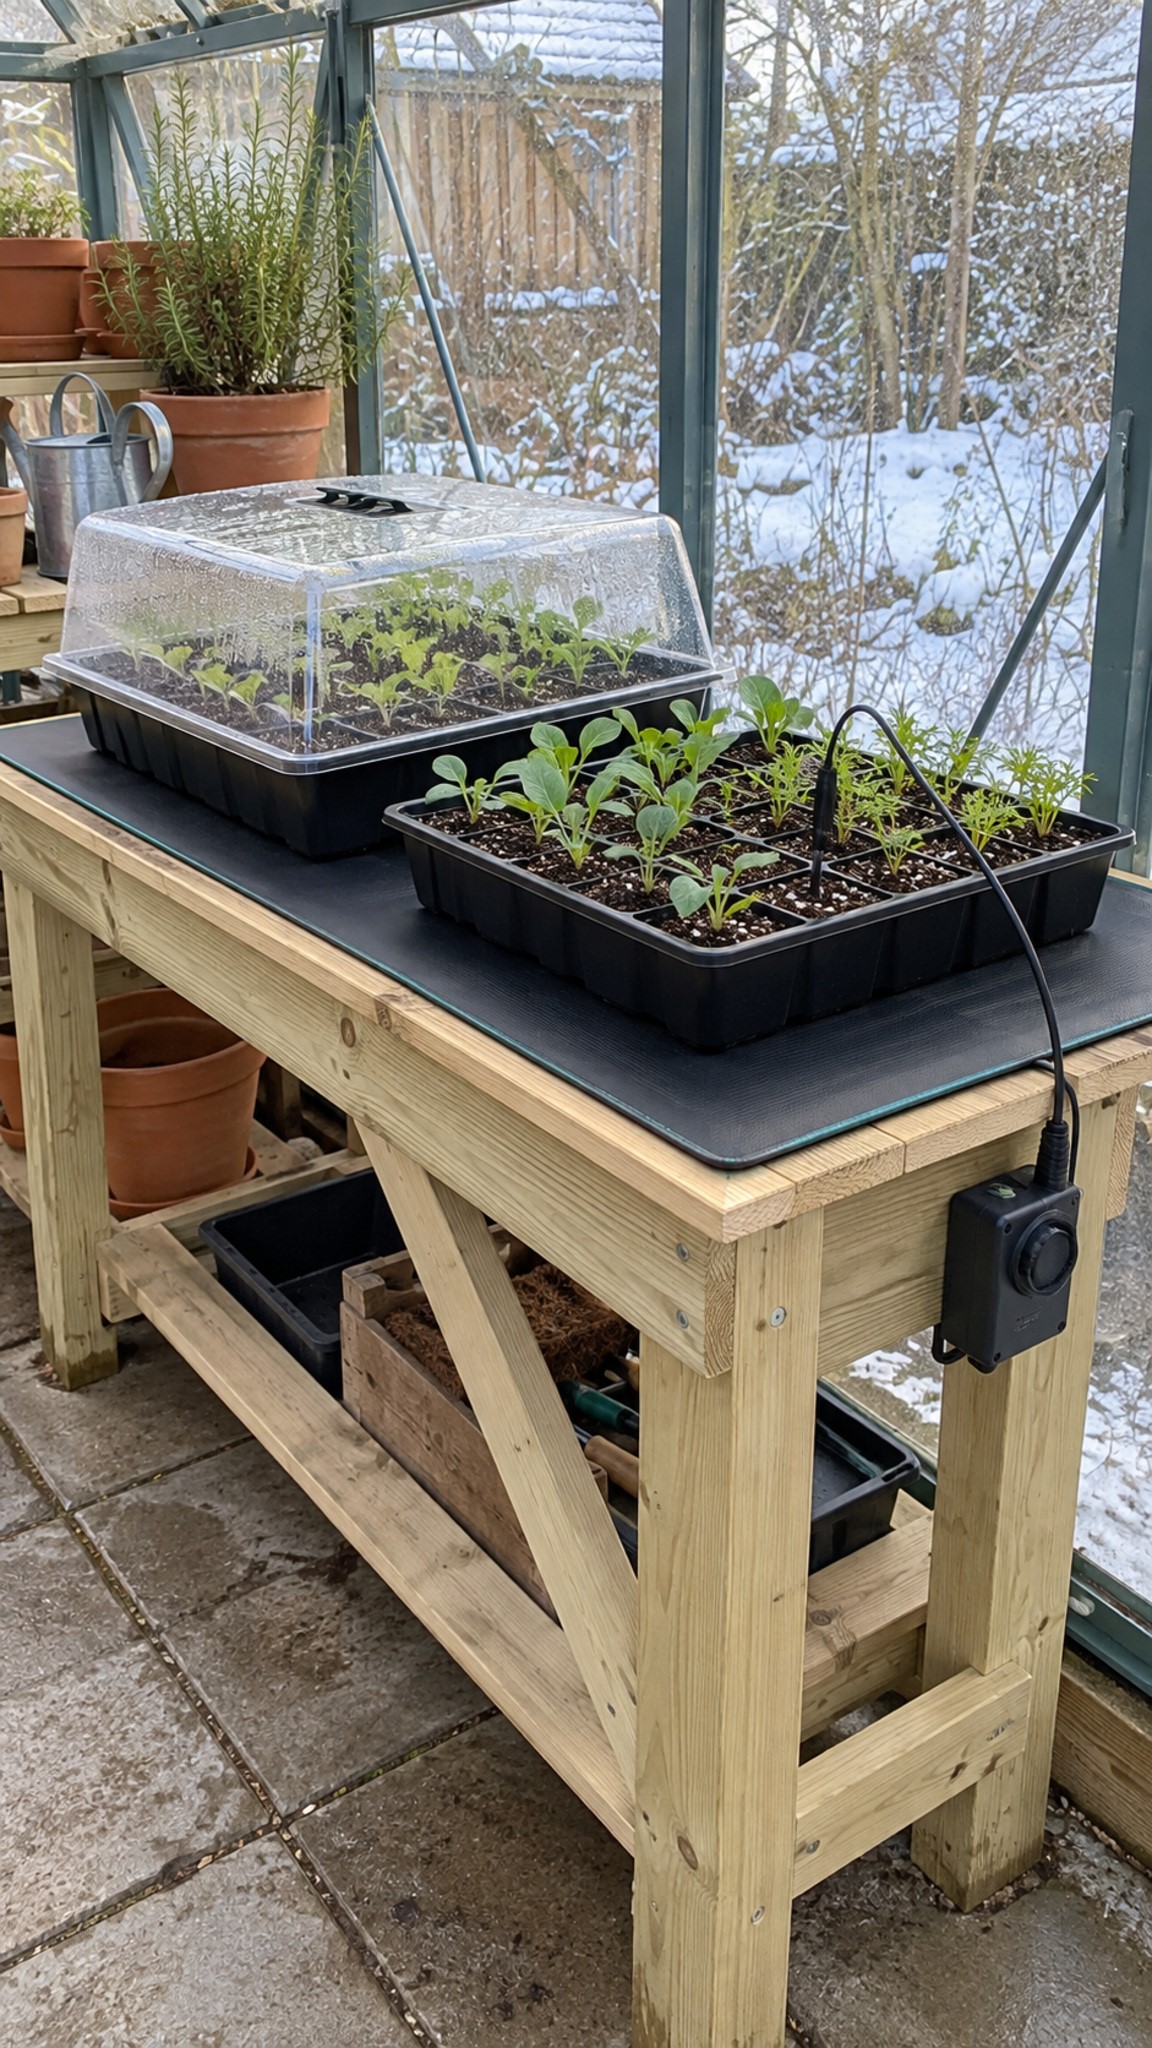
A heat mat gives seed trays their own controlled source of warmth.
Work Out Your Greenhouse Heating Costs Before Buying
The purchase price is only the beginning. Add the thermostat, electrical installation and any insulation work to your budget. The figures below are planning allowances from our guide, not quotations. The dollar and pound amounts are separate examples, not currency conversions. Local installation costs, taxes and the condition of your existing supply can change the total considerably. Get a quotation before committing to a system.
| Item | USD allowance | GBP allowance |
| Horticultural bubble lining and fixings | $80–$300 | £50–£220 |
| Greenhouse fan heater and thermostat | $150–$400 | £100–£300 |
| Heated propagation equipment with control | $60–$250 | £40–£220 |
| Heat pump with straightforward installation | $3,000–$8,000 | £2,000–£6,000 |
Allow separately for new power supplies, trenches and major building work. Heat-pump figures include only a straightforward installation.
For electricity, multiply the heater’s power in kilowatts by the hours it actually heats, then multiply by your tariff. A 2 kW heater running for half of a 12-hour night uses 12 kWh. At an example tariff of $0.20 per kWh, that costs $2.40. At £0.25 per kWh, it costs £3.00. Thirty identical nights would cost $72 or £90. These are sample tariffs, not national averages.
Cold weather can erase the comfortable assumption that a thermostat means occasional heating. If that same heater runs throughout all 12 hours, the bill doubles. A 100-watt heat mat running half the time over 24 hours uses 1.2 kWh, costing $0.24 or £0.30 at those example rates. Its smaller bill also covers a much smaller growing area.
Compare Eco Friendly Greenhouse Heating Options
The first useful step is reducing how much heat you need. Insulation, a sensible plant temperature and a smaller heated area work together. For a larger greenhouse used through winter, an air-source heat pump deserves a closer look. It moves heat rather than relying only on an electric resistance element, so it can deliver more heat than the electrical energy it consumes.
Its performance changes with outdoor temperature. Ask an installer about output during cold weather, defrosting and the lowest available thermostat setting. Some domestic systems won’t maintain the low temperatures wanted for frost protection. Confirm that the manufacturer permits greenhouse use. Allow clear air around the outdoor unit and route drainage away from paths.
Fuel-fired systems need more thought. Properly flued gas or propane equipment can heat larger spaces, but installation and servicing belong with qualified professionals. Unflued combustion adds moisture and can release harmful gases. Wood heating also needs fuel storage and regular attention, with smoke affecting neighbours and air quality. A renewable fuel label alone doesn’t settle the environmental question.
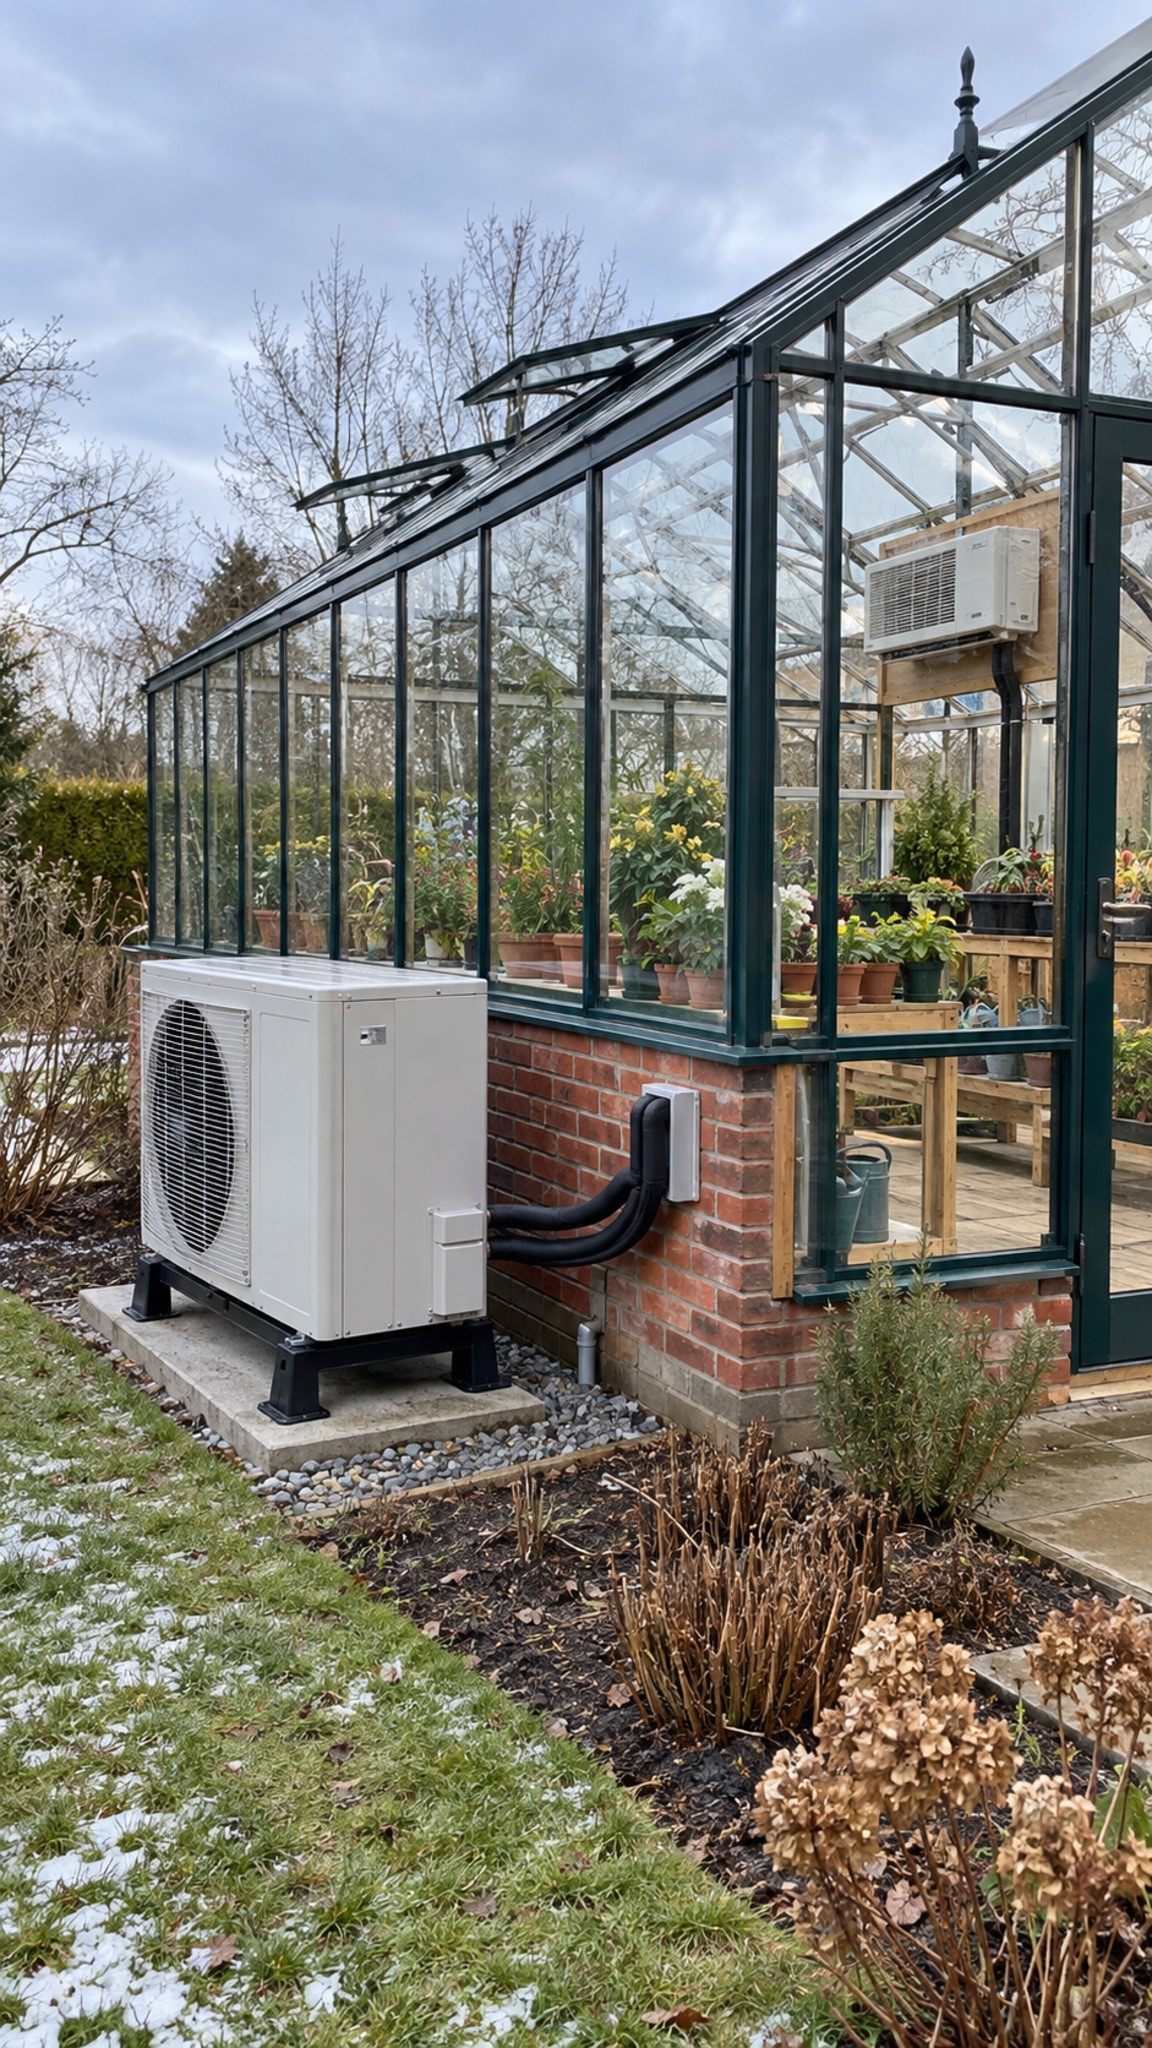
A heat pump needs suitable support, clear airflow and professional installation.
Use Compost for Local Greenhouse Heating
A compost hotbed can provide warmth beneath a small growing area as organic material decomposes. It’s an interesting project for a gardener who already handles plenty of compost ingredients. Keep the compost separate from seed trays and monitor its temperature before putting plants above it. Fresh material can become too hot, and the heat will change as the pile ages.
The space cost is substantial. You need enough material for useful warmth, room to work around it and a plan for replacing it. Treat a hotbed as a local source of heat to test through a season. Don’t rely on an untested pile to protect a greenhouse full of tender plants during a freeze.
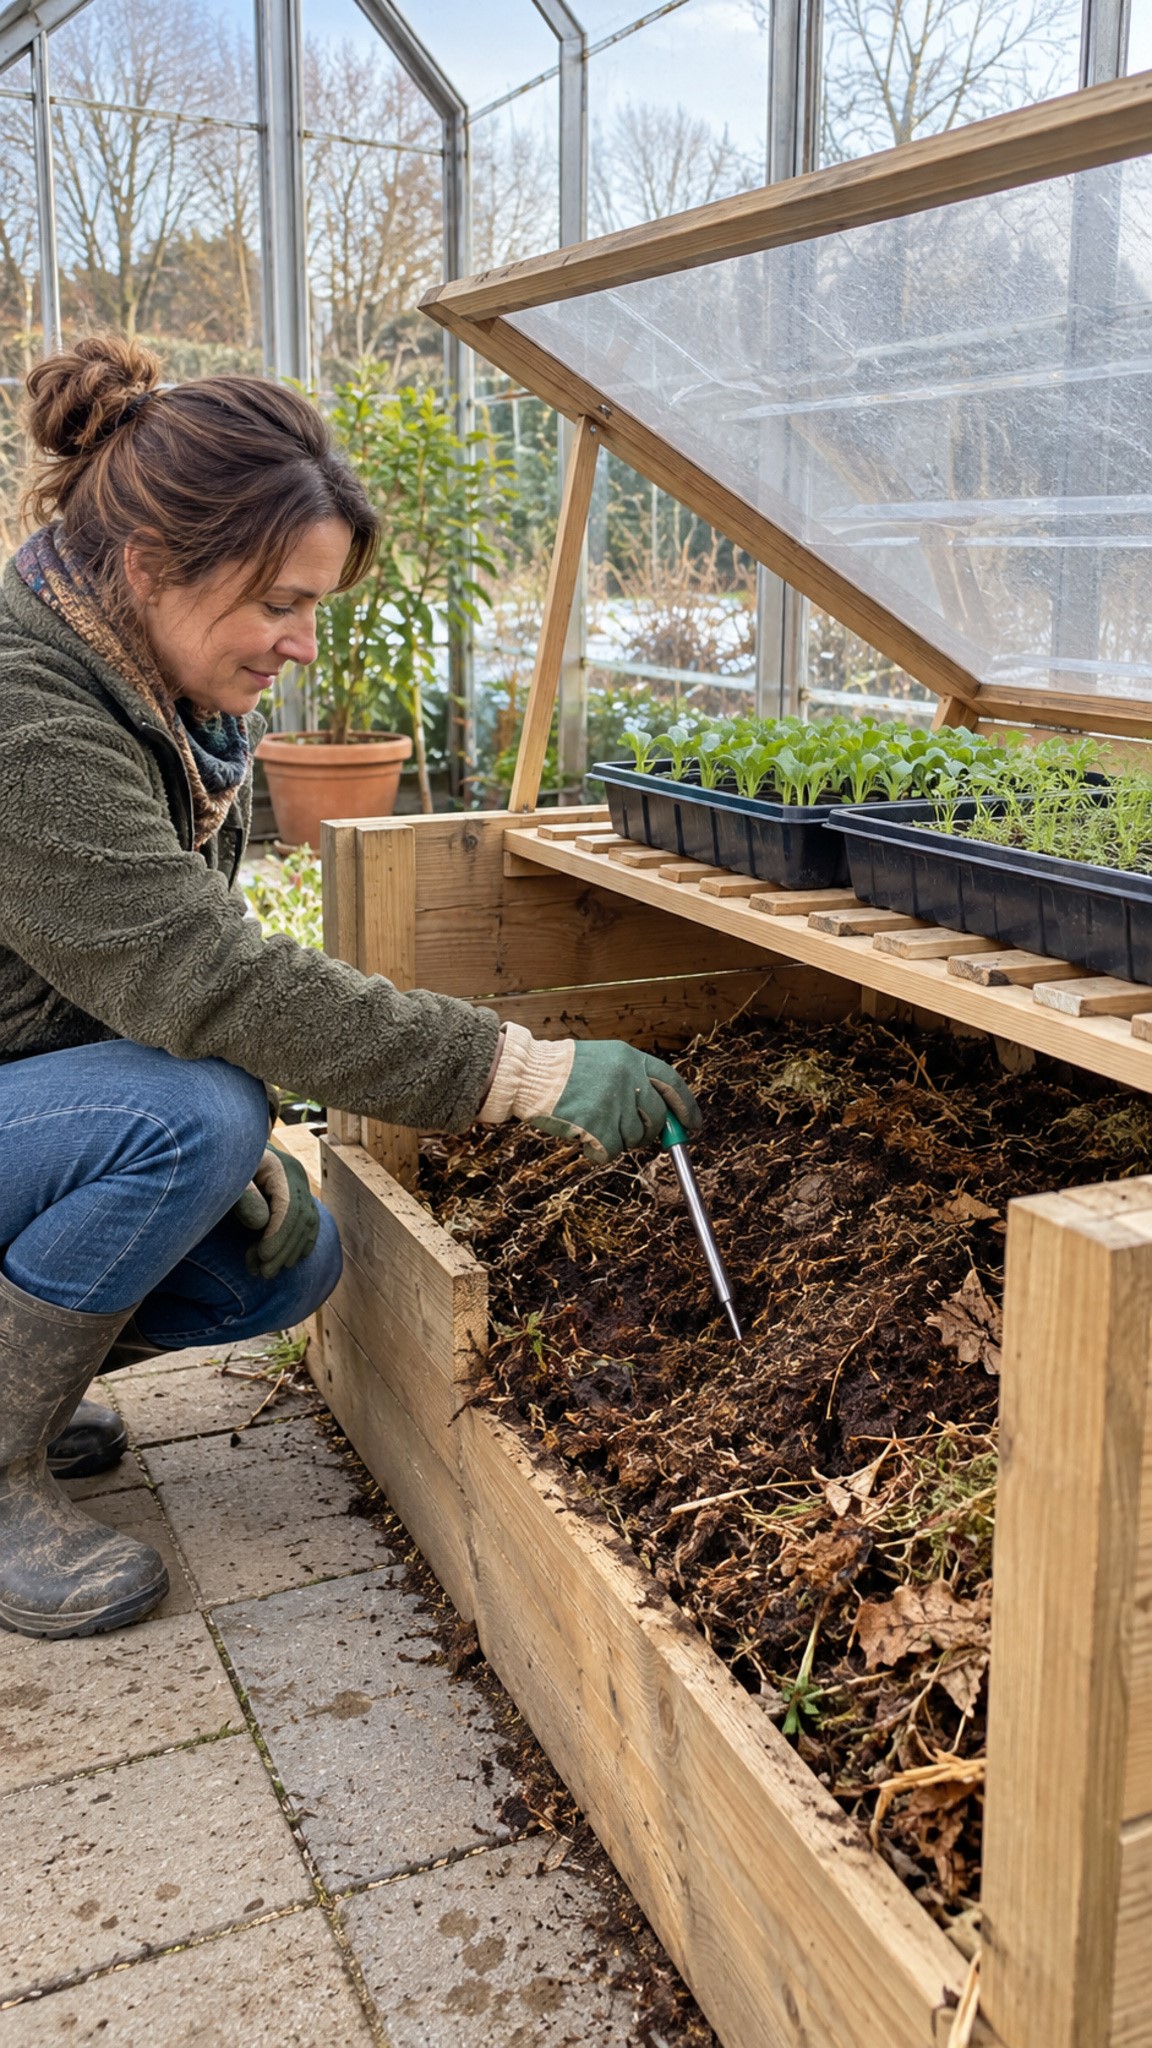
Monitor a compost hotbed before placing plants above it.
Treat Solar Greenhouse Heating as Part of the Plan
Water barrels can absorb daytime warmth and release some of it as the greenhouse cools. Put dark, securely capped containers where winter sunlight reaches them, usually along the rear north side in a northern-hemisphere garden. They need a level base on the ground. Water is heavy, so a convenient-looking potting bench is the wrong place for a large store.
Here’s a useful scale check. A total of 540 litres of water cooling from 15°C to 7°C releases about 5 kWh of stored heat. That doesn’t mean it will supply a 1 kW heat loss evenly for five hours. Heat transfer slows as the temperature difference narrows, and the water may never reach 15°C during a dull winter day. Those barrels also need roughly 1.5 square metres of floor space in the guide’s example.
Solar panels generate electricity during daylight, while greenhouse heating is often needed most overnight. Grid supply or adequately sized battery storage must cover the gap. Both barrels and solar electricity can form part of a heating plan, but keep dependable backup for prolonged cold and cloud.
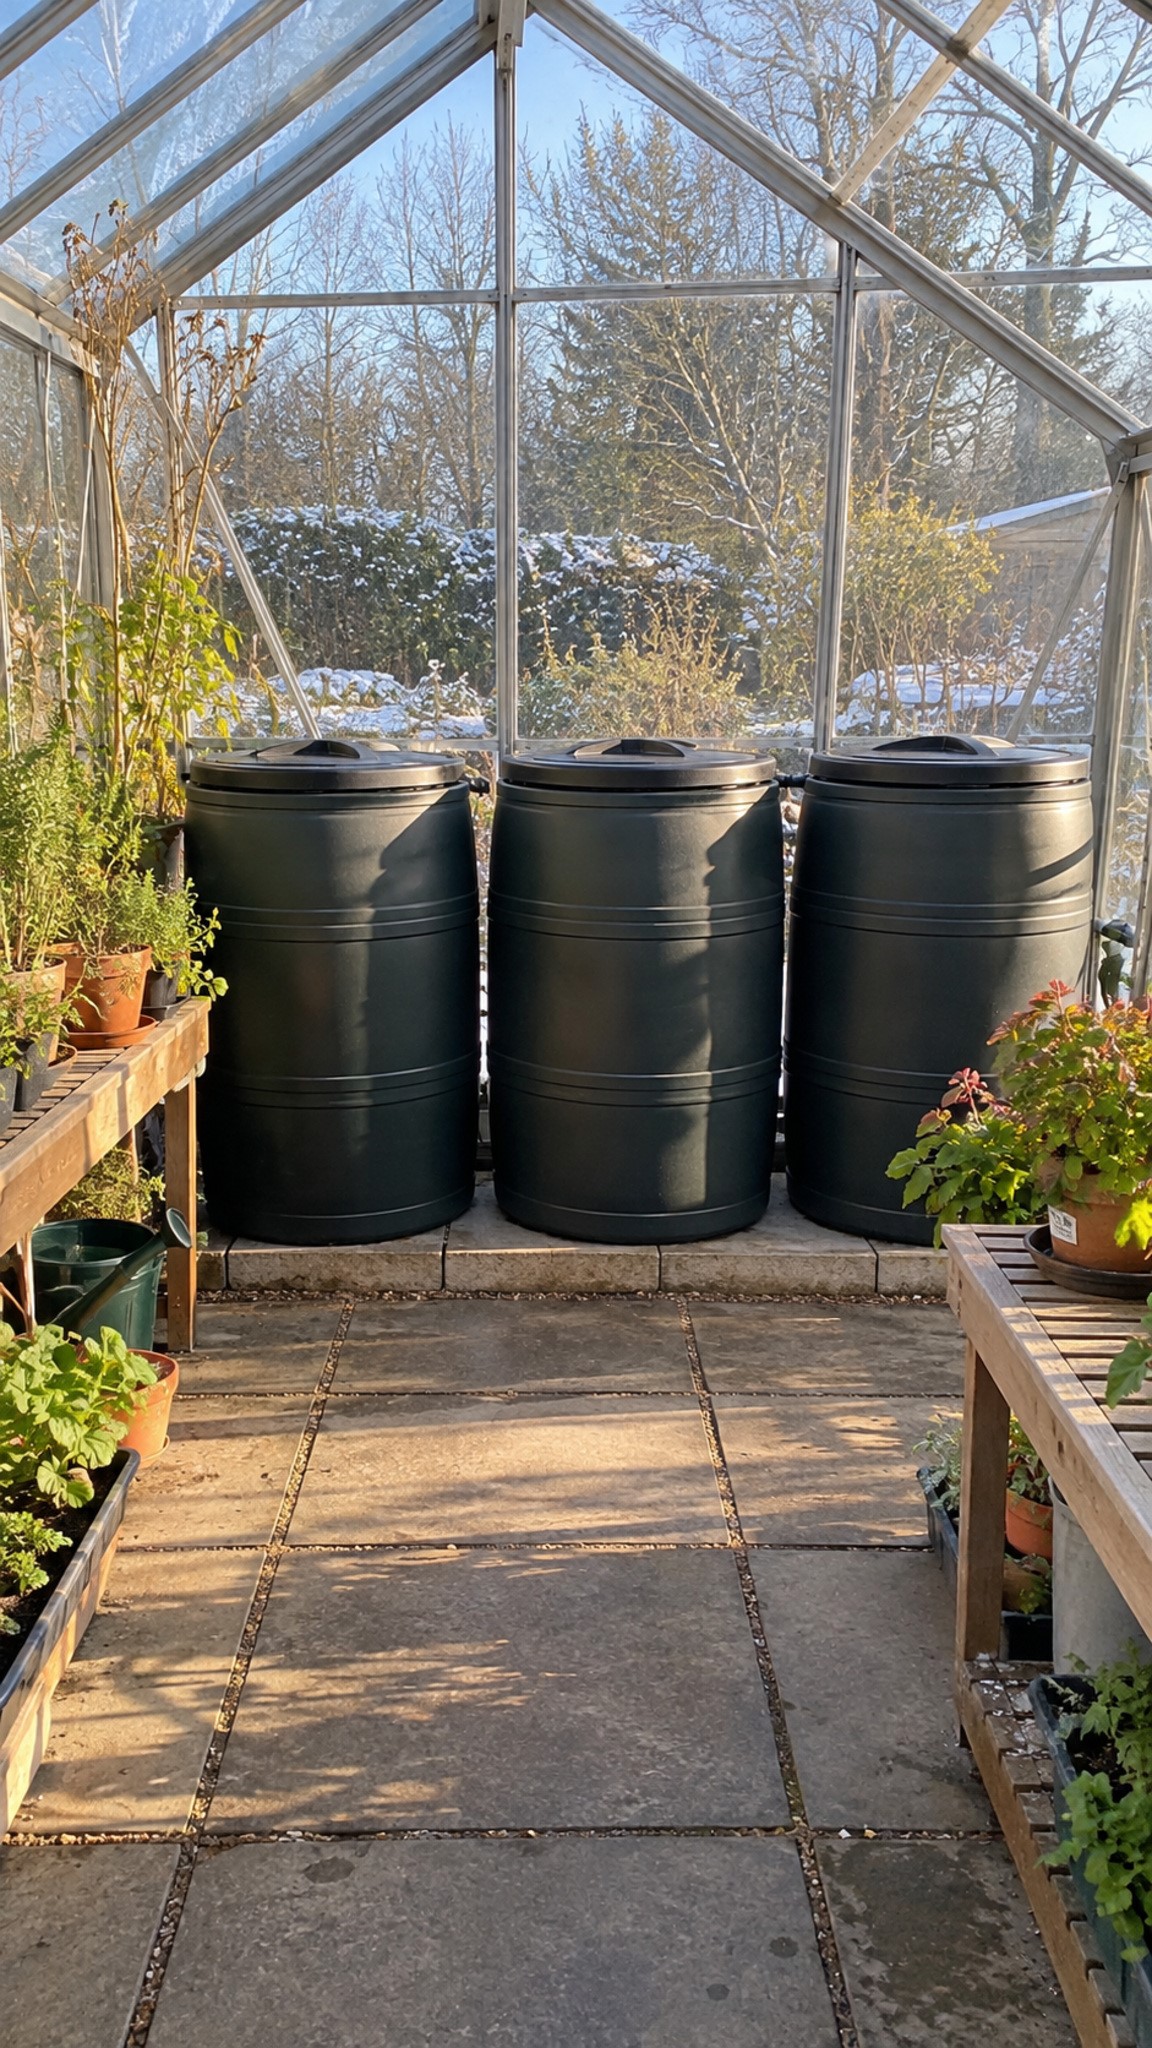
Water barrels store daytime warmth and need a sound base on the ground.
Build a Greenhouse Heating Routine for Cold Nights
Before a cold spell, check the forecast against your heating plan. Test the thermostat and read the overnight minimum thermometer. Move pots out of heater clearances and check that vents and doors close. An independent low-temperature alarm can give useful warning, provided it still works during the type of failure you’re worried about. Decide which plants you could carry indoors if heating stops.
During the day, water early enough for foliage and paths to dry. Give plants breathing room and ventilate when conditions allow. A circulation fan moves air around, but it doesn’t remove water vapour from a closed greenhouse. Warm, damp air and crowded leaves are a poor winter combination.
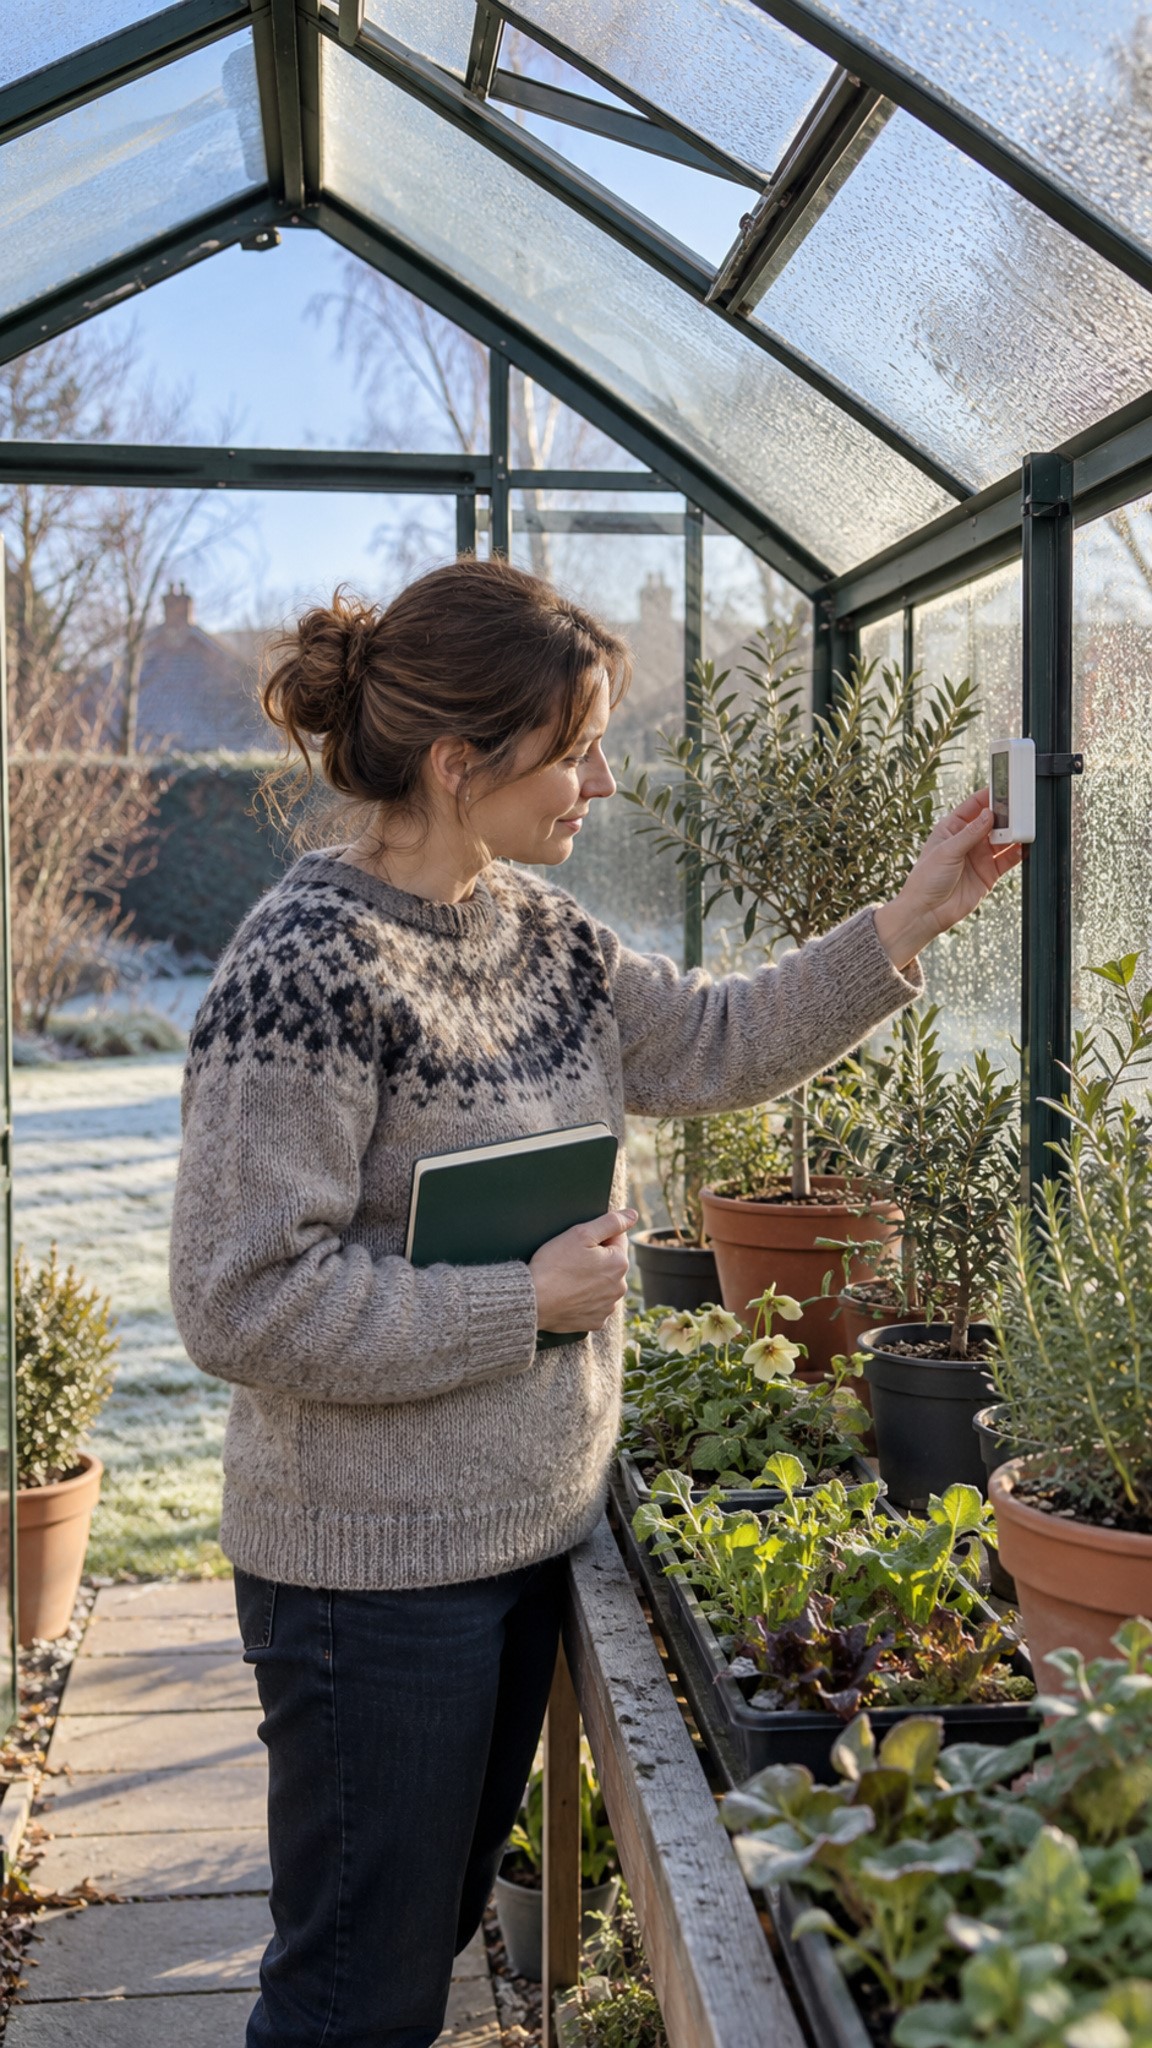
Read the minimum thermometer and check the greenhouse before cold nights.
Put Your Greenhouse Heating Plan on Paper
Measure your greenhouse, list the plants you’re keeping and choose their minimum temperature. Then draw the benches alongside the heating equipment, including its clearances. Work out the likely heat demand before choosing a heater, and use your own tariff to estimate the running bill. This small amount of planning is easier than rearranging a full greenhouse on a freezing evening.
Our 40-page Greenhouse Heating Guide takes the next steps with plans for small, medium and large greenhouses, technical diagrams and worked cost examples. Use its worksheets to compare your shortlist and combine insulation with the right amount of heat. There should still be room for a pot you hadn’t planned to buy.
