
Greenhouse Layout Plans: How to Arrange the Space Inside
A greenhouse can feel crowded long before you’ve finished planting. A few seed trays, a watering can and one tomato pot can leave you shuffling sideways through the door. Then the seedlings need potting on, the tomato doubles in size and the place you meant to enjoy becomes somewhere you negotiate with your elbows. And once you start putting pots on the path, every watering round begins with moving something out of the way. Planning the interior before filling it gives you room to grow plants and look after them without a daily furniture shuffle.
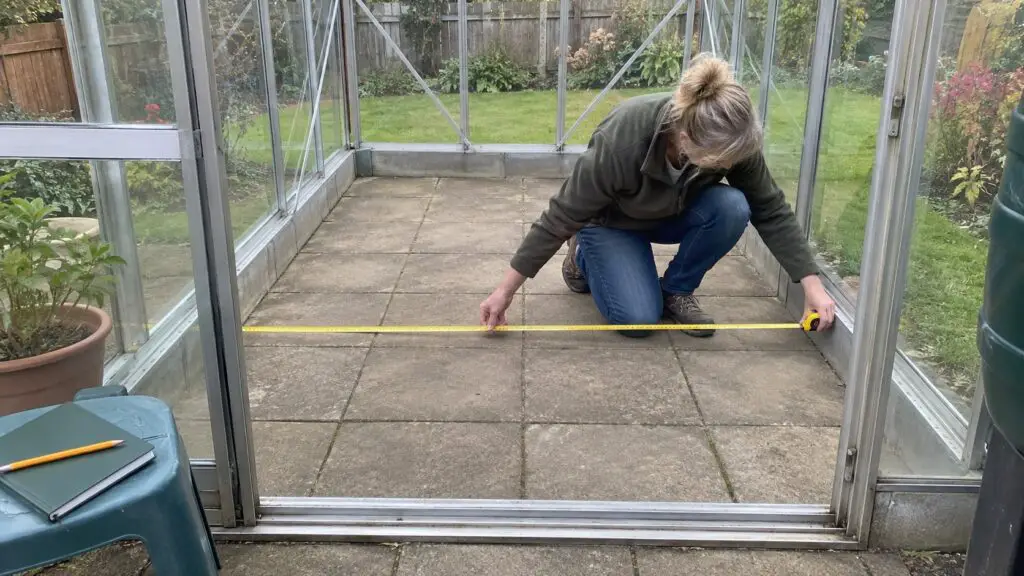
The greenhouse layout plans accompanying this article offer seven arrangements for residential greenhouses, plus a larger option with room for a chair. Each starts with clear access and adds growing space around it. The download contains measured diagrams and setup instructions. Here, we’ll look at how to choose a plan, adapt it to your greenhouse and keep the space comfortable as the season gets busier.
Download FREE Greenhouse Layout Plans
The free 22-page plan booklet includes technical diagrams, imperial and metric dimensions, materials, cut lists, fastening details and step-by-step instructions for polytunnel interor layouts for different size greenhouses
Choose Greenhouse Layout Plans to Suit What You Grow
A greenhouse used for spring seedlings needs plenty of bench space. One used for summer tomatoes needs room below the roof for plants and supports, with floor space for their containers. Decide which job matters most before buying staging, the benches used to hold trays and pots. If you’re planning a mixture, leave part of the floor available for crops. Filling both sides with permanent benches can make that change awkward later, even when the greenhouse seems generous on delivery day.
| Greenhouse size | PDF plan | Main arrangement | PDF pages |
|---|---|---|---|
| 6 x 4 ft | A | Rear bench for seeds and herbs | 5–6 |
| 6 x 8 ft | B | Two narrow staging runs | 7–8 |
| 8 x 8 ft | C | Deeper staging and a wider aisle | 9–10 |
| 8 x 10 ft | D | Staging, potting bench and floor crop bay | 11–12 |
| 10 x 12 ft | E | Benches and larger containers | 13–14 |
| 12 x 16 ft | F | Three growing strips and two paths | 15–16 |
| 6 x 4 ft lean-to | G | Wall-side bench with an end entrance | 17–18 |
| 12 x 20 ft | F+ | Plan F with extra front space for a chair | 19 |
These arrangements assume an existing greenhouse with a sound base, working doors and ventilation. Use the table to find a starting point, then check its dimensions against your own building. A small greenhouse layout may cover everything you need for herbs and seed trays. Having spare space doesn’t oblige you to fill it, and a bench with a little room left over is useful when an afternoon’s potting takes longer than expected.
Download the Greenhouse Internal Layout Plans
Measure Before Choosing Your Greenhouse Interior Layout
Use the Clear Working Space in Your Greenhouse Floor Plan
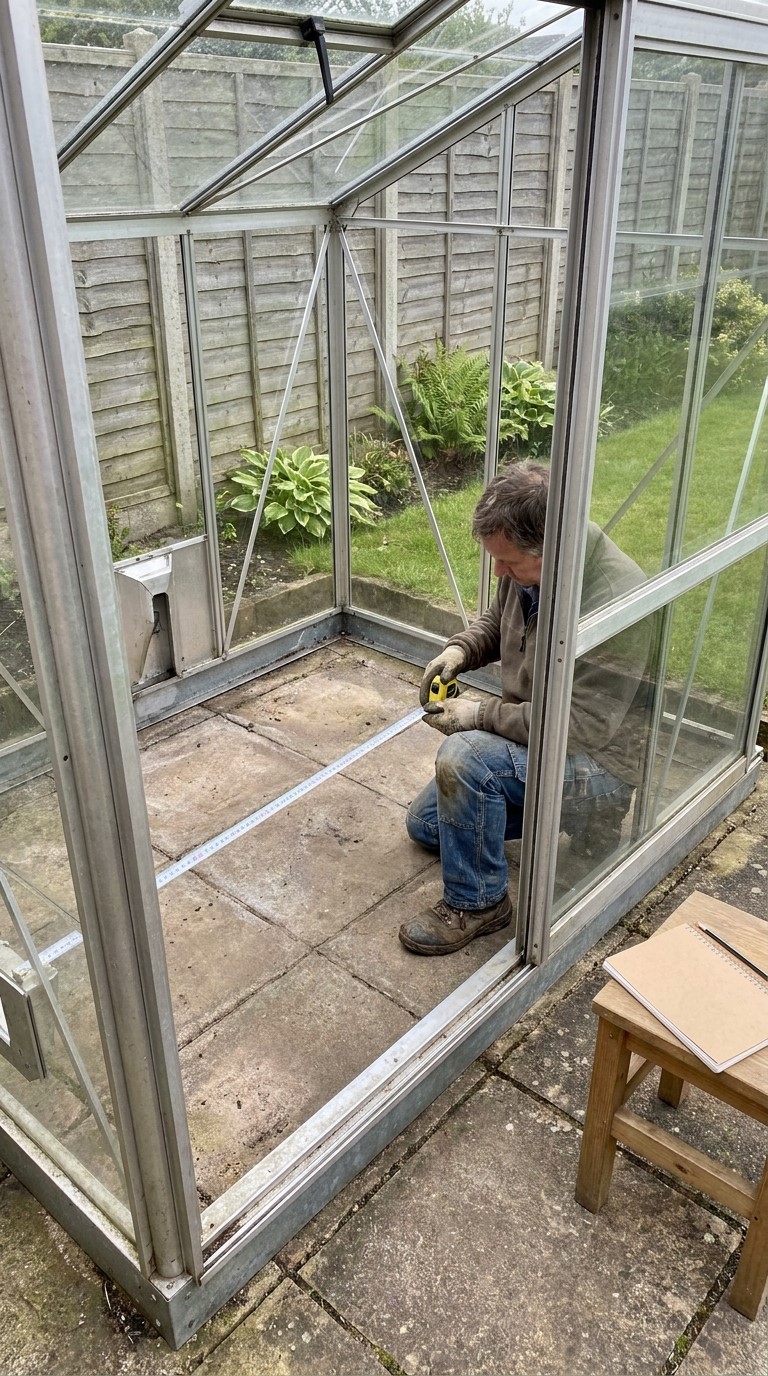
The size on the greenhouse label won’t tell you exactly how much furniture fits inside. Measure between the internal fittings at floor level and bench height, including narrow points near posts. The PDF allows four inches less than each advertised dimension when drawing its working rectangle. Treat that allowance as a fit check and confirm your own frame’s dimensions. For example, the 8 x 10 ft plan uses a clear rectangle of 92 x 116 inches. Your measured interior must accommodate that arrangement, or you’ll need to adjust the furniture. Check your door opening and headroom too. Work from the written dimensions before ordering anything, rather than measuring a printed diagram.
Give Greenhouse Access Paths Priority Over Extra Staging
Mark the walking route before the furniture, including the door’s full swing and any projecting bench feet. If space is tight, reduce bench depth or remove a module before narrowing the path. Small gaps beside the glazing aren’t walking routes. Where wider access is needed, assess the doorway, threshold and turning room together. A wide aisle alone doesn’t make the whole greenhouse accessible.
Keep a Small Greenhouse Layout Simple
Start With a Rear Bench in a 6 x 4 ft Greenhouse Layout
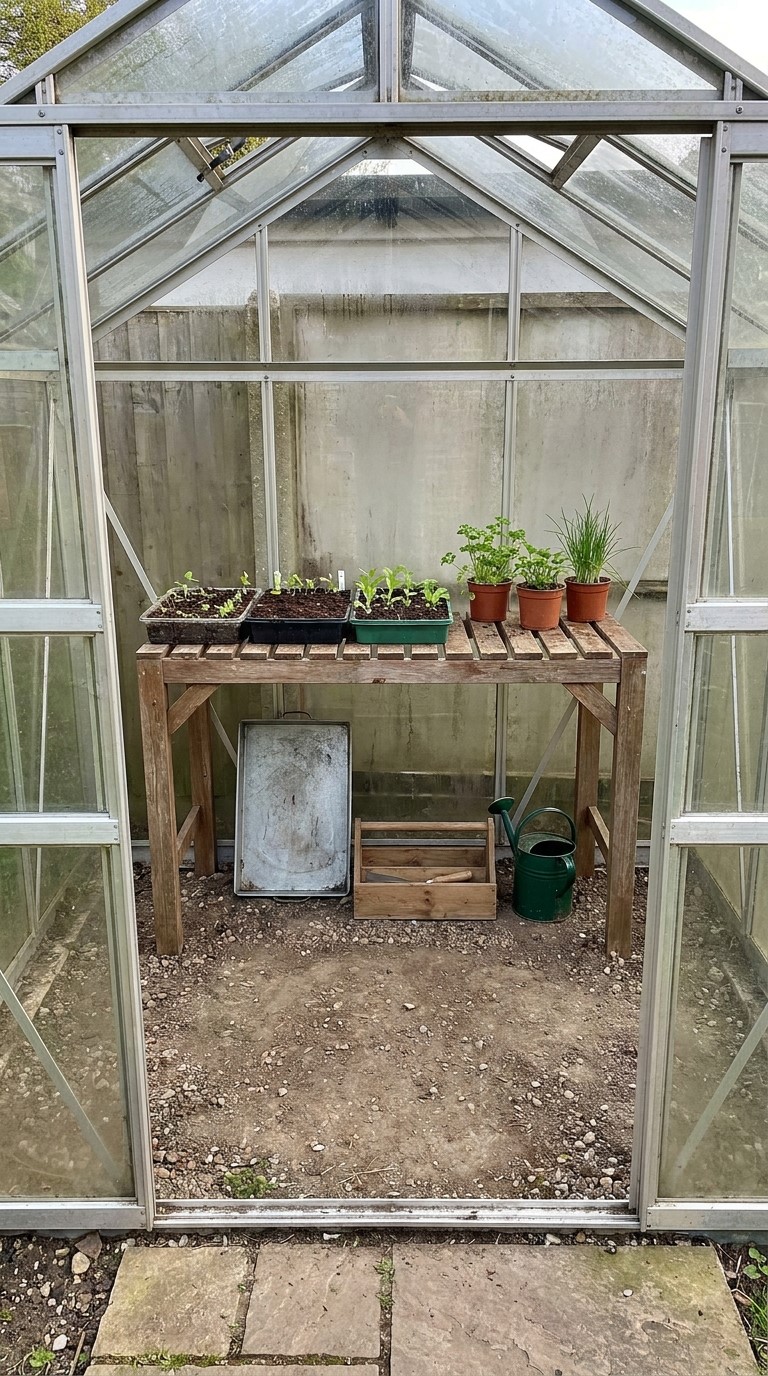
Plan A puts one shallow bench across the back and leaves the front for standing and watering. Its 18-inch bench depth leaves a 24-inch-deep working area, so this is a compact space for one gardener. Parsley, chives and a few seed trays suit the arrangement. Bring a removable potting tray onto the bench when needed, then store it underneath. If the standing area feels tight, the PDF suggests reducing the bench depth to 14 inches to gain four inches for your feet.
Compare Side Benches in 6 x 8 ft and 8 x 8 ft Greenhouse Layouts
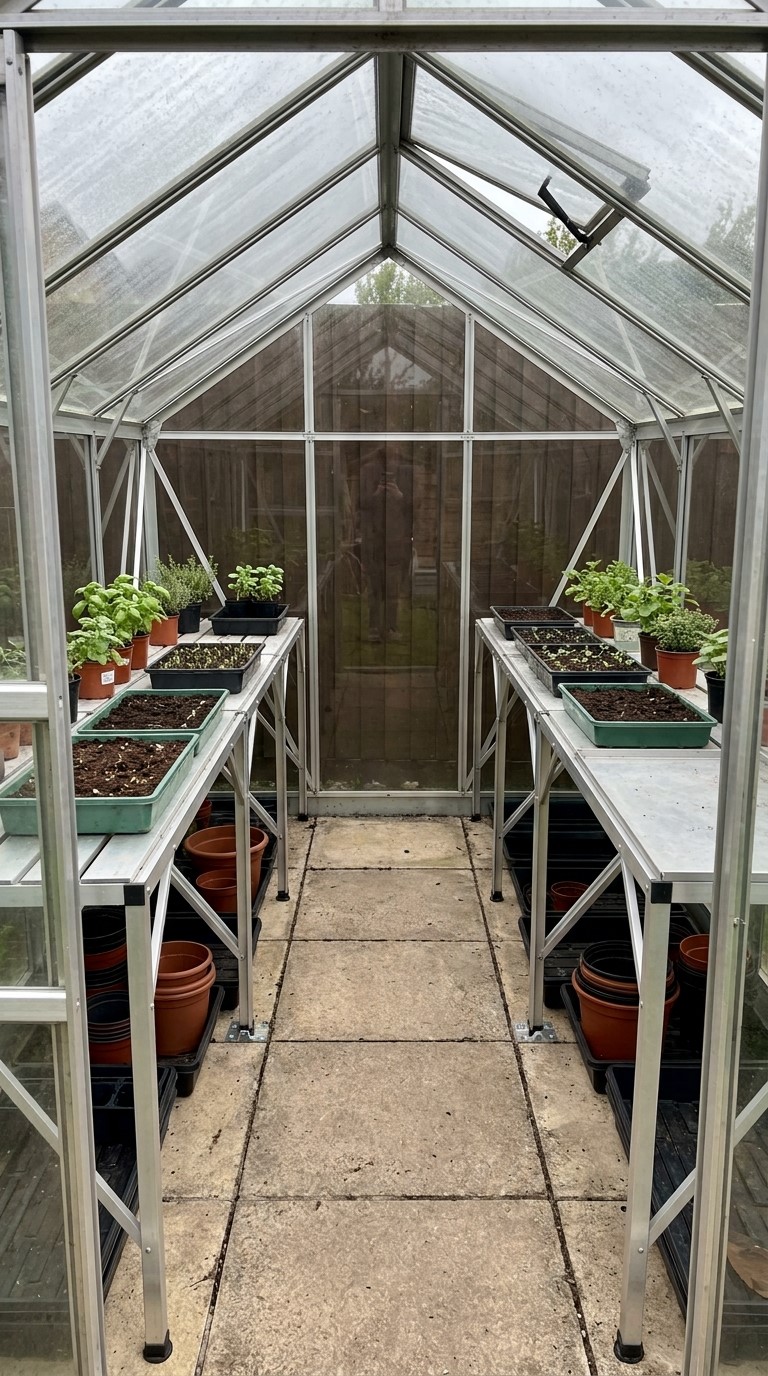
The 6 x 8 ft plan uses two 18-inch-deep staging runs around a 28-inch aisle. In the 8 x 8 ft version, the benches deepen to 24 inches and the aisle opens to 40 inches. That extra width helps when carrying a tray in both hands. Both arrangements use bench modules, so a rear section can come out for a summer container crop. Try reaching the back of the proposed bench before buying it. Extra depth has limited value if you can’t tend the plants there.
Follow the End Entrance in a Lean-To Greenhouse Layout
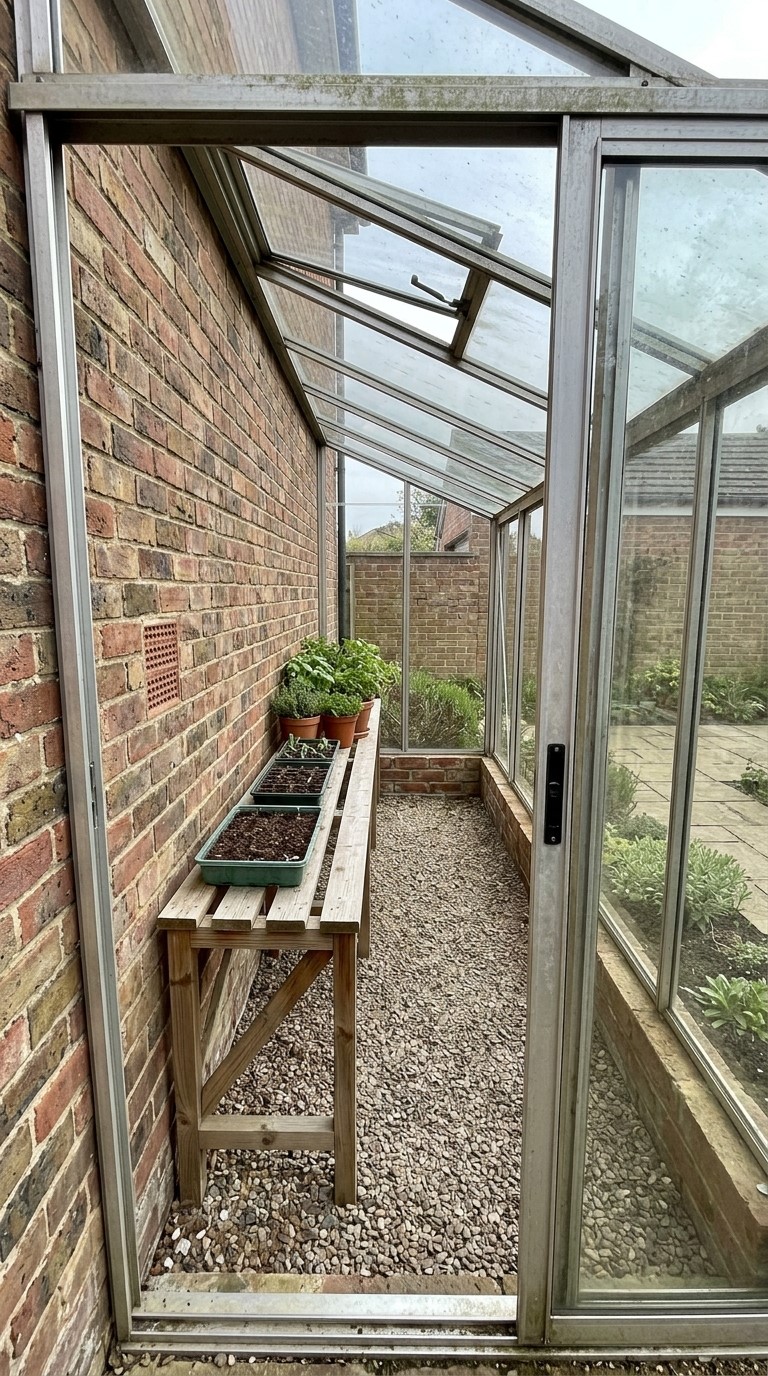
Plan G runs six feet along the house wall and projects four feet into the garden. A 14-inch-deep wall-side bench preserves a 28-inch aisle beside the outer glazing, reached through an end door. Check that your greenhouse matches this orientation. Allow for sloping headroom and leave airbricks clear. Seedlings and small herbs suit this shallow space, where tall plants would crowd the working area.
Greenhouse Layout Ideas for 8 x 10 ft and 10 x 12 ft Spaces
Combine Staging and Containers in an 8 x 10 ft Greenhouse Layout
Plan D offers a useful compromise for gardeners who want spring seedlings and summer vegetables. A long bench occupies one side, with a shorter potting bench near the entrance opposite it. Behind that short bench sits a separate floor crop bay. The example accommodates two compact tomatoes or peppers in individual pots, subject to their mature spread. Choose one plant if your variety needs more room. Keep saucers and supports inside the bay too, so the 40-inch aisle stays clear once everything is growing.
Keep Working Room in a 10 x 12 ft Greenhouse Layout
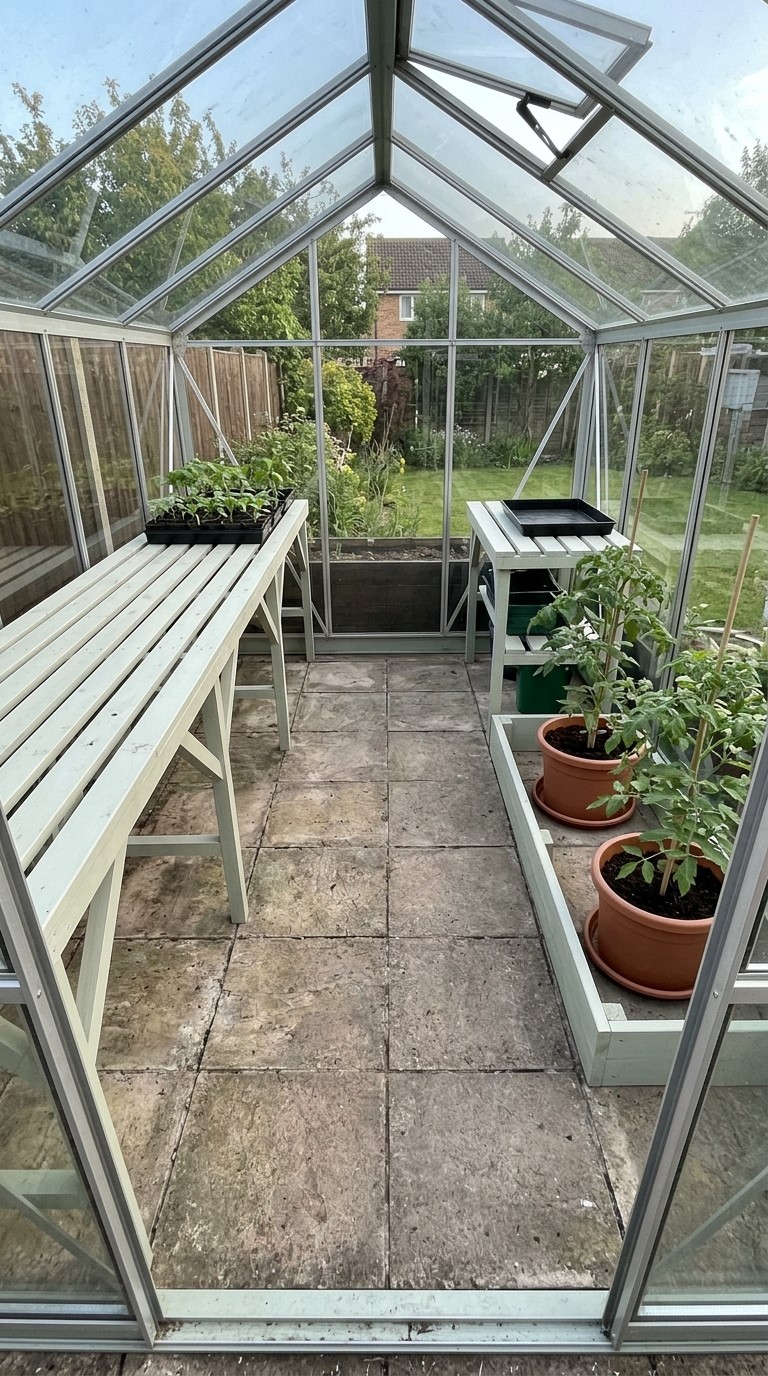
Plan E follows a similar arrangement with a larger crop bay and a 52-inch aisle. It gives you room to handle containers without standing against the opposite bench. The proposed staging reaches 30 inches deep, though that’s a long reach from one side. Choosing 24-inch units gives you more aisle space and easier access across the surface. Position taller crops where they’ll cast less shade on seedlings, mirroring the plan if needed. Check the space below the eaves and open roof vent before choosing tall varieties.
Plan Clear Walking Routes in Larger Greenhouse Layouts
Connect Both Paths in a 12 x 16 ft Greenhouse Bed Layout
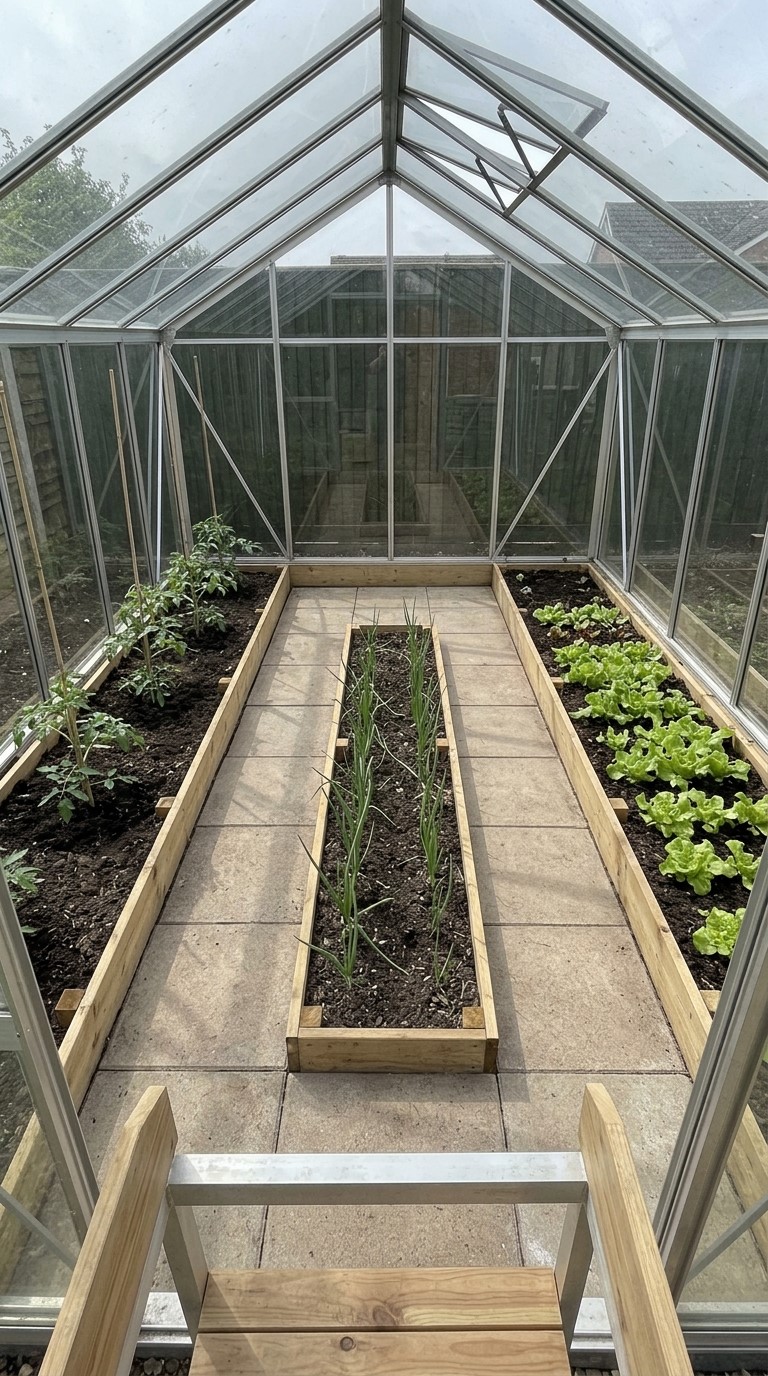
Plan F introduces two side beds and a narrower centre bed, with a small potting bench near the entrance. Two 30-inch paths connect across the rear, allowing you to reach the centre bed from either side. One side can hold trained tomatoes while lower crops occupy the remaining beds. These shallow edged beds assume usable soil underneath. On paving or a slab, use suitably deep containers within the same growing strips. The PDF explains the bed construction and compost quantities, including the difference between a compost layer and the crop’s full rooting depth.
Add a Chair to the 12 x 20 ft Greenhouse Layout
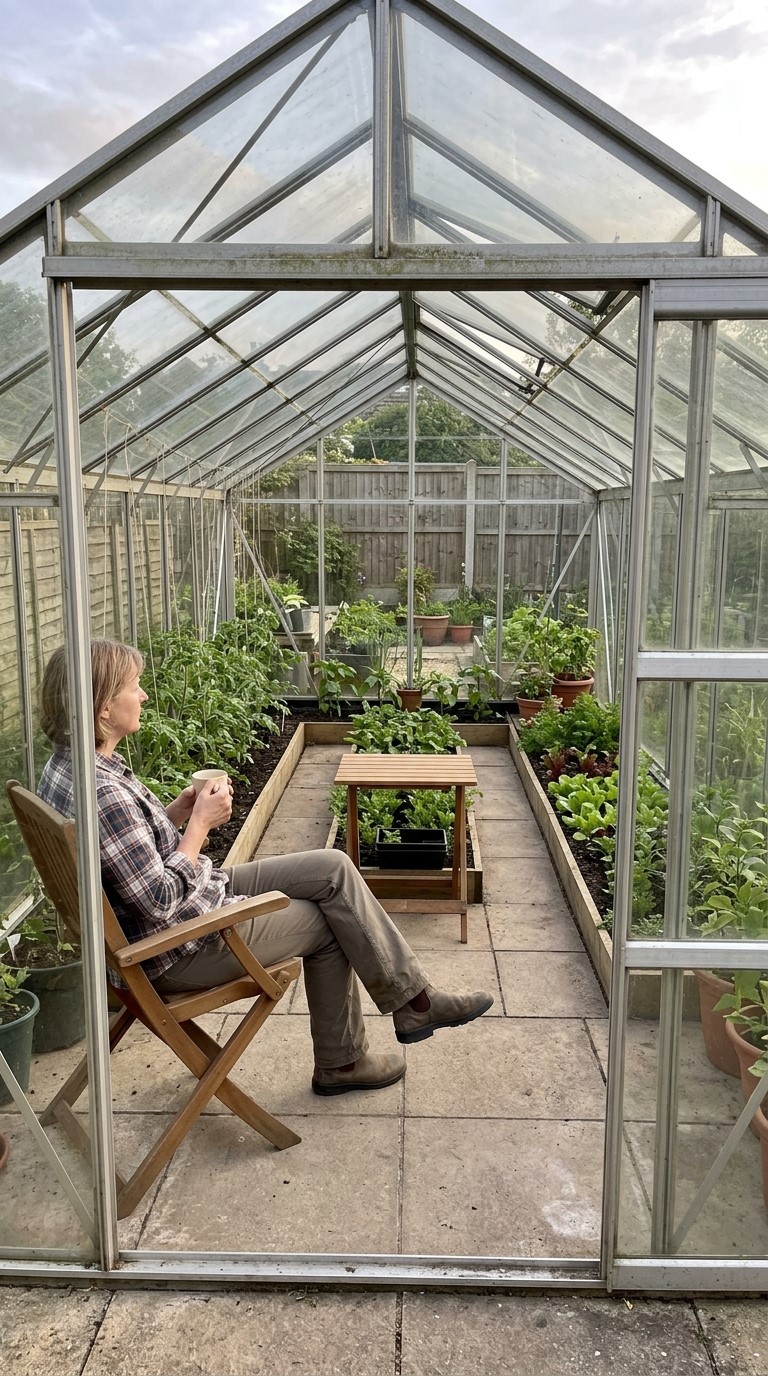
The larger option keeps Plan F’s growing arrangement and adds four feet at the front. That extra length creates a place for one small chair without borrowing space from the working paths. Measure the occupied chair, including your legs, when checking the seating area. It’s easy to fit an empty seat somewhere a person can’t sit. Keep the turn into the growing area clear and resist adding another pot beside the chair each week. The appeal is having somewhere to pause among the plants.
Make Your Greenhouse Shelving Layout Work for Daily Jobs
Set a Comfortable Height in Your Greenhouse Bench Layout
The PDF uses about 34 inches as a starting bench height, but your elbows provide a better final guide. Try the working position before loading the staging. You should be able to handle trays without bending over the surface or lifting your shoulders. Choose braced, freestanding units with a stated load rating and check their complete footprint, including feet. Heavy shelves and crop supports need suitable support. Attach loads to the greenhouse frame only where its maker permits the particular fixing and weight.
Use Greenhouse Storage Ideas Beneath the Staging
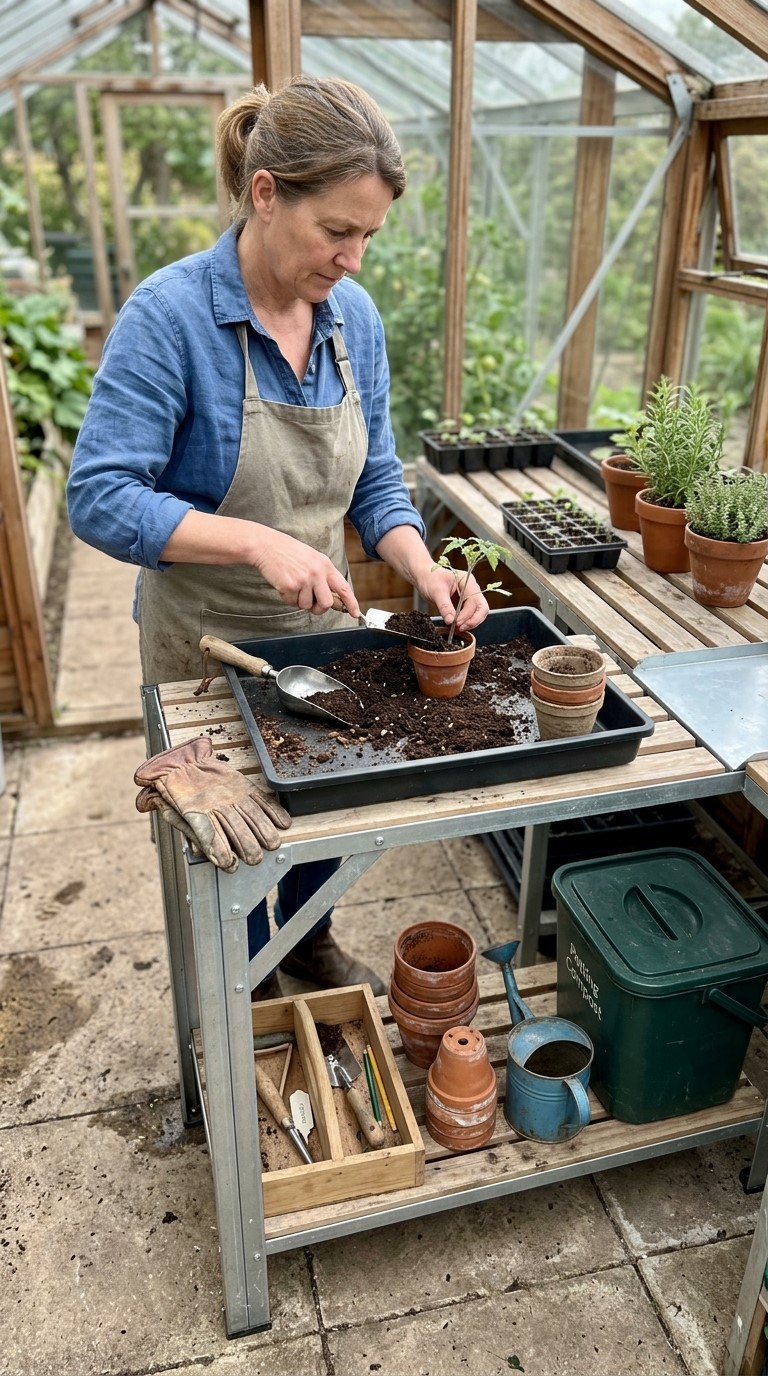
Under a bench, a shallow box can hold hand tools without taking growing space. Spare pots and a removable potting tray can go there too. Keep low vents clear and heavy supplies low within their storage area. Start with one growing level and watch the light before adding upper shelving. Any new shelf needs to leave enough daylight for the plants below and room for roof vents to open.
Leave Room for Growth in Your Greenhouse Planting Layout
Change Your Greenhouse Planting Plan With the Seasons
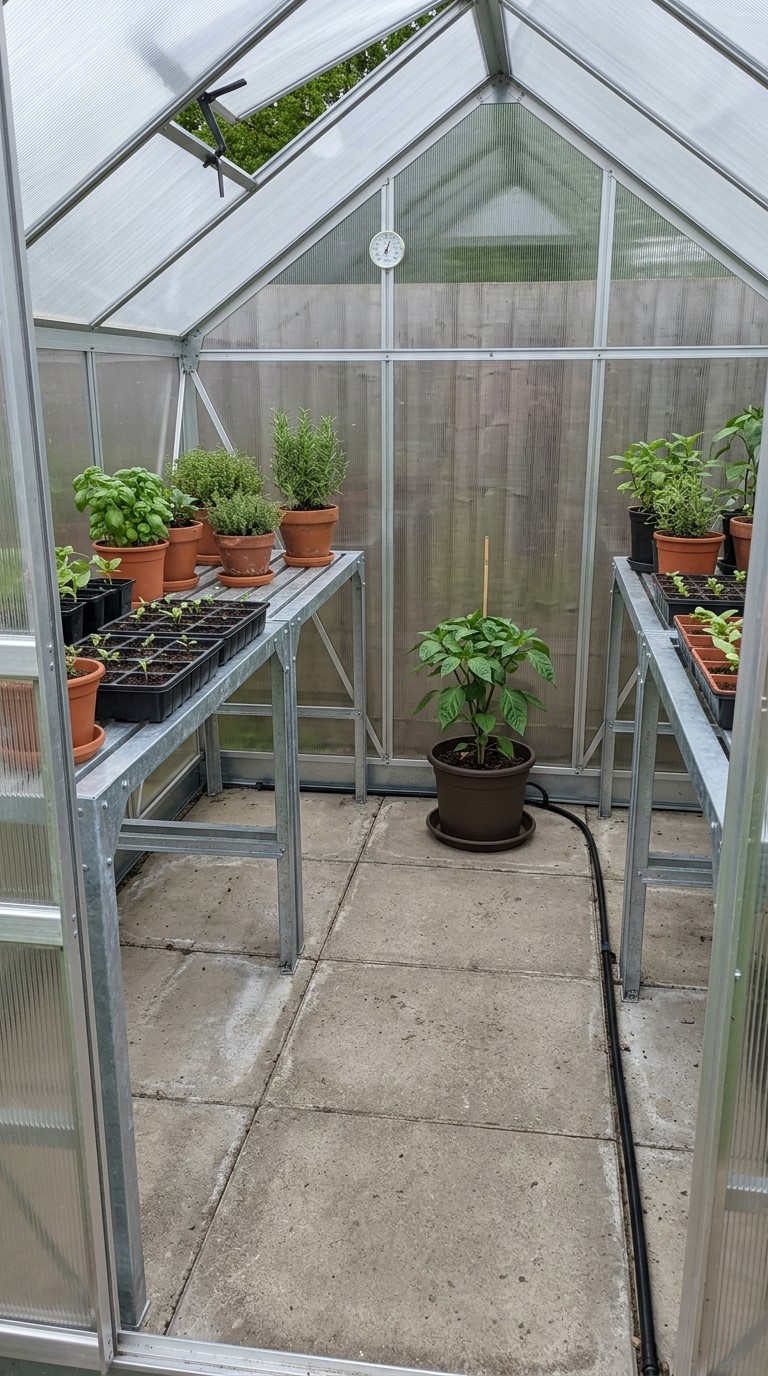
Spring trays can fill staging, then move out when the plants and outdoor conditions are suitable. A removable bench section can make way for a summer container, with supports fitted before the crop becomes heavy. Once that crop finishes, clear the bay and decide whether to return the staging. Planning these changes gives each plant room at the stage it needs it. Begin with fewer plants than the floor could hold and judge the available space by mature foliage, not the size of a newly planted pot.
Keep Greenhouse Access Paths and Vents Clear
A watering can stored beneath the front bench is enough for many of these layouts. If you add irrigation, run the supply along a side and keep branches inside the growing strips. Loose tubing across an aisle becomes a nuisance every time you carry a tray. The PDF places a covered rainwater barrel outside on a suitable level stand, away from the entrance approach. Leave roof vents and lower openings clear as plants grow, and check that foliage hasn’t blocked access to their controls.
Use a max-min thermometer at plant height, shaded from direct sun, to understand the conditions your crops experience. Open vents before heat builds and add suitable shading when ventilation can’t control it. An unheated greenhouse can still become too cold for tender plants in winter. In hot weather or a hot climate, excessive heat may be the greater problem. Choose crops around the recorded conditions and available light, and keep enough space between them to inspect leaves, water compost and remove finished growth.
Put Your Greenhouse Layout Plans to Work
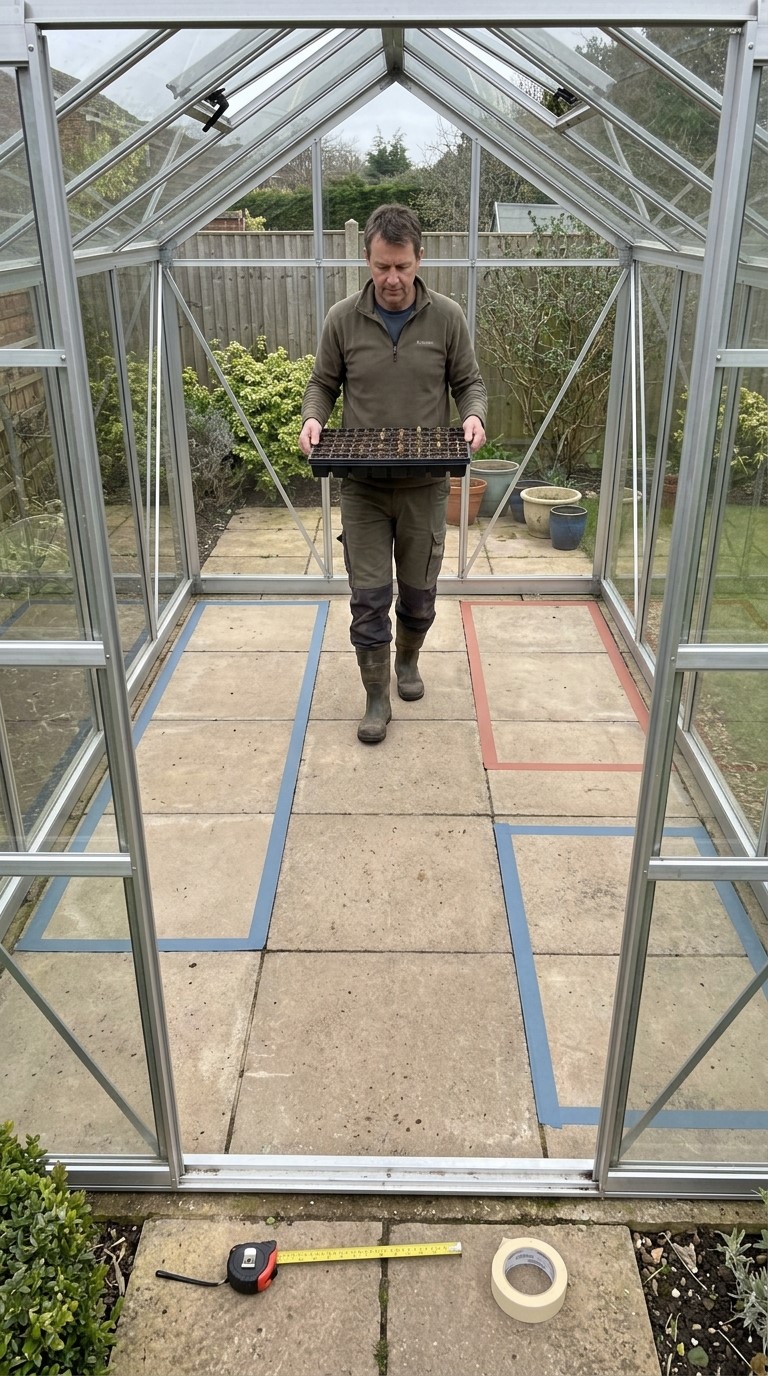
Before buying another bench, take a tape measure and mark your chosen arrangement on the floor. Set out the door route first, then outline the furniture and crop areas. Carry a tray through the space and reach towards the back of each proposed bench. That small rehearsal will tell you more about comfort than an empty greenhouse viewed from the doorway. Change anything awkward while the marks are still easy to move.
Download the Greenhouse Internal Layout Plans and follow the measured diagram for your chosen size. Place the empty furniture before adding compost and plants, then check the route again as growth fills out. You don’t need to use every available corner on the first day. Leaving room for the gardener makes the greenhouse easier to care for, and gives you more time to enjoy the plants you brought it home to grow.
