
Internal Polytunnel Layout Plans for Small, Medium and Large Tunnels
A polytunnel soon feels small when you’re squeezing past leaves with a full watering can. The empty floor looked generous when the cover first went on. Now there’s a tray of seedlings by the door, foliage brushing your sleeves and a bucket occupying the spot where you need to stand. A good internal layout leaves room for these everyday jobs, so tending your vegetables doesn’t become an obstacle course by midsummer.
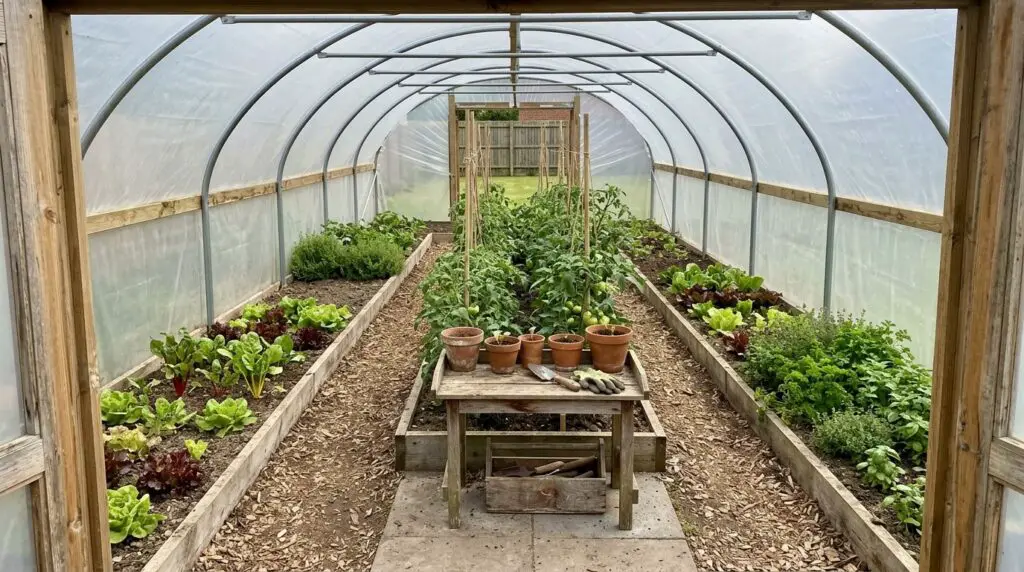
The polytunnel layouts in the accompanying PDF (dee below to download for free) start with a simple arrangement: straight beds over existing garden soil, optional low timber edges and clear walking routes. There are two small plans, a medium plan in two lengths and two larger plans with a centre bed and potting space. Choose the closest size, then adjust it to your tunnel. The measurements in feet describe size classes, while the metric figures are working interior dimensions, not exact conversions.
Download FREE Polytunnel Layout Plans
The free 16-page plan booklet includes technical diagrams, imperial and metric dimensions, materials, cut lists, fastening details and step-by-step instructions for polytunnel interor layouts for different size polytunnels
Before Choosing a Polytunnel Layout, Measure the Usable Space
Check Your Polytunnel Interior at Floor and Shoulder Height
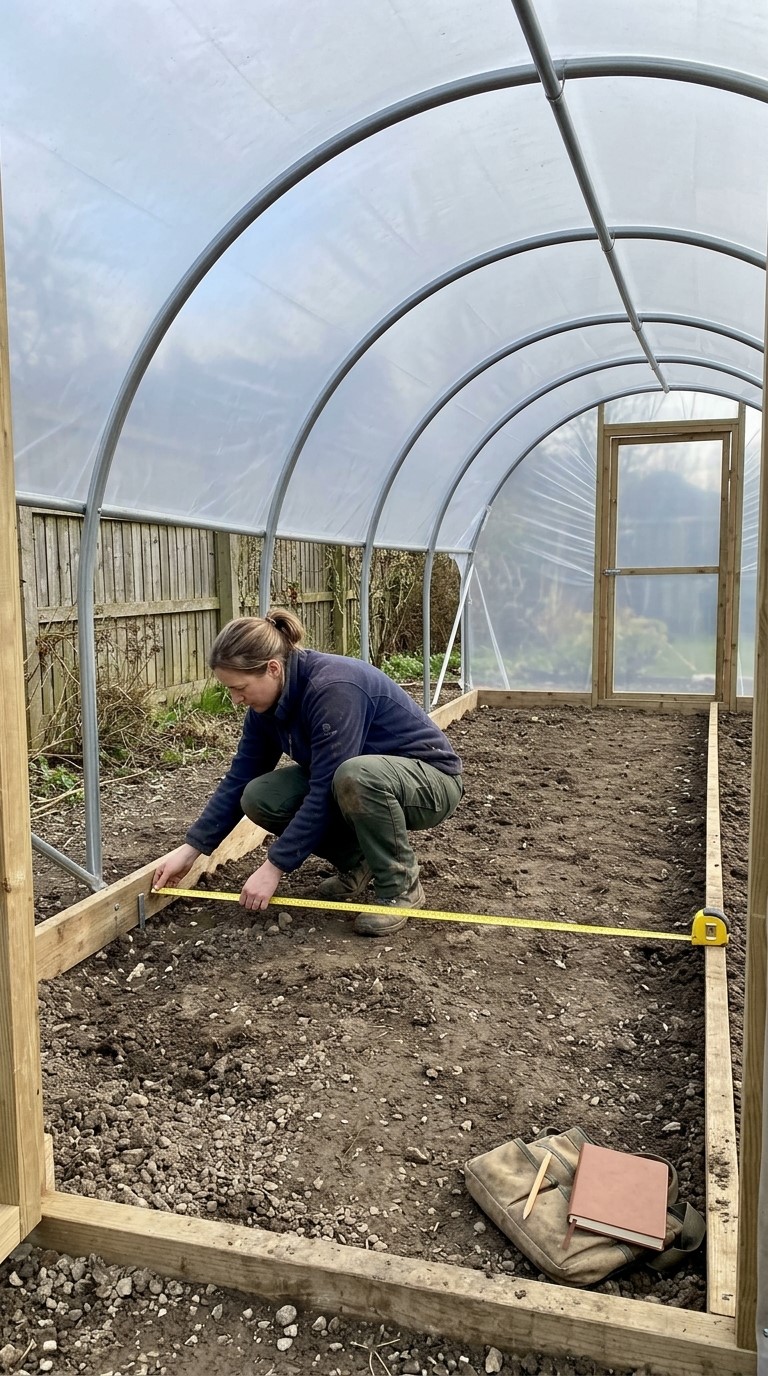
Start inside the tunnel with a tape measure. Measure the clear width between fixed obstructions at the front, middle and rear, then work with the smallest figure. Base rails and end frames can reduce the space available. Look up, too. Curved hoops bring the cover closer to your shoulders near the sides, which matters when you’re bending over a bed or carrying something along a path. A floor plan can’t tell you how comfortable that movement will feel. Note the positions of anchors, buried cover edges and water pipes before marking beds. You need to know where those fittings are before pushing in stakes or deciding where a board will sit.
Mark Your Polytunnel Beds and Paths Before Buying Materials
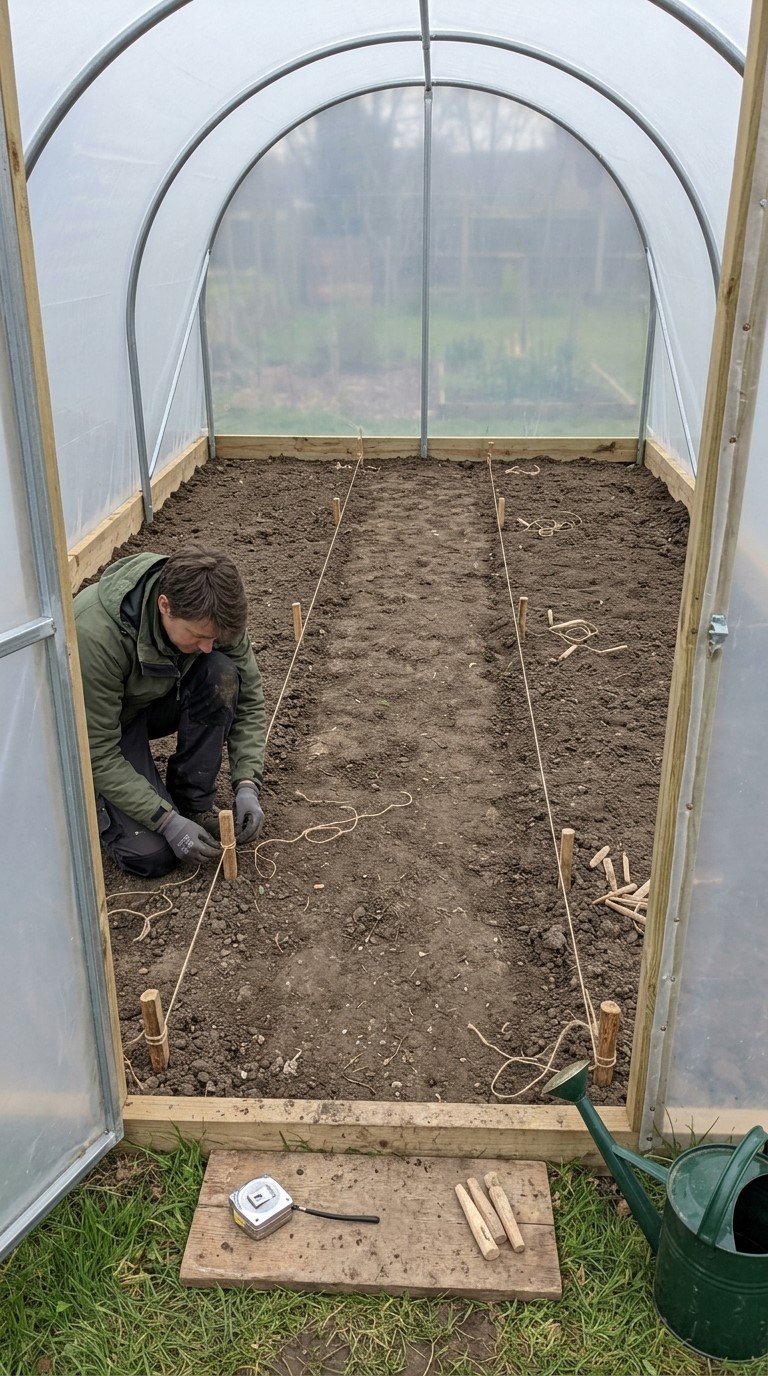
Peg out the proposed bed edges with string and take a watering can for a walk. Open the door, turn around and reach towards the back of each side bed without stepping onto the soil. This small rehearsal can save a lot of shifting later. Leave the side clearances shown in the plans so timber and foliage stay away from the cover. Those narrow strips are for clearance and inspection. They aren’t extra paths, and neither is the 300mm rear strip in the small and medium plans.
Small Polytunnel Layouts for Beginners With Limited Space
A 6ft Polytunnel Layout With Two Narrow Beds
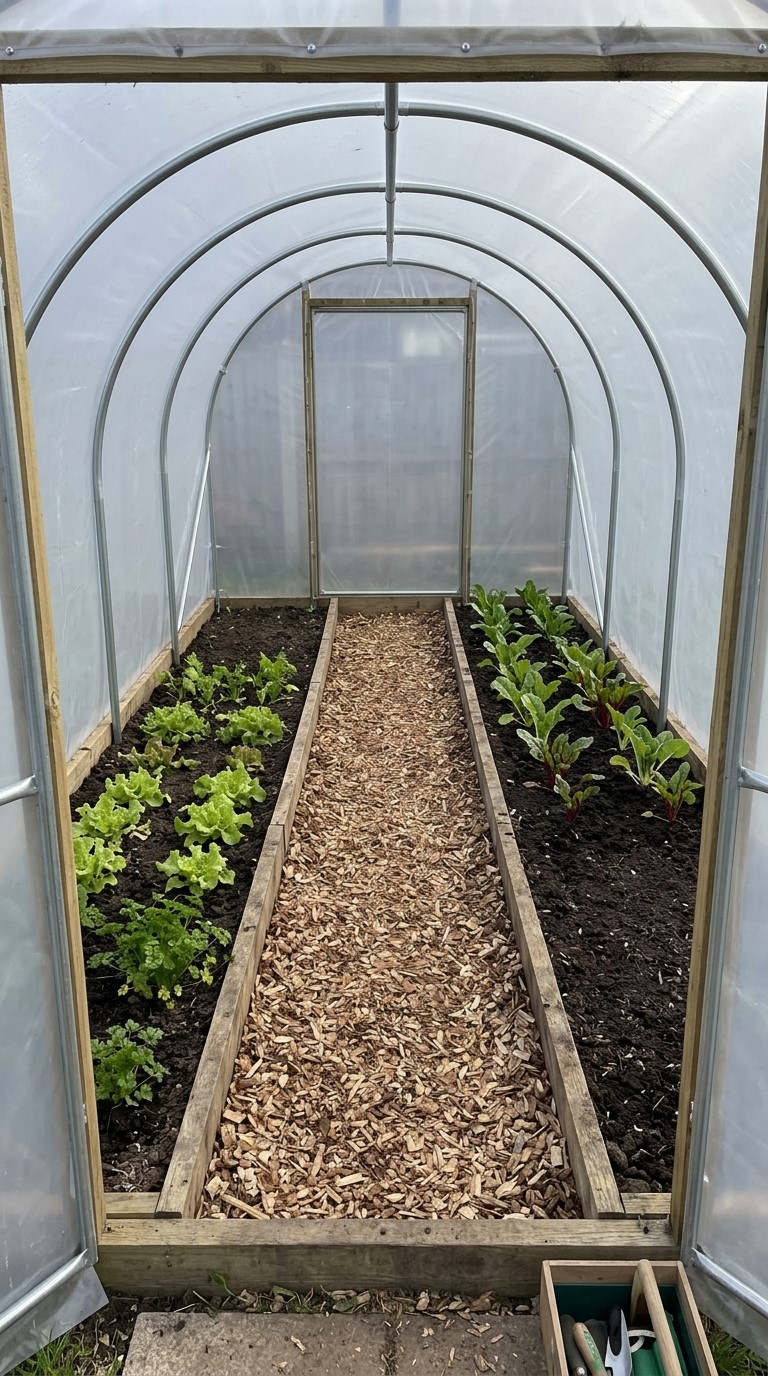
For a working interior of 1.8 × 3m, the smallest plan uses two beds measuring 500mm wide by 2.1m long. A 600mm path runs between them, with a 100mm clearance beside each tunnel wall. It’s a modest arrangement, but every bed is within reach from the middle. Low leafy crops can sit near the entrance, while other plants go farther back wherever the available light and headroom suit their mature size. A narrow bed might hold several short rows of small salad crops or one row of larger plants. Follow the spacing on the seed packet, and leave room for growth even when the young plants look rather lonely.
Keep the first 600mm of length clear as an entrance area and allow 300mm at the rear for inspection. These spaces soon disappear if pots and compost bags collect there. A fixed bench would take too much room in this example, so carry in what you need and store the rest outside. The 600mm path is a walking route for one person. Check your actual doorway and equipment before assuming a trolley will fit through.
An 8ft Polytunnel Layout With More Walking Room
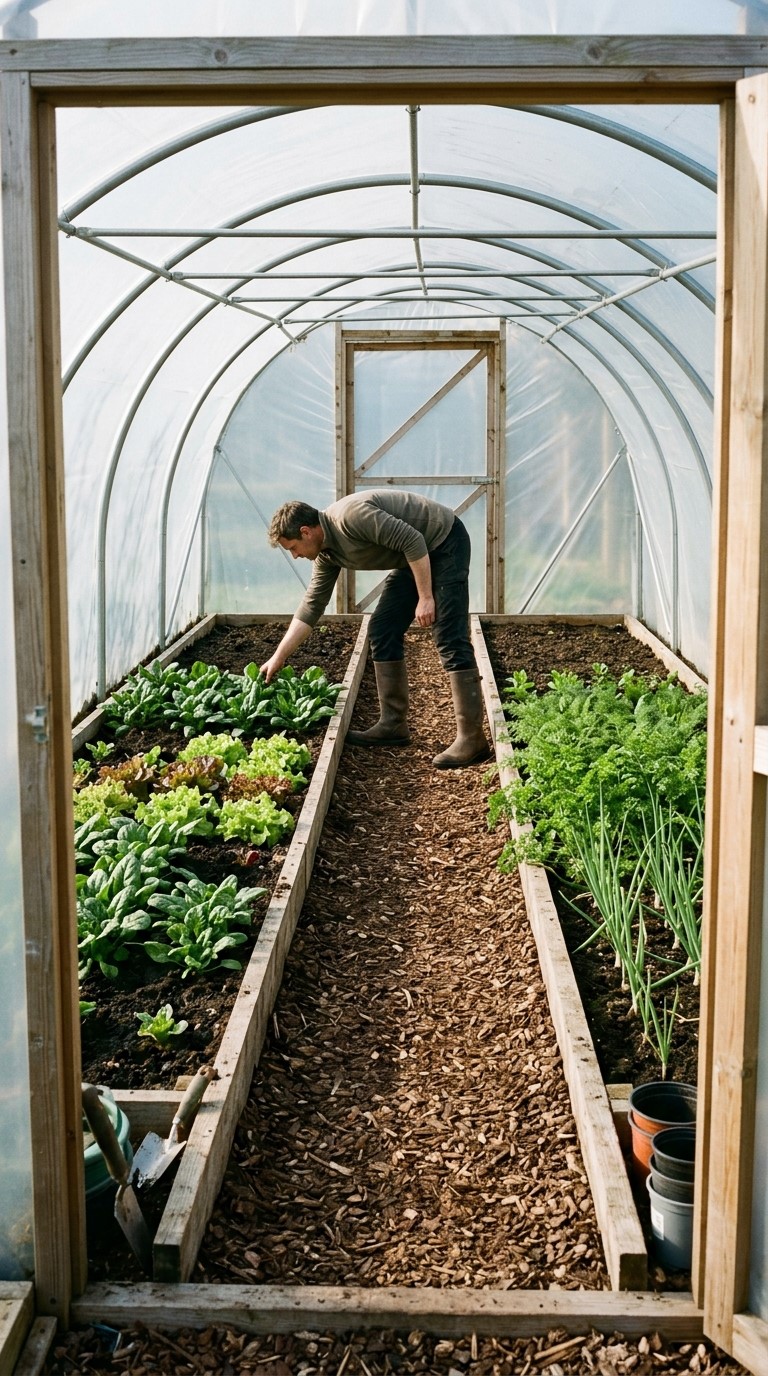
The 2.4 × 3.6m working plan gives you two beds measuring 650mm by 2.7m, separated by an 800mm path. Side clearances increase to 150mm, while the front and rear allowances remain 600mm and 300mm. That extra walking width is welcome when you’re picking leaves or carrying compost, but check that you can reach across the wider beds. If there’s a rear door, increase the rear allowance to at least 600mm, check the door movement and shorten the beds to match.
A Medium Polytunnel Layout With Room to Work
Two Parallel Beds in a 10ft Polytunnel Layout
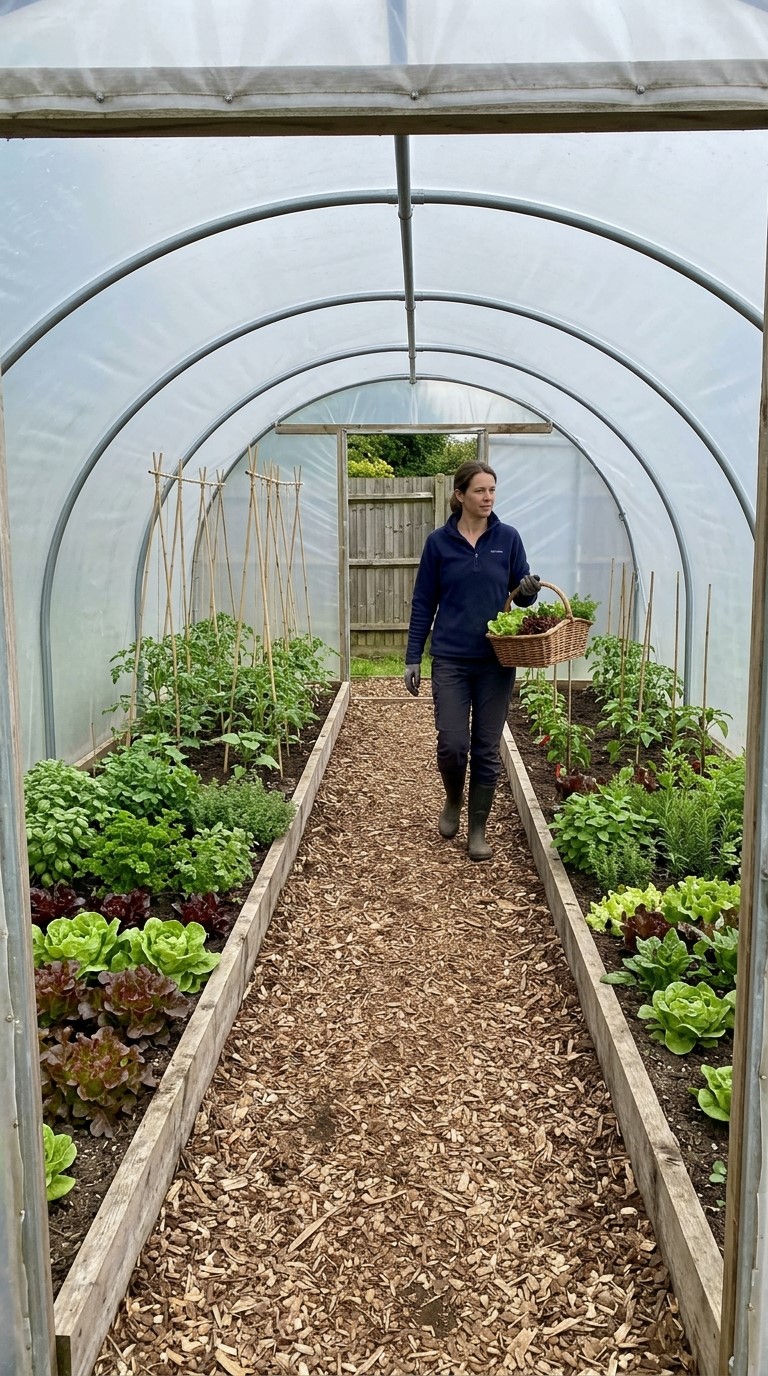
The medium plan uses a 3 × 6m interior with two beds, each 750mm wide and 4.8m long. Between them sits a generous 1.2m central path, with 150mm clearances beside the cover. It can be tempting to squeeze that path and claim more growing ground. Resist the urge until you’ve tried working in the space. Room to bend, set down a watering can and gather a harvest is useful garden space, even when nothing is planted in it. Give each bed a clear job, perhaps reserving one front section for crops you pick often. Labels facing the path mean you can check what you’ve sown without leaning across neighbouring plants.
Reach deserves attention here because each side bed is worked from one edge. If 750mm feels uncomfortable, the PDF offers a straightforward adjustment: make each bed 600mm wide and increase the central path to 1.5m. The entrance area is 900mm deep, with a 300mm rear inspection strip. As with the small plans, a rear door needs a deeper allowance. Test your reach while bending as you would to weed, rather than stretching once to touch the far edge.
Adapt the Medium Polytunnel Layout for a Shorter Tunnel
A 3 × 4.5m working interior keeps the same widths, but both beds shorten to 3.3m. The entrance and rear allowances stay unchanged. You still have two clear growing areas and a broad central route, which makes this a useful arrangement for a first home polytunnel. A temporary stool can hold seed trays while you’re working. Put it away afterwards. For a permanent bench, shorten one bed at the front enough to allow the bench footprint and space to use it.
Large Polytunnel Layouts With Three Beds and Two Paths
A 12ft Polytunnel Layout With a Compact Potting Spot
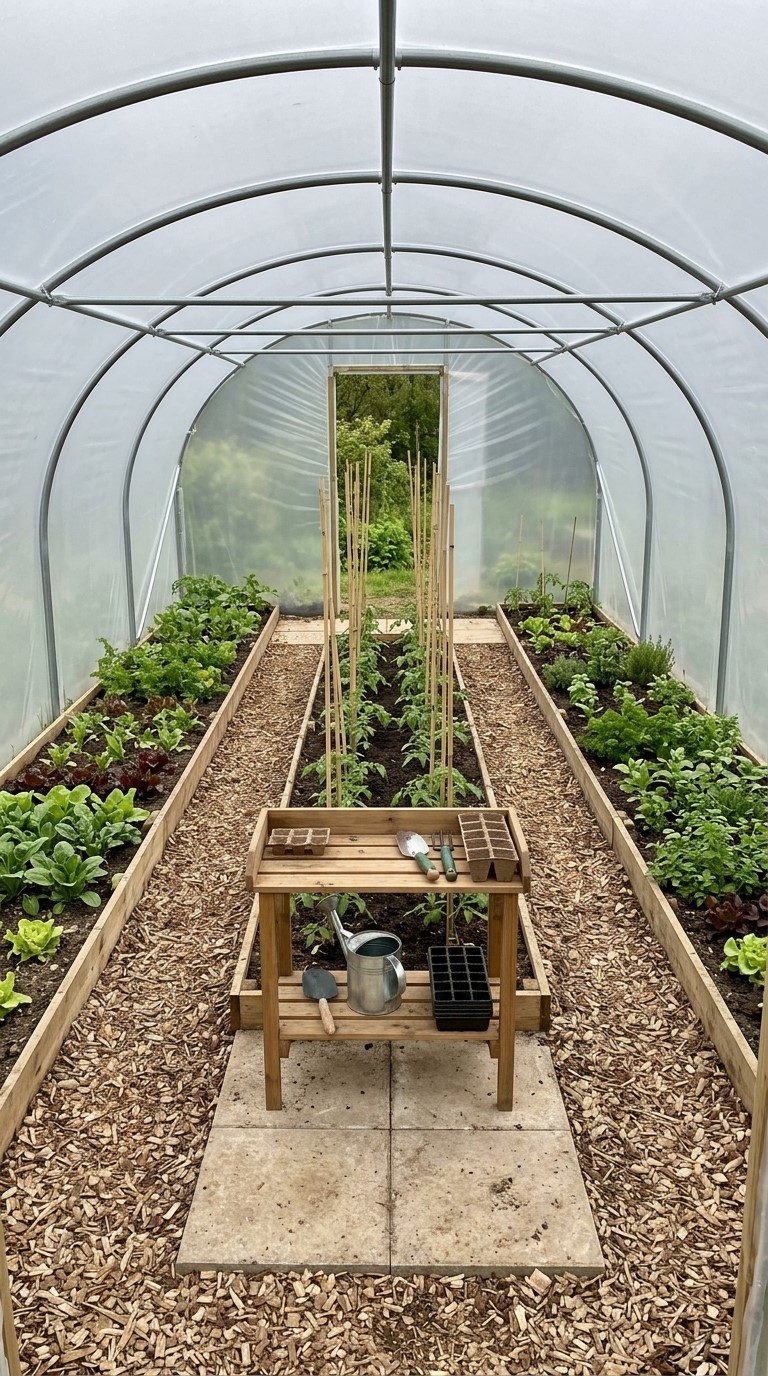
In a 3.6 × 6m working interior, three beds divide the floor into reachable growing areas. The two side beds measure 600mm by 4.5m, while the centre bed measures 800mm by 3.9m. Two 650mm paths run alongside the centre bed, with 150mm clearances beside the tunnel walls. A 900mm entrance area and 600mm rear cross-path connect the routes, so you can walk around the planting without stepping over a bed. Check headroom along both lanes before fixing their positions.
At the front of the centre bed, an 800 × 600mm pad makes room for a small 600 × 450mm potting bench. It’s enough for a seed tray or a few pots, with hand tools underneath. Stand in the front entrance area to use it, leaving both side paths open. The bench needs a firm, level base suited to its load, independent of the tunnel frame. Keep stored items within its footprint so they don’t creep into the walkways.
A 14ft Polytunnel Layout With Wider Paths and Longer Beds
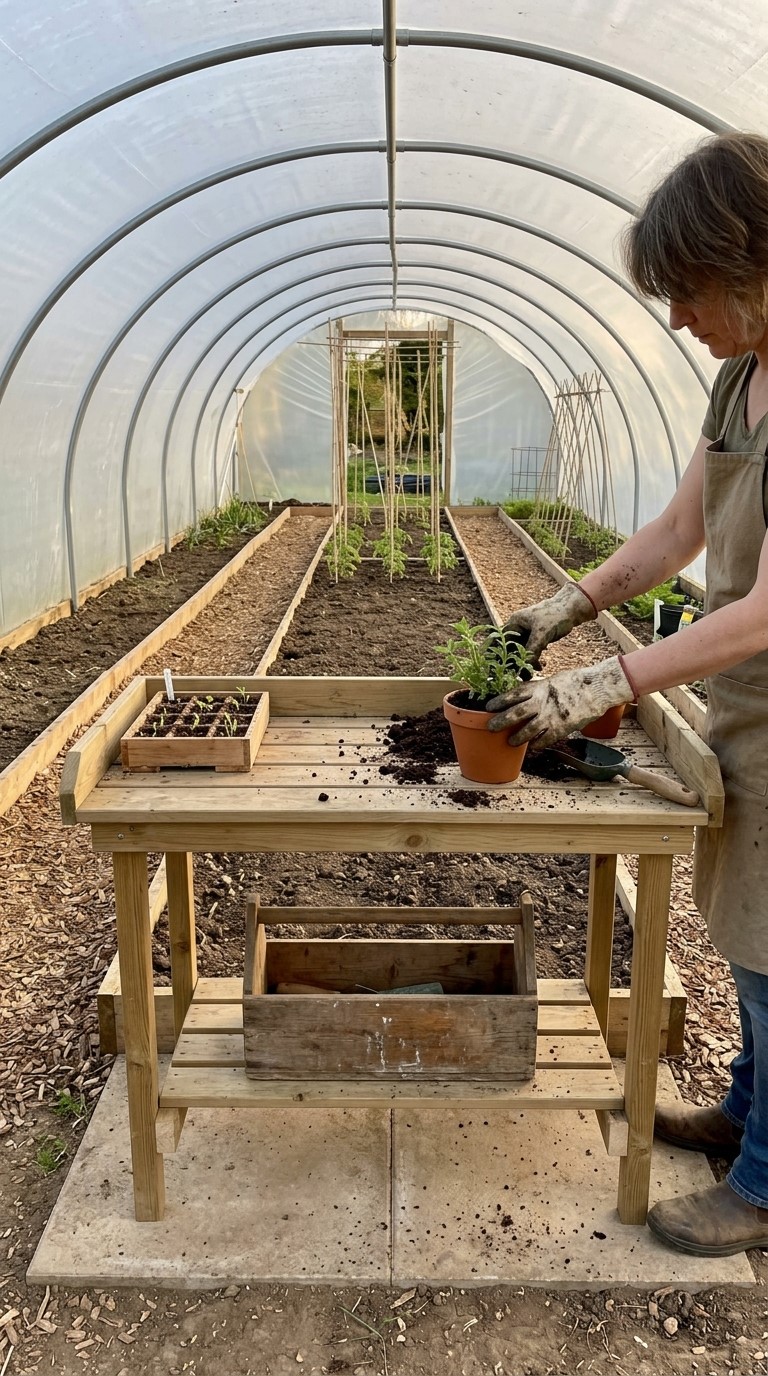
The largest example uses a 4.3 × 9m working interior. Its side beds measure 600mm by 7.2m, with a 1.2 × 6.6m centre bed between two 800mm paths. The middle bed is reached from both sides, so you only need to reach halfway across. A 1.2m entrance area provides working room at the front, while a 600mm rear cross-path joins the lanes. The arrangement gives you longer growing runs without making the side beds harder to reach.
A 900 × 450mm bench sits on a 1.2m × 600mm pad at the front of the centre strip. There’s room beneath it for the small tools you use most, although larger equipment can stay outside. Check the tunnel’s actual width before copying this plan: 14ft is about 4.27m before internal deductions. The 4.3m example may need adjusting. Use the measured clear width and try the revised paths at shoulder height as well as underfoot.
Build Your Polytunnel Beds and Paths With Simple Materials
Use Low Timber Edges for Your Polytunnel Growing Beds
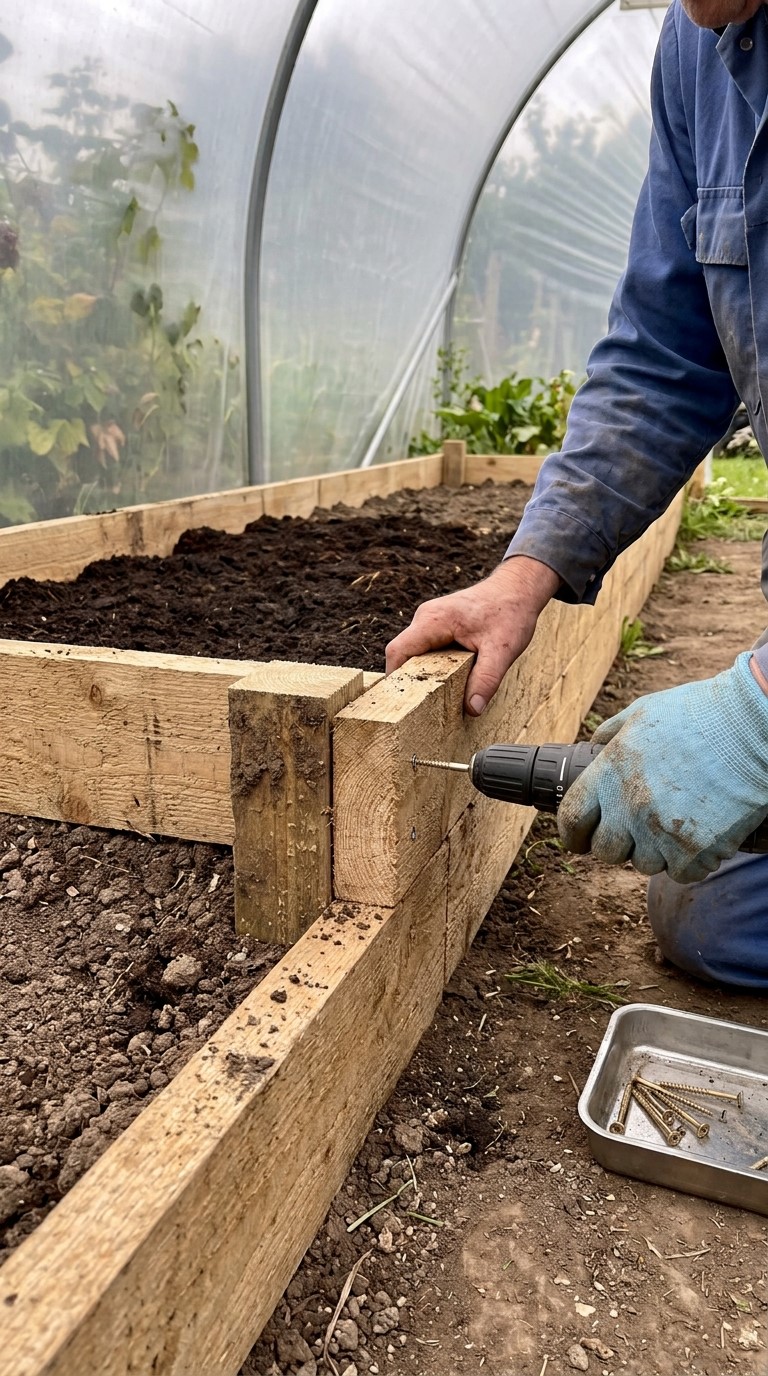
You don’t need deep timber boxes for these layouts. The beds sit over existing garden soil, with optional edging to hold compost in place. Remove persistent weeds and deal with drainage problems before fitting out the interior. Where grass or annual weeds remain, the PDF uses overlapping plain cardboard with tape and staples removed, wetted before compost goes on top. Existing clean beds can receive compost without that cardboard layer. Keep the soil beneath open for roots and drainage.
The worked plans use boards 25mm thick and 150mm high, with a 100mm layer of mature compost above the existing soil. That leaves 50mm below the rim. Stakes support corners, joints and long runs, with spacing and fixing details in the PDF. Set stake tops flush with the boards and check that no screw tip can touch the polythene. The compost layer sits above the plants’ existing rooting ground, so there’s no need to fill a deep box in these examples. Choose sound timber suitable for garden beds and avoid oily, creosote-coated or unknown treated salvage. If the tunnel stands on paving, these shallow beds need a different approach, using deeper containers with drainage suited to the surface.
Finish Your Polytunnel Path Layout With Woodchip
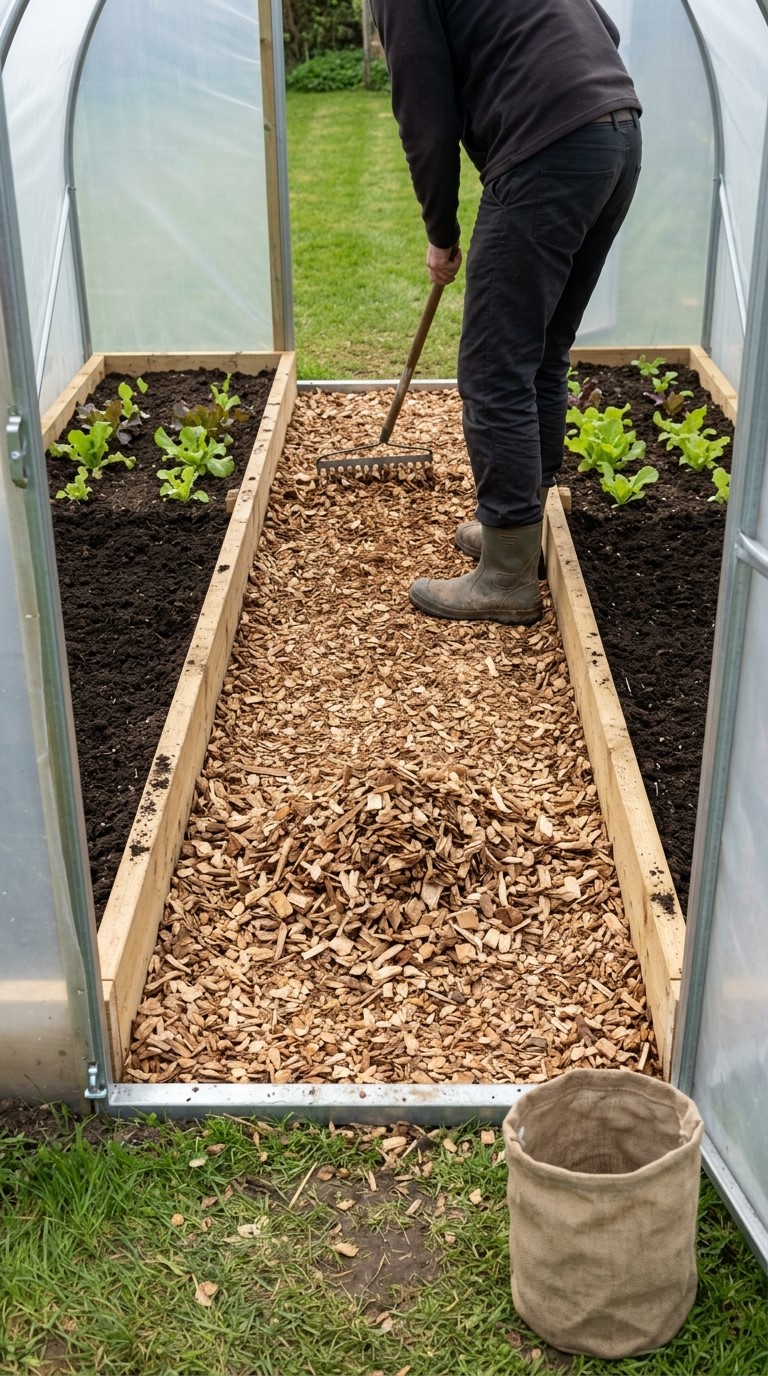
A 50mm layer of woodchip forms the proposed path surface. Spread it over cleared ground, keeping the threshold level and rail clamps and anchors exposed. Allow for the front bay and other non-bed areas when estimating quantities. For the 2.4 × 3.6m small plan, the PDF allows 350 litres of compost and 285 litres of woodchip, including 10% extra. Use its materials table for your chosen layout, then recalculate if you’ve changed bed sizes or material depths. As the paths settle underfoot, top up hollows and sweep spilled compost back into the beds. A quick tidy after potting keeps loose soil out of the walking route and leaves the entrance ready for your next visit.
Arrange Your Internal Polytunnel Layout Around Crops and Watering
Match Polytunnel Planting Areas to the Available Height
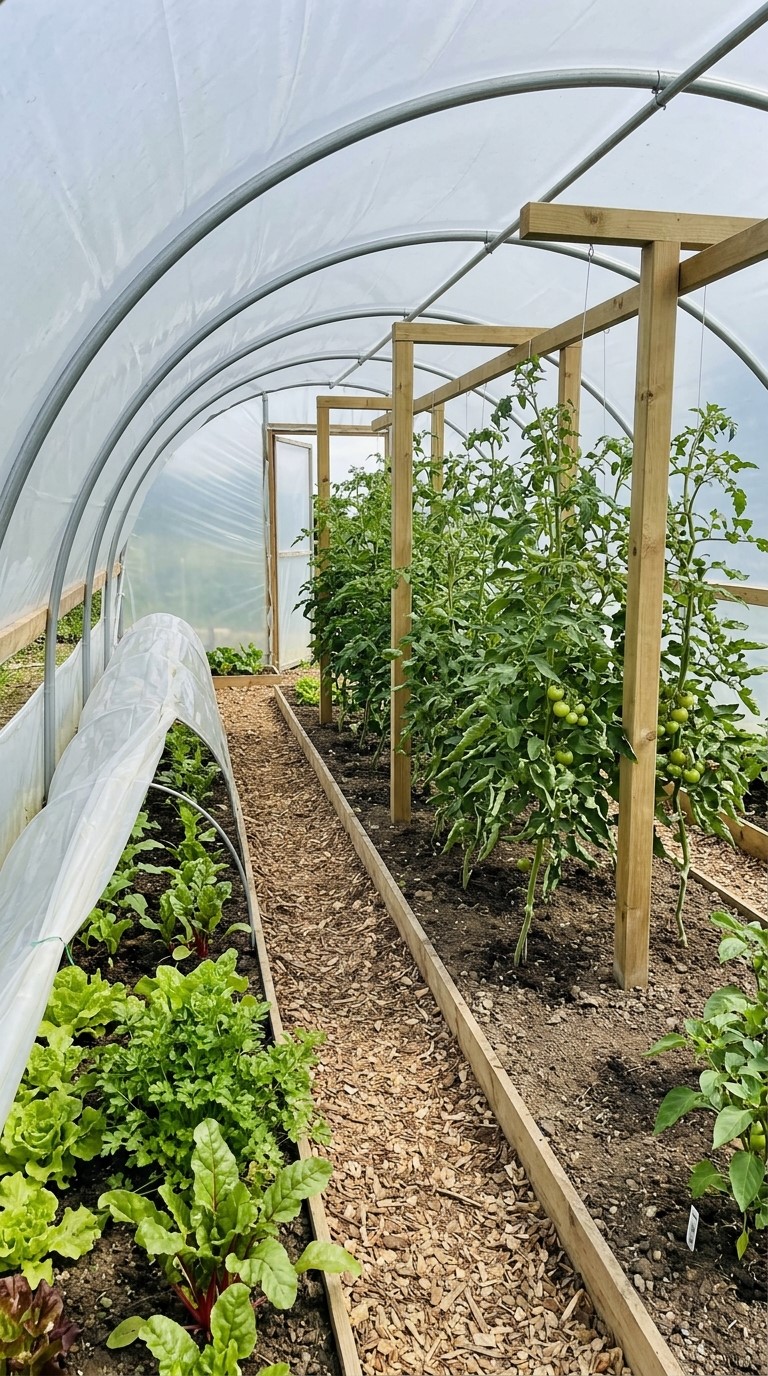
Low crops such as salads, spinach and suitable herbs make sense in narrow side beds where the cover curves down. The centre bed in a larger tunnel gives upright crops more headroom, provided their supports fit within the planting area. Allow for mature leaves and stems when choosing spacing. A young plant can look lost in a bed, then occupy the path a few weeks later. Keep frequently picked crops near the front where the growing conditions suit them.
Place taller crops so their shade falls away from shorter ones where possible. Keep leaves clear of the cover and ventilation openings, and use independent supports secured in suitable ground. Attach crop loads to hoops only where the tunnel maker provides approved fittings. Crop choice still needs to suit your season and local conditions. A covered bed can extend your growing options, but year-round harvests will depend on light, temperature and planting dates as well as floor space.
Keep Polytunnel Watering Access Close to the Beds
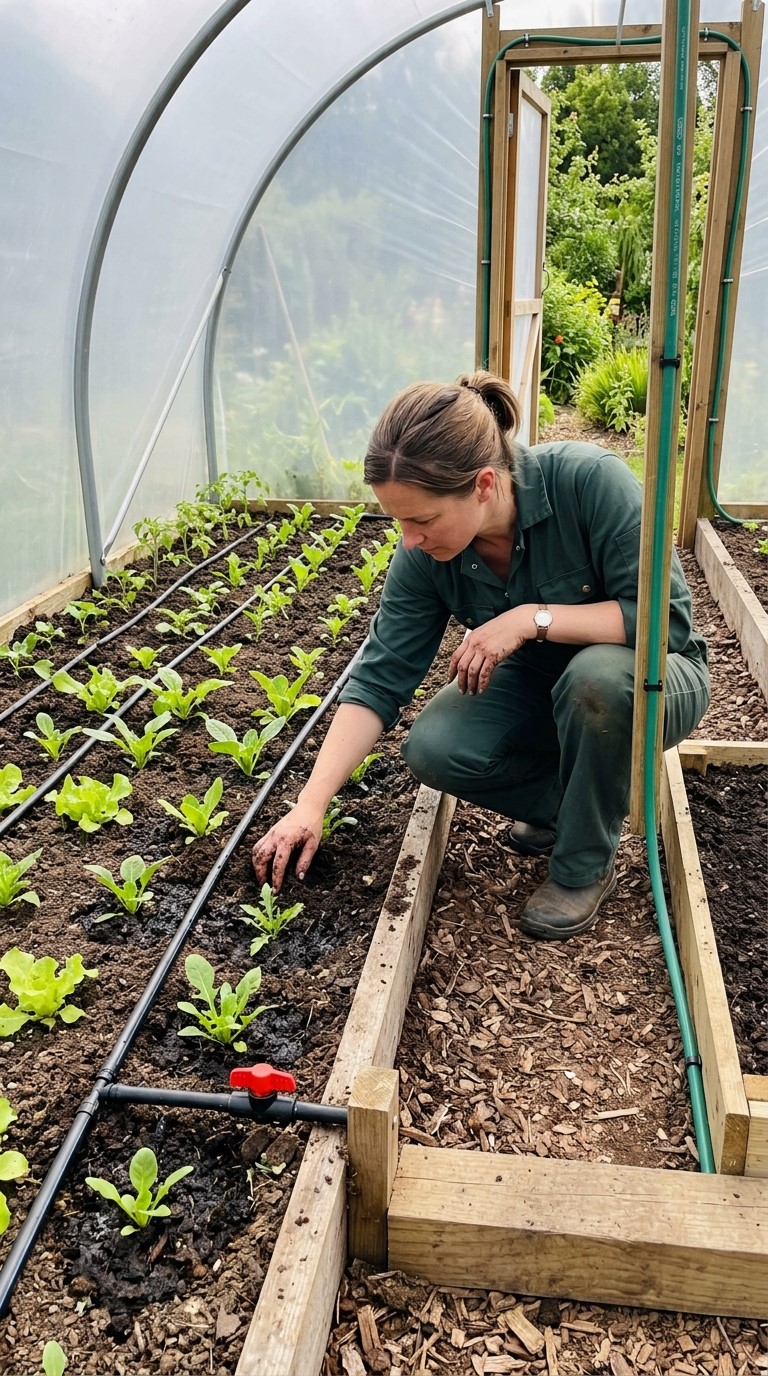
A watering can may be enough for a small tunnel, especially when every bed is a short walk from the door. Bring a hose supply in near the entrance if you need one, keeping watering lines inside the beds and connections within reach. Any line crossing the threshold needs a suitable flush cover or protected crossing. Follow the irrigation equipment’s instructions for filters, pressure control and backflow protection. Check moisture below the soil surface before watering, and keep doors and vents accessible as plants grow.
Adjust Your Polytunnel Layout Plans to Fit Your Own Tunnel
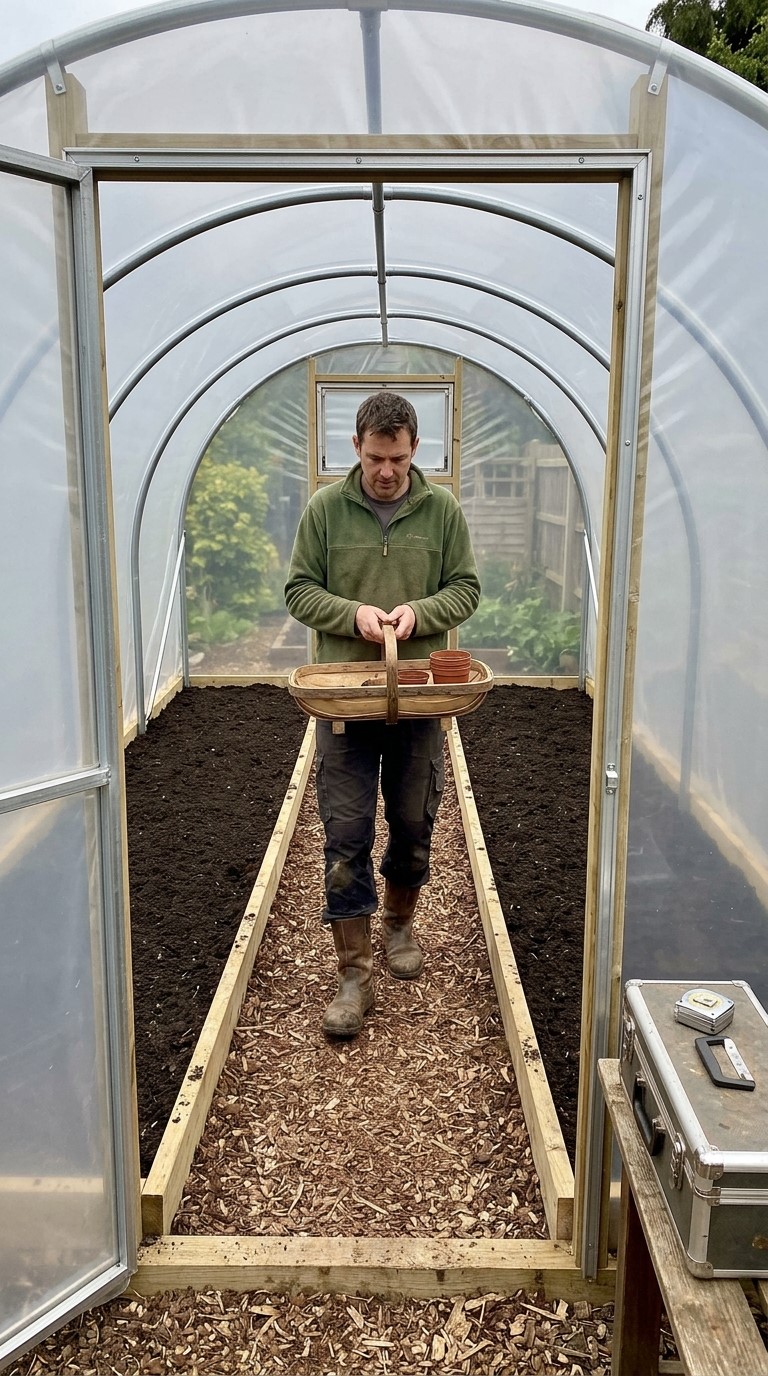
The bed dimensions in the PDF are outside footprints, including the optional timber edging. For two beds and one path, subtract both side clearances and both bed widths from your measured interior width. What’s left is the path. In a 2.3m-wide tunnel, two 600mm beds and two 150mm side gaps leave an 800mm central route. This adjustment preserves walking space by narrowing the beds. With three beds, subtract all bed widths and side gaps, then divide the remaining width between the two paths.
Length changes follow the same practical approach. Subtract the entrance area and rear allowance from the clear interior length to find the side-bed length. In the large plans, allow another 600mm at the front of the centre strip for the bench pad. An extra cross-path halfway along a long tunnel also uses growing length. Mark it across the beds, deduct its width from each planting run and recalculate timber and compost. These are walking layouts, so anyone using a mobility aid will need separate checks for door width, turning room and bed height. The comfortable arrangement is the one you can use without awkward reaching or squeezing.
Put Your Polytunnel Layout Ideas to Work
Start with string and a tape measure, then live with the marked layout for a few ordinary gardening jobs. Carry water through it, open every door and see where you’d stand to fill a pot. Move the strings while changes are easy. Once the beds are planted, check again as leaves spread and temporary pots accumulate. The accompanying polytunnel layout plans give you the measurements to begin, but your daily routine will show whether the space works. Leave yourself room to enjoy tending what’s growing.
