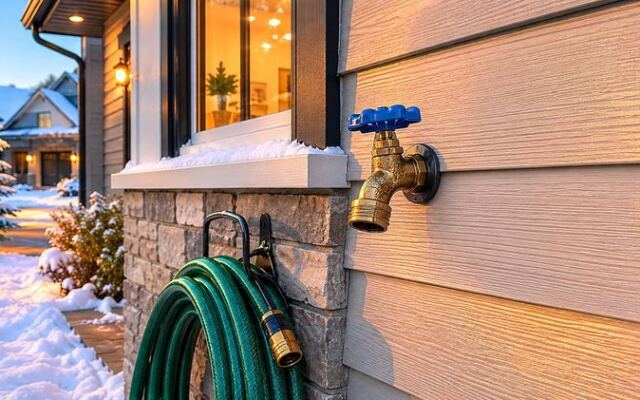
A small chunk of ice in the wrong spot can crack a faucet and leave you with a surprise leak later. Many Kentucky homeowners think a frost-free faucet takes care of itself, but a forgotten hose can undo that protection.
A few quick steps before the cold arrives can lower the risk a lot. Here is a simple checklist you can finish in an afternoon.
A hard freeze does not guarantee a burst—but trapped water can cause one
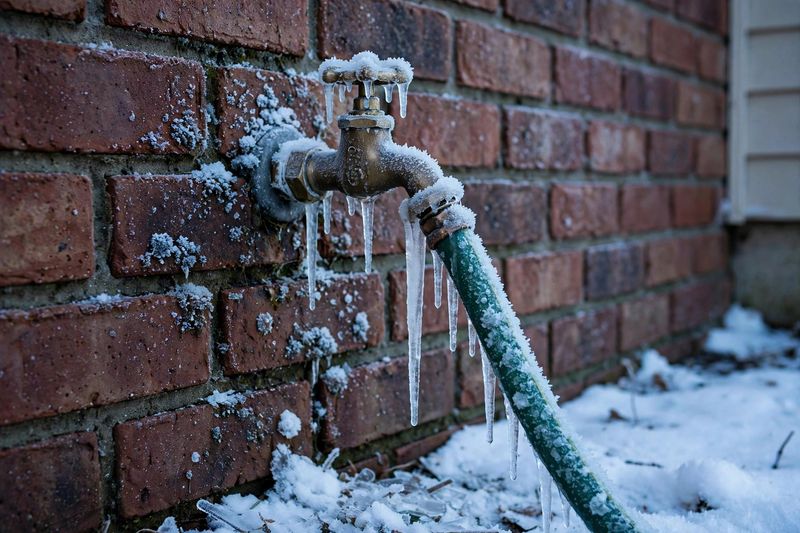
Cold weather does not automatically split a pipe, and nothing says the damage will happen inside a wall. The real risk is trapped water.
When water sits in a faucet and freezes, it expands and can crack the metal around it.
A frost-free faucet is built to avoid that problem. Its long barrel puts the shutoff valve deeper inside the warmer part of the building.
When you turn it off, the water left in the barrel is supposed to run out the outlet, as the manufacturer of a standard frost-proof faucet explains.
That design only works when the water can actually leave. A hose left on the spigot can hold water inside the barrel.
Another blockage, or a faucet installed without a slight downward tilt toward the outlet, can do the same thing. In those cases, a frost-free faucet can freeze and burst like any other.
You may not notice a split right away. The ice can act like a plug, so the leak may only show up after a thaw, when water starts flowing again.
Timing matters too. The National Weather Service defines a hard freeze as 28°F or lower for an extended period, but water can freeze at 32°F.
Do your prep before freezing weather shows up in the forecast, not after.
Remove every hose and attachment first
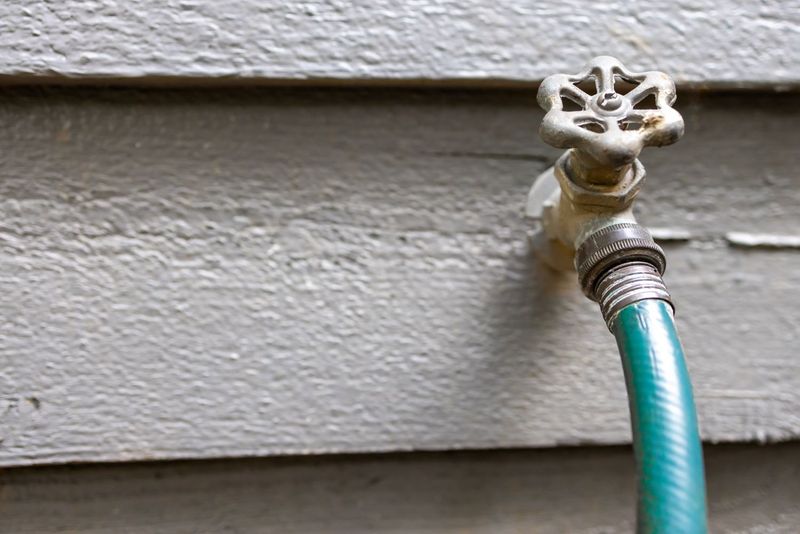
Start with the hose. Whatever type of faucet you have, this is the first hands-on job.
Unscrew every garden hose, splitter, sprayer, and timer from your outdoor spigots.
Next, drain each hose by lifting one end and walking the water out, then coil it and store it in a garage or shed. The American Red Cross also recommends removing, draining, and storing hoses before cold weather.
Look closely at what else is screwed onto the spout. Hose-end devices, vacuum breakers, and other add-ons can block water from draining.
If you are unsure whether a part should stay or go, check the faucet maker’s instructions.
A walk around the whole house helps here. Faucets on the back porch, near the garage, and by the shed are easy to forget.
Pulling the hose is necessary, but it may not finish the job. What comes next depends on whether your faucet is frost-free or conventional, so keep reading before you call it done.
Let a frost-free faucet drain freely
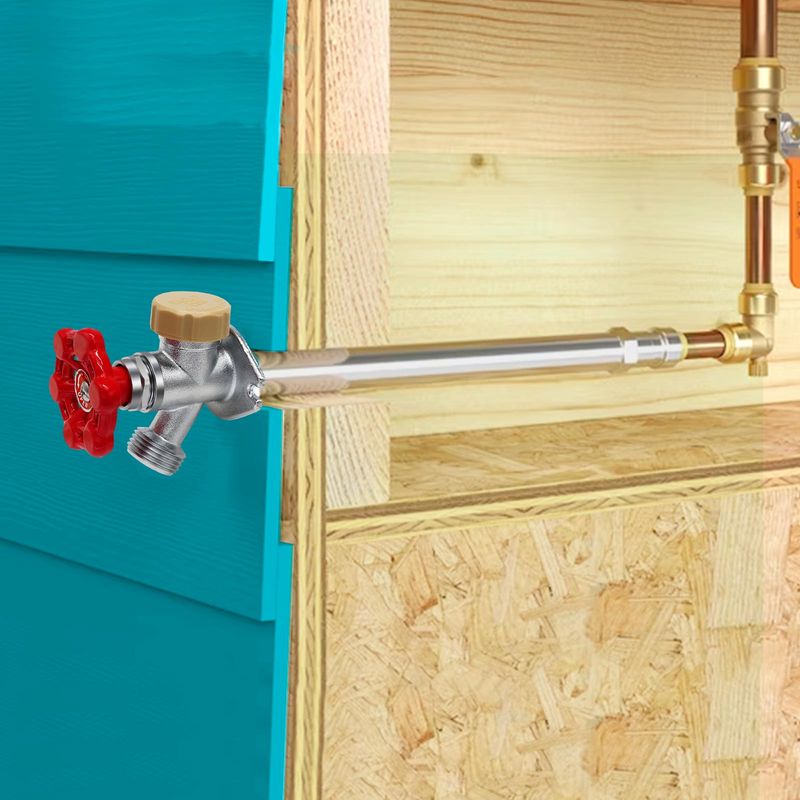
Frost-free faucets are usually the easiest to prepare. After you remove the hose and any attachments, turn the faucet off the normal way.
Then give the barrel a moment to empty.
You can often spot a frost-free model by its long body that reaches back into the wall. A short, plain spout with no long stem is more likely a conventional faucet, which needs different steps.
If you cannot tell, look for the manufacturer’s name or model on the handle or body.
Draining depends on two things. The path has to be clear, and the faucet has to be installed with a slight downward pitch toward the outlet.
Woodford’s guide ties the faucet’s protection to both.
Watch for a few clues. If water keeps dripping for a long time, or you see the spout tilting upward, the faucet may not be draining properly.
That can mean an obstruction or an installation problem.
Do not try to invent a repair. Check the instructions for your fixture, or call a qualified plumber to look at the pitch and the drain path before cold weather arrives.
Close and drain a conventional faucet from indoors
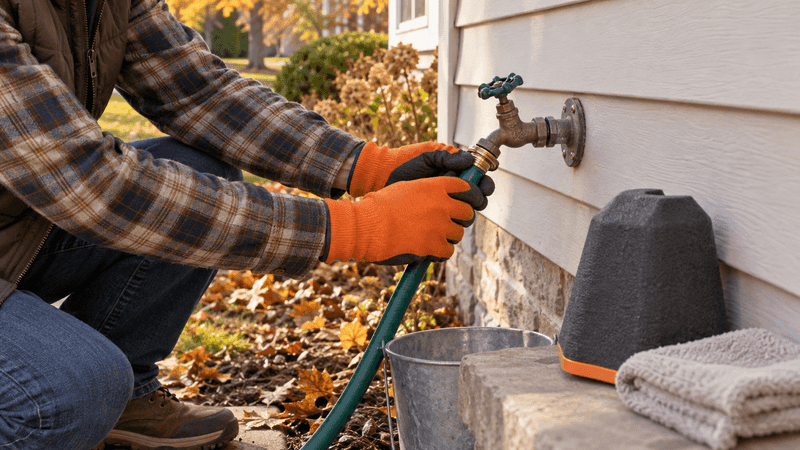
A conventional hose bib works differently. It does not have the long drainage barrel of a frost-free model, so the water in its supply line can sit exposed to the cold.
Many homes have a separate indoor shutoff valve for this faucet, often found in a basement or crawl space near the wall where the spigot sits.
If yours has one, follow this order. First, close the indoor supply valve.
Second, disconnect and drain the hose. Third, open the outdoor faucet so the water left in the line can run out.
Some indoor valves have a small bleeder cap or side valve. If yours does, use it the way the instructions describe, and keep a bucket handy for the water that comes out.
The American Red Cross suggests leaving the outside faucet open after draining. That advice fits this shutoff-and-drain method.
It is not a rule for every faucet, since the right handle position depends on the faucet design and the procedure you used.
If your plumbing has no indoor shutoff, or you cannot tell what the valve controls, read the fixture instructions or ask a plumber.
Insulate plumbing that remains exposed
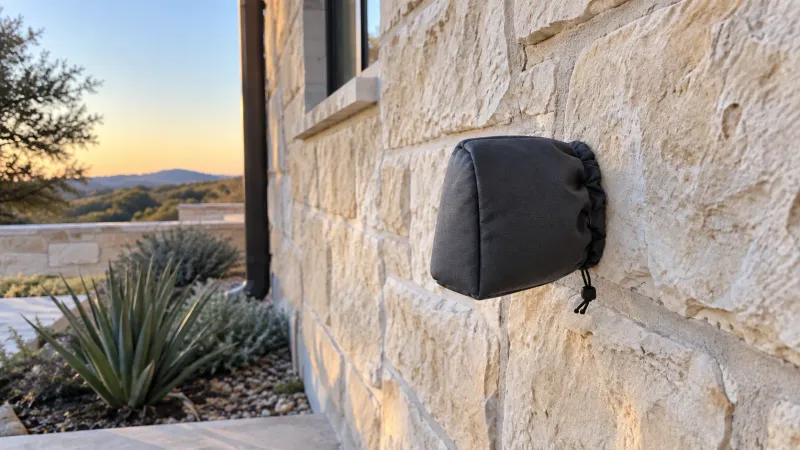
Some plumbing stays out in the open even after you drain it. A purpose-made faucet cover or foam pipe insulation can add a layer of protection to those spots.
Kentucky’s Department of Insurance also suggests draining outside hoses and insulating exposed faucets and pipes.
Think of insulation as backup, not the main plan. A cover will not help if a hose is still attached and holding water.
It also will not replace closing and draining a conventional line when that is what your faucet needs.
Choose a cover that fits snugly against the wall so cold air cannot sneak behind it. For pipes, look in places like crawl spaces, garages, and unheated utility rooms.
Foam sleeves are sized to the pipe, so measure before you buy.
Keep the job small. This step is about the faucet and the pipes that lead to it, not a full winterizing of the whole house.
Know what to do if a pipe freezes or leaks
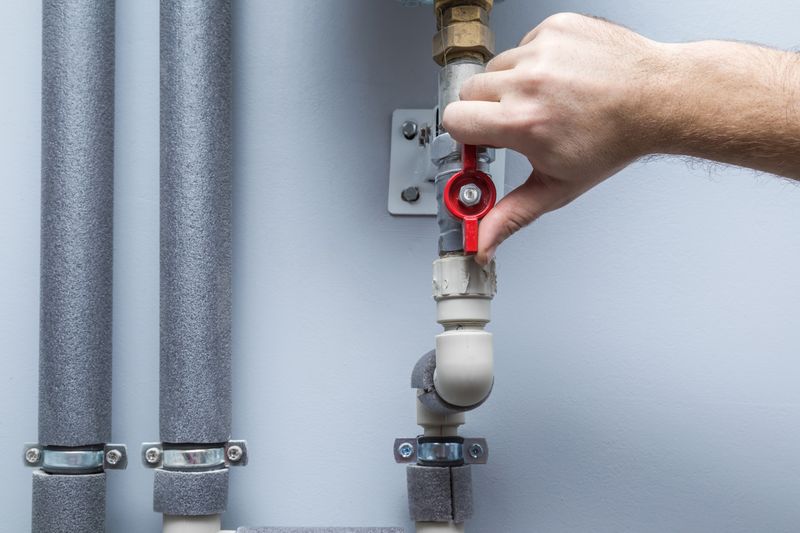
Find your main water shutoff now, while the weather is calm. If a pipe leaks or bursts, closing it can limit the damage, as Red Cross guidance points out.
Make sure everyone in the house knows where it is and how it turns.
A split can hide for a while. Ice may plug the crack, so nothing drips until the thaw, when water begins flowing again, which is a point Woodford’s frost-proof faucet guide raises.
After a freeze, check around the faucet inside and out, and look for wet spots, dripping, or a drop in water pressure. A quiet outdoor faucet does not prove the pipe is fine.
If a pipe does freeze, never use a torch or any open flame to thaw it. The Red Cross and Kentucky’s Energy and Environment Cabinet both warn against it.
If you are unsure what is wrong, call a licensed plumber rather than guessing.
Complete the right checklist before freezing weather
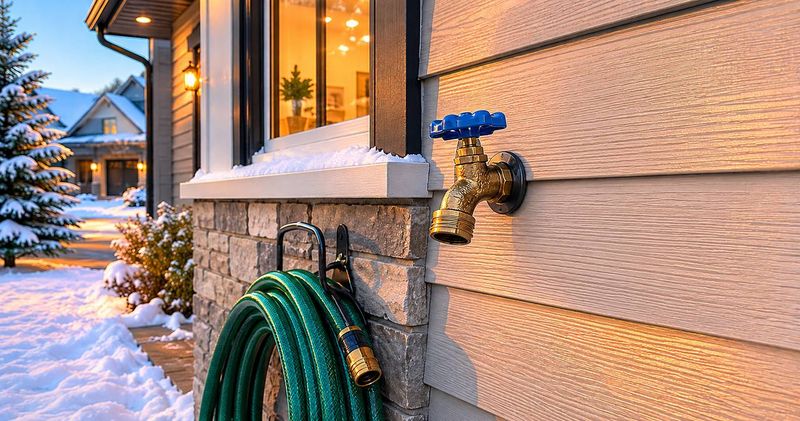
Walk the outside of your house and identify each faucet as frost-free or conventional. Remove every hose and attachment, then finish the matching drain steps and cover anything still exposed.
The Red Cross frozen pipe guidance is a good place to double-check your steps.
Finish before the forecast turns cold. A faucet that is ready costs you ten minutes, and a forgotten hose can cost you a repair.
Share this story