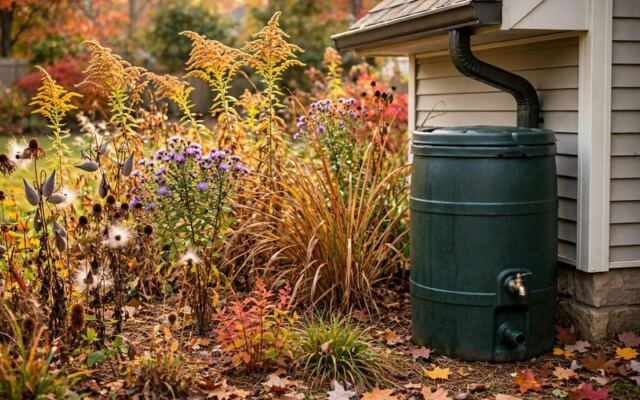
A rain barrel does a great job all summer, catching free water for your tomatoes and flower beds. Then the weather turns, and that same barrel, its spigot, and its downspout diverter can run into trouble when water freezes inside them.
A little prep in the fall can save you a cracked barrel and a soggy foundation. Here is how Delaware gardeners can get the whole system ready before cold weather shows up.
Why a Full Barrel Needs Winterizing
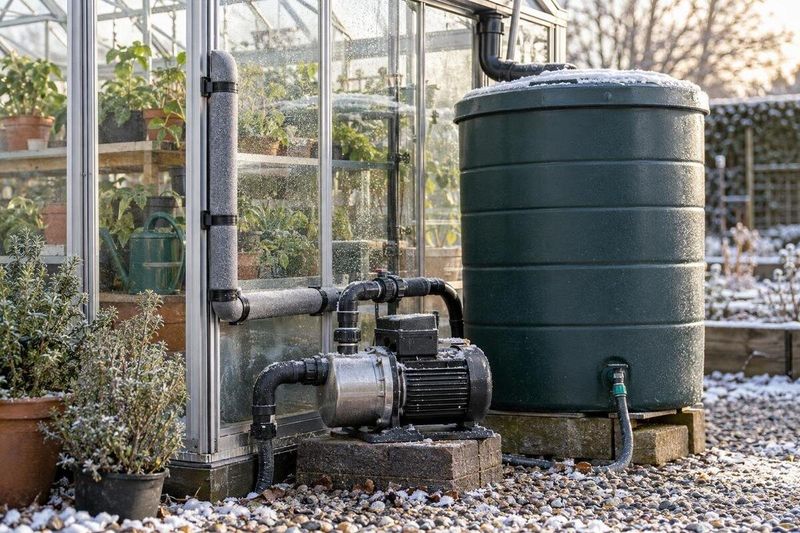
Water expands when it turns to ice, and a closed container has nowhere for that extra volume to go. That pressure is why Delaware DNREC rainwater harvesting guidance advises draining and disconnecting rain barrels to prevent ice damage.
It is a sensible habit for anyone who collects roof water in a barrel.
The city of Newark gives similar advice in its rain barrel winterizing tips. It says to leave no water in the barrel because it may freeze and crack it.
Notice the wording: may, not will.
That difference matters. Freezing is a risk, not a promise that every full barrel will split.
Neither source gives a failure rate, and neither says damage tends to show up in any particular month. Barrel material, wall thickness, how full it is, and how long the cold lasts can all play a part, and none of that is easy to judge from your back porch.
So the smart move is simple prevention. Rather than gambling on how your barrel will handle a cold snap, you take away the water that could cause trouble.
The rest of this guide walks through that process one piece at a time: timing, draining, fittings, downspout rerouting, and storage.
Think of it as a one-afternoon chore that protects a tool you will want again next spring. A barrel that comes through winter intact is ready to fill with the first good April rain.
When to Winterize
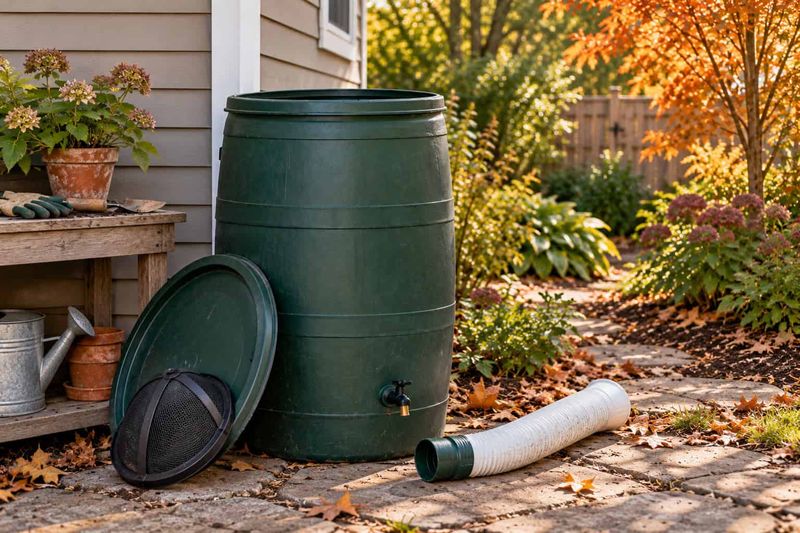
Plan to finish before freezing weather arrives, not after it settles in. Waiting for January or for a deep cold spell leaves you working with frozen fittings and ice in the barrel.
A mild fall weekend is the better time to get it done.
Weather terms can help you read the forecast. The National Weather Service defines a freeze as 32 degrees F or below, and a hard freeze as 28 degrees F or lower for an extended period.
Those are descriptions of weather, not predictions of when a barrel will be harmed, so they are not a safe-until line.
Rutgers Cooperative Extension suggests draining before the first hard freeze, and its winterizing page for rain barrels is a handy reference for the same reason. Treat that as the latest reasonable date, and aim earlier.
Some programs use an even more cautious prompt. The Milwaukee Metropolitan Sewerage District, in its rain barrel FAQ, uses 40 degrees F as a winterizing trigger.
That is a conservative guideline from some municipalities, not a universal rule for every barrel.
A practical approach is to pick a date in late autumn, then move it up if the extended forecast shows lows nearing freezing.
Empty and Clean the Barrel
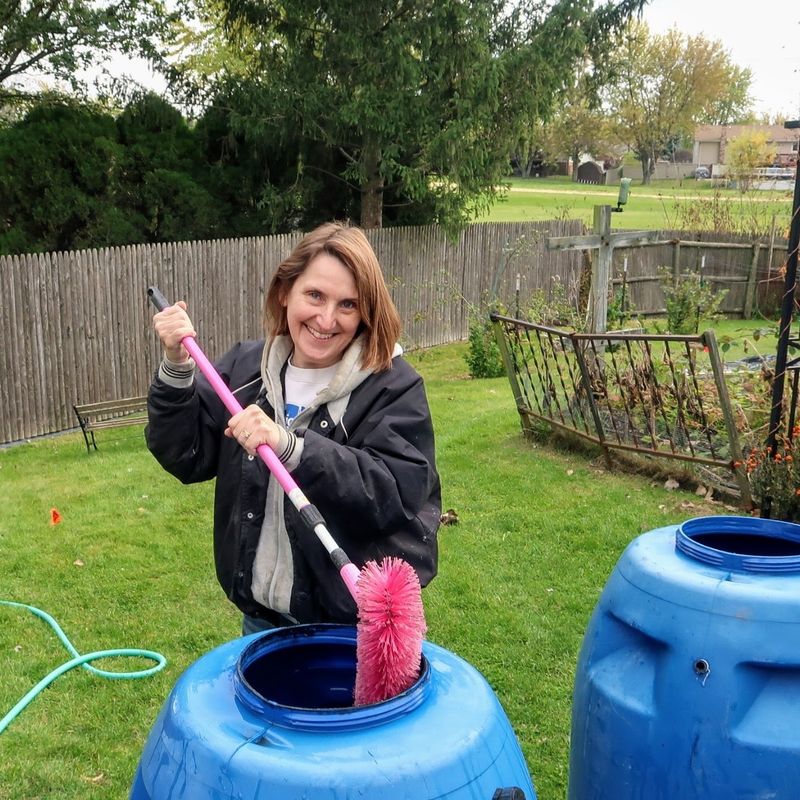
Start with the barrel itself. Open the spigot or tip the barrel and let every bit of water out, and use that water on shrubs, trees, or beds that can use a last drink before winter.
DNREC recommends draining the barrel as part of getting it ready for cold weather.
A barrel with no water in it has nothing to freeze, which is the whole point. Tilt it slightly toward the outlet at the end so the low corners are not holding a puddle.
While it is empty, give it a quick cleaning. Newark’s winterizing guidance includes rinsing the inside and clearing out sediment.
Scoop out leaves, shingle grit, and the muddy layer that settles on the bottom. A soft brush and a few rinses with a garden hose usually do the job without harsh products.
Check the screen on top too, and pull out any twigs caught there. Doing this now means you will not open the barrel in spring to a smelly surprise.
Finally, let the barrel dry out in open air for a while. Dry walls are easier to inspect, and you can look for hairline cracks or worn spots while you are at it.
Handle the Spigot, Hoses, and Diverter Separately
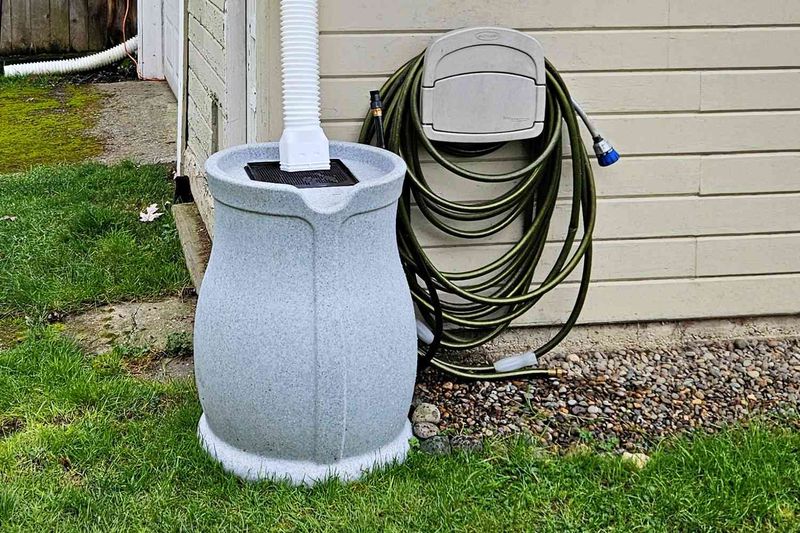
A drained barrel does not mean everything attached to it is safe. The barrel, spigot, hoses, and diverter are separate parts, and each may need its own handling.
Begin by disconnecting the barrel from the downspout and the garden hose. Drain the hose, coil it, and store it out of the weather.
Next, look at the diverter. Some models have a winter bypass setting that sends water down the downspout instead.
Others are meant to be removed, with a cap or plug fitted into the downspout opening.
Because designs vary, follow the manufacturer’s instructions for your model. Newark’s winterizing tips, Rutgers installation guidance, and the Milwaukee rain barrel FAQ all describe the bypass or remove-and-cap approaches.
The spigot works the same way. The Rutgers winterizing page and Newark both mention leaving it open so water can escape.
Some product instructions instead say to remove the spigot, so check yours before choosing.
One more distinction: this is the barrel’s own spigot, not the hose bib on your house. Winterizing that outdoor faucet is a separate plumbing job with its own steps.
Keep Roof Runoff Moving Away from the House

With the barrel out of the picture, your roof still sheds water every time it rains or snows melts. Leave the downspout capped or open to nowhere, and water can pool beside the foundation or spill across a walkway.
Rerouting it is part of the job.
Newark suggests replacing the barrel with a temporary downspout extension. A simple flexible or snap-on extension works well, and Rutgers rain barrel guidance supports restoring the normal downspout flow once the barrel is disconnected.
Where the water lands matters as much as the extension itself. DNREC points to a receiving area with good infiltration, such as a lawn or planting bed where the ground can absorb it.
Walk the route before the first storm. Make sure the slope leads away from the house, not back toward it.
Keep the outlet off sidewalks, driveways, and other pavement, where runoff can turn slick when temperatures drop. Also avoid aiming it at a neighbor’s property.
If the ground near the foundation is flat or sunken, add a longer extension or a small splash block. A few extra feet can make a real difference.
Store the Empty Barrel or Secure It Outdoors
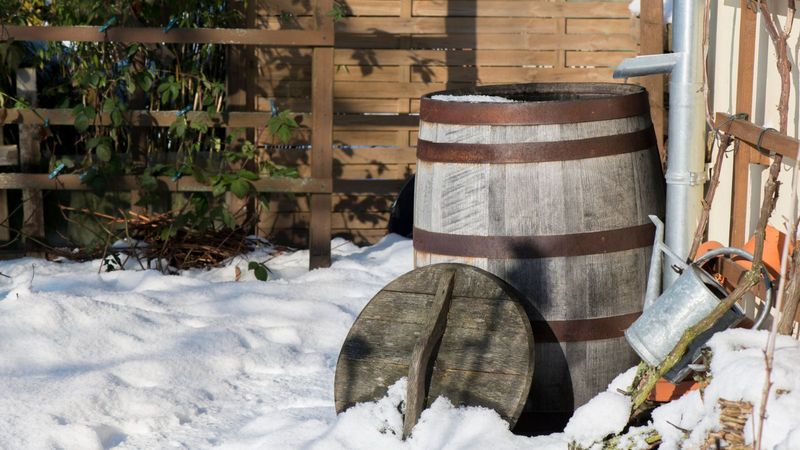
Indoor storage is the easiest answer. A garage, basement, or shed keeps the empty barrel out of rain, snow, and wind, and it protects the plastic from months of weather.
Rutgers and Newark both favor this when you have the room.
If the barrel must stay outside, keep rain and snow from collecting in it. As the Newark winterizing tips and Rutgers guidance suggest, cover the opening or turn the barrel upside down.
Wind is the next concern. A light, empty barrel can tip over or roll across the yard, possibly into a fence or a car.
Strap it to a post or wall, or weigh it down so it stays put.
Place it on level ground away from walkways. If you invert it, make sure the spigot hole is open and the barrel sits stable on its rim.
Rutgers’ installation guidance is a good reference for how the barrel sits when it is back in use. Come spring, you can reconnect it on the same stand.
A Pre-Freeze Winterizing Checklist
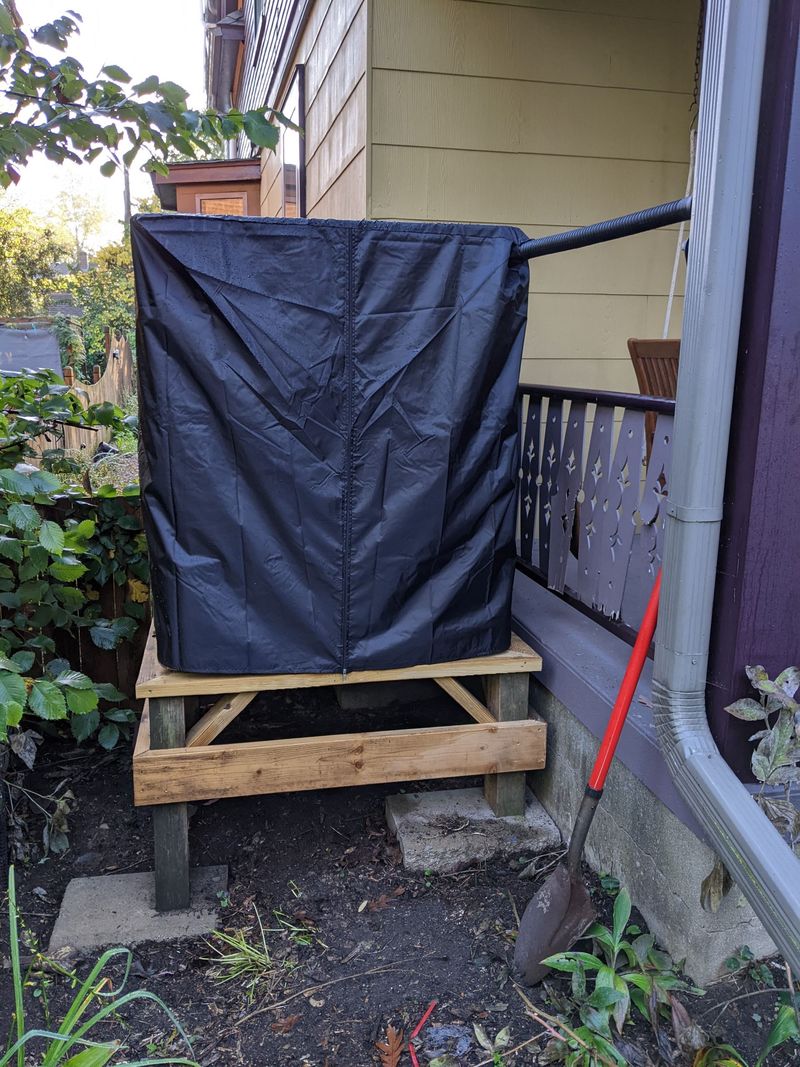
Before the cold arrives, run through this list: empty and rinse the barrel, disconnect the hose and drain it, follow your diverter and spigot instructions, attach a downspout extension that carries water away from the house, and store or strap down the barrel. Guidance from DNREC and the city of Newark backs these steps as prevention, not as a forecast that damage always happens.
Spring will thank you for an afternoon of fall effort.
Share this story