The Nectar Relay: A Fresh Take on Beginner Pollinator Border Ideas
Saturday morning. Trowel in hand. Dirt packed under your fingernails. You drop twelve perennials into a straight row, water them until the soil turns dark, and step back to wait. Three weeks later, everything opens at once. Bees swarm the patch for four days. Then the petals brown. The stems droop. The border goes quiet. The wildlife moves down the street. This happens because most new gardeners plant for a single peak instead of a shifting schedule. You bought a fireworks display when you needed a steady campfire.
The fix requires a schedule change. Treat your border like a relay race. Each plant carries the nectar baton for a few weeks, then hands it to the next. You get constant activity. You get less maintenance. You get a patch that actually feeds local species instead of looking pretty for a weekend.
Easy Pollinator Garden Layout for Tight Spaces and New Hands
Complex design rules belong in textbooks. Your yard needs straight lines and shallow curves. Sweeping cottage garden arcs look wonderful on social media and terrible when you try to mow around them. Stick to clean edges.
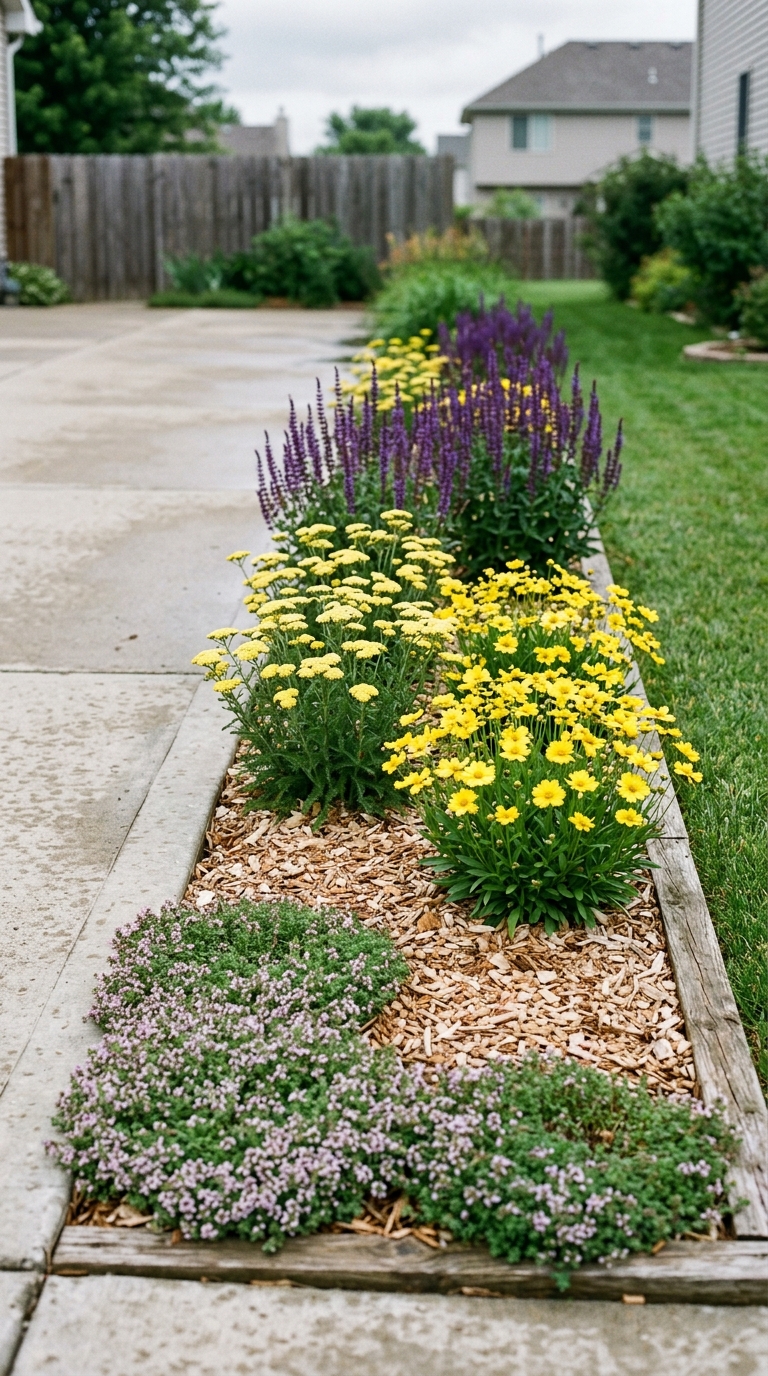
A four foot wide strip along a fence or driveway gives you enough room for three planting tiers without swallowing your weekend. Group your starts in odd numbers. Clusters of three or five create visible landing pads for bees and butterflies. Insects prefer bulk targets. They waste less energy hopping between scattered singles. Place taller stems at the back, mid-height plants in the center, and low growers at the front. T
his simple tiering prevents shading and keeps every flower visible from your patio. Leave eighteen inches between clusters. Airflow cuts down on mildew and gives you room to kneel without crushing tender stems. You do not need a landscape degree. You need a tape measure and a willingness to keep things simple.
Small Space Pollinator Border Placement Rules
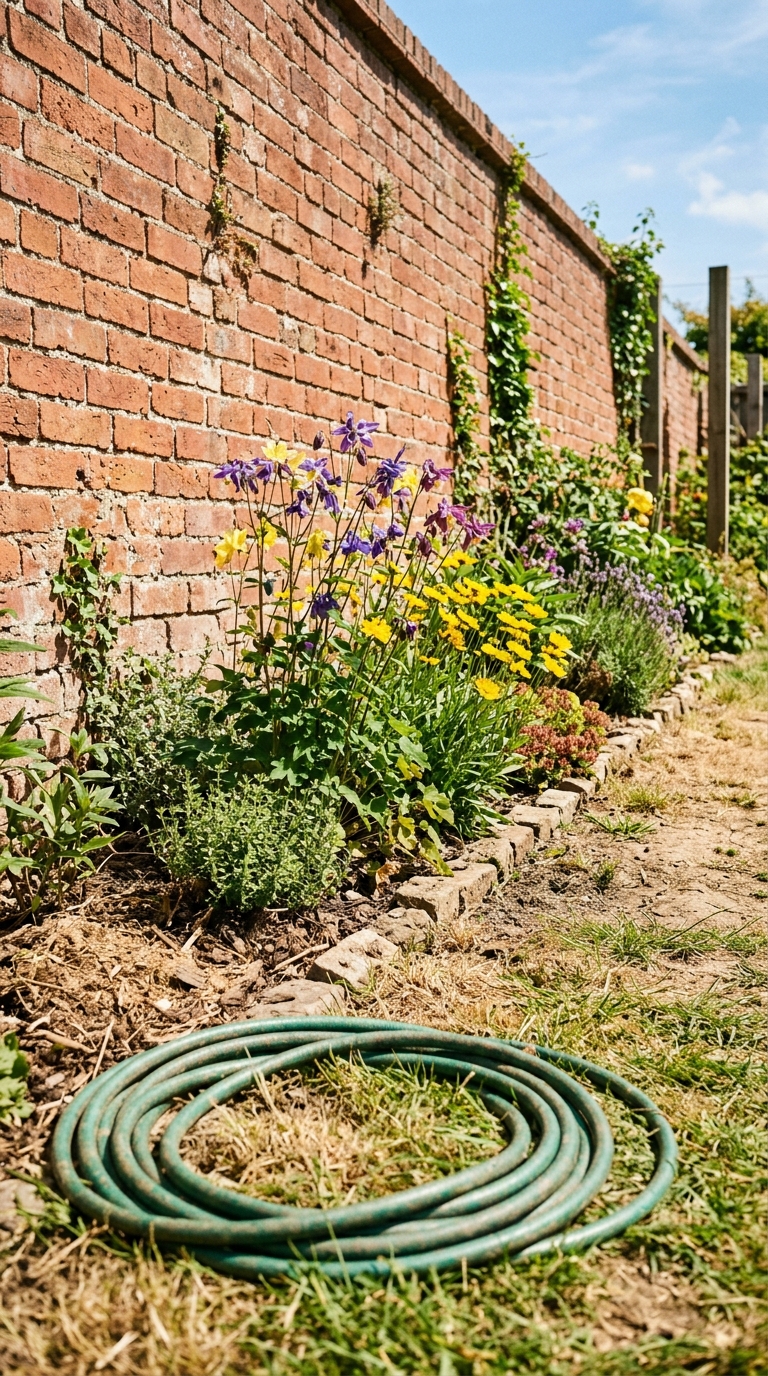
Sunlight dictates everything. Track your yard for three full days before digging. Most nectar plants demand six hours of direct light. Partial shade works for a few species, but full sun guarantees heavy bloom counts. Keep the border within reach of a hose. Dragging heavy watering cans across the lawn kills enthusiasm by week two. Use a house wall or wooden fence as a windbreak.
Pollinators avoid exposed, breezy strips. They want calm air where they can land without fighting gusts. Check your soil drainage after a hard rain. Water should sink within an hour. Puddles mean compacted clay. Break it up with a broadfork or choose a raised bed instead. Placement beats perfection every time. A sunny, sheltered spot with decent drainage sets you up for success before you even buy a single plant.
Step by Step Pollinator Planting for Clean Lines
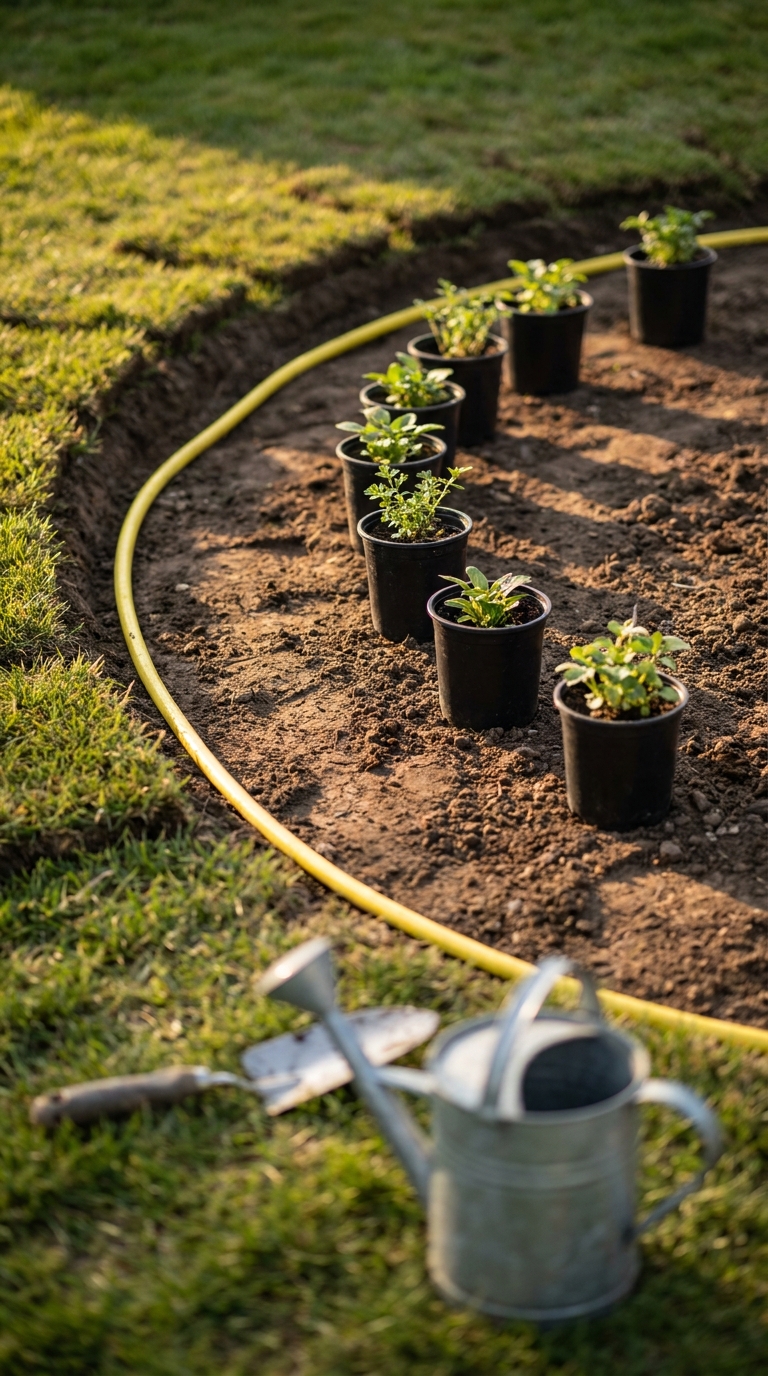
Mark the edge with a garden hose. Step back. Adjust the curve until the shape matches your mowing path. Cut a shallow trench along the hose line with a flat spade. Flip the sod inward. You now have a clean boundary that keeps grass from invading.
Set your nursery pots on the bare soil before digging. Move them around until the spacing looks even. Dig only after the arrangement sits right. This prevents crooked rows and crowded roots. Loosen the root balls gently. Tease apart any circling roots that grew trapped in the plastic pot. Drop each plant in the hole. Backfill with native soil. Press down firmly with your palms to remove air pockets. Water immediately. The soil should settle around the crown. Mulch comes last. Rushing this stage guarantees gaps and weak stems later. Take your time with the layout. The dirt will wait.
Low Maintenance Wildlife Border Choices That Survive Neglect
New gardeners often buy high-maintenance hybrids that demand daily watering and constant deadheading. Skip them. Those plants belong in competition gardens, not real yards. Choose species that thrive on benign neglect. Tough roots and waxy leaves handle missed waterings and summer heat without drama.
Mix early, mid, and late season bloomers. This prevents the dreaded July gap where the border turns brown and bees disappear. Mulch with shredded leaves or pine needles. This holds moisture, suppresses weeds, and breaks down into free compost. You will spend less time babysitting and more time watching butterflies. Resilience beats perfection. Your border should work for you, not the other way around. Let the plants prove themselves before you intervene. Most failures come from overcare, not undercare.
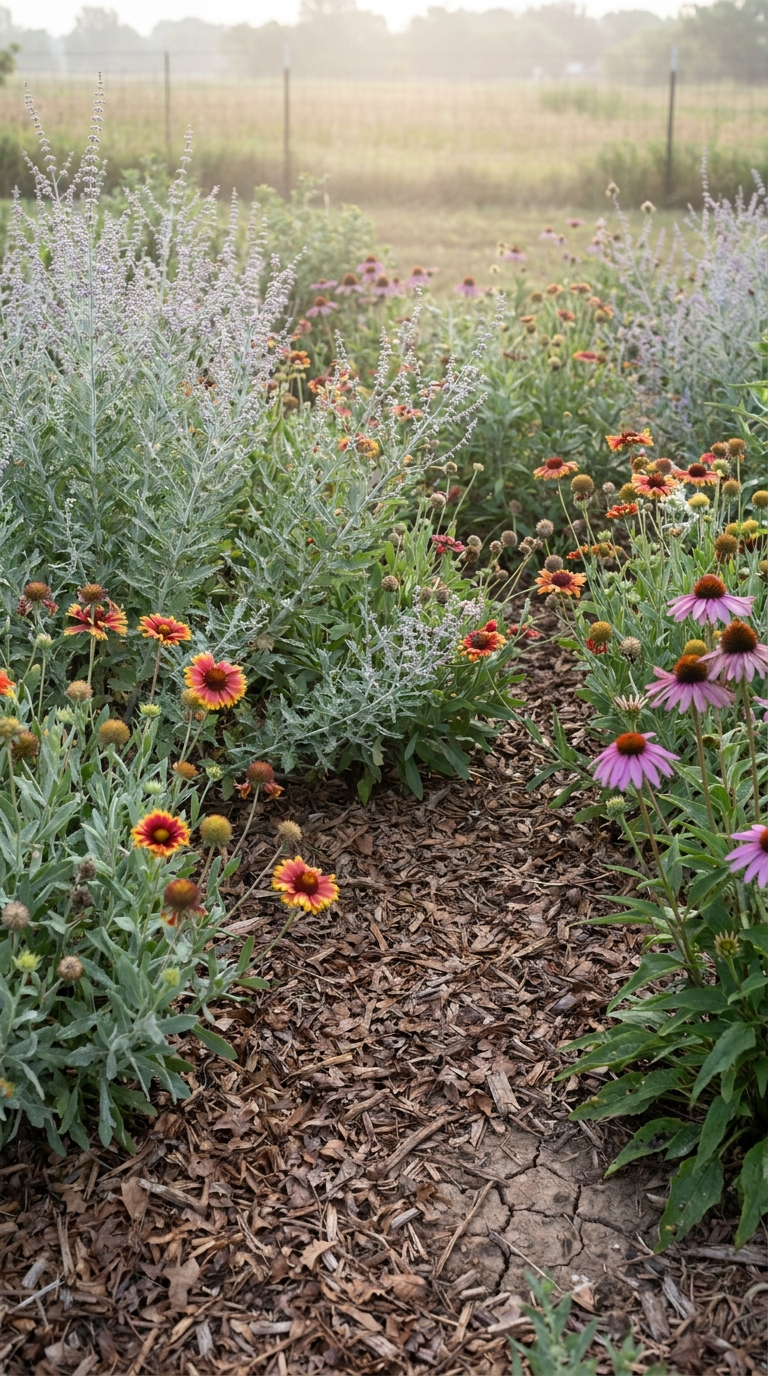
Drought Tolerant Pollinator Plants for Forgetful Waterers
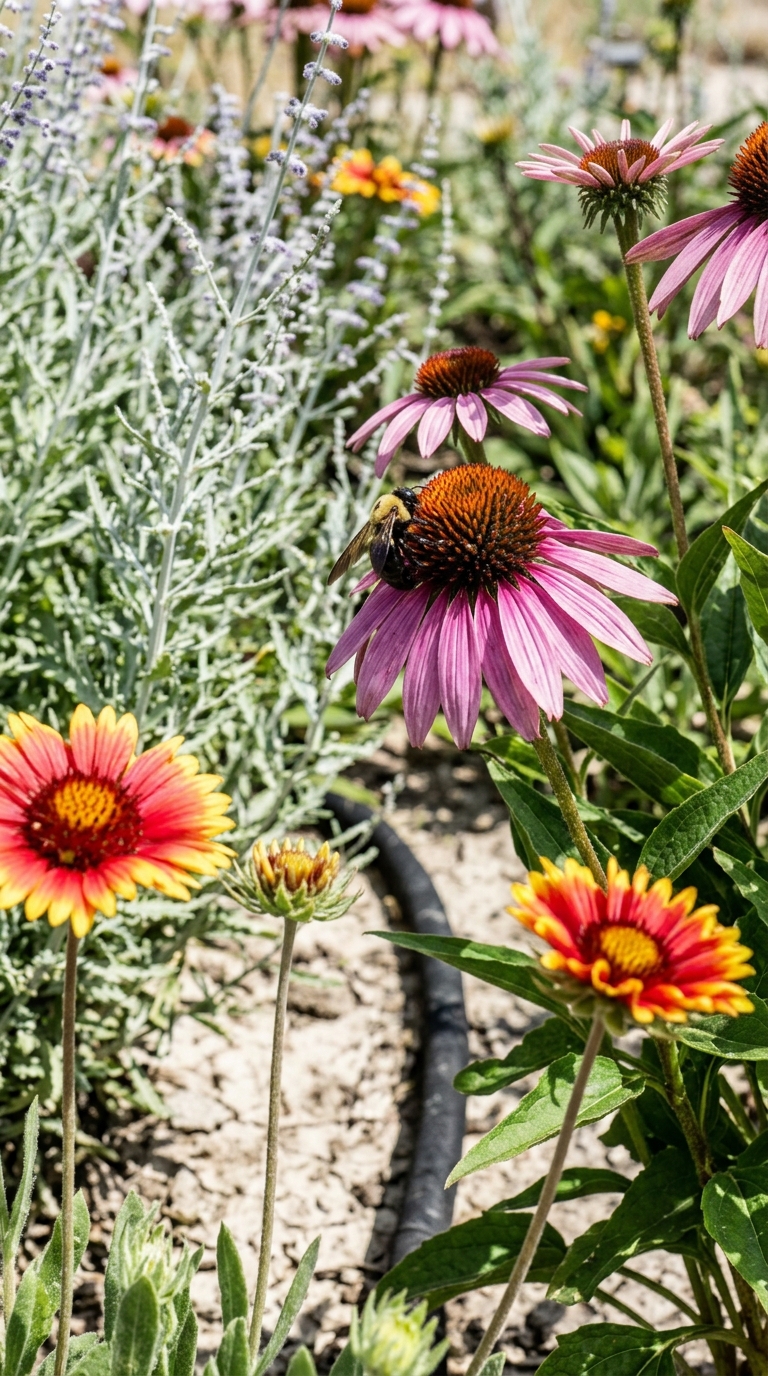
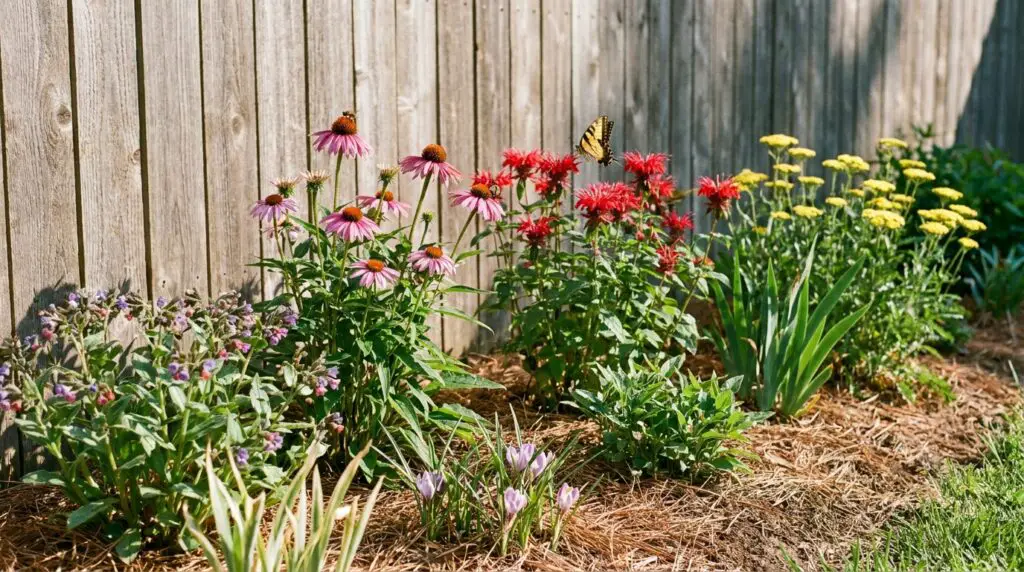
Look for silver foliage, fuzzy leaves, or deep taproots. These traits signal built-in drought defense. Plants with these features store water or reflect sunlight to reduce evaporation. Coneflower, blanket flower and Russian sage bounce back after dry weeks. They also draw heavy bee traffic. Their petals stay open even when the thermometer climbs.
Water deeply once a week instead of sprinkling daily. Deep soaking forces roots downward and builds long-term resilience. Shallow watering keeps roots near the surface where they bake in the sun. Install a simple soaker hose along the base of the plants. Turn it on for forty minutes. Walk away. The soil stays damp longer and your water bill drops. You train the plants to hunt for moisture instead of waiting for a daily drink.
Self Seeding Flower Border Varieties That Multiply Alone
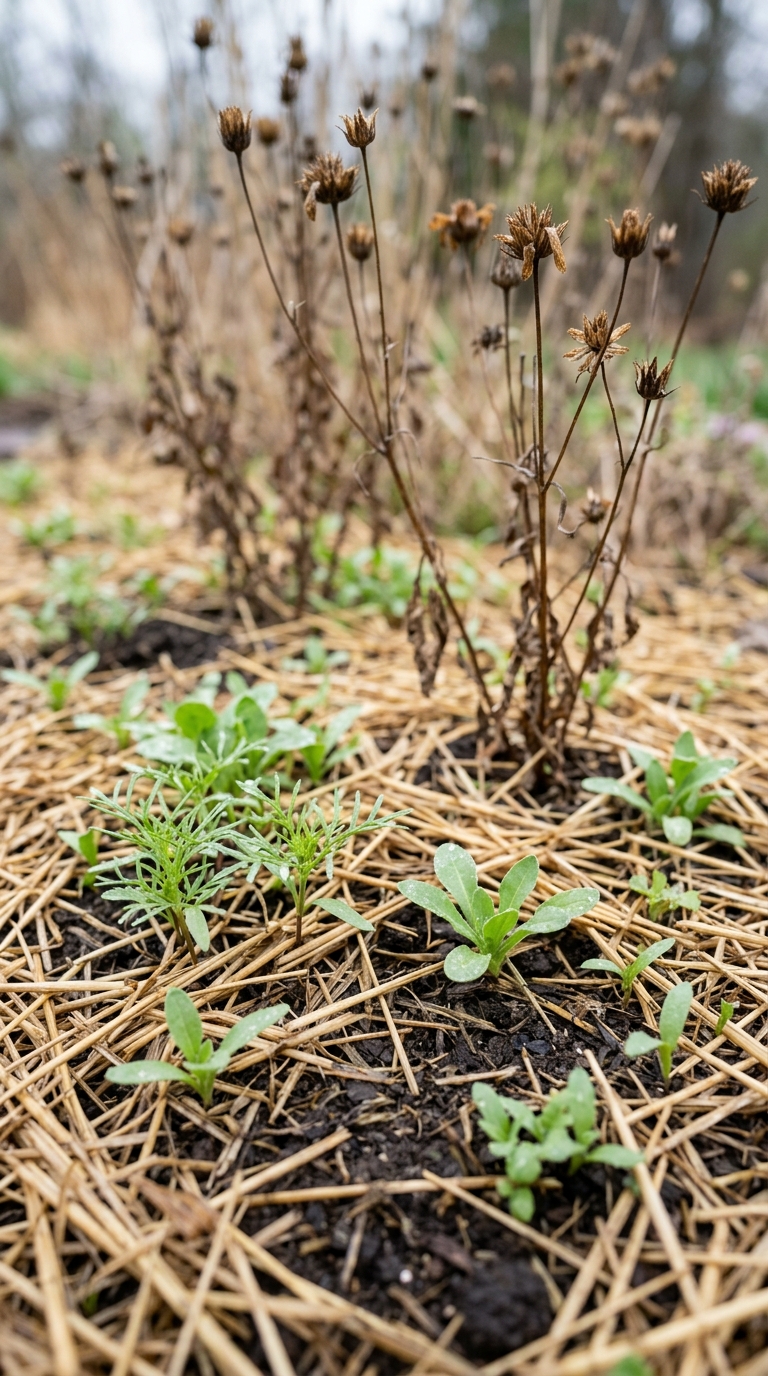
Allow a few spent blooms to dry on the stem. Seeds drop, overwinter, and sprout next spring. You get free plants without lifting a finger. Cosmos, calendula and coreopsis reseed reliably. They fill gaps and reduce yearly planting costs. Their seedlings pop up in early spring like tiny green flags. Thin crowded seedlings once they reach three inches tall. Keep the strongest stems and toss the rest in the compost bin.
Crowding invites disease and stunts growth. Leave the soil undisturbed around the base. Tilling destroys the seed bank you just built. Let nature handle the propagation. You just manage the traffic. A border that replenishes itself saves money and keeps the soil structure intact. Stop buying replacements for plants that want to come back on their own.
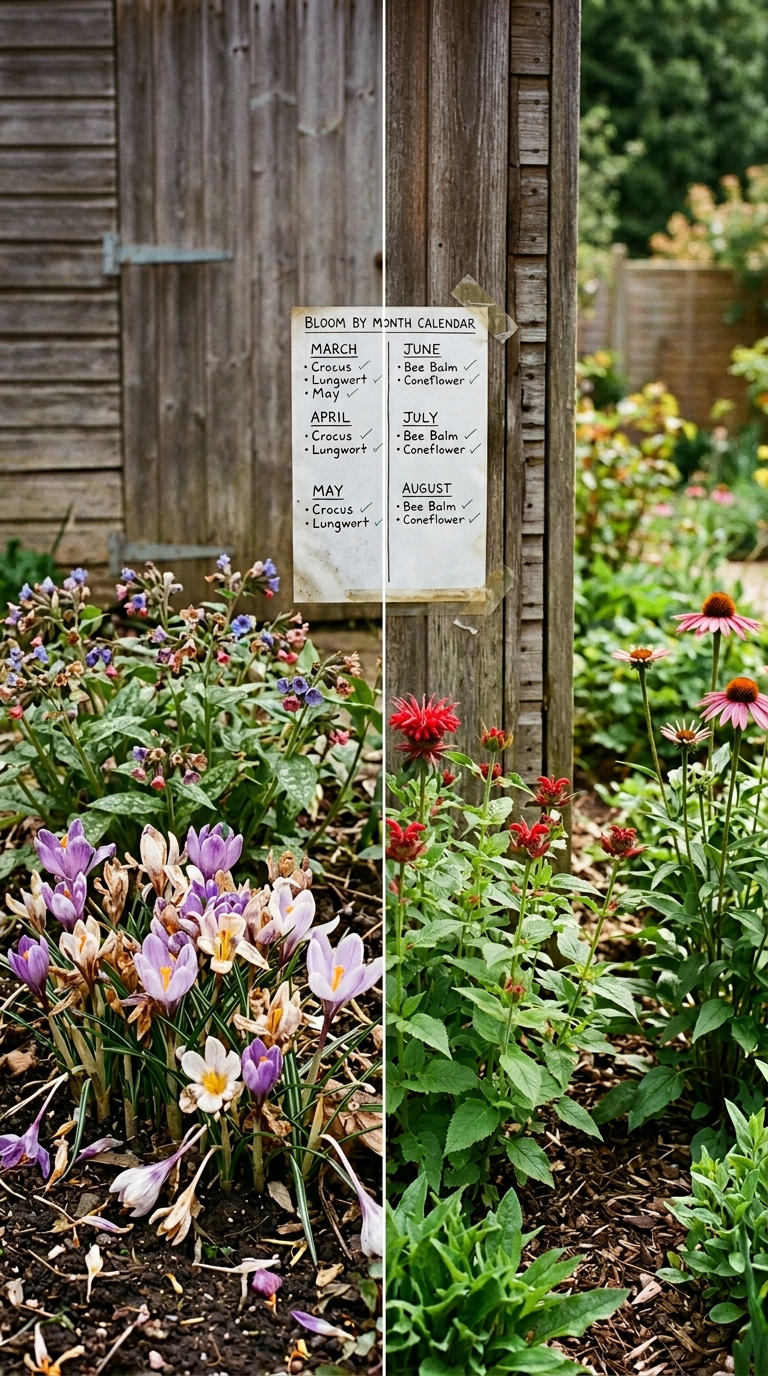
Seasonal Bloom Calendar for Pollinators: The Month-by-Month Cheat Sheet
Most borders fail because everything flowers in June. This calendar staggers blooms so wildlife always has a food source. Print this section. Tape it to your garden shed door. Check it before buying new starts. The schedule runs on overlap. Each month hands off to the next. You build a chain instead of a cluster.
Bloom-by-Month Cheat Sheet
| Month | Plants | Wildlife Impact & Care Notes |
|---|---|---|
| March | Crocus, lungwort, willow catkins | Early bees need these first sugar hits. |
| April | Bluebell, columbine, creeping phlox | Ground cover blooms wake up hovering insects. |
| May | Salvia, foxglove, chives | Tubular flowers attract long-tongued bees and hummingbirds. |
| June | Coreopsis, catmint, yarrow | Peak activity month. Deadhead lightly to extend flowering. |
| July | Bee balm, coneflower, milkweed | Heat lovers take over. Butterflies arrive in heavy numbers. |
| August | Black-eyed Susan, phlox, zinnia | Late summer drought hits. These keep producing nectar. |
| September | Aster, goldenrod, sedum | Critical fuel for migrating monarchs and overwintering bees. |
| October | Japanese anemone, autumn sage, late sedum | Final nectar push before frost. |
| November and December | Leave seed heads standing | Dried stems shelter overwintering insects and feed birds. |
Continuous Bloom Planting Guide for Zero Dead Weeks
Pick two plants from each month. Plant them in alternating clusters along the border. This creates a rolling wave of color instead of a single explosion. Overlap bloom times by two weeks. This creates a handoff period where one plant fades as the next opens. Wildlife never faces an empty pantry. Track actual bloom dates in your yard. Microclimates shift schedules by ten to fourteen days. A south-facing wall heats up faster. A low spot stays cool longer. Adjust next year based on your notes. Your calendar becomes a living document. It adapts to your specific patch of dirt. Generic zone maps give you a starting point. Your own observations give you accuracy. Write down what actually happens. The data pays off in season two.
Spring to Fall Pollinator Plants That Pass the Nectar Baton
Pair early spring bulbs with late spring perennials. Crocus hands off to salvia. Salvia hands off to coneflower. The chain stays unbroken. Avoid planting three June bloomers next to each other. Stagger them down the line instead. This spreads the visual impact and extends the feeding window.
Watch which flowers get ignored. Replace low-traffic plants with higher nectar producers next season. Some varieties look pretty but offer empty calories. Bees vote with their wings. Follow their lead. They know which plants actually deliver. You will notice certain stems get stripped of pollen while others sit untouched. Trust the insects. They are better at garden design than most catalogs. Swap the duds for proven performers. The border improves itself.
Starter Pollinator Garden Plan: Your First Weekend Blueprint
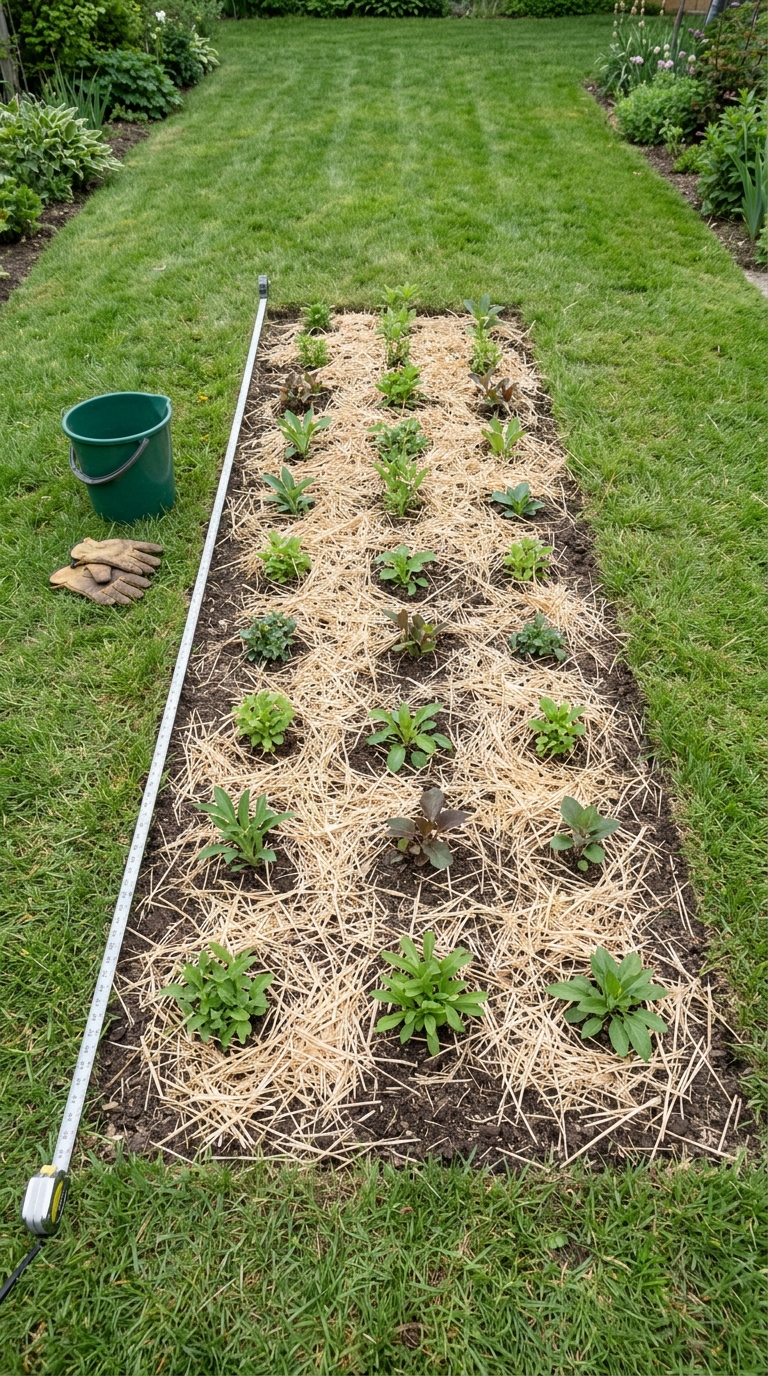
You do not need a full yard overhaul. One four-by-ten foot strip changes local insect traffic. Work in two three-hour blocks. Saturday handles soil and layout. Sunday handles planting and mulch. Rushing leads to crooked rows and shallow holes. Buy young plugs instead of large pots. Plugs establish faster, cost less, and adapt to your soil quickly. Their root systems stay flexible and push outward instead of circling.
Keep a bucket of water nearby. Dip bare roots before setting them in the ground to prevent transplant shock. Hydrated roots grip the soil immediately. Step back often. Check your spacing. Fix mistakes before the mulch goes down. A measured start prevents months of correction. Slow down on day one. Speed comes later.
Pollinator Border Plant List for Instant Structure
Backbone plants anchor the border and bloom reliably. Coneflower, black-eyed Susan and bee balm fill this role. They stand tall and draw heavy traffic. Fillers spread gently and cover bare soil. Coreopsis, yarrow and catmint work perfectly. They knit the bed together and suppress weeds.
Edge plants soften the border line and prevent erosion. Creeping thyme, low sedum and dwarf aster stay under twelve inches. They create a clean finish that keeps mulch from washing onto the lawn. Stick to this trio system. It removes guesswork and guarantees a balanced look. You get height, volume, and a tidy frame. Do not overcomplicate the shopping list. Nine solid varieties outperform thirty mediocre ones. Buy what works. Plant it correctly. Walk away.
Beginner Pollinator Planting Schedule That Matches the Weather
Wait until soil crumbles in your hand. Mud clumps mean the ground is too wet. Roots will rot before they establish. Plant on an overcast day or late afternoon. Direct midday sun stresses new transplants and causes wilting. Cool air gives them time to settle. Water immediately after planting. Then wait three days before watering again. This encourages roots to search for moisture instead of waiting at the surface.
Check the forecast before you dig. A hard rain right after planting washes away loose soil and exposes crowns. Cover new beds with a light layer of straw if heavy storms approach. Timing matters more than technique. Working with the weather saves plants and spares your back. Let the sky dictate your schedule.
First Year Pollinator Border Design: Reading the Soil and the Seasons
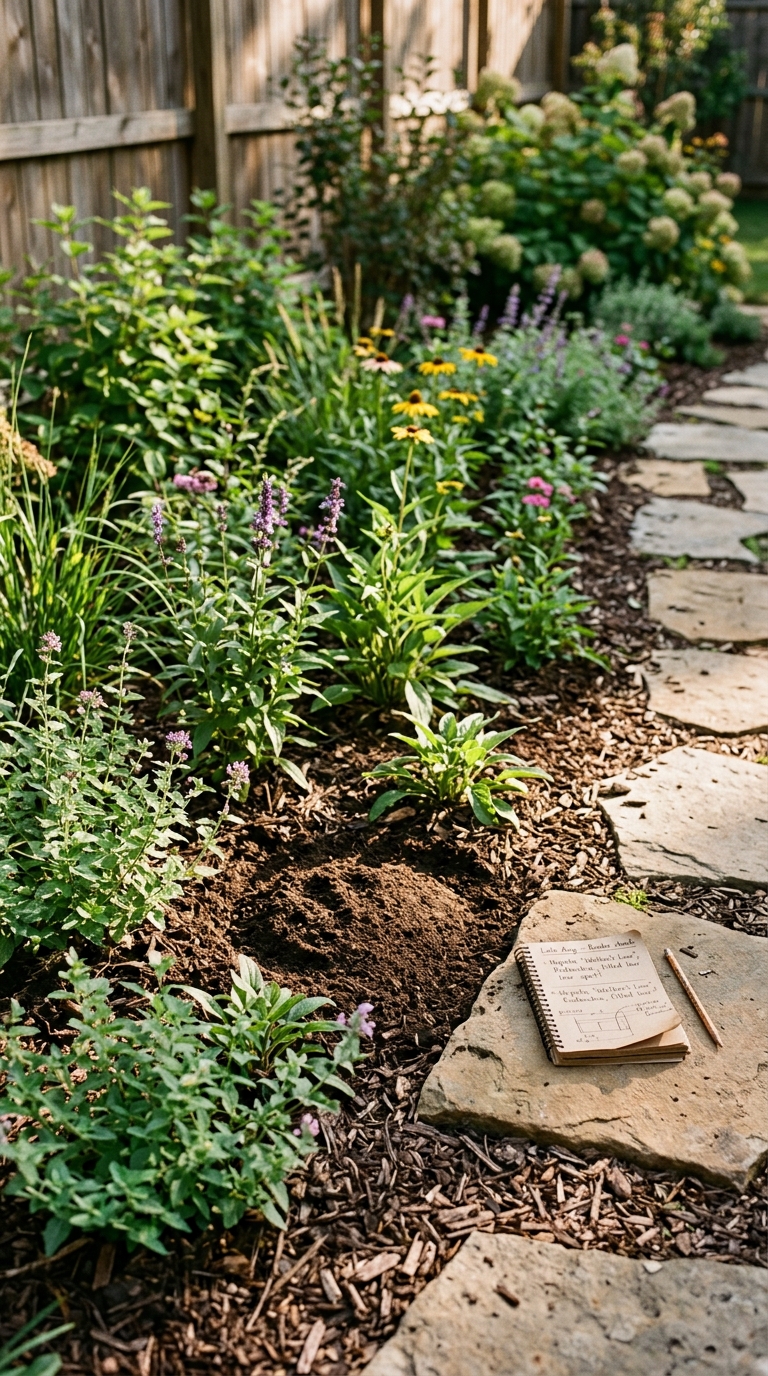
Year one looks sparse. Plants focus energy on roots, not flowers. This is normal. Perennials sleep, creep, then leap. You will see mostly green foliage and a few shy blooms. Resist the urge to crowd gaps with annuals. Overplanting chokes young perennials and invites disease. Watch how water pools after rain. Low spots drown roots. Mound soil slightly in those areas next spring. Keep a simple notebook. Record which plants thrive, which struggle, and which insects visit most. Data beats guesswork. Your yard has its own personality. Learn it before you fight it. The first season teaches you more than any guide. Pay attention to the dirt. It tells you exactly what it needs.
Fast Blooming Pollinator Plants for Quick Early Wins
Zinnias, cosmos and calendula bloom within eight weeks from seed. They fill empty spaces while perennials establish. Their bright petals draw early butterflies and keep your motivation high. Plant these along the front edge. They provide instant color and mask the slow growth behind them. Pull them after frost. Their roots decompose and feed the soil for next year.
Do not let them overshadow your permanent plants. They are temporary scaffolding. Remove them once the perennials fill out. The border transitions smoothly from quick fixes to long-term structure. Early wins matter. They keep you invested while the slower plants build their root systems. Use annuals as placeholders, not permanent fixtures.
Beginner Wildlife Border Setup Mistakes to Skip Entirely
Tilling wet soil destroys structure. It creates hardpan that blocks root growth and traps water. Wait for dry conditions or use a broadfork to lift the earth gently. Using dyed mulch introduces chemicals that repel ground-nesting bees. Stick to natural wood chips or shredded leaves. The insects need clean ground to lay eggs. Deadheading every spent bloom removes winter shelter and seed food. Leave thirty percent standing through fall. Dried stems house dormant larvae and feed finches.
Overwatering drowns more plants than drought kills! Check the moisture before grabbing the hose. It is an irony that most losses come from love, not neglect. Step back and let the border breathe. Your job is management, not micromanagement. The plants know what to do.
Simple Bee Friendly Flower Border Care Without the Fuss
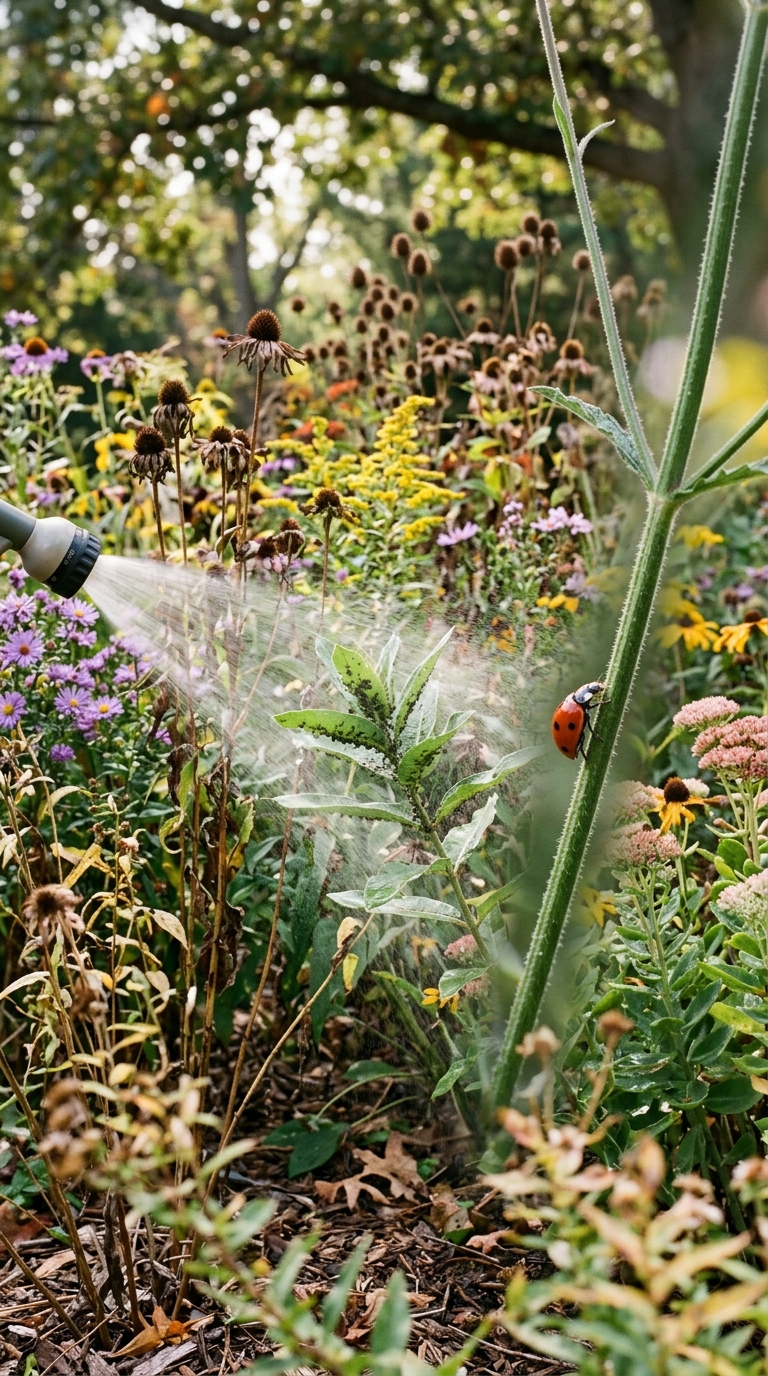
Pollinator borders thrive on light touch care. Heavy pruning and constant feeding weaken native species. They evolved to handle lean soil and seasonal shifts. Check soil moisture by pushing a finger two inches deep. Dry means water. Damp means wait. Cut back dead stems in late winter.
New growth emerges from the base once soil warms. Watch for aphids. Blast them with a hose spray instead of reaching for chemicals. Ladybugs arrive within days to finish the job. Step back and let the ecosystem balance itself. Intervention often causes more damage than the pests. A calm gardener grows a calm garden. Rush in only when something actually breaks. Otherwise, observe and adjust.
Easy Care Native Flowers That Thrive on Benign Neglect
Native species match local rainfall patterns. They survive dry spells that kill imported hybrids. Milkweed, wild bergamot and ironweed require zero fertilizer. Rich soil actually reduces their bloom count and produces floppy stems. Plant them once. Step back. Let weather and seasons do the heavy lifting. Their deep roots break up compacted earth and improve drainage over time. They also host specialist bees that ignore non-native flowers. You feed a wider range of insects by sticking to local genetics. The border becomes a regional hub instead of a decorative strip. Stop feeding plants that prefer starvation. Lean soil keeps them upright and blooming. Trust their biology.
Pollinator Friendly Border Mix Adjustments for Local Climate
Hot humid zones need mildew-resistant varieties. Choose phlox cultivars bred for airflow and space them wider. Stagnant air breeds fungus fast. Cold northern zones require heavy mulch and later planting dates. Protect crowns with straw before the first freeze. Snow cover insulates, but bare cold cracks roots. Swap underperforming plants each spring.
The border evolves with your climate, not against it. Talk to neighbors who garden. They know which varieties survive local winters and which melt in July heat. Regional knowledge beats generic planting zones. Adapt quickly and your patch stabilizes. A rigid plan breaks. A flexible plan lasts. Let your microclimate dictate the final roster.
The Final Tally: Watching Your Patch Wake Up
The first season tests patience. The second season rewards it. By year three, the border runs itself. You will notice changes beyond the flowers. More bees at the kitchen window. Swallowtails resting on fence posts. Soil that stays damp longer after rain.
Keep the above cheat sheet handy. Swap one or two plants each spring based on what you observe. The border shifts with your yard. Step back often. Let the relay run. Wildlife finds reliable food sources quickly. Your strip becomes a neighborhood stop on their daily route. Grab a trowel. Mark the edge. Start the first handoff. The dirt is ready