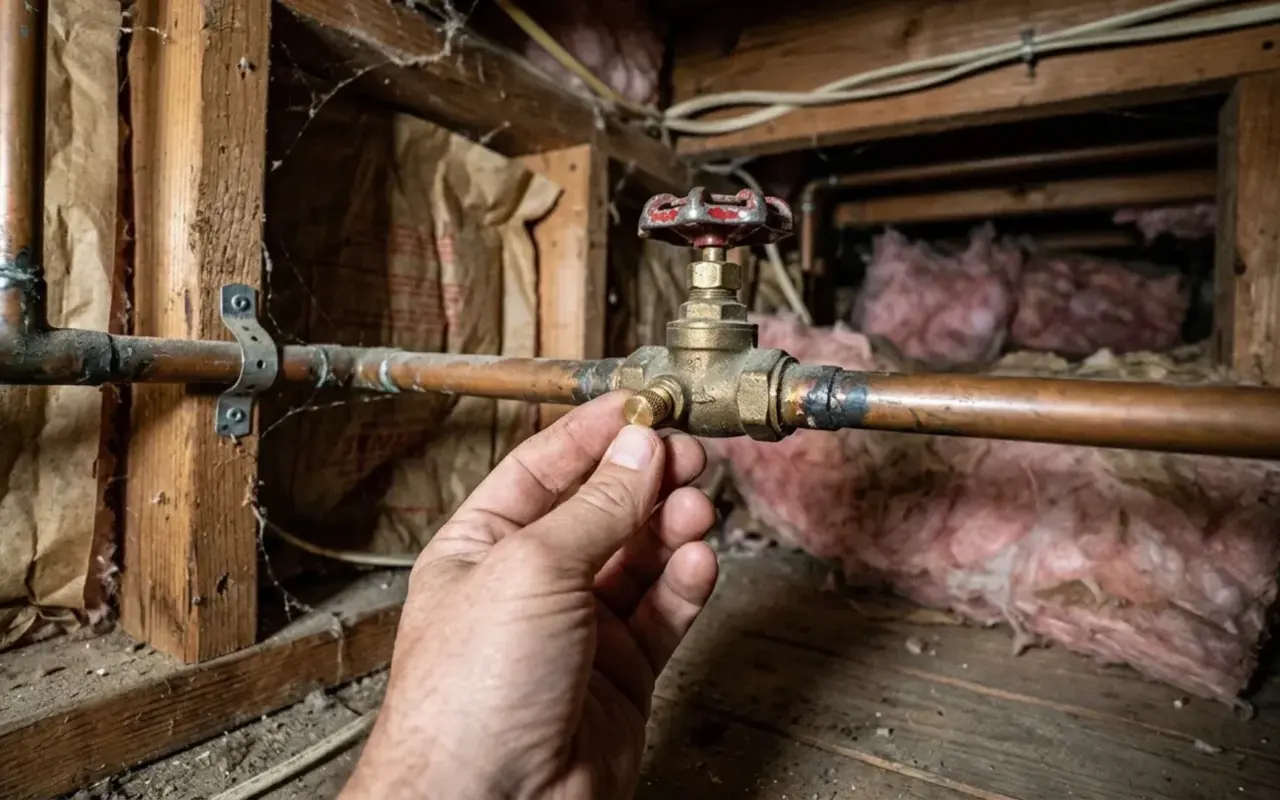
A split outdoor spigot can quietly leak hundreds of gallons into your basement before you even notice. In Massachusetts, the first hard freeze often sneaks in overnight in late October or November.
The good news is that protecting your faucets takes less than an hour and costs very little. Here are five simple steps that can save you from a soggy, expensive spring surprise.
1. Disconnect and Drain Every Garden Hose
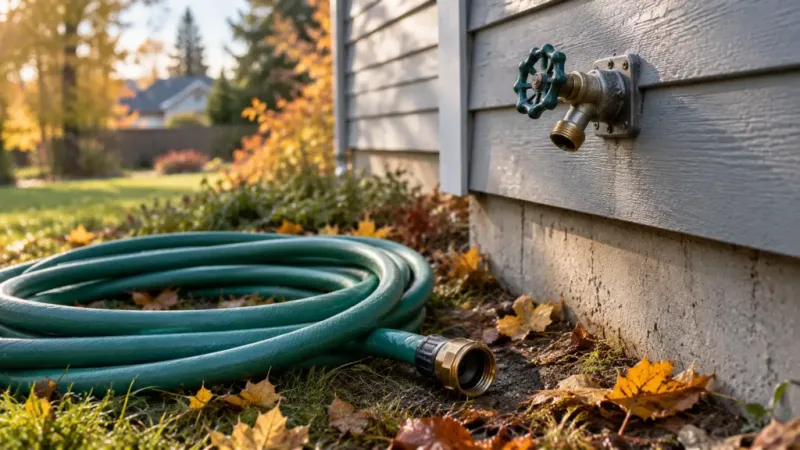
Picture a hose left hooked up all winter in Worcester. Water trapped inside freezes, expands, and pushes back into the faucet, cracking the pipe behind the wall where you cannot see it.
Unscrew every hose before the first frost warning. Stretch each one out on a slight slope so the water runs out, then coil it loosely.
Store hoses in a garage or shed instead of leaving them on the lawn. Cold rubber gets stiff and can crack, so a dry indoor spot helps them last several more seasons.
2. Shut Off the Indoor Valve
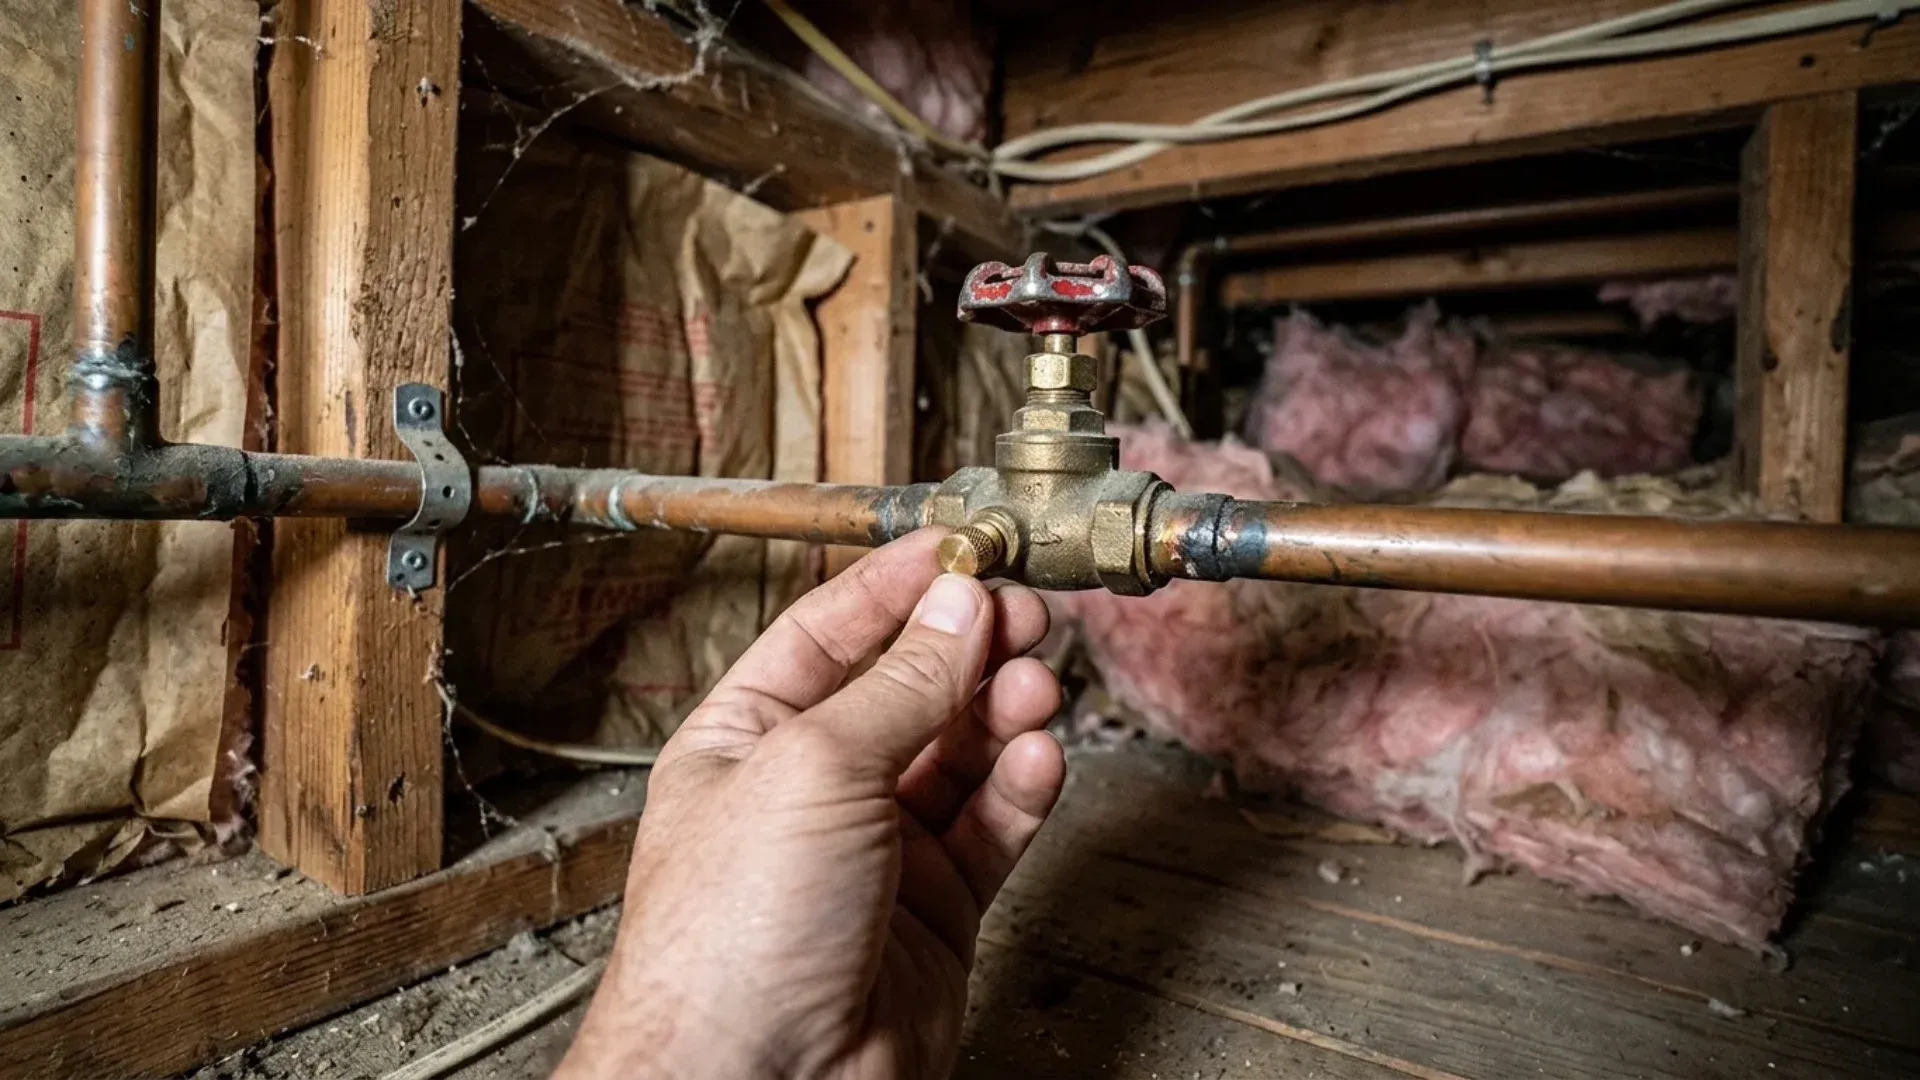
Head down to the basement with a flashlight. Somewhere along the pipe that leads to your outdoor faucet, there is usually a small shutoff valve, often with a round or lever handle.
Turn it clockwise until it stops, or turn the lever so it sits crosswise to the pipe. That cuts the water supply so nothing new can flow toward the cold exterior wall.
Older homes in places like Lowell or Brockton sometimes hide these valves behind ceiling tiles or boxes. If you truly cannot find one, a plumber can add one for a modest fee, and it is money well spent.
3. Open the Outside Faucet to Let It Drain
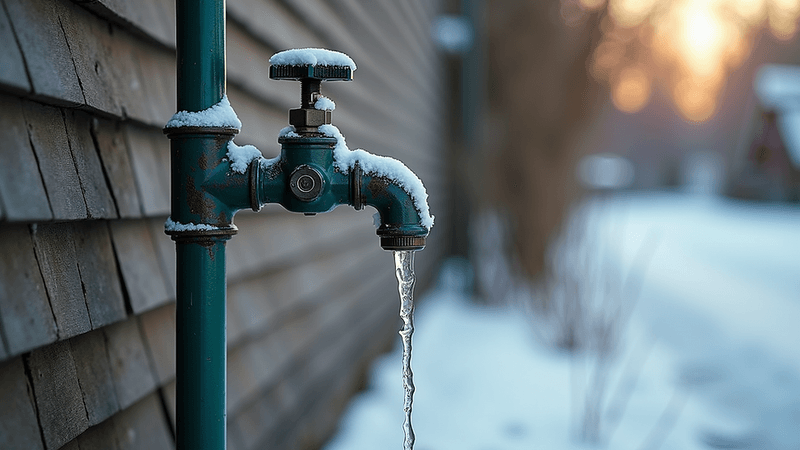
Shutting the valve is only half the job. Go back outside and open the spigot all the way, and you will likely see a short trickle of leftover water spill out.
Leave it open for a few minutes, or even all winter if your plumber recommends it. Many shutoff valves also have a tiny bleeder cap, so loosen that indoors with a bucket underneath to release trapped water.
Fun fact: water expands about nine percent when it freezes. That small push generates enough force to burst copper pipe, which is why an empty line is a safe line.
4. Cover the Spigot With an Insulated Faucet Cap
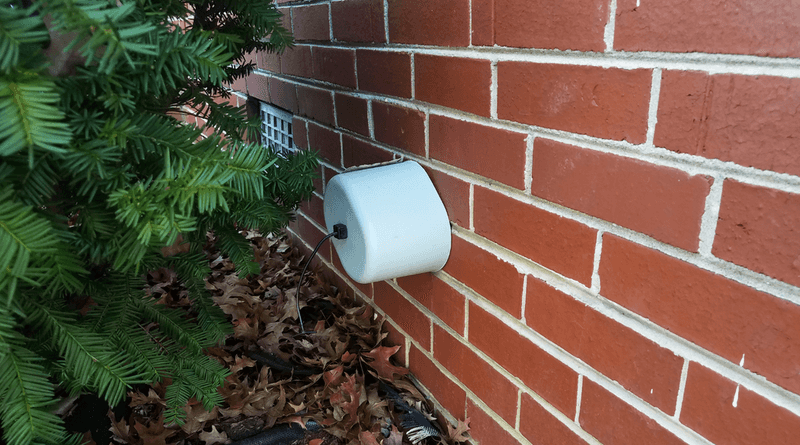
Think of it as a winter hat for your faucet. A foam or fabric-lined dome slips over the spigot and hooks onto the handle, then cinches tight against the siding.
These covers cost just a few dollars at any hardware store. They block wind, which matters a lot when a nor’easter drives single-digit temperatures straight at the side of your house.
Make sure the cover sits flush against the wall with no gaps. A loose cover lets cold air sneak in and does little good.
5. Consider Upgrading to a Frost-Free Sillcock
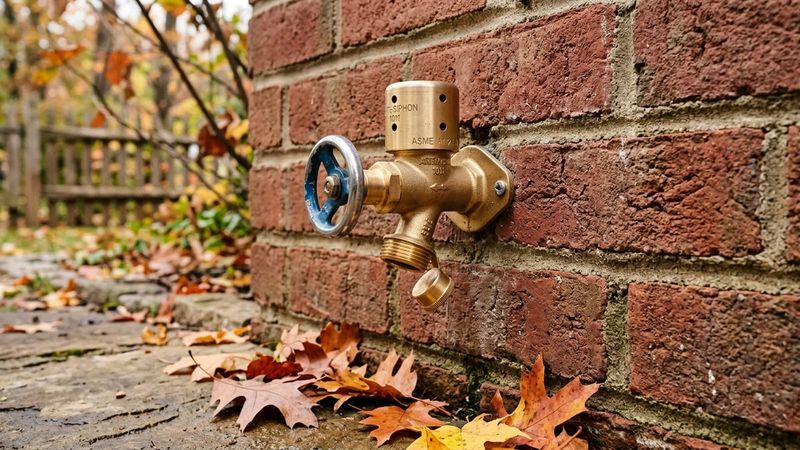
Tired of this routine every fall? A frost-free sillcock might be your answer.
Its valve sits deep inside the heated house, sometimes a foot or more back, so the water stops before it reaches the cold wall.
When you shut the handle outside, the remaining water drains out by itself, as long as the unit is installed with a slight downward slope. Many models also include a built-in vacuum breaker, which Massachusetts plumbing code generally requires on hose connections.
One catch: even frost-free faucets can burst if a hose stays attached. So keep step one on your list no matter what.
Installation usually runs a couple hundred dollars, a bargain compared to repairing a flooded finished basement.
Share this story