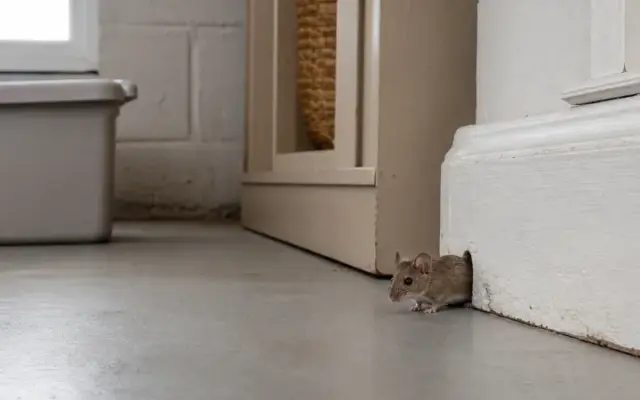
A tiny gap under your garage door can be all a mouse needs to find a way in. Checking that gap is a quick job, and you can do it in one afternoon.
It will not solve every mouse problem, but it is a smart place to start. Here is how to check it, fix it, and look at the rest of your garage too.
Why fall is a sensible time to inspect
Autumn is a handy time to walk around the garage with a flashlight. The weather is still mild enough to work comfortably, and you can fix gaps before the cold sets in.
That is a practical reason to act, not a sign that every Ohio garage gets mice each winter.
Mice do not all behave the same way. Iowa State Extension notes that some wild species, such as deer mice and white-footed mice, move into buildings in fall.
House mice, on the other hand, can live indoors all year long. So a garage could have visitors in any season.
That is why the goal here is modest and realistic. Sealing openings is called exclusion, and it can reduce the chance that mice get in.
It cannot promise a mouse-free garage, and it does not remove mice that are already inside.
Think of this job as a checklist. Start with the garage door seal, then move on to other gaps, then tidy up whatever might attract mice.
Each step lowers the odds a little, and together they make a real difference.
Start with the garage-door bottom seal
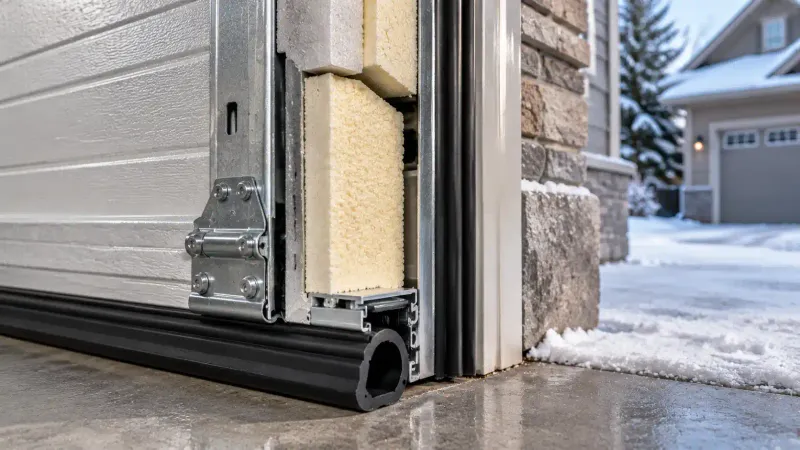
Close the garage door all the way. Then go inside, turn off the lights, and look along the bottom edge in daylight.
If you see a bright line of light, there is a gap.
Next, look closely at the seal itself. Cracked, flattened, torn, or brittle rubber is a warning sign.
Run your hand along it to find spots where it does not touch the floor, especially near the corners and over dips in the concrete.
Size matters here. CDC guidance says mice can squeeze through openings about 1/4 inch wide, roughly the width of a pencil.
A gap that small is easy to overlook, so check the whole width of the door, plus the sides.
A gap does not prove mice are in your garage. It simply shows a possible way in.
Likewise, a perfect seal will not secure the whole space, because mice can use other openings. Still, the door is a large, busy part of the garage, so it is a smart first stop.
Jot down what you find, such as a short gap at the left corner or a torn section in the middle. Those notes will help you buy the right replacement part.
Fit a replacement seal without compromising the door
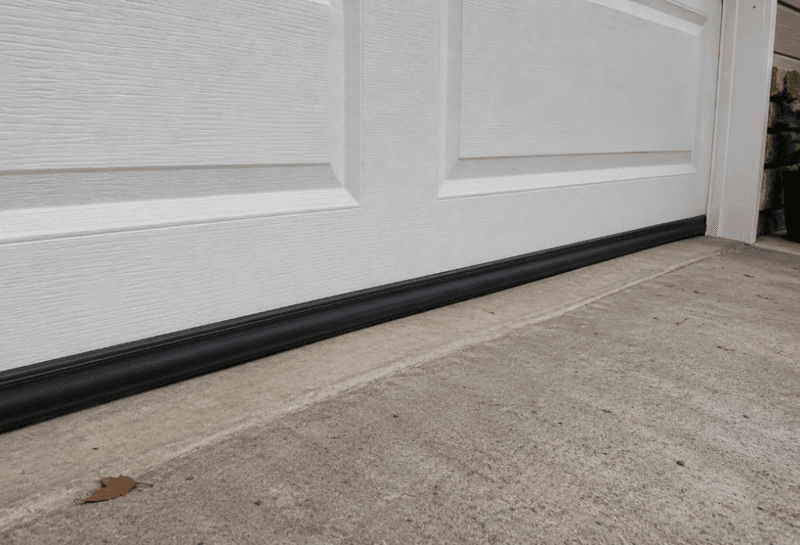
If the seal is damaged or leaves a gap, replace it with a properly fitted weatherstrip, door sweep, or compression gasket. A National Park Service rodent-exclusion manual lists overhead-door sweeps and compression gaskets among the options for closing these gaps.
Begin by measuring the width of your door and checking what kind of track or retainer is on the bottom edge. Many doors use a slot that holds the seal in place, and the new piece must match it.
Take a small piece of the old seal to the store if you are unsure.
Pull out the old seal, clean the bottom edge, and slide the new one in. Trim it to length with a utility knife.
Then close the door and look again for light along the bottom.
Now test how the door works. It should open and close smoothly, and the opener should not strain or reverse.
A seal that is too thick or too stiff can press against the floor and interfere with the door. Never block, jam, or force the door to get a tighter fit.
If the door acts differently after the repair, trim or swap the seal. If you cannot get a good fit, a garage door professional can help.
Check the rest of the garage for entry points
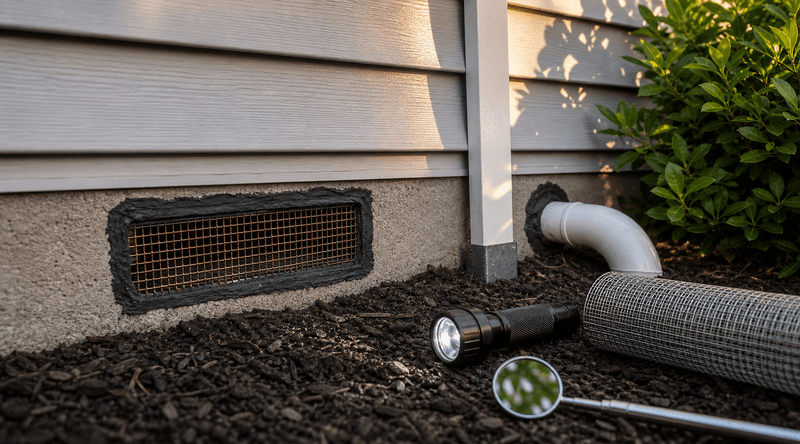
With the door done, walk the whole garage inside and out. A new seal cannot protect you if other openings remain.
Mice only need a gap about 1/4 inch wide, so small spaces count.
Look at the side and pedestrian doors, the foundation, vents, and any place where pipes, wires, or cables pass through the walls. Check the corners where the door frame meets the wall, too.
A flashlight helps, and so does looking for dark rub marks or chewed edges.
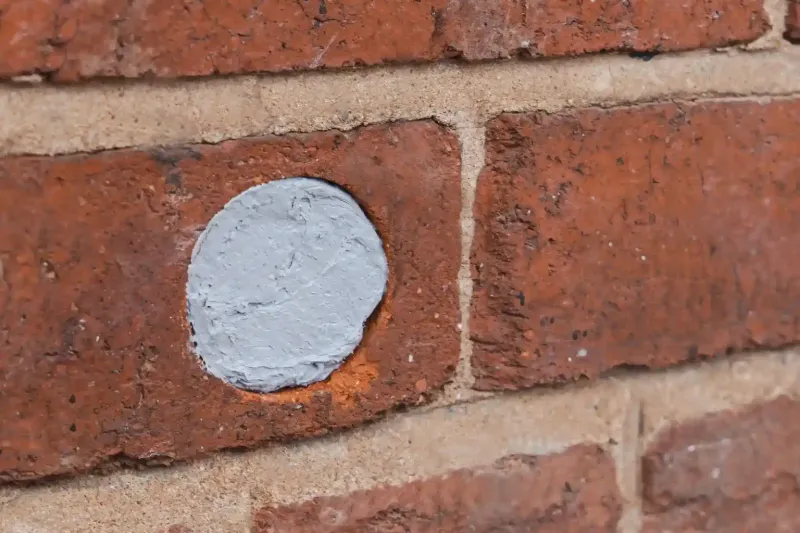
For small holes, the CDC recommends packing in steel wool and securing it with caulk. For larger holes, use sturdier materials such as metal, hardware cloth, lath screen, or cement.
Cover vents with hardware cloth so air can still flow.
Skip the can of expanding foam as your only fix. UC IPM says foam that mice can gnaw is not effective for plugging holes, and it also notes that there is no simple, easy fix for controlling house mice.
Foam can hold steel wool in place, but the steel wool does the real work.
Do this check in daylight and take your time. A few extra minutes now can reveal gaps that are easy to miss.
Mark each repair as you finish it so you do not lose track.
Reduce food and shelter attractants
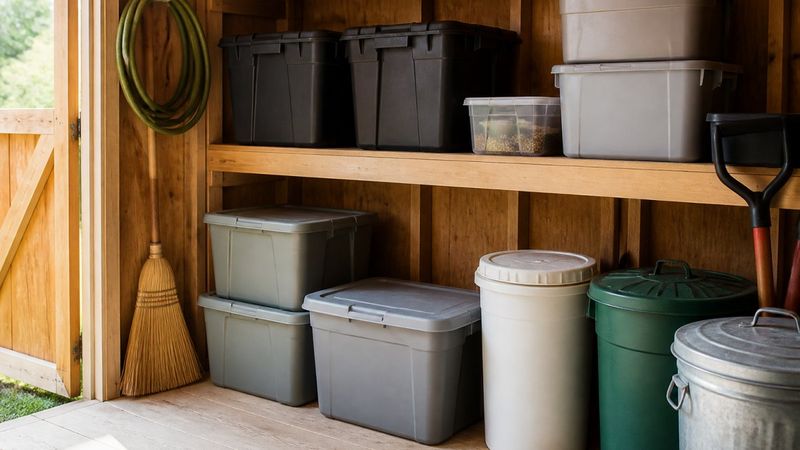
Garages often hold snacks for mice without anyone noticing. Bird seed, pet food, grass seed, and even spilled crumbs from a cooler can be enough.
Put these items in tightly sealed containers made of hard plastic or metal, and wipe up spills soon after they happen. Both the CDC and Iowa State Extension list food storage and cleanliness among the steps that help.
Shelter matters too. Piles of cardboard boxes, old rags, and stacked firewood against the wall give mice quiet places to hide.
Move items onto shelves, keep a bit of space between stored goods and the walls, and swap cardboard for lidded bins when you can. Clutter also makes it harder to spot droppings or chewed spots early.
Keep your expectations sensible. UC IPM stresses that a good sanitation routine works alongside exclusion.
A clean, open garage may be less appealing, but mice can still get in through gaps, so these steps support sealing and do not replace it.
You also do not need scents or gadgets. Penn State Extension reports that peppermint and dryer-sheet claims do not reliably drive mice away.
Your time is better spent on lids, shelves, and repairs.
If you find signs of mice, handle them safely
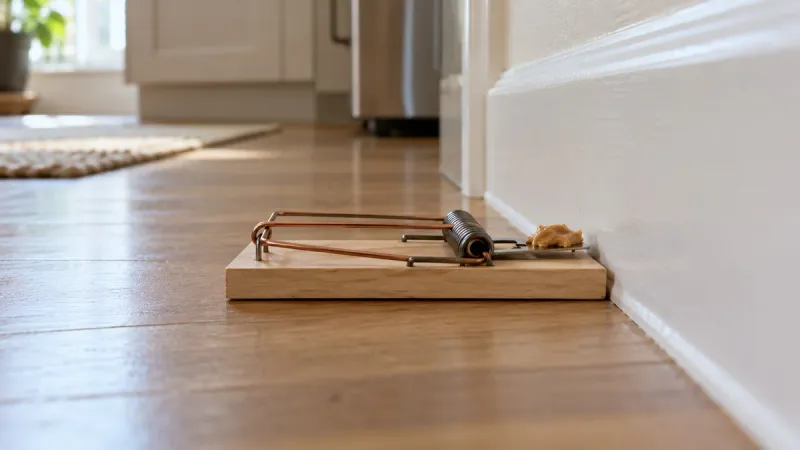
Sealing gaps helps with future entry, but it does not remove mice that are already inside. Signs include droppings, gnawed boxes, shredded nesting material, and scratching sounds.
If you see these, you have two jobs: deal with the mice and clean up safely.
For removal, the CDC recommends snap traps for home rodent control. Place them along walls where you see activity, and keep traps and bait well away from children and pets.
If you choose bait stations, follow the product label closely, as described in EPA guidance on rodent infestations.
Cleanup needs care. CDC cleanup advice says to ventilate an outbuilding before you start, wear gloves, and wet and disinfect droppings or nests.
Do not sweep or vacuum them before disinfecting, because that can stir contaminated dust into the air.
Once the area is disinfected and the waste is picked up, you can finish cleaning the space. Wash your hands well afterward.
If activity continues or you feel unsure, a licensed pest professional can help.
Then return to the basics. Seal the door gap first, as CDC sealing advice suggests, and check the other openings next.
A garage is never perfectly mouse-proof, but a tight seal makes a good start.
Share this story